
How to use onshape for 3D modeling?
Engineers are moving to 3D modeling in order to “see” a final product or component throughout the design process. For manufacturers and designers who need to develop, build, market, and sell their products, a 3D model can be a highly helpful multifunctional tool. These capabilities can enhance the value of prototypes and, in some cases, significantly speed up the product development process.
One can find a number of 3D modeling services in today’s digital world; however, in this post, we will learn about one of the most widely used 3D modeling software, onshape. We will discuss what is onshape and how to use it for 3D modeling.
What is 3D modeling?
A 3D digital representation of any object or surface can be created using computer graphics technology known as 3D modeling. A mesh, which is a group of vertices that make up an object, is created by an artist using specialized software to modify points in virtual space. These 3D objects can be manually built or formed automatically by deforming the mesh or other vertices.
Video games, film, architecture, art, engineering, and commercial advertising are just a few of the media that use 3D models. Character animation and special effects require the ability to completely animate digital objects, which is only possible with 3D modeling.
What are the benefits of 3D modeling?
1 Adaptable
If your business development specialist receives an urgent request to collaborate, developing physical models might not be done quickly enough. Digital representations can be quickly developed, customized for specific clients or opportunities, and sent instantly throughout the globe.
2 Sustainable
By using 3D modeling to assess various design possibilities, businesses can use their products to meet sustainability standards. By reducing the number of physical prototypes, waste can be significantly decreased.
3 Design proficiency
Simply said, 3D modeling helps to cut down on design time and expenses. The ability to review, test, and update each component of a structure or product before manufacturing is provided by 3D CAD software. You avoid getting to start over from scratch by doing this. A drawing or 2D design cannot possibly indicate problems that can be seen in 3D modeling since we can see the object from all angles.
4 Flexible & Simple Prototyping
In order to evaluate the design concept, specifications, cost of production, and other factors, 3D models are routinely used to create a product prototype. The process for creating a product prototype is very flexible: A hand drawing, a 2D sketch, or even an idea can be turned into a 3D model, which enables a 3D designer to work on and adjust a product design without having to make additional sketches.
5 Better communications with team members
A skilled designer should convey their ideas through sketches, but doing it in a 3D model has an added benefit. Communication with other members of your creative team is much simpler when you become familiar with topics in three dimensions and 3D software. With engineers, modelers, and experts in computer-aided styling, workflows more easily.
6 Increased design vocabulary
Some forms and designs may be difficult for you to imagine and portray in 2D models while you’re designing. Your understanding of 3D modeling will come in handy in this circumstance. When you learn how to produce these top-notch models, your visual vocabulary expands. You get greater experience integrating elements using a visual language that includes texture, light, color, line, space, and shape. You quickly develop into a versatile designer and keep up with the times.
7 Accuracy & Quality
Even before design work begins, exact virtual locations and spaces can be created using 3D scanning and modeling. It implies that 3D designs can be performed with complete quality and precision assurance.
What is Onshape?
Onshape is a cloud-based computer-aided design (CAD) program. Software users can work together on the same model while simultaneously editing and interacting via web-based services. Many industries aiming to design goods, machine components, industrial equipment, etc use this tool. The company offers several ways to learn how to use the software on its own website, including instructional videos, learning centers, and support services as needed. All of these benefits are excellent, but what characteristics help Onshape become so popular among users?
Characteristics of Onshape
Data management, collaboration, workflow, components, assemblies, drawings, bill of materials, configuration, analytics, integrations, support, and security are just a few of the many and varied features that Onshape provides. The platform is accessible via Chromebook, Linux, Mac, and PC. The software helps user collaboration so that teams can test different design ideas without impacting other users. Additionally, the platform allows real-time data management, enabling you to instantly observe changes made by other users. This modeling software has the advantage of not requiring users to perform any maintenance tasks, and program upgrades are immediately made available through the web interface.
The tool shares files over URLs rather than copying them when in use. Creators can access its cloud-based system from any device, including a computer, tablet, or phone, to design. Both 2D and 3D models can be produced with Onshape. The company offers consumers program instructions and specs to help them understand how to utilize it so they may produce better final designs suitable for 3D printing. The files can be exported in a variety of formats, including STL, DWG, and DXT. Additionally, it is available in a variety of languages, including English, German, Korean, and Chinese, allowing us to communicate with communities throughout the world.
Licensing of Onshape
There are different versions of Onshape for different users:
Professional version
You should be aware that the Professional edition of the Onshape program, which is intended for small and medium-sized enterprises, costs $2,100 annually. As a result, you can adopt a platform for product development that includes CAD, investment management, and data management.
Standard version
On the other side, the $1,500 annual license fee for the Standard version is intended for users who only need basic CAD capabilities for collaboration and data management.
Free education plan
The Onshape free education plan is another option and one of the top CAD programs for educational circles. In this instance, teachers and students can get the Standard version without any payment.
How to use Onshape for 3D printing?
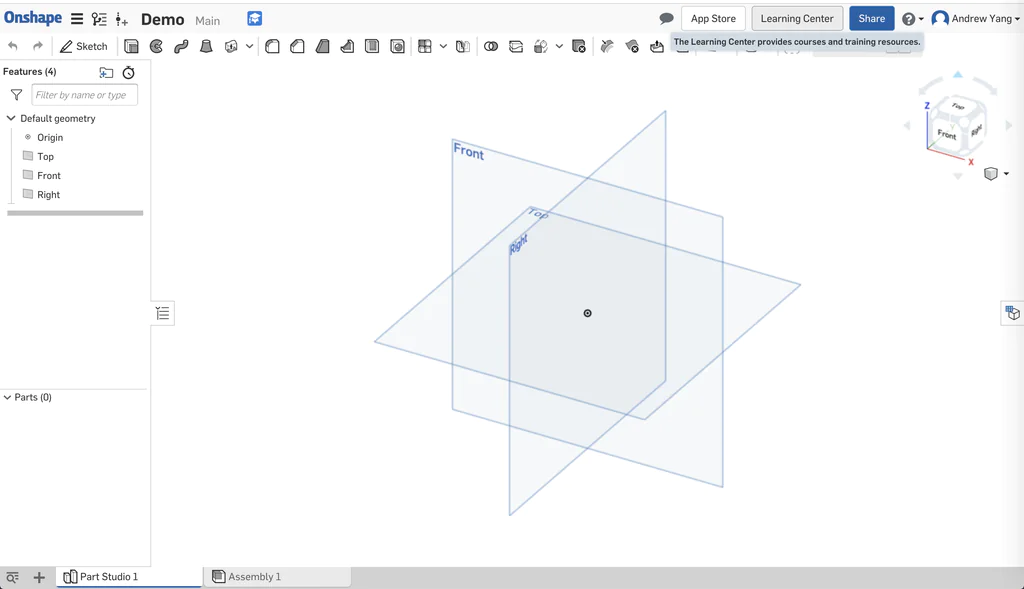
Create an account at https://www.onshape.com. To start a new document, click the create button. Now, your screen must resemble the image above.
In this example, a model train track and servo holder will be built.
Step 1: Create a sketch
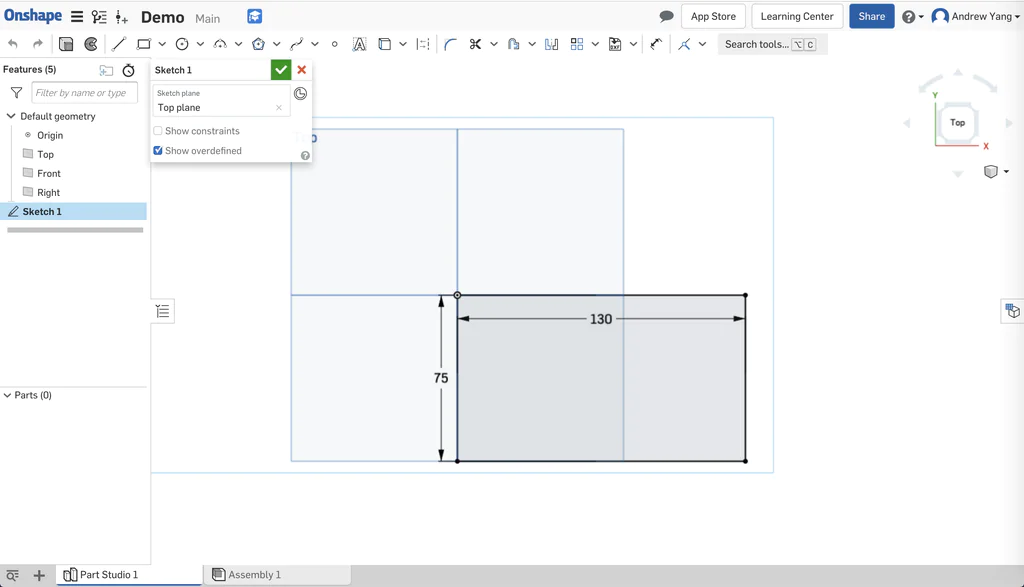
From the cube diagram on the top right, choose the “top” face.
Now click on the plane that displays in the center of the screen.
Choose “Sketch” from the menu, then choose the rectangle icon.
Your mouse’s dragging motion can be used to draw a rectangle. Using the keyboard, change the dimensions.
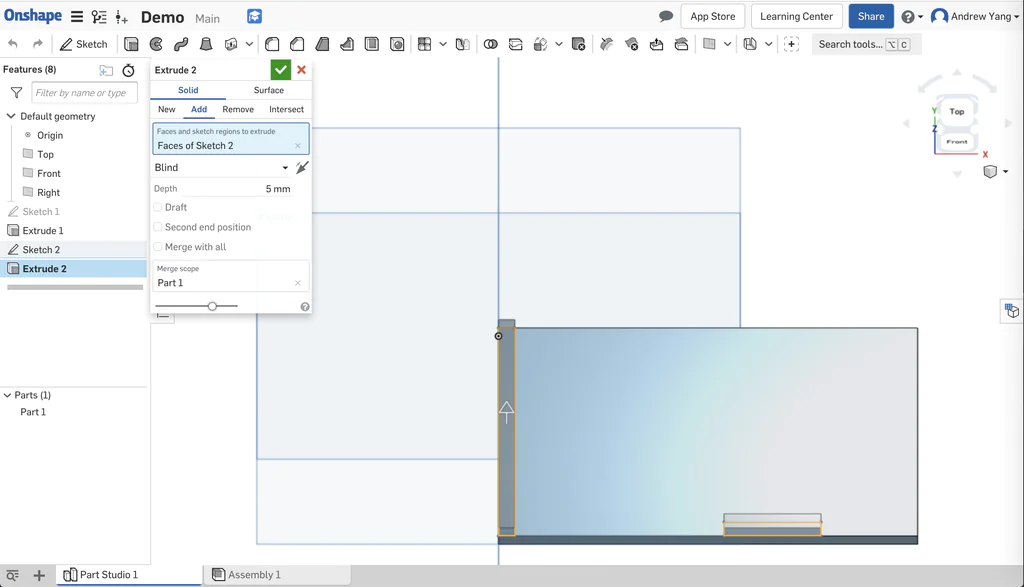
Step 2: Extruding
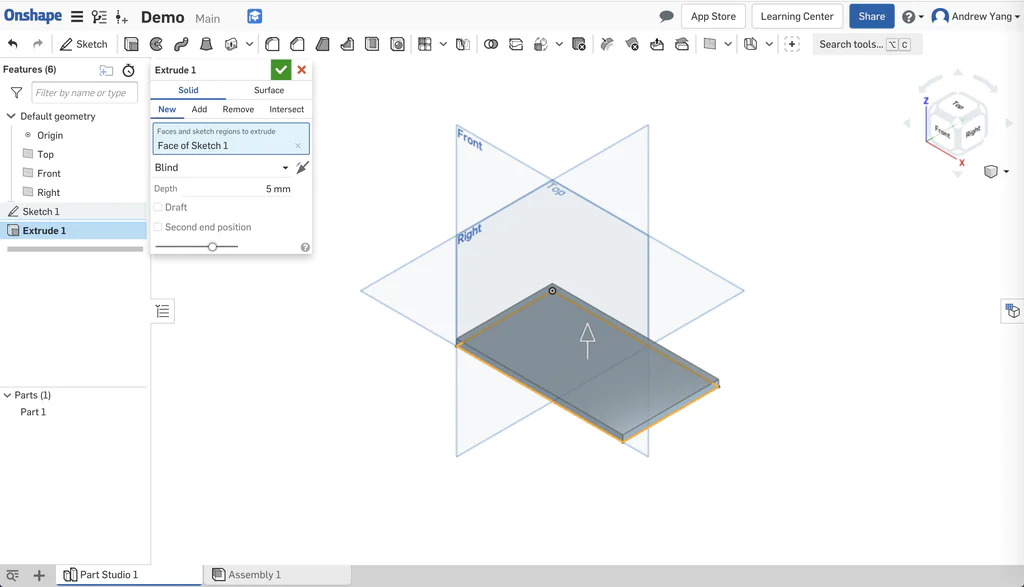
The extrude button is located in the top left corner. Change the height by typing it in.
Step 3: Creating Extrusions Upon an Object
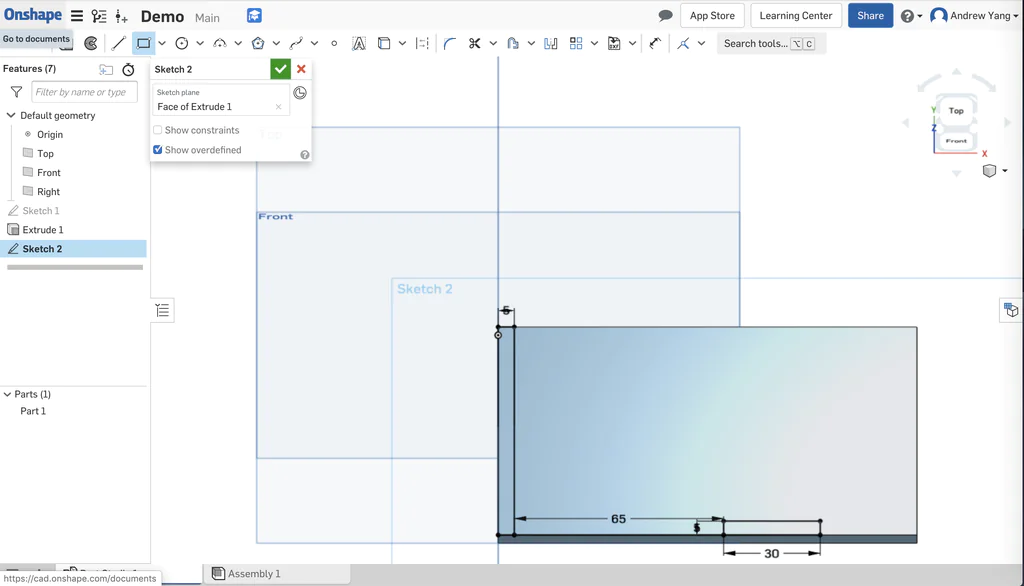
From the cube in the top left, choose “top” view. Create the sketch as seen in the image using the sketch tools.
Step 4: Continuing extrusion
You can also extrude that sketch. An extrusion on top of another object is all that is left. This enables you to produce a huge variety of designs.
Step 5: Finishing the design
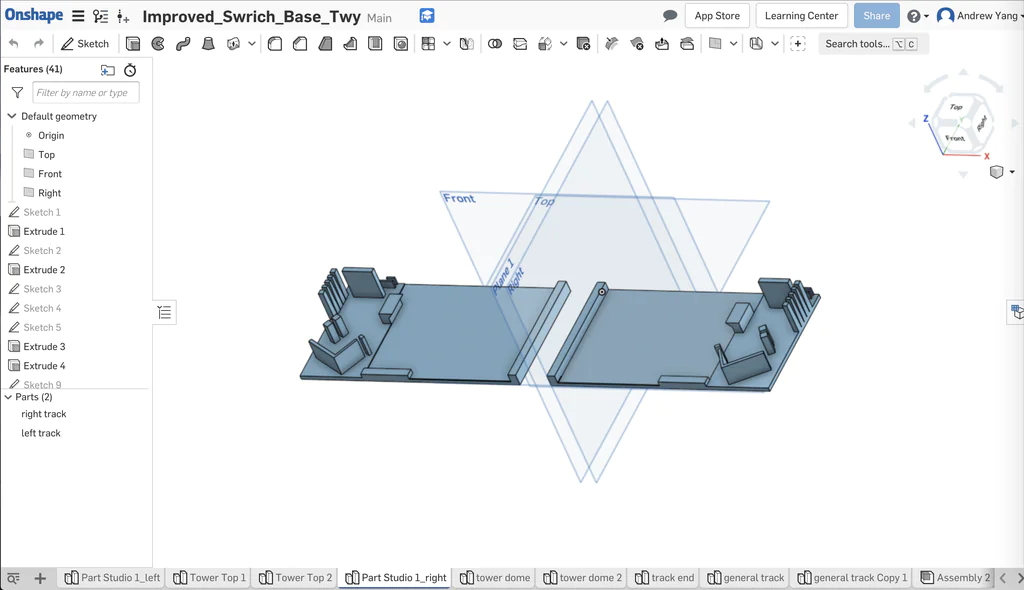
After experimenting with several commands, you may complete the design. Use the plane and mirror functions as necessary.
Step 6: Exporting the design
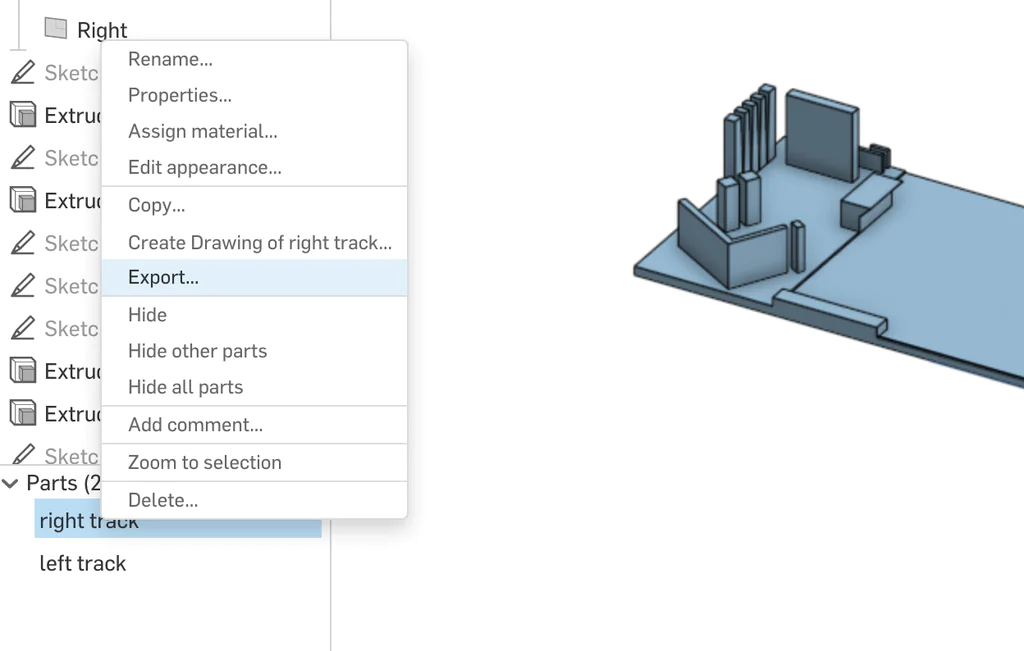
Export the model as an STL file, as seen in the image. Remember naming conventions. Verify the dimensions are accurate (in millimeters).
Step 7: Using polar 3D for printing
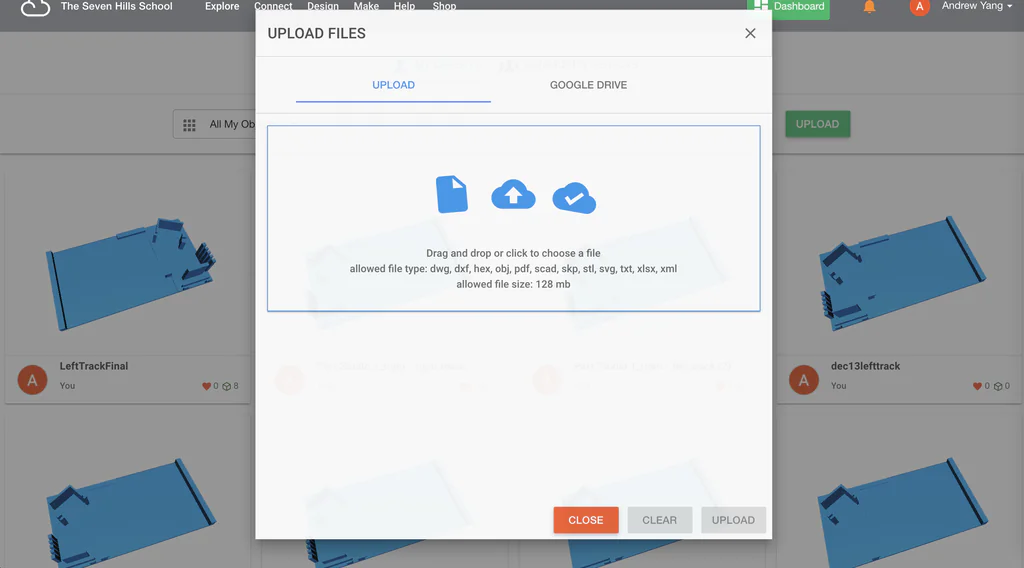
Polar3D will receive the STL file. The design is now 3D printable. Be sure to do the following actions while printing:
1. Make sure the pad has glue on it.
2. Make sure Polar3D is in the center of the design.
3. Make sure the plastic is not jammed before printing.
Conclusion
The social impact of 3D goes far beyond its use in entertainment. Particularly, the advantages and knowledge of 3D make it a particularly profitable route for companies and organizations. High-quality production frequently uses 3D modeling, which entails the fabrication of three-dimensional objects using specialized CAD software. We learned about OnShop in this post, a popular 3D modeling tool.
Teams may instantly access the same CAD system and data via a cloud-based platform thanks to Onshape, a very robust and expert 3D CAD system. Even mobile devices like the iPhone, iPad and Android smartphones and tablets may access and change the 3D data.
Onshape’s user-friendly interface enables users to directly create, edit, and shape new things. The software is particularly well suited for producing spare parts, technical parts, industrial production parts, and assemblies.
