How to Transform 2D Concept Art into a Rigged 3D Model
The creation of 3D characters is quickly turning around how digital experiences are constructed in contemporary virtual worlds. Since the simulations based on AI can be simulated, and the next-generation digital content includes 3D characters, even metaverse platforms, and visualizing products with the use of 3D figures can be considered a fundamental component of the digital content. But ever wondered how such a 2D drawing can be turned into an actual 3D model?
In this blog, you will get to know the entire workflow of how to turn 2d character into 3d model using Blender. This procedure involves the necessary steps: modeling, sculpting, texturing, rigging, and equipping the asset for animation. Blender is an open-source and powerful 3D creation program that supports an end-to-end pipeline for modeling, animation, rendering, and post-processing. Artists and designers can now easily turn flat 2D concept art into detailed, structured 3D assets to use in modern digital technologies with Blender.
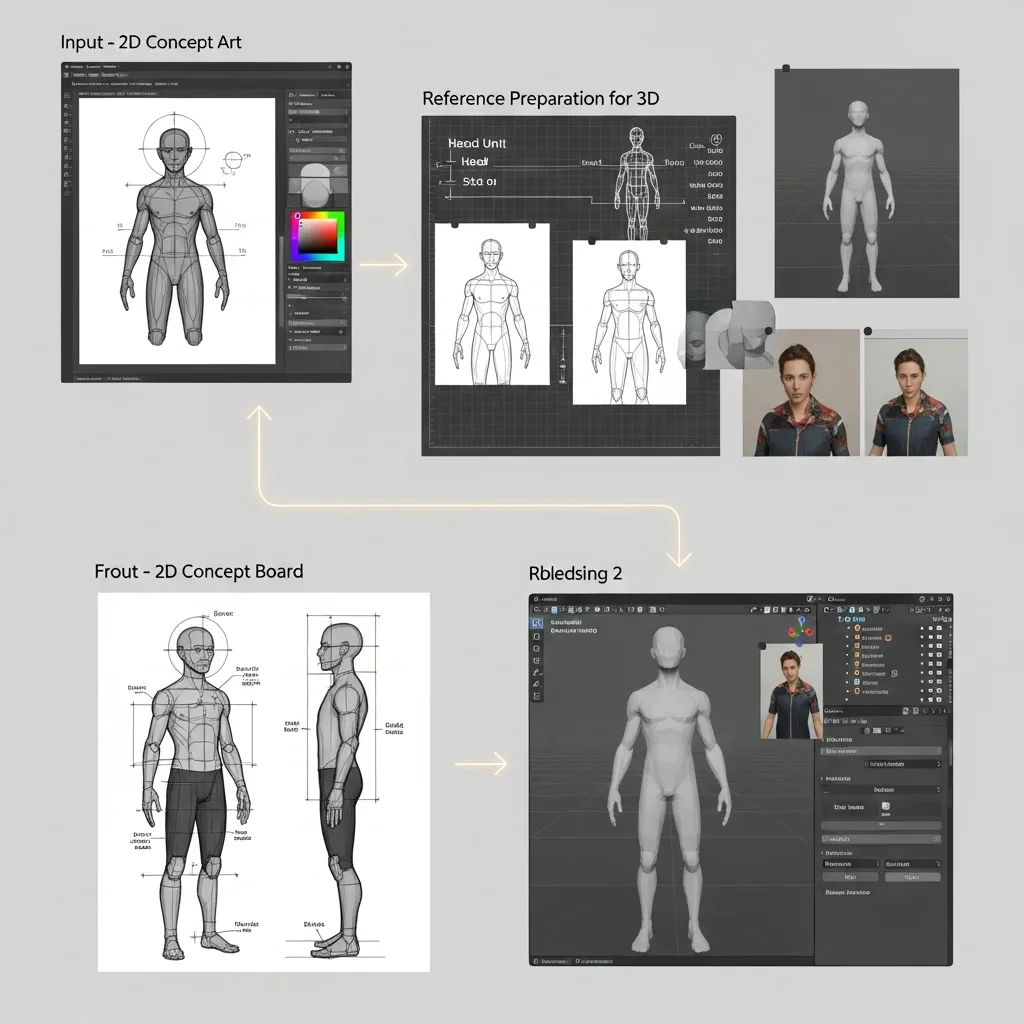
STEP 1: Prepare Your 2D Concept Art for 3D Modeling
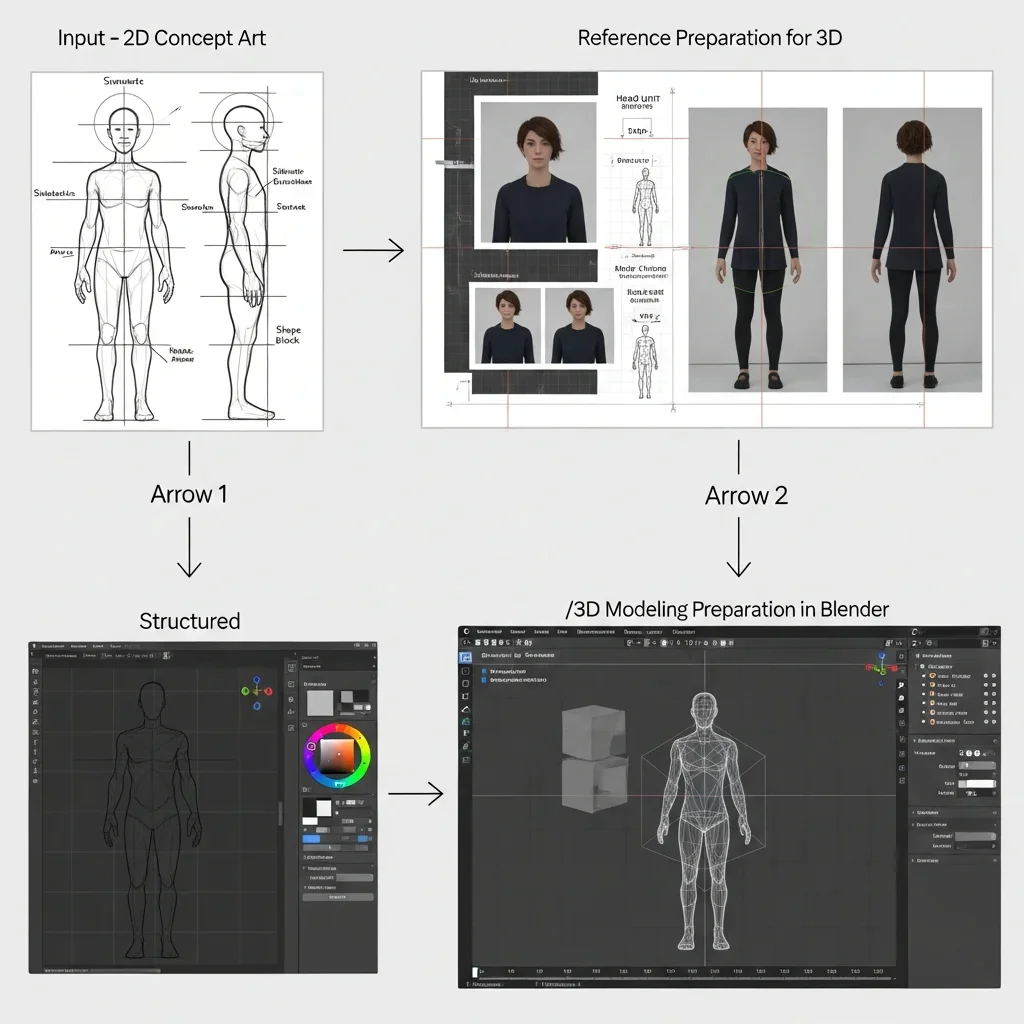
Start by importing your 2D concept art into Blender. Begin by organizing your project folder, ensuring that you have reference images, including the front and side views of your character. This will help you model accurately during the 3D process. Once you have everything organized, open Blender and create a new project by navigating to File > New > General.
The default scene will open with a cube, light, and camera. To start fresh, delete the cube by selecting it and pressing X, then do the same for the light and camera. This leaves you with a clean workspace.
Next, set up the reference images. Press Numpad 1 to switch to the front orthographic view. Then, go to Add > Image > Reference and import your front concept art. Afterward, press Numpad 3 to switch to the side view and add your side reference image by repeating the same steps: Add > Image > Reference.
Now, scale and position the images. Use G to move and S to scale both images until they fit well and are aligned at the same proportion. The references must be on the same level to ensure consistency. To make the process more precise, enable X-Ray (Alt + Z) and ensure the view is set to Orthographic (Numpad 5).
Finally, clean up your workspace by creating a collection titled Concept_Reference. Place both reference images into this collection to keep your scene organized. With your references in place, you’re ready to begin converting 2D images to 3D models and start modeling the base mesh and blocking out the 3D structure in Blender.
Step 2: Create Base 3D Model from 2D Design
After setting up your references, it’s time to start turning your 2D character into a 3D model. Begin by adding a basic cube mesh to the scene and positioning it at the center of your character. Scale and adjust the cube to roughly match the torso area from your front and side reference images. Enter Edit Mode (Tab), and use the G (Grab), S (Scale), and R (Rotate) keys to adjust the vertices, shaping the chest, waist, and hips to align with the proportions of your reference images.
Next, apply the Mirror Modifier to model only one half of the body, with Blender automatically mirroring the other half. This ensures symmetry as you work. Begin blocking out the full body by using Ctrl + R to add edge loops where necessary, refining the shape while keeping the mesh simple and clean. Move on to extending the model to form the arms and legs by selecting faces and extruding them (E). Shape the limbs, frequently checking both the front (Numpad 1) and side (Numpad 3) views for accuracy.
To make the alignment process easier, enable X-Ray mode (Alt + Z), which allows you to see the mesh through the reference images for better precision. At this stage, focus solely on getting the proportions and basic form right. Do not worry about adding any fine details yet. Your goal is to create a clean, well-proportioned base model that matches your 2D character design and is ready for further refinement.
Section 3: Refine Base Model and Adjust Topology
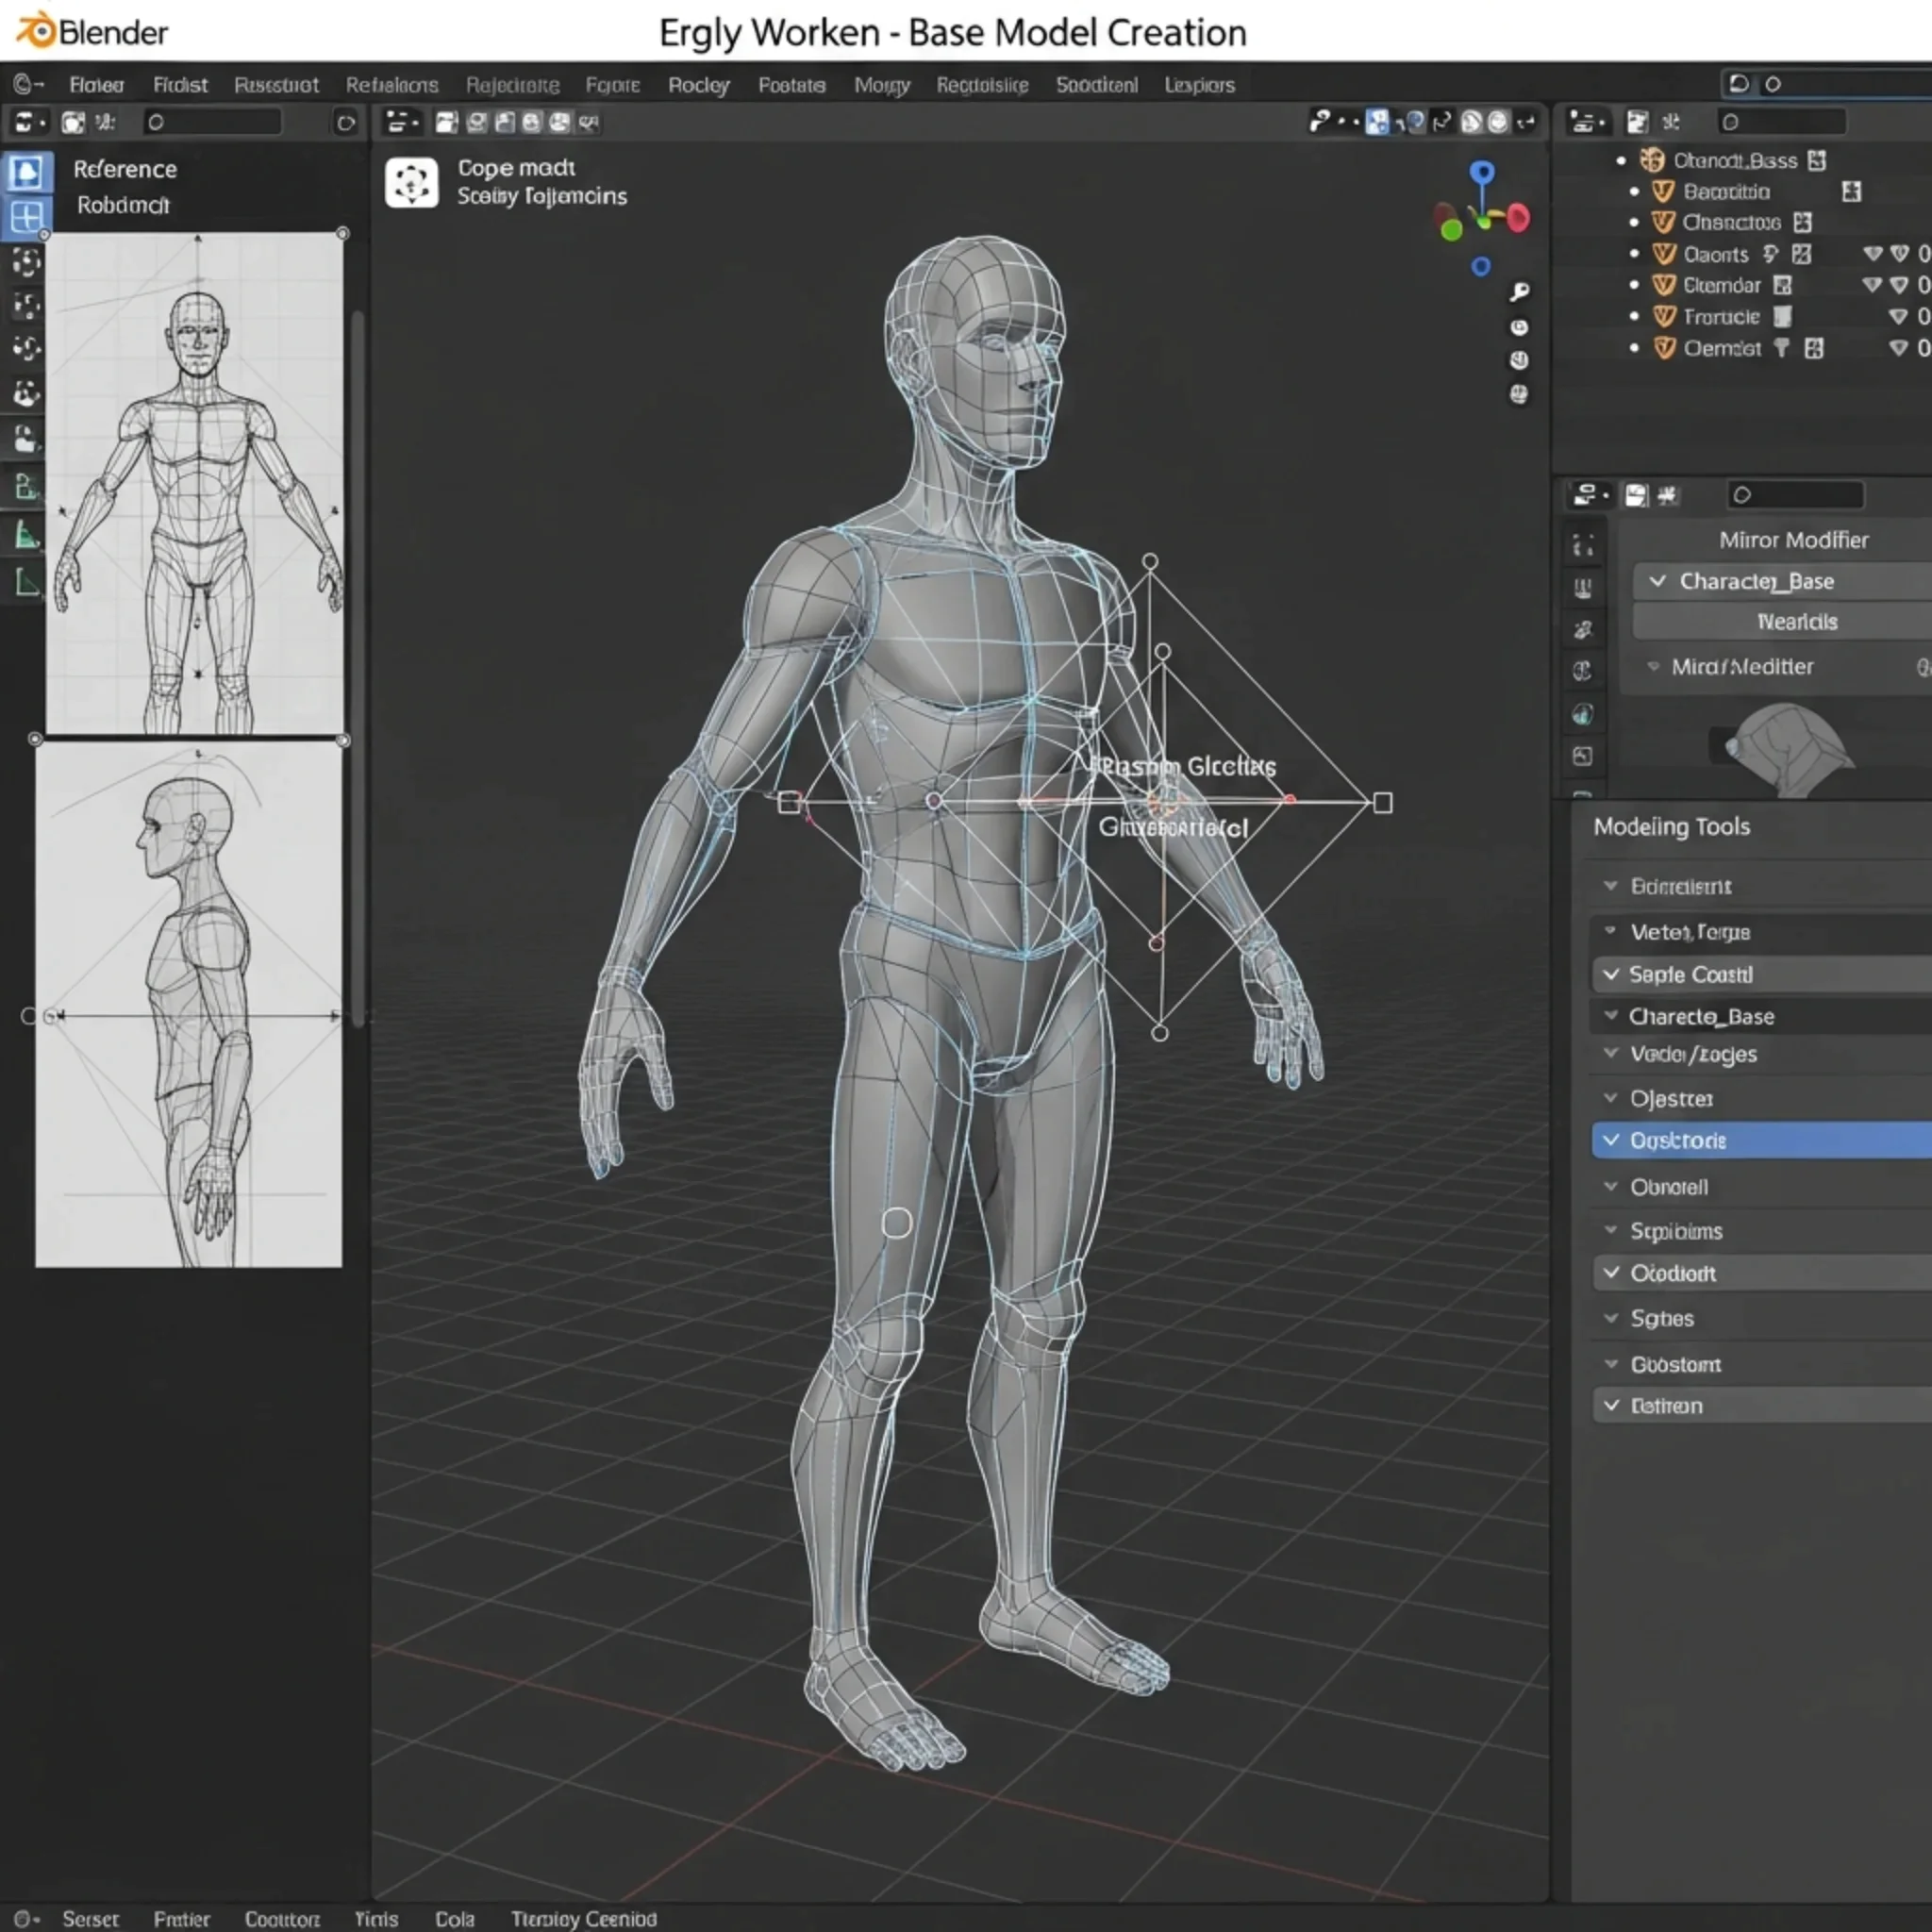
Once you complete the basic blocking of your model, it’s time to start modeling a 3D character and refining the shape to match your reference more accurately. At this stage, you already have a full human base mesh, so the focus shifts to cleaning up and adjusting the geometry. Use G (move), S (scale), and R (rotate) to adjust vertices, edges, and faces, refining the body’s proportions to better align with the reference images.
Begin by defining the major muscle groups, such as the chest, shoulders, arms, and legs. Keep the shapes simple yet clear, just as shown in the reference. Avoid over-detailing at this point; the goal is to improve the structure without adding unnecessary complexity.
Next, work on the edge flow (topology) of the model. Adjust edge loops to follow the natural body lines, especially around the joints like the shoulders, elbows, hips, and knees. This ensures smoother deformation when the model is rigged and animated later. Continue using the Mirror Modifier to maintain perfect symmetry while editing one side of the model, ensuring the centerline remains clean and aligned.
Switch between wireframe and solid views to get a better understanding of your mesh’s structure. Use X-Ray mode (Alt + Z) as needed to compare your model with the reference images placed on the side. As you refine the mesh, start paying attention to smaller areas like the hands, feet, and head shape. Keep the geometry evenly spaced and avoid adding too much detail, as this can complicate the model unnecessarily.
Section 4: Add Details Using Sculpting
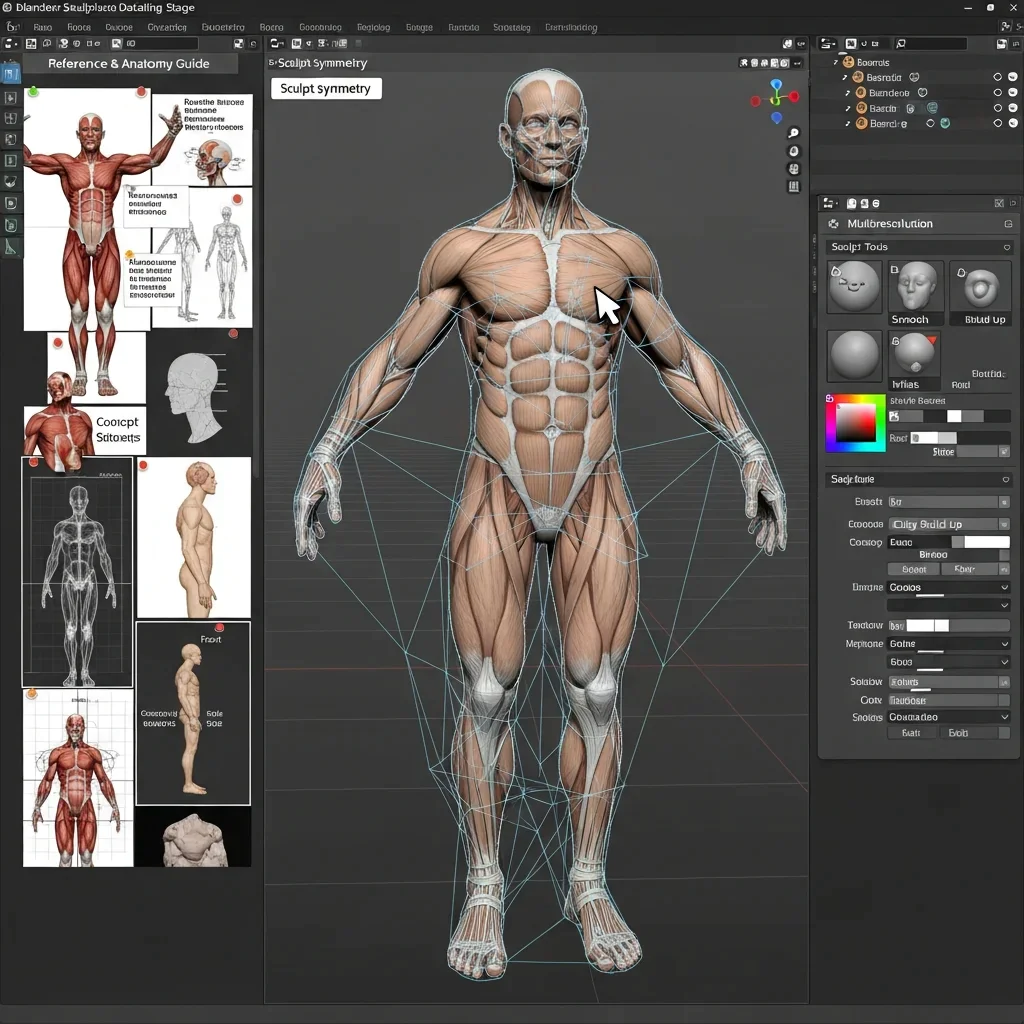
After refining the base model, switch to Sculpt Mode to start adding detailed anatomy to your character.
Select your model and change to Sculpt Mode from the top menu. Enable Symmetry (X-axis) so that all sculpting changes apply evenly to both sides of the body.
Now begin defining the muscles using sculpting brushes. Use brushes like Clay Strips, Draw, and Crease to build up and shape the major muscle groups. Focus on areas such as the chest, shoulders, arms, abdomen, and legs, as shown in the image.
Follow your anatomy references closely. Use the images placed on the side as a guide to correctly position muscles and understand how they flow across the body.
Gradually build up the muscle forms instead of adding too much detail at once. Adjust the strength and size of your brush to control how much detail you add.
Use the Smooth brush (Shift) to soften harsh areas and blend the muscles naturally into the body. This helps create a realistic and clean surface.
If needed, increase mesh resolution using tools like Subdivision or Multiresolution Modifier so you can add finer details without damaging the base structure.
Step 5: Character Retopology and Animation Setup
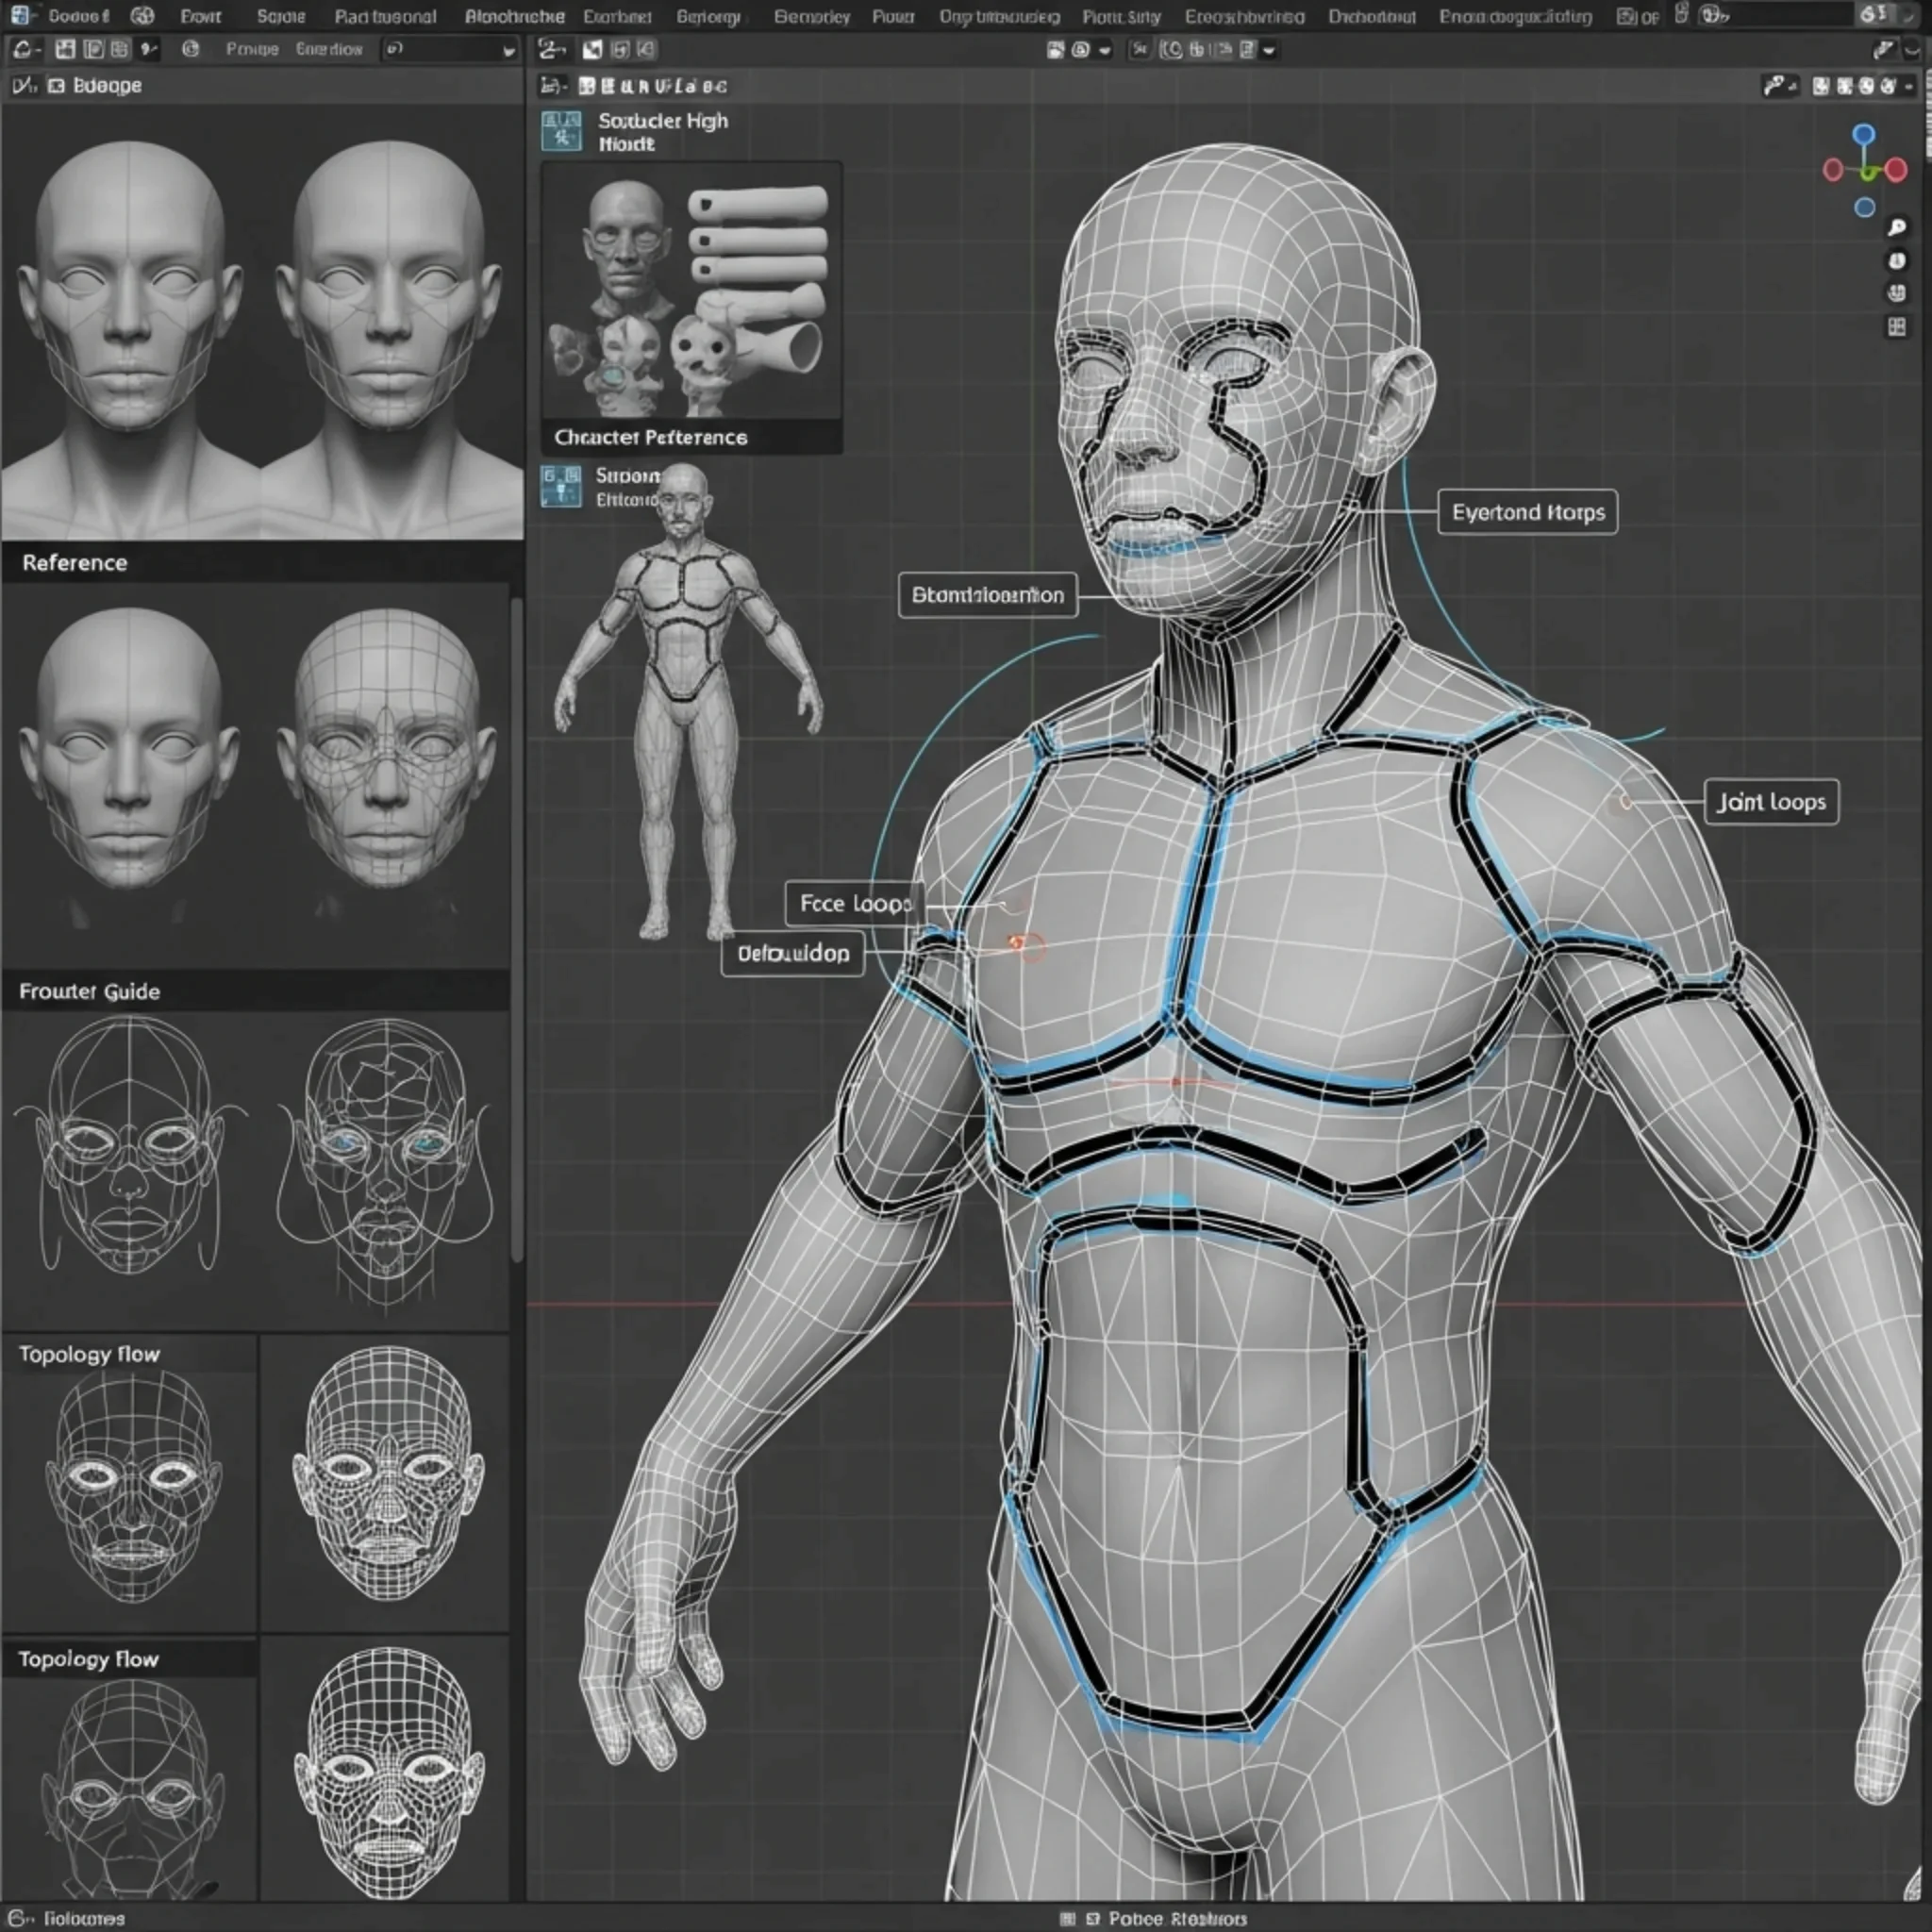
The character’s mesh has been retopologized to create a clean and optimized structure for animation. The wireframe highlights key loops and topology flow, including face loops, joint loops, and eyebrow loops, all crucial for smooth deformations during movement. These loops ensure that the character’s body moves naturally and avoids undesirable distortions such as stretching or pinching.
To animate this character, start by importing it into your scene via File > Import. Once imported, you can select all the bones by pressing A twice on the keyboard, speeding up the selection process. Next, switch to Animation View to begin positioning keyframes. Proper spacing between keyframes is essential for creating fluid and continuous motion, so make sure to adjust the timing accordingly.
In this example, animation adjustments might include slight movements of the head and mouth opening. Carefully key these movements to align with the character’s intended expressions. The retopology’s wireframe guides these animations, ensuring natural deformations while keeping the mesh intact.
Step 6: Rigging – Skeleton Setup in Blender
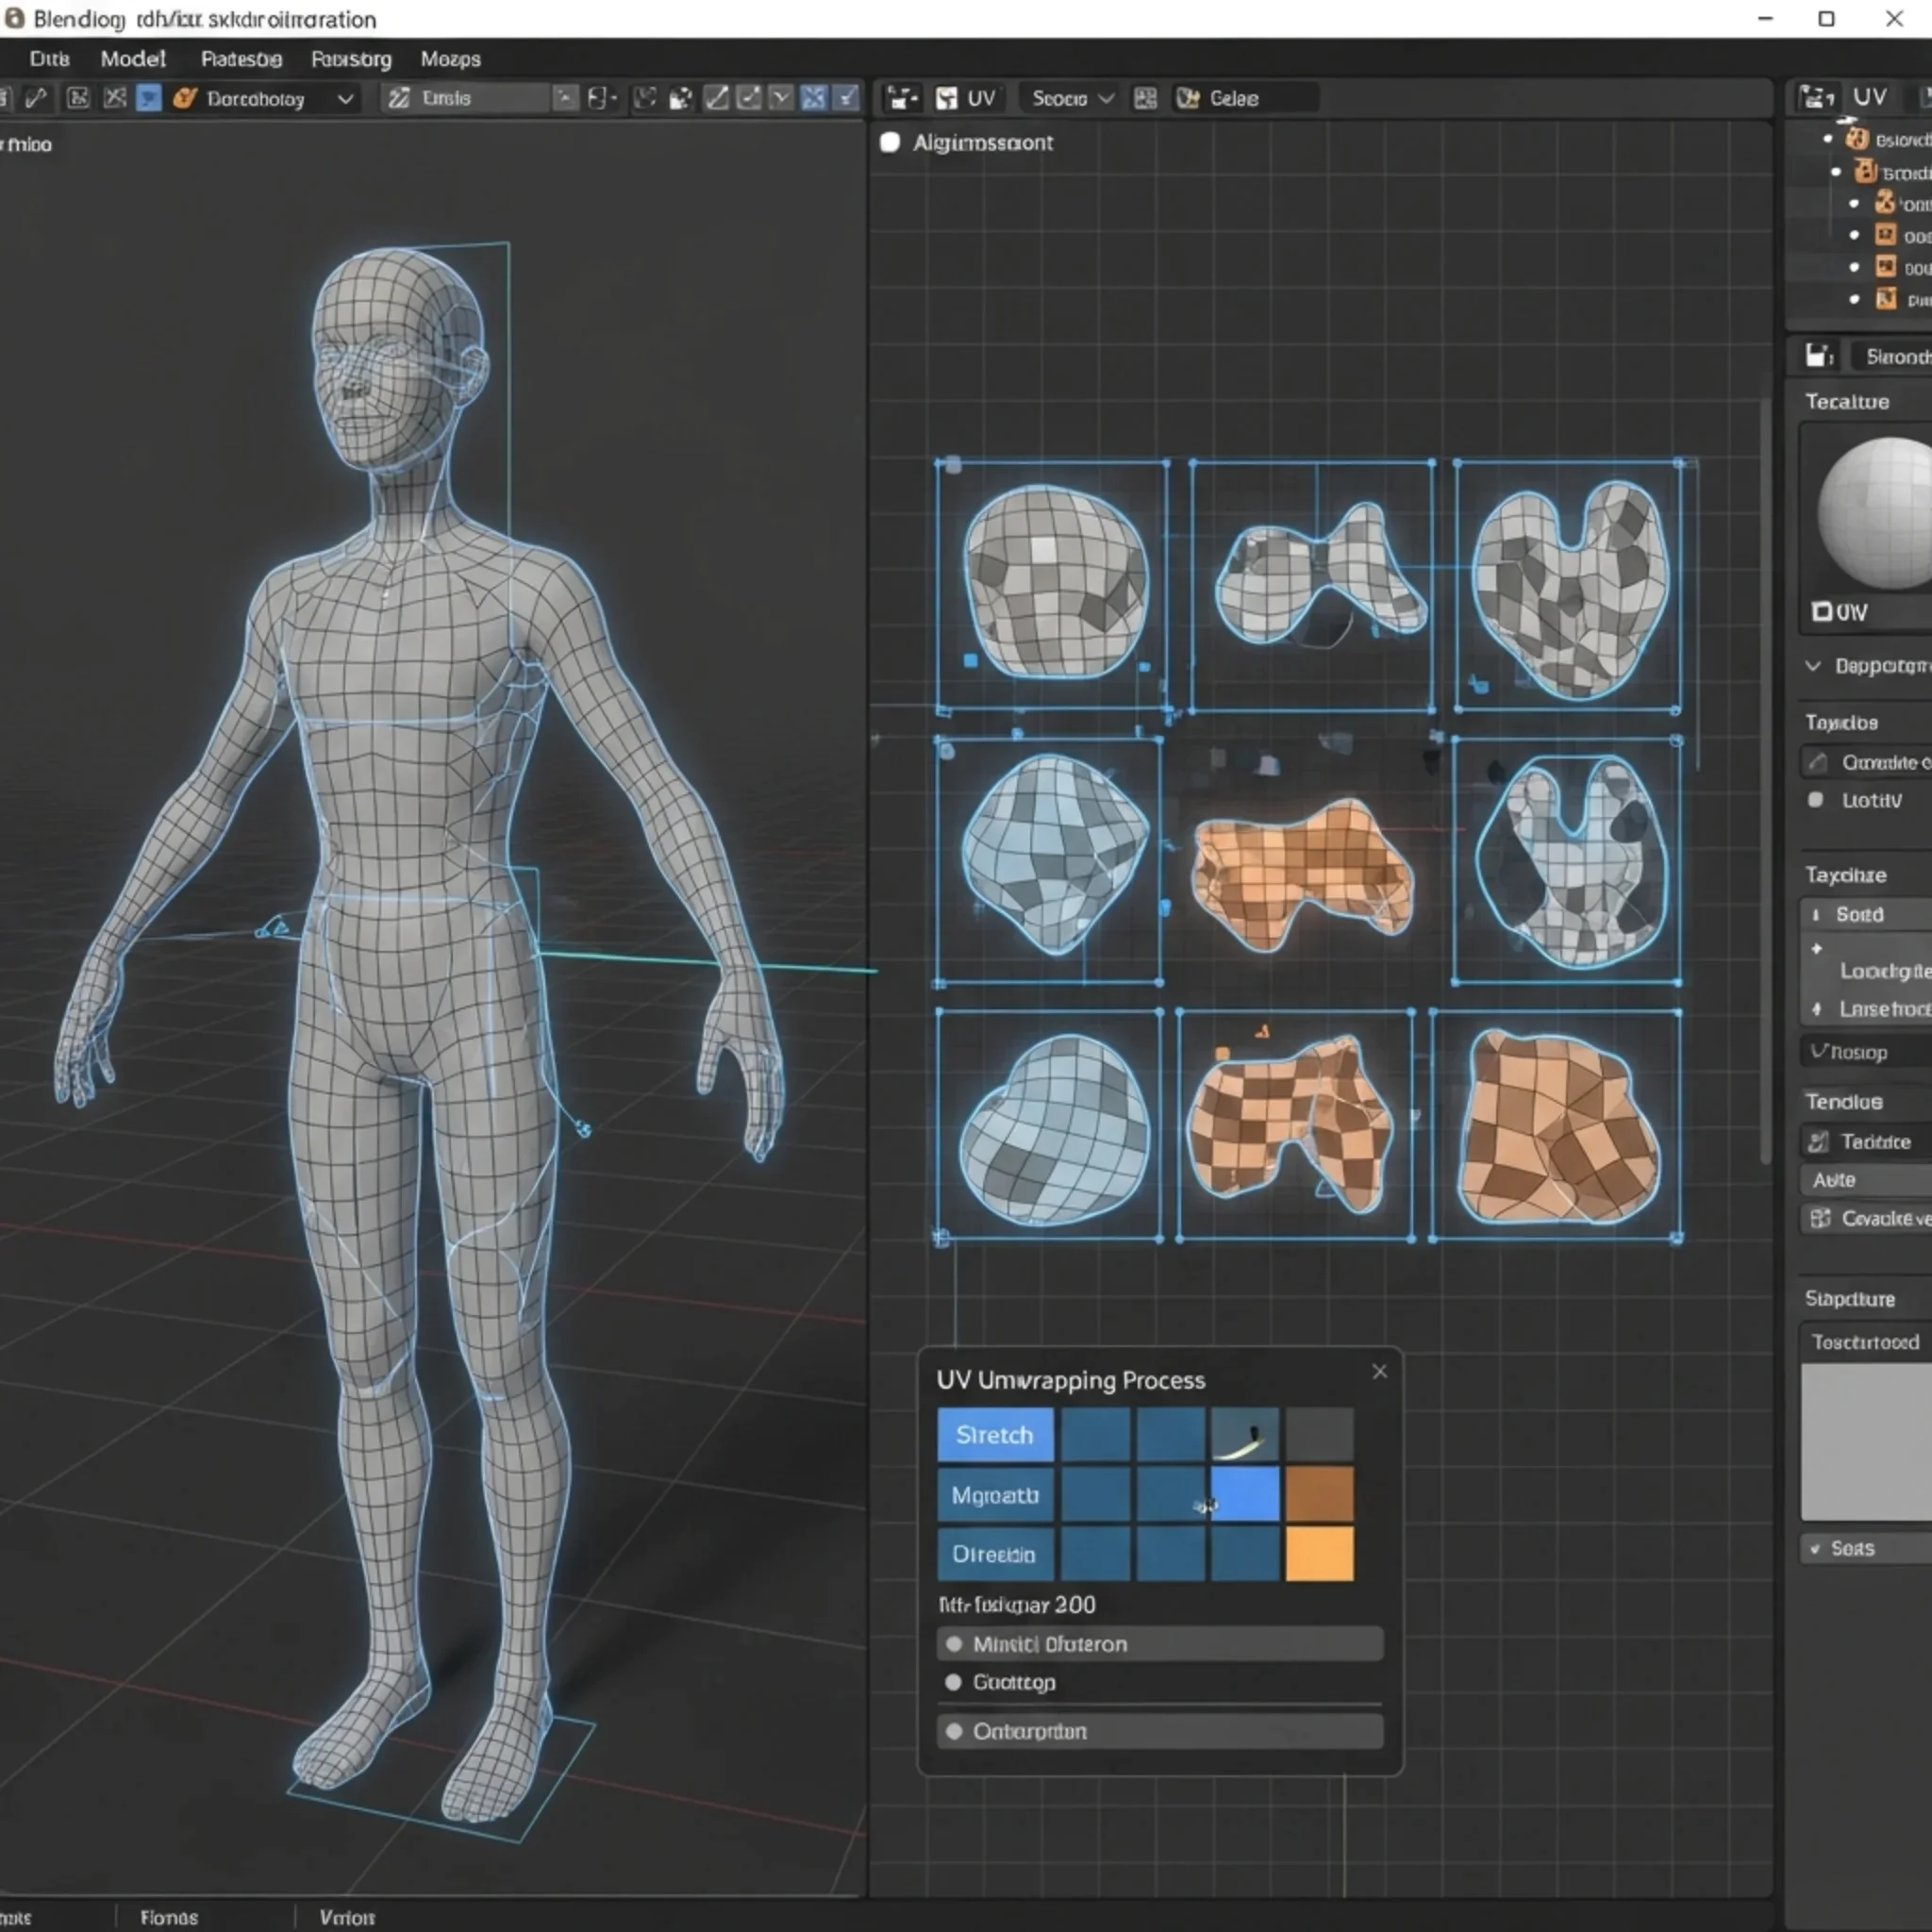
Before starting the 3D character rigging process, ensure your character model is properly UV unwrapped. This step is essential for accurate texturing and smooth deformation during animation. Begin by selecting your model in Edit Mode and unwrapping it. In Blender, the UV editor shows how the mesh is laid out in a 2D space, allowing you to adjust any stretching on the surface. Distorted areas will be highlighted by color gradients, and you can tweak the UV Stretch to minimize these issues, ensuring a clean and efficient texture map.
Once your model is correctly unwrapped, it’s time to set up the skeleton, or armature. Add the armature by pressing Shift + A, selecting Armature > Single Bone, and positioning the bone along your character’s joints. From there, extrude the bones to build the full skeleton, ensuring that each bone is aligned with the corresponding body part of your character.
After the armature is in place, switch to Pose Mode to move the bones and test their alignment with the mesh. Make sure the bones move the mesh as expected and adjust any misalignments. Once satisfied, proceed to skinning the mesh. Enter Weight Paint Mode to paint weights on the mesh, which determines how each bone affects the vertices.
STEP 7: Basic Animation Setup
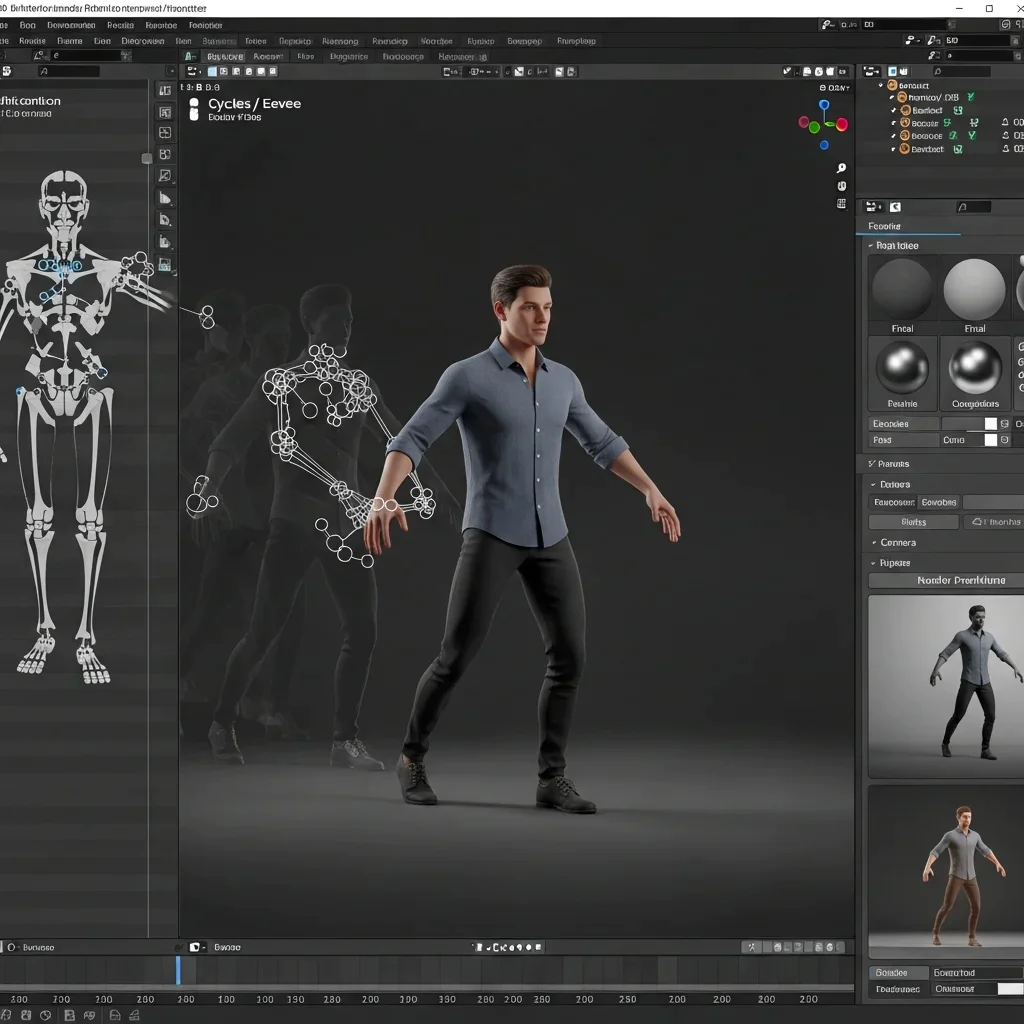
To complete the animation process in Blender, start by refining your keyframes. In Pose Mode, manipulate the bones of your rigged character, ensuring that keyframes are spaced appropriately for smooth, fluid motion. Preview your animation by playing it back and adjusting the timing as needed to ensure everything flows naturally.
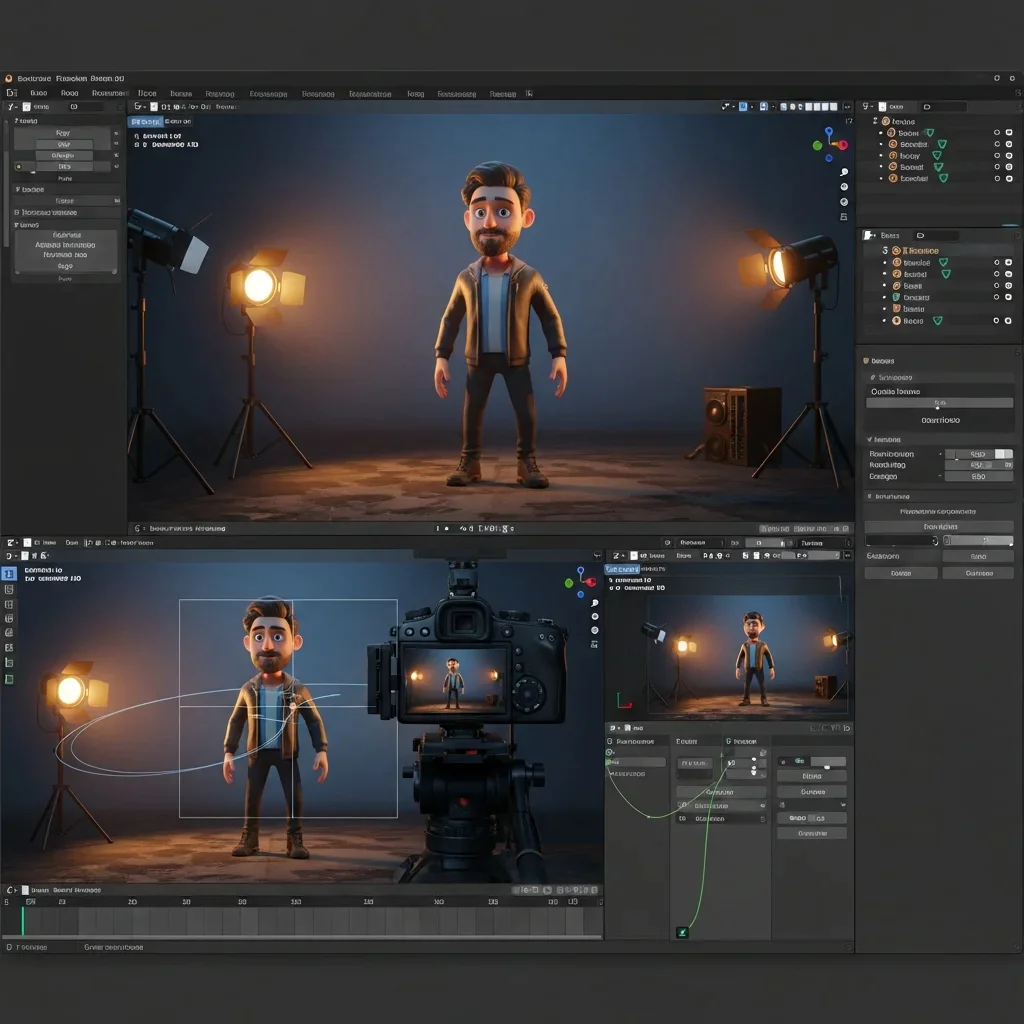
Once your animation is set, focus on lighting the scene effectively. Use three-point lighting: a key light, a fill light, and a backlight to create depth and natural illumination. Adjust the intensity and angle of the lights in the Lighting Panel to achieve the desired look and ensure the character is well-lit.
After setting up the animation and lighting, move on to the final render. Choose Cycles for realistic rendering or Eevee for quicker, less resource-intensive results. Adjust the resolution and output format in the render settings, then hit Render to generate the final image or video. Once the render is complete, review the scene to ensure everything looks correct. Finally, export the animation or stills for use in your project.
STEP 9: Render Final Animation
In this final step, you’ll render the completed animation. Start by previewing your scene in Viewport Shading to ensure everything is in place. Scrub through the Timeline to check the animation’s flow and timing. Make any necessary adjustments to the keyframes to ensure smooth movement.
Next, position the camera to properly frame your subject, ensuring that the character or object is clearly visible and well-centered. Adjust the focal length or depth of field for a more cinematic feel, adding visual appeal to your scene.
Check your lighting setup to ensure the intensity and color of the lights complement the scene. Make sure the shadows are soft and the highlights are positioned as intended. In the Render Settings panel, set your resolution, frame rate, and output file format. For high-quality rendering, choose Cycles, or opt for Eevee for faster, real-time rendering.
Once all settings are finalized, click Render Animation to begin the process. Blender will render the frames one by one, producing the final animation, which may take time depending on the complexity of your scene. After rendering is complete, you can use Post-Processing in Blender to fine-tune colors, add effects, or make additional adjustments before exporting the animation.
Common Mistakes to Avoid
When creating 3D characters and animations, avoiding common mistakes is key to achieving high-quality results.
Bad Topology
Bad topology is a frequent issue. If your mesh has poor edge loops or bad flow, it will deform incorrectly during animation. Make sure your mesh follows the natural lines of the body to allow smooth movement and rigging.
Ignoring Reference Images
Ignoring reference images can lead to inaccurate proportions and poor detail. Always use references to guide your work. They help maintain the correct proportions and ensure that your character stays true to the intended design.
Poor Rigging Setup
A poor rigging setup can cause problems with how your character moves. Incorrect bone placement or bad weight painting can result in unnatural deformations. Take the time to set up the rig properly to avoid these issues.
Over-Detailed Mesh Too Early
Adding too much detail too early complicates the process. Focus on the basic structure and proportions first. Once those are solid, you can add finer details without overcomplicating the mesh
Tools Used in 2D to 3D Workflow
Moving from 2D to 3D modeling requires the right tools to ensure a smooth and efficient process.
Blender is one of the most popular tools for 3D modeling, offering a full range of features from modeling and sculpting to animation. In Sculpt Mode, you can add fine details to your character, while Edit Mode helps refine the mesh. Blender’s Mirror Modifier ensures symmetry, making it easier to work on both sides of the model.
ZBrush is another key tool used for sculpting detailed characters. It offers advanced brushes and can handle complex meshes, making it perfect for organic shapes like faces and muscles. ZBrush is widely used in combination with other software for texturing and rigging.
For texturing, Substance Painter allows you to paint directly on 3D models. It helps create realistic details like scratches, dirt, and wear, making your model look more lifelike.
When it comes to rigging, Maya stands out for its advanced rigging tools and animation features. It’s ideal for setting up bone structures and animating characters, offering flexibility for complex setups.
Marvelous Designer is the go-to tool for creating realistic clothing and fabric simulations. It allows you to design detailed garments that can be imported into 3D software for further refinement.
How IT-S Can Help You Turn Your 2D Character into a 3D Model?
IT-S specializes in transforming your 2D concept art into a fully rigged 3D model. With over 2000 satisfied clients, we bring your ideas to life with precision and creativity. Our process ensures your model is not only detailed but also ready for animation with expert rigging.We offer ISO 27001 Certified BPO Services, ensuring your project is in safe hands. Get started with a free consultation to discuss your needs and receive an accurate estimate. Ready to bring your 2D designs to life? Request a free quote today!
