How To Do Texturing And Shading For 3D Models
Creating 3D models is an incredibly rewarding experience requiring much skill and creativity. However, even the most intricate and detailed models can only fall flat with proper texturing and shading. Texturing and shading are two essential elements of 3D modeling that can make or break the outcome of your project. If you’re new to 3D modeling, the process of texturing and shading may seem daunting, but by opting right techniques and tools, you can create stunning and lifelike models. This blog post will cover the basics of texturing and shading for 3D models. We’ll discuss the different types of textures, such as diffuse, specular, normal, and displacement maps, and how to create them. We’ll also delve into the various shading models, including Phong, Blinn-Phong, and physically-based rendering, and how to apply them to your models. By the end of this blog post, you’ll have a solid understanding of how to texture and shade your 3D models to bring them to life. So let’s get started!
The Basics of Texturing and Shading for 3D Models
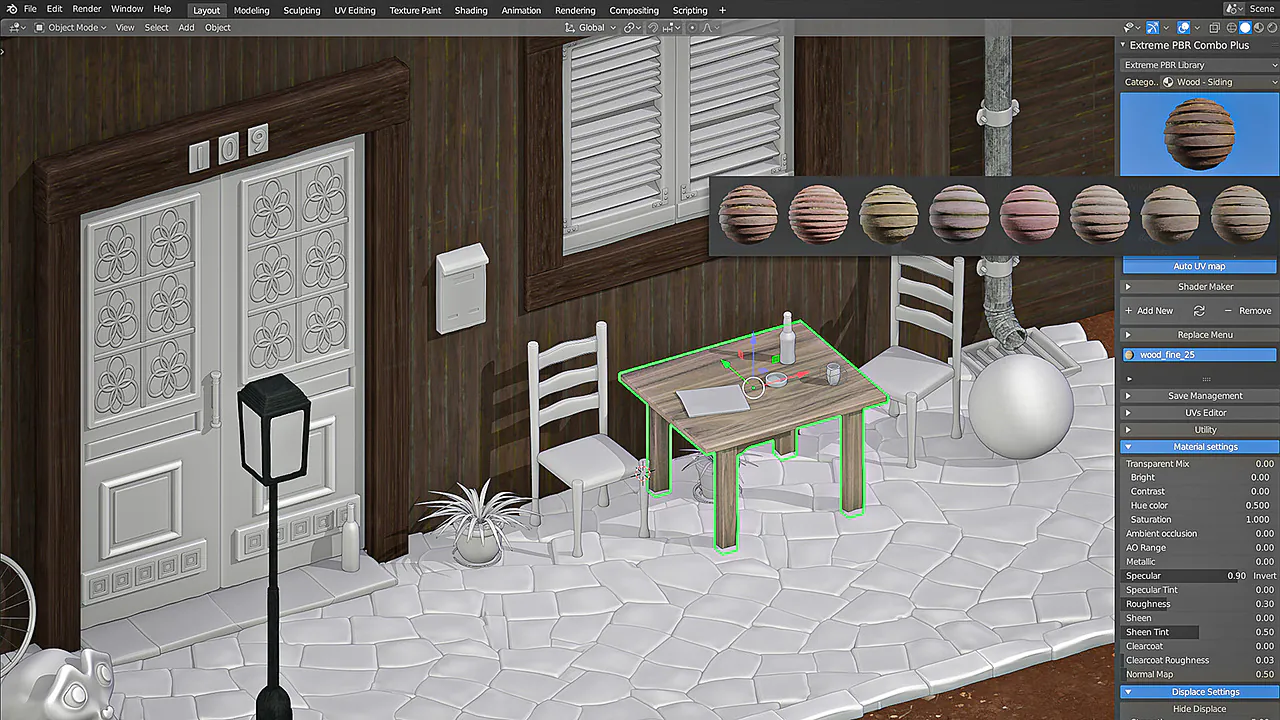
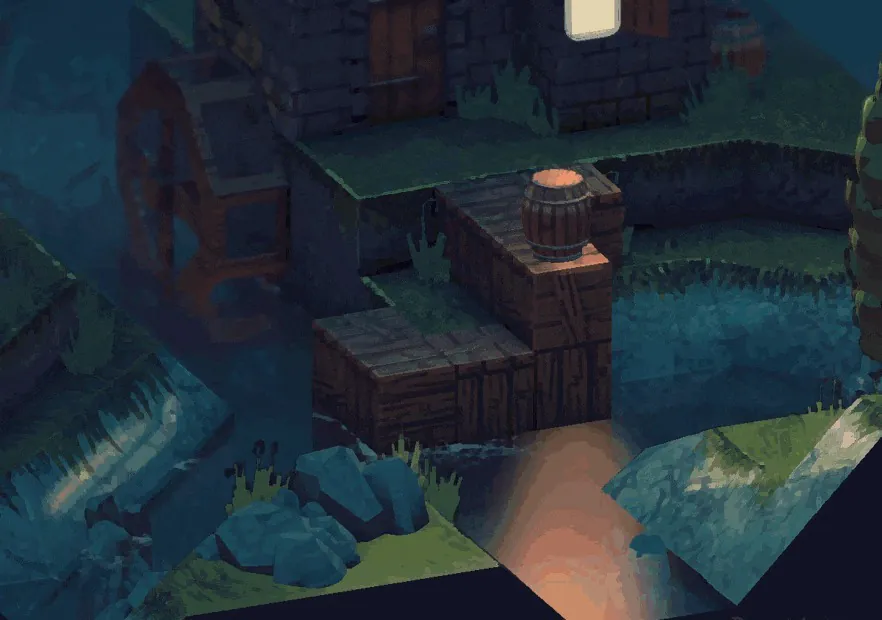
Texturing and shading are two essential elements of 3D modeling that can bring your creations to life. Texturing adds detail and color to your models while shading controls how light interacts with the model’s surface.
Different Types of Textures and How to Create Them:
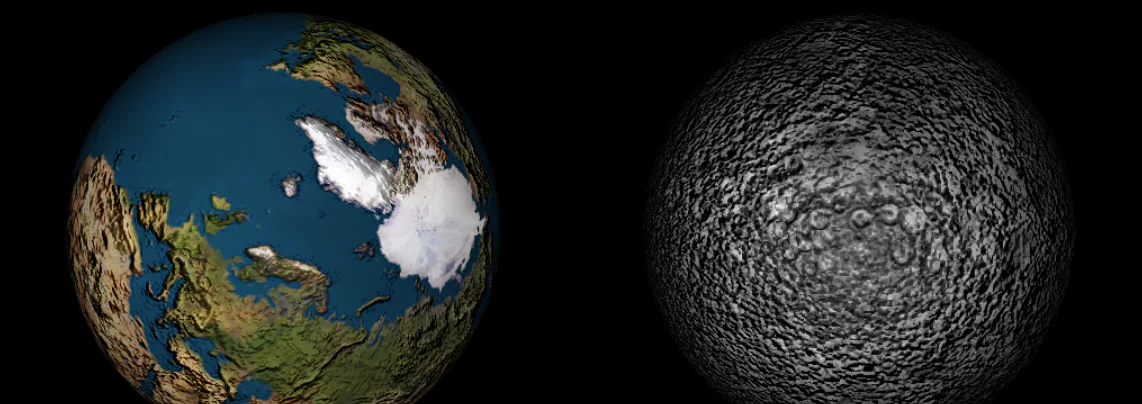
Textures are essential for adding visual detail to 3D models. Several textures are commonly used in 3D modeling, including diffuse, specular, normal, and displacement maps.
Diffuse Map:
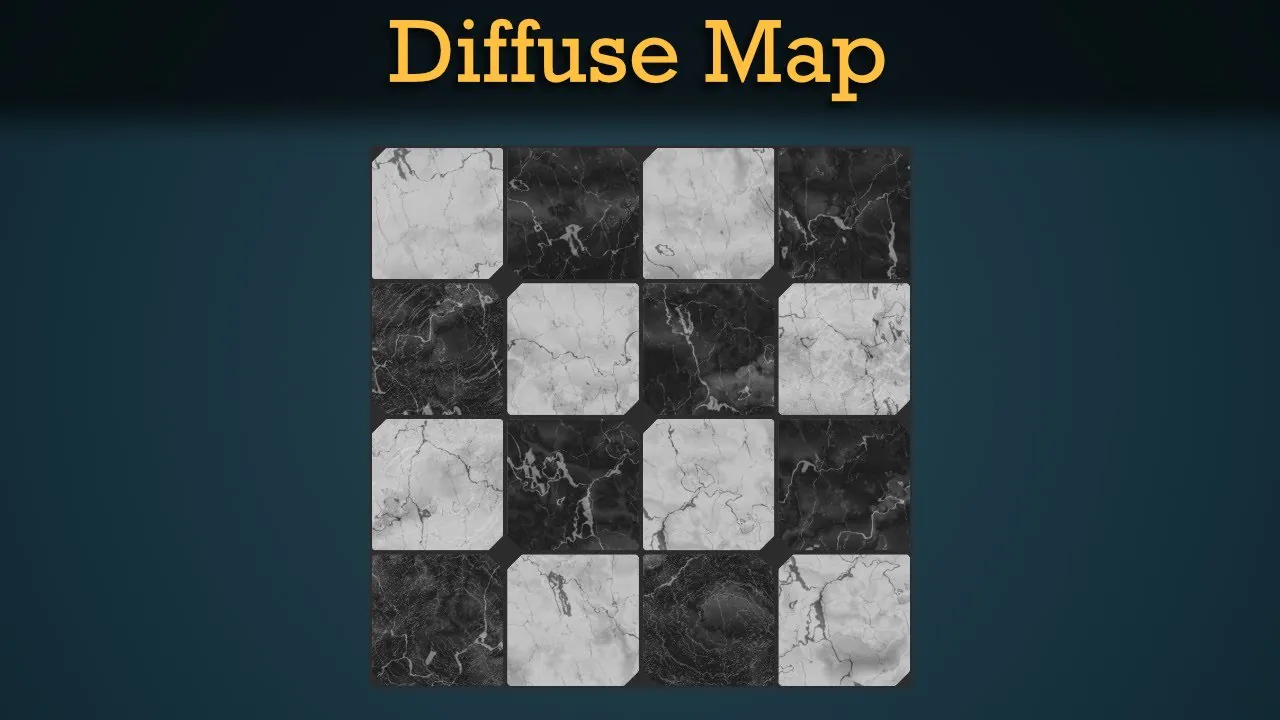
A diffuse map is a most basic and commonly used texture. It adds color and texture to a model’s surface and simulates its material. It is also known as the Albedo Map. You can use image editing software like Photoshop or GIMP to create a diffuse map. Here are the steps to create a diffuse map:
Create a new image with the same dimensions as your 3D model’s UV map.
Paint the desired colors and textures onto the image.
Save the image as a PNG or JPEG file.
Apply the texture to your 3D model using the UV map.
Specular Map:
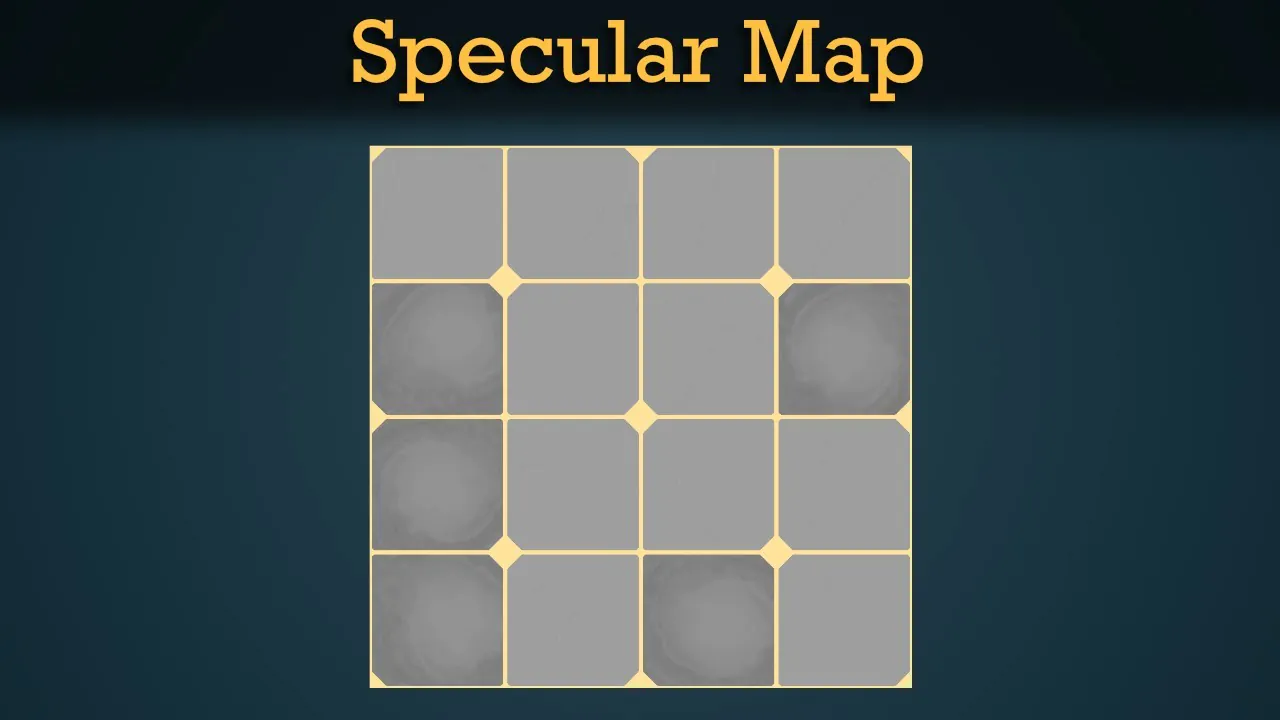
A specular map controls the amount of light reflected from a model’s surface. It stimulates the shininess or reflectiveness of the material. To create a specular map, you can follow these steps:
Create a new image with the same dimensions as your 3D model’s UV map.
Paint the specular highlights onto the image. Specular highlights are areas where the material reflects the most light.
Save the image as a PNG or JPEG file.
Apply the texture to your 3D model’s material settings.
Normal Map:
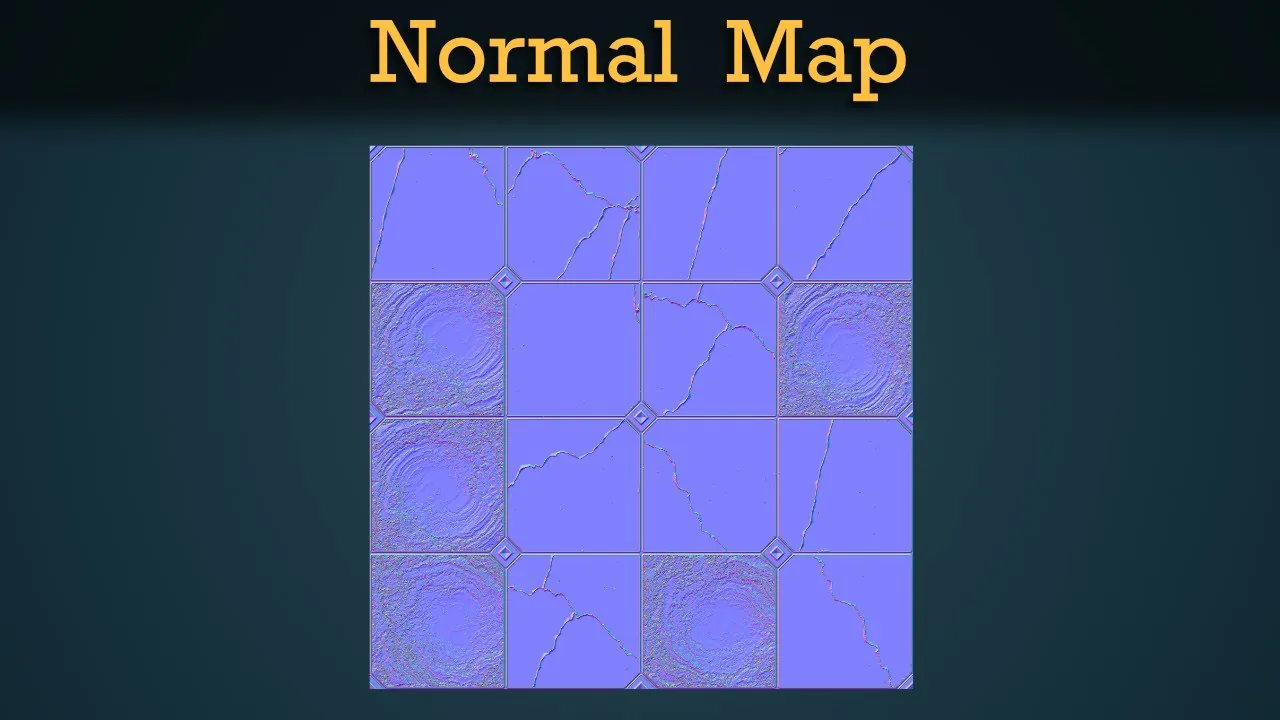
A normal map adds surface detail to a model by simulating bumps, grooves, and creases on the surface. It is commonly used in game development to add detail without increasing the model’s polygon count. To create a normal map, you can use specialized software like Substance Painter or xNormal. Here are the steps:
Import the 3D model into the software.
Create a low-polygon model of the same shape as the original model.
UV unwrap both models.
Bake the normal map from the high-polygon model to the low-polygon model.
Save the normal map as a PNG or TGA file.
Apply the normal map to the model’s material settings.
Displacement Map:
A displacement map adds height and depth to a model’s surface, creating a more detailed and realistic look. It can be created in the same way as a normal map, but it requires a higher polygon count to achieve more detail. Here are the steps to create a displacement map:
Create a high-polygon model of the same shape as the original model.
UV unwrap the high-polygon model.
Create a displacement map from the high-polygon model.
Save the displacement map as a 16-bit TIF or PSD file.
Apply the displacement map to the model’s material settings.
Various Shading Models and How to Apply Them to Your Models:
Shading models are used to simulate the way light interacts with the surfaces of 3D models. Different shading models have different strengths and weaknesses, and choosing the right one can significantly impact the final look of a 3D scene. Three common shading models are:
Phong Shading Model: The Phong shading model was introduced in the 1970s by Bui Tuong Phong. It is a simple model that calculates the color of a pixel based on the angle between the viewer and the surface normal, the angle between the light and the surface normal, and the specular exponent. The Phong model produces sharp highlights and can make a model look plasticky or metallic. Here are the steps to apply Phong shading to a model:
Define the surface normals of the model.
Define the position of the light source.
Calculate the angle between the surface normal and the light source.
Calculate the angle between the surface normal and the viewer.
Calculate the reflection vector.
Calculate the specular and diffuse lighting values.
Apply the lighting values to the model.
Blinn-Phong Shading Model: The Blinn-Phong shading model was introduced in the 1970s by Jim Blinn and extends the Phong model. It replaces the specular exponent with a specular power parameter, which is less sensitive to small changes in the surface normal. The Blinn-Phong model produces softer highlights than the Phong model and is faster to compute. Here are the steps to apply Blinn-Phong shading to a model:
Define the surface normals of the model.
Define the position of the light source.
Calculate the half-angle vector.
Calculate the specular and diffuse lighting values.
Apply the lighting values to the model.
Physically Based Rendering (PBR): PBR is a modern shading model that aims to simulate the behavior of light in the real world. It considers the physical properties of the surface material, such as reflectance, roughness, and metalness, and the properties of the light source, such as intensity and color. PBR produces realistic and accurate results and is widely used in game development and film production. Here are the steps to apply PBR shading to a model:
Define the surface normals of the model.
Define the position of the light source.
Define the material properties, such as roughness and metalness.
Calculate the specular and diffuse lighting values based on the surface material and light source properties.
Apply the lighting values to the model.
Techniques to Apply Textures and Shading Models:
Now that we’ve covered the basics of textures and shading models let’s discuss some techniques for applying them to your models:
UV Mapping: UV mapping is the unwrapping of a 3D model’s surface onto a 2D plane so that textures can be applied accurately. The process involves selecting seams in the model and then flattening the surface onto a 2D plane. UV mapping can be done manually or using specialized software like Blender or Maya.
Texture Painting: Texture painting involves painting directly onto a model’s surface using software like Substance Painter or Blender’s texture paint mode. It’s an excellent way to add intricate details and surface textures to your models.
Normal Mapping: Normal mapping uses a normal map to add surface detail to a model. Normal maps simulate bumps and creases on a model’s surface by manipulating how light reflects off the surface. Normal mapping is a popular game development technique for creating more detailed and realistic models.
The Basic Steps to Do Texturing and Shading for 3D Models:
Here are the basic steps to follow when texturing and shading your 3D models:
UV Mapping: The first step in texturing a 3D model is to create a UV map, a 2D representation of the 3D model’s surface. This step involves unwrapping the 3D model and flattening it onto a 2D plane to be painted or textured.
Texture Creation: Once you have a UV map, you can create textures. Many types of textures exist, including diffuse, specular, displacement, and normal maps. Each type of texture serves a different purpose and can be created using different software, such as Photoshop or Substance Painter.
Material Creation: Besides textures, 3D models also need materials that define how light interacts with their surfaces. You can create materials using a shader editor, such as the one found in Blender or Unity. Materials can be based on a specific texture, or they can be procedural, which means that they are generated mathematically rather than based on an image.
Lighting Setup: Once you have your textures and materials in place, it’s time to set up the lighting for your 3D scene. The type and placement of the lights will affect how the textures and materials appear on the model’s surface. You can use directional, point, or area lights to create different lighting scenarios.
Shading: Finally, it’s time to apply the shading model to your 3D model. As discussed earlier, there are several different shading models to choose from, each with its strengths and weaknesses. Choose the best fit for your project and apply it to your model.
Conclusion
To conclude, texturing and shading are crucial steps in creating realistic 3D models. Following the steps and techniques mentioned in this blog, you can create detailed, textured, and well-shaded 3D models that look realistic and professional. It takes time and practice to master texturing and shading, but with patience and persistence, you can create stunning 3D scenes that capture the imagination of your audience.
