How to Do 3D Product Rendering : Step-by-Step Workflow Explained
A realistic 3D product render can make the difference between a product that gets noticed and one that gets ignored. Yet many beginners spend hours adjusting models, materials, and lighting only to end up with images that still look artificial. Learning how to do 3D product rendering isn’t about using expensive software, it’s about understanding the techniques that create believable, professional-quality visuals.
Every detail matters. Lighting shapes the mood, materials determine realism, and camera composition influences how people perceive your product. Even a well-modeled object can lose its impact when one of these elements is off.
Whether you’re a beginner, freelancer, product designer, marketer, or business owner, developing this skill helps you create compelling visuals for eCommerce, advertising, product launches, and client presentations. Once you understand the fundamentals behind realistic rendering, producing high-quality product images becomes a structured process instead of trial and error.
What Is 3D Product Rendering?
3D product rendering is the process of transforming a digital 3D model into a photorealistic image using specialized rendering software. It recreates real-world lighting, materials, shadows, reflections, and camera settings to produce visuals that closely resemble professional product photography.
Instead of photographing a physical product, designers create and refine it in a digital environment. They apply materials such as metal, plastic, glass, or fabric and adjust lighting to achieve the desired look. Every element influences the final image, from surface textures to the way light interacts with the product.
Businesses use 3D product rendering to create visuals for eCommerce stores, advertising campaigns, product launches, packaging, and industrial design projects. The process helps brands showcase products before manufacturing, test design variations, and produce high-quality marketing assets without the cost and limitations of traditional photoshoots.
3D Product Rendering vs. Product Photography
Both 3D product rendering and product photography create product visuals, but they use different approaches. Product photography captures images of a physical product using a camera, studio lighting, and real-world equipment. In contrast, 3D product rendering creates photorealistic images from a digital 3D model inside specialized software.
The biggest difference is flexibility. Product photography often requires a new photo shoot to change colors, angles, backgrounds, or product details. With 3D rendering, designers can make these adjustments digitally without recreating the entire setup. This makes it easier to visualize product variations, update designs, and create marketing assets before manufacturing begins.
| Feature | 3D Product Rendering | Product Photography |
|---|---|---|
| Product | Digital 3D model | Physical product |
| Flexibility | Easy to edit and update | Requires reshoots |
| Best For | Product concepts, eCommerce, multiple variations | Existing products and real-life photography |
| Cost Over Time | Lower for frequent changes | Higher due to repeated shoots |
Both methods have their place, but businesses often choose 3D product rendering when they need greater creative control, faster revisions, and scalable product visualization.
Where 3D Product Rendering Is Used
Businesses use 3D product rendering across many industries to create realistic product visuals before or after manufacturing.. Its flexibility makes it a valuable solution for marketing, product development, and brand communication.
- eCommerce product images: Create consistent, high-quality visuals for online stores and product catalogs.
- Amazon listing images: Showcase products from multiple angles and highlight features with photorealistic renders that help listings stand out.
- Website banners: Design eye-catching hero banners and promotional graphics without organizing new photoshoots.
- Packaging previews: Visualize packaging designs, labels, and finishes before printing to identify design issues early.
- Product design presentations: Present concepts and prototypes to clients, stakeholders, or investors before production begins.
- Advertising campaigns: Produce high-quality visuals for digital ads, print campaigns, and promotional materials.
- Social media creatives: Create engaging product images for social media posts, product launches, and seasonal campaigns.
- Crowdfunding visuals: Showcase product concepts for platforms like Kickstarter or Indiegogo, even before a physical prototype is available.
From online stores to marketing campaigns, 3D product rendering helps businesses create professional visuals faster, reduce production costs, and maintain a consistent brand identity across every platform.
Why 3D Product Rendering Is Important
3D product rendering has become an essential part of product visualization because it helps businesses create realistic product images without relying on traditional photoshoots. Brands can present products before manufacturing, reduce marketing costs, and produce consistent visuals across every platform.
It also improves the product development process. Designers can review concepts, test materials, and identify design issues early, reducing costly revisions before production begins. This saves both time and resources while helping teams make better design decisions.
For marketing, 3D rendering delivers the flexibility to create multiple product variations, experiment with different lighting and camera angles, and update visuals without scheduling another photo shoot. Businesses can reuse the same 3D model for eCommerce stores, advertising campaigns, social media, and product launches, ensuring a consistent brand identity.
As customer expectations continue to rise, 3D product rendering enables businesses to create high-quality visuals faster, launch products with confidence, and adapt their marketing assets as products evolve.
Benefits for Designers
3D product rendering helps designers test shapes, materials, colors, and product variations before manufacturing. They can refine concepts, identify design issues early, and present realistic product visuals without creating multiple physical prototypes. This speeds up the design process and improves decision-making.
Benefits for Businesses
Businesses use 3D product rendering to create professional product visuals before the final product is ready. It reduces photography costs, supports faster product launches, and makes it easy to update images or showcase multiple product variations while maintaining consistent branding.
Benefits for Marketing
Marketing teams use 3D product rendering to create high-quality visuals for social media ads, website banners, advertising campaigns, eCommerce listings, and lifestyle scenes. It enables faster campaign production, consistent branding, and eye-catching product visualization across every marketing channel.
Best Software for 3D Product Rendering
Choosing the right software depends on your experience, budget, and project requirements. Some tools are ideal for beginners learning the basics, while others are built for professional product visualization and commercial workflows.
Below are three of the best 3D product rendering software options. Each offers unique features and is suited to different users, helping you choose the right tool for your rendering workflow.
Blender Product Rendering
Blender is a free, open-source 3D software that supports the complete product rendering workflow, from modeling to final rendering. Its Cycles rendering engine uses path tracing, PBR materials, HDR lighting, and GPU/CPU rendering to produce photorealistic product images. Because it combines powerful features with no licensing cost, Blender is one of the most popular choices for learning and creating professional-quality product renders.
Best for:
- Beginners
- Freelancers
- Students
- Low-budget projects
- End-to-end 3D product rendering workflows
KeyShot Product Rendering
KeyShot is a professional 3D rendering software known for creating photorealistic product visuals quickly. It integrates seamlessly with CAD software, allowing designers to convert product models into high-quality renders with minimal setup. Its real-time rendering workflow makes it a popular choice for product visualization, engineering, and marketing teams.
Best for:
- Industrial designers
- Product designers
- Fast photorealistic renders
- CAD-based product visualization
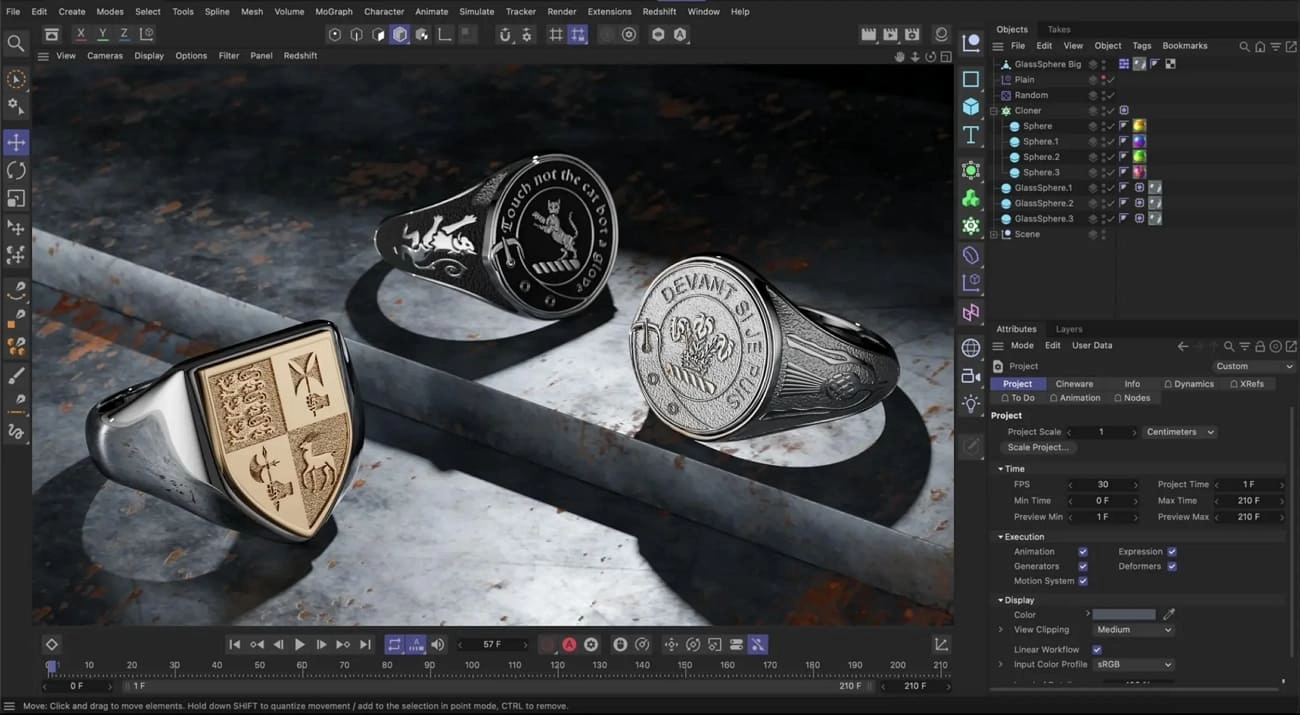
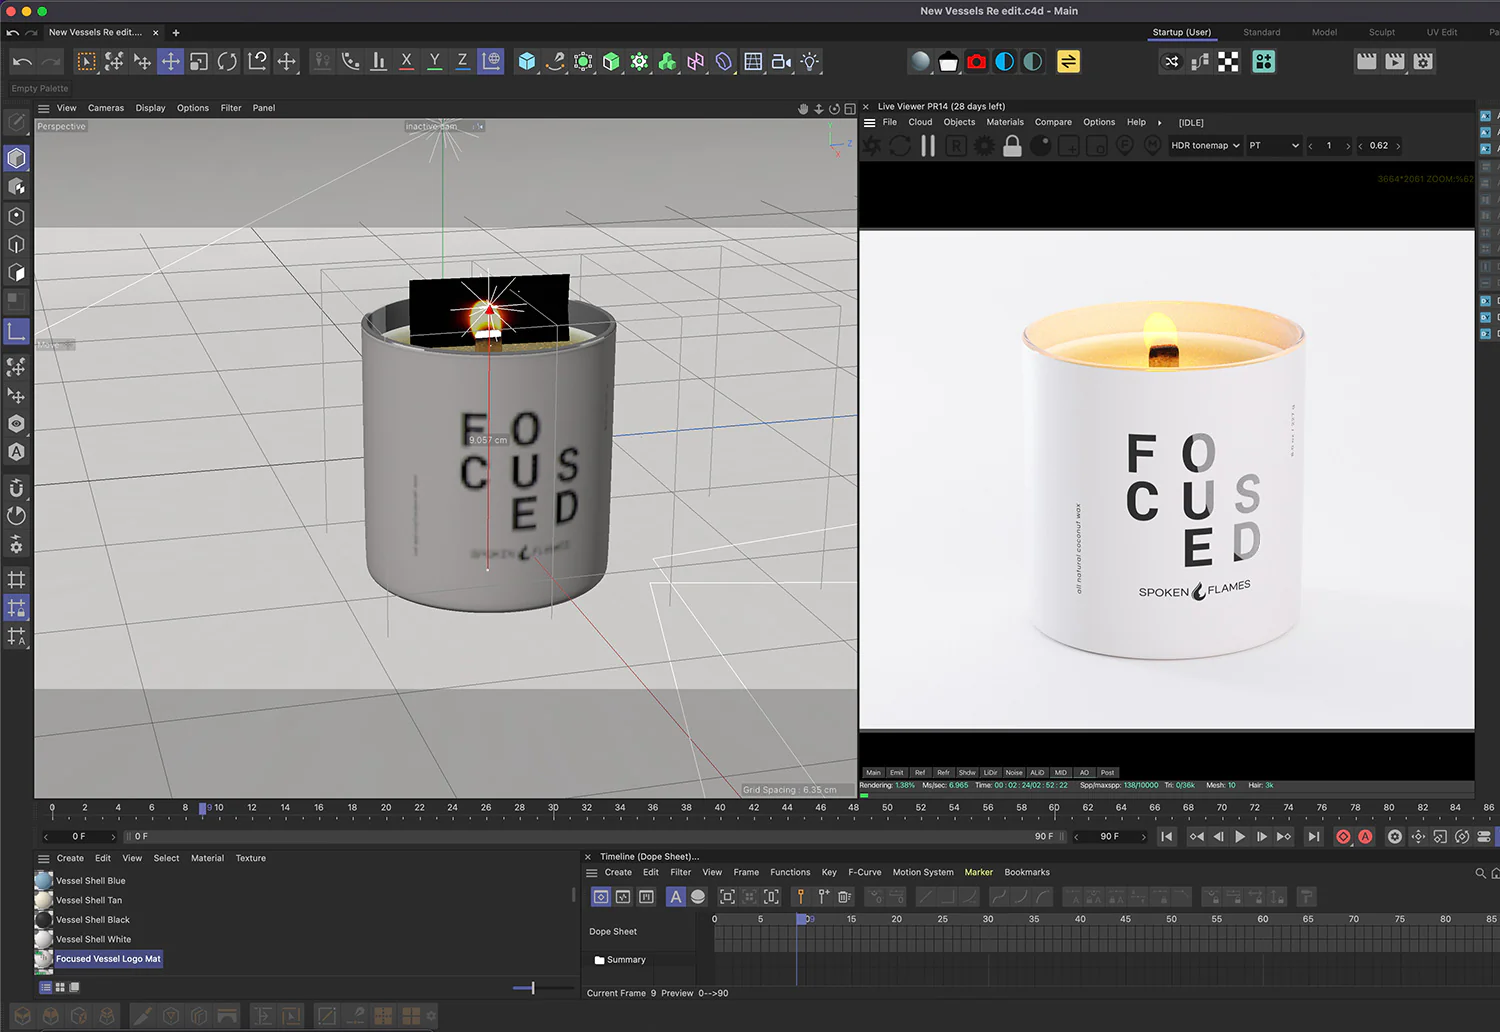
Cinema 4D Product Rendering
Cinema 4D is a professional 3D software used for modeling, animation, simulation, and product rendering. It offers powerful tools for creating photorealistic visuals, motion graphics, and CGI content, making it a preferred choice for commercial advertising and advanced product visualization projects.
Best for:
- Motion graphics
- Product animation
- CGI advertising
- Advanced product visualization
Which Software Should Beginners Choose?
If you’re new to 3D product rendering, Blender is the best software to start with. It is free, feature-rich, and provides everything you need to model, texture, light, and render products in one application. As your skills grow, you can explore tools like KeyShot for faster CAD-based rendering or Cinema 4D for product animation and commercial CGI projects.
Complete Product Rendering Workflow
Step 1: Understand the Product Brief
Before opening Blender or any other 3D software, gather everything you need for the project. Create a folder for your render and collect the product information in one place.
- Identify the product you will render.
- Collect reference images from different angles.
- Note the product dimensions and important details.
- Define the target audience and where the images will be used (eCommerce, Amazon, advertising, or social media).
- Review the brand guidelines, including colors, materials, and visual style.
- Decide whether you need a realistic or stylized render.
Once you have this information, you’re ready to start modeling without interruptions or guesswork.
Step 2 : Collect Product References
Create a folder named References inside your project folder. Save everything you need before you start modeling.
- Collect clear reference images from the front, back, sides, top, and close-up angles.
- If you don’t have official product photos, take your own or download high-quality reference images.
- Record the product’s height, width, depth, and other important measurements.
- Save logos, labels, packaging artwork, and brand assets in a separate folder.
- Organize all files into folders such as References, Textures, and Brand Assets so you can find them quickly while working.
Once your reference files are organized, you’re ready to build an accurate 3D model without stopping to search for missing information later.
Step 3 : Create or Import the 3D Model
Open Blender (or your 3D software) and start a new project. Build or import your product model as the base of your product rendering workflow.
If modeling from scratch, block out the shape using simple geometry like cubes, cylinders, and spheres. Focus on overall proportions first before adding details.
For CAD files, import them directly into the scene to get accurate measurements and a precise starting point for technical or manufactured products.
Premade 3D assets can also be used, especially for common objects, but always match them with your reference images to ensure correct scale, shape, and design accuracy.
After placing the model, clean the geometry by removing unnecessary faces, fixing broken edges, and ensuring proper mesh structure for rendering.
Once the model matches your reference from all angles, move to the next step: materials and textures.
Step 4 : Set the Correct Scale
Select your model in Blender.
Press N to open the right-side panel and check the Dimensions tab.
- Enter the real product size manually (height, width, depth).
- Or scale the model using the S key until it matches your reference measurements.
After scaling, press Ctrl + A → Apply Scale to lock the correct size.
Set your scene units:
- Go to Scene Properties → Units
- Choose Metric (Centimeters or Meters) depending on the product
Now check your model in Front, Side, and Top views to confirm it matches real-world proportions.
Step 5 : Add Realistic Materials
Open Blender and go to the Shading workspace. Select your object and create a new material using the Principled BSDF shader.
- For plastic, keep Metallic = 0 and adjust Roughness (0.3–0.6) for a soft surface.
- For metal, set Metallic = 1 and control reflections using Roughness (0.1–0.5).
- For glass, increase Transmission to 1, lower Roughness, and set IOR around 1.45.
- For rubber, keep Metallic = 0 and use higher Roughness (0.6–0.9) for a matte look.
- For wood, fabric, and paper, apply image textures and use UV Unwrap to map them correctly on the model.
- For transparent materials, combine Transmission and Refraction settings for realistic depth.
Switch to Material Preview mode to test how each surface reacts under lighting and adjust values until the product looks natural.
Step 6 :Set Up Product Lighting

Open Blender and switch to Rendered View (Z → Rendered) so you can see lighting changes in real time.
Start by adding your main lights using Shift + A → Light → Area Light.
- Place the Key Light (Area Light) in front and slightly above the product. This is your main light source. Increase Power and adjust Size to create soft shadows (larger size = softer shadows).
- Add a Fill Light (Area Light) on the opposite side of the key light. Keep its power lower to reduce harsh shadows without flattening the product.
- Add a Rim Light (Area Light) behind the product to create edge highlights and separate it from the background.
- Optionally, add a Back Light (Area Light) behind the product to improve depth and silhouette definition.
For realistic studio lighting, you can also use an HDRI environment:
- Go to World Properties → Color → Environment Texture
- Load an HDRI image to provide natural ambient light and realistic reflections
Finally, balance all lights by adjusting:
- Light Power
- Light Position
- Light Size (for softness)
A proper product lighting setup in Blender is usually a combination of Area Lights + HDRI, not just one lighting type. This creates realistic shadows, accurate reflections, and a professional studio look.
Step 7 : Position the Camera
Open Blender and switch to Camera View by pressing Numpad 0. Select the camera, then use G to move it and R to rotate it while previewing the frame.
Start by setting a balanced angle. Rotate the camera slightly to create a 45-degree view, combining front and side perspectives. This is one of the most commonly used angles in product visualization because it feels natural and visually stable.
Adjust the camera distance using G and move it along different axes to frame the product properly. Keep the product centered and make sure it fills the frame without being cropped or too distant.
Now set the focal length for a realistic look:
Go to Camera Properties → Lens
Set Focal Length between 50–85mm to avoid distortion and maintain a natural product appearance. Lower values create a wider, less realistic look.
Create different shots by adjusting camera position:
- Hero Shot: Center the product and position the camera slightly above eye level for main marketing visuals.
- Close-up Shot: Move closer to highlight texture, material, and fine details.
- Top-down View: Place the camera directly above the product and rotate it downward for a clean technical look.
- 45-degree View: Combine front and side angles for the most standard eCommerce presentation.
Enable realism with depth of field:
Go to Camera Properties → Depth of Field
Turn it ON and set Focus Object to your product
Use F-Stop between 2.8 — 8 depending on how strong you want background blur.
Finally, lock your camera to avoid accidental movement. Press N, go to the Item tab, and enable the lock icons for Location and Rotation.
Step 8 : Render the Image
Open Blender and go to the Render Properties panel (camera icon) to prepare your final output. Start by selecting the right render engine. Choose Cycles for photorealistic product rendering, as it produces accurate lighting, shadows, and reflections.
Enable GPU rendering for faster performance. Go to Edit → Preferences → System → Cycles Render Devices, select your GPU (CUDA, OptiX, HIP, or Metal depending on your system), then return to Render Properties and set Device → GPU Compute.
Now optimize render quality. Increase Samples to reduce noise and improve detail. Use 128–512 samples depending on scene complexity. Enable Denoising (OptiX for NVIDIA or OpenImageDenoise for balanced quality) to clean the final image without excessive render time.
Set your output resolution in Output Properties. Use 1920×1080 (Full HD) for web and social media or 3840×2160 (4K) for high-end product visualization and advertising.
Configure background settings based on your goal. For a white background, set the World Color to pure white (#FFFFFF) or use a studio lighting setup for a more realistic eCommerce look. For a transparent background, go to Film → Transparent to export PNG images with alpha support.
Select the correct render format in Output Properties. Use PNG for high-quality product renders and transparency support, or JPEG for smaller file sizes in marketing use cases.
Finally, press F12 to render the image. Once complete, save it from the render window using Image → Save As for final export.
Step 9 : Post-Process the Render
Open your rendered image in Blender Compositor or external software like Photoshop for final adjustments. Post-processing enhances realism and ensures your product visualization looks clean, balanced, and market-ready.
If you are using Blender, switch to the Compositing workspace and enable Use Nodes. Add a Color Balance node to fine-tune tones and correct color temperature. Then use RGB Curves to adjust contrast, highlights, and shadows for a more professional look.
Now refine the image for better visual quality. Apply color correction to remove unwanted tint and achieve a natural tone. Increase contrast slightly to make the product stand out without losing detail. Add light sharpening to enhance edges and surface details, but avoid over-sharpening as it can create unrealistic artifacts.
Next, balance the shadows carefully. Keep them soft and natural to maintain a realistic studio lighting effect. If minor noise or background issues appear, clean them using masks or simple touch-up tools in compositing or Photoshop.
Finally, export the image based on its use case:
- For Amazon or Shopify, use high-resolution PNG or JPEG with a clean white background.
- For websites, optimize JPEG files for faster loading without losing quality.
- For social media, use square (1080×1080) or vertical formats (1080×1350) depending on platform requirements.
Once exported, your final render is ready for eCommerce listings, advertising campaigns, and digital marketing assets.
Common Technical Mistakes in 3D Product Rendering
In a real 3D product rendering workflow, most quality issues come from a few repeatable technical mistakes. Fixing these early helps improve accuracy, realism, and overall product visualization output.
One common mistake is incorrect scene scale. When the model is not built to real-world measurements, lighting intensity, shadows, and camera perspective all behave incorrectly, making the product look fake.
Another frequent issue is poor mesh cleanup. Models with non-manifold geometry, overlapping faces, or uneven topology often produce shading errors, flickering, or broken reflections during rendering.
Improper UV mapping is also a major technical problem. Stretched or poorly packed UVs cause texture distortion, which reduces material quality and breaks photorealistic detail.
Incorrect PBR material values are another common mistake. Using wrong roughness or metallic settings makes surfaces look plastic, overly shiny, or unreal under studio lighting.
Lighting setup errors also affect final output. Overexposed highlights, unbalanced light placement, or missing fill lights create flat or unrealistic renders with poor depth.
Best Render Settings for Product Rendering
Setting the right render parameters is a key part of a professional product rendering workflow. Proper optimization improves image quality, reduces noise, and ensures your product visualization is ready for eCommerce, advertising, and digital marketing use.
Resolution
Choose resolution based on where the final image will be used.
- 1000×1000 px → Fast previews and basic product listings
- 2000×2000 px → Standard eCommerce platforms like Amazon and Shopify
- 1920×1080 px → Website banners and digital marketing creatives
- 4K (3840×2160 px) → High-end CGI product rendering for ads and campaigns
Always match resolution with platform needs. Higher resolution improves detail but increases render time and file size.
Samples
Samples control how clean your render looks.
Use higher samples (128–512) for final output to reduce noise and improve lighting accuracy. Use lower samples for test renders to save time. If noise still appears, combine it with denoising instead of increasing samples too much.
Denoising
Denoising is essential for clean, photorealistic results. It removes grain and smooths lighting without losing detail.
- Use OptiX for faster GPU-based cleanup
- Use OpenImageDenoise for balanced quality across CPU/GPU systems
Enable it for final renders to achieve a polished, professional finish.
File Format
Select formats based on usage and platform requirements.
- PNG → Best for high-quality renders and transparent backgrounds (eCommerce, product listings)
- JPG/JPEG → Lightweight option for websites and social media speed optimization
- TIFF/EXR → Professional editing and advanced color grading in post-production
Using the correct settings ensures your final render is optimized for performance, clarity, and professional-grade CGI product rendering results.
Conclusion
3D product rendering is a structured workflow that includes modeling the product, applying realistic materials, setting up realistic lighting, positioning the camera, rendering the final image, and refining it through post-processing. Each step plays a key role in creating high-quality, photorealistic product visuals. Once you understand the complete workflow, learning how to do 3D product rendering becomes much easier and more practical. For businesses that need production-ready visuals without building an in-house team, working with experienced professionals can significantly improve both quality and efficiency.
At ITS, our Architectural 3D Rendering Services and 2D and 3D animation expertise are backed by industry-standard workflows to create realistic, high-quality visualizations for marketing, product presentations, and design communication, ensuring every render is optimized for its intended purpose.
