How To Create Visual Art Effects
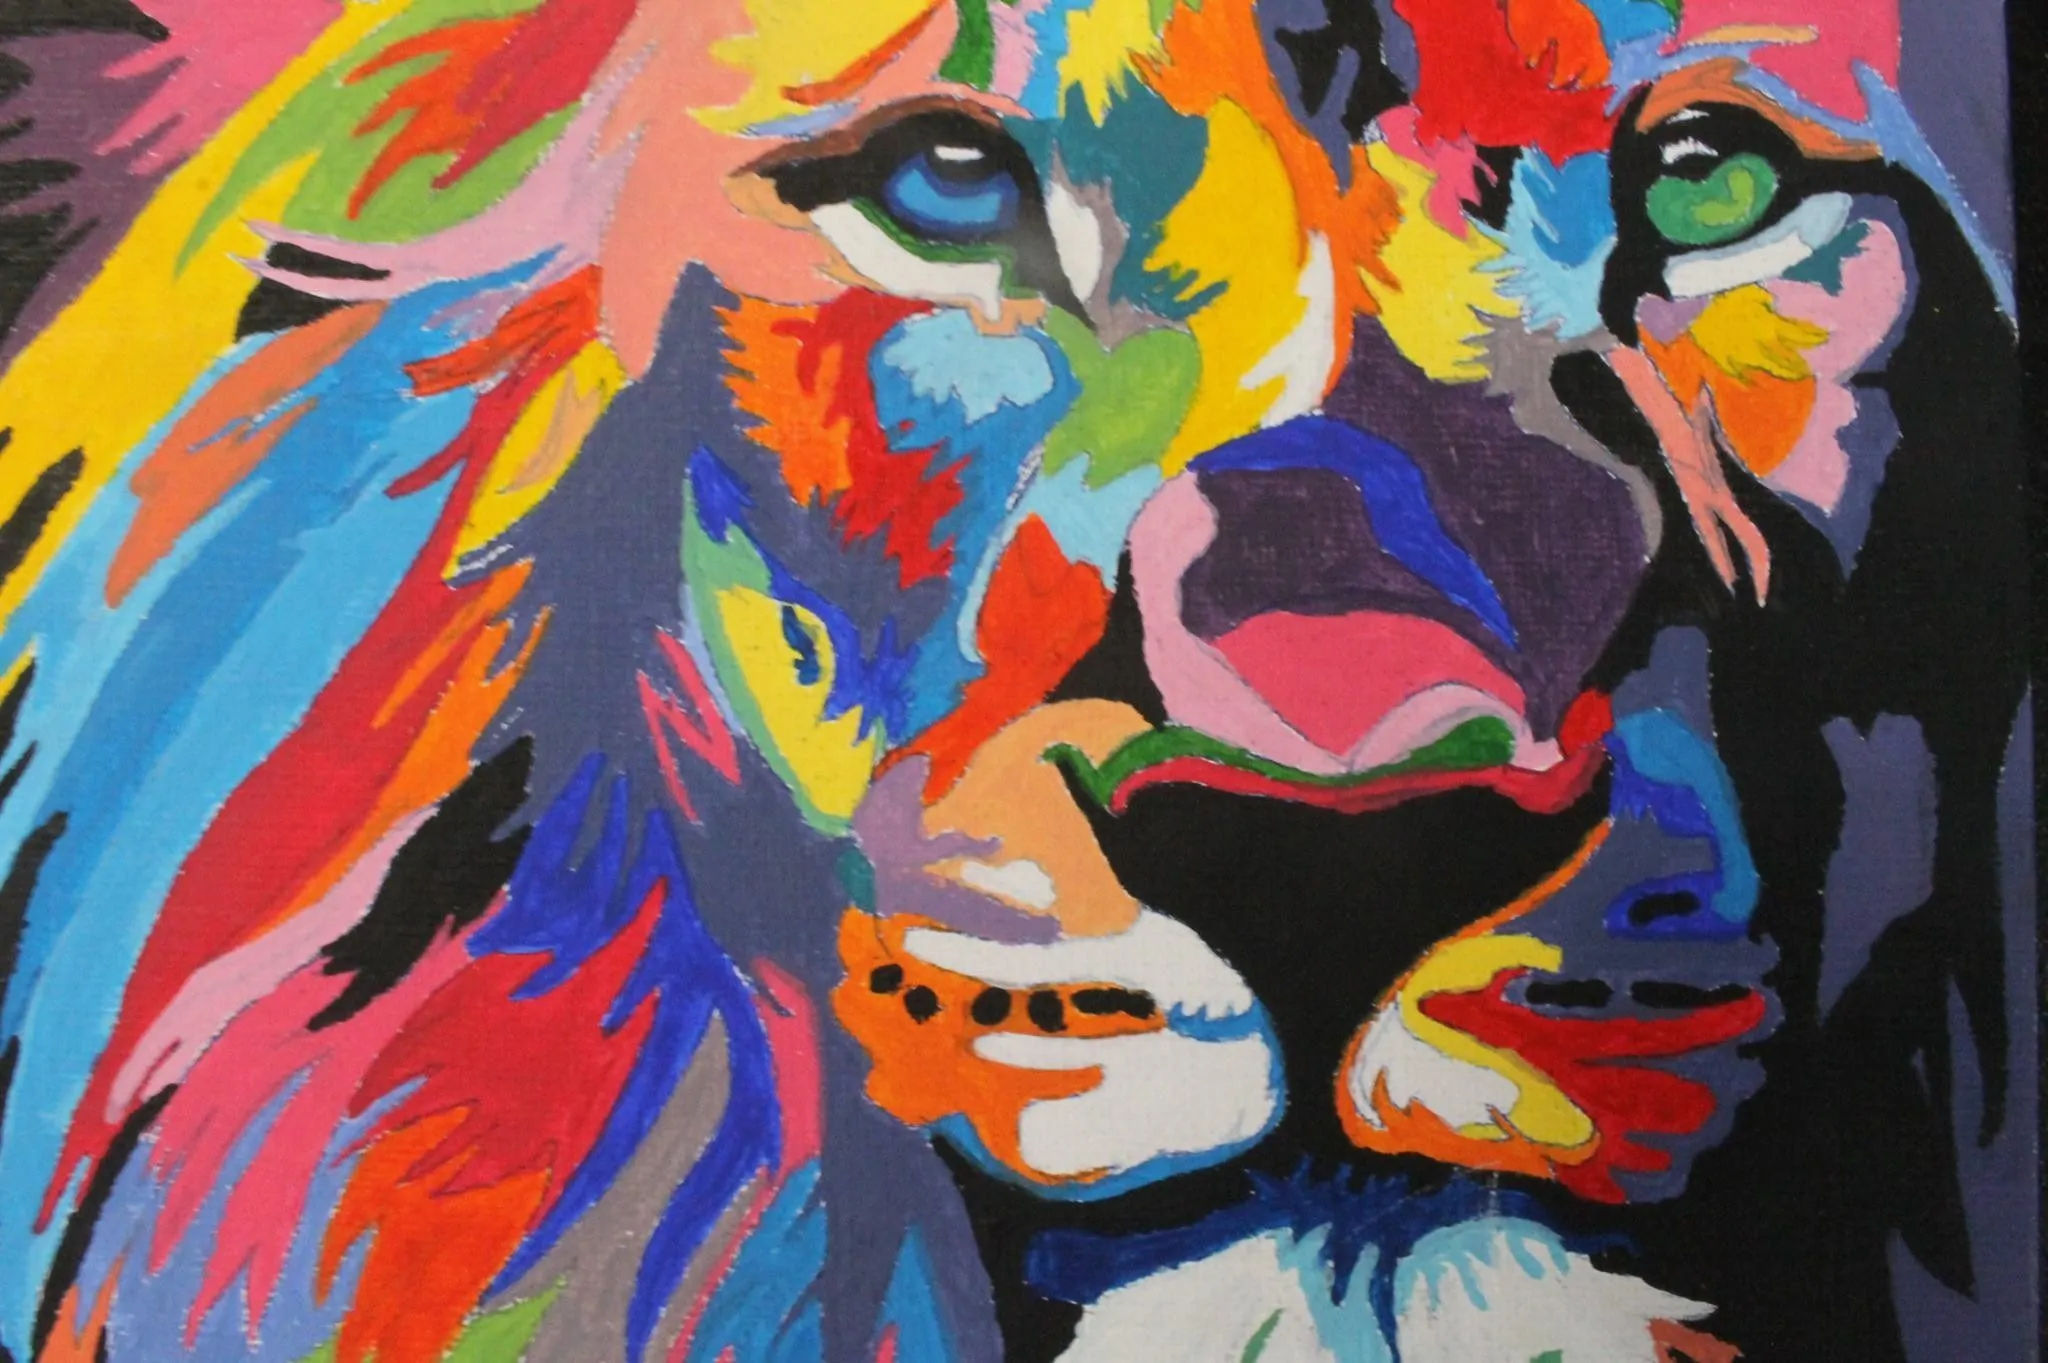
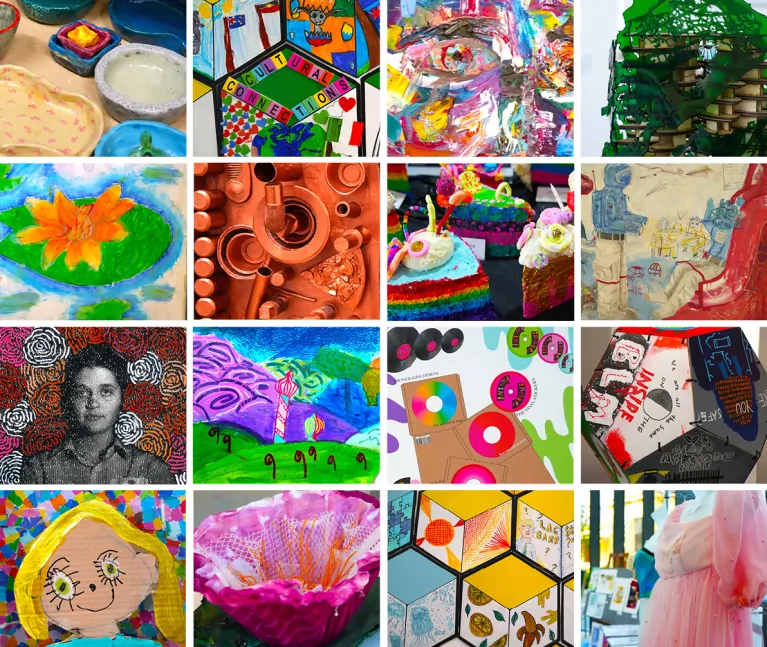
Art genres that use visual means to convey their meaning, emotion, and message are referred to as visual arts. Visual arts can be ranked as fine art, decorative art, or commercial art. This approach is typically subjective and open to multiple arrangements. Nonetheless, all visual art layouts share the ability to communicate visually without relying on other senses like touch or hearing. The objective of visual art pieces revolves around the viewer’s contentment by looking at an aesthetically tempting scene. However, some visual artworks go beyond mere visual beauty, including amusing imageries or intriguing stories, to engage the onlookers on a more in-depth level. Contrarily, some artworks could be too shocking or disturbing, provoking contemplation or critical matters. Though the common forms of art within the visual art category include photography, sculpting and painting, its core themes are applicable to various art modes, including the artworks created via digital platforms. This blog article goes through a similar perspective by using visual art themes in image enhancement with digital tools and techniques.
Step 1: Base Image Selection
Determine the overall message or feeling you need to communicate through your work of art. That helps you decide the most appropriate photograph as the base image.
Utilize a picture with eminent resolution and clarity. That will guarantee that your visual edits do not impair the quality, particularly for printing or big displays.
Go for an image with a solid subject or proportional composition. A precise focal point makes it simpler to construct layers of visual art around it.
Consider a picture that permits room for experimentation, which can be done either through color manipulation, texturing, or including visual components.
A basic or neutral foundation can be a clear canvas for aesthetic components. On the other hand, complex foundations can add profundity on the off chance that you are looking forward to improving instead of replacing them.
Keeping comparative images or different points gives adaptability amid the editing process.
Begin by bringing in the chosen shot into tools like Photoshop or GIMP for consistent adjustments and layering.
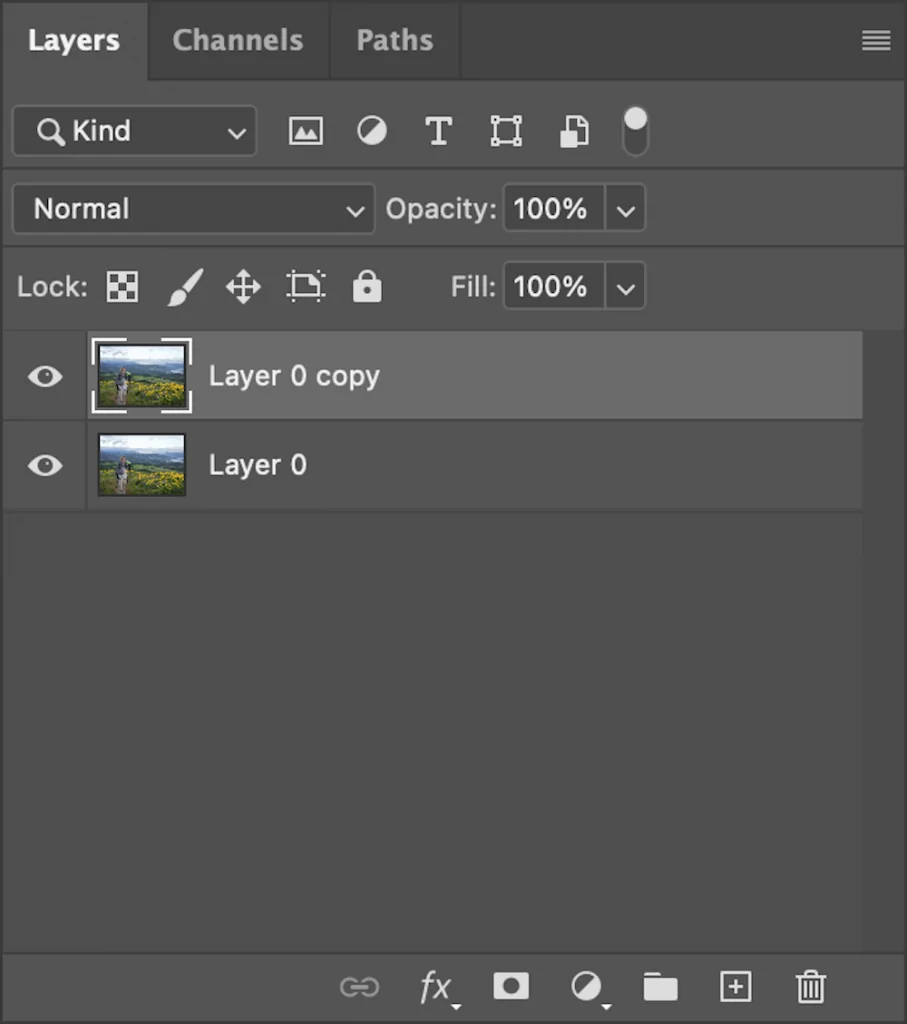
Step 2: Base Image Duplication And Layering
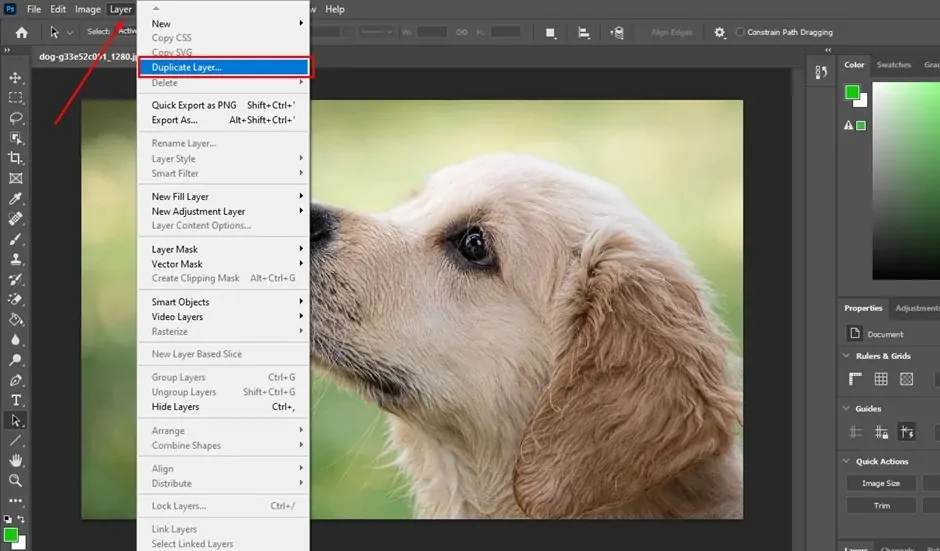
Instantly duplicate the base picture layer to protect the initial and perform non-destructively. You can utilize key shortcuts like Ctrl + J for Windows or Cmd + J for Mac for proficiency.
Each visual component or impact ought to be connected to an isolated layer. That will permit simple adjustments without influencing other factors of the artwork.
Title each layer like Background Adjustment or Surface Overlay to preserve clarity in intricate projects.
The sequence of layers impacts the ultimate look. Move layers up or down to witness how they interact outwardly.
Utilize layer masks to specifically apply impacts or uncover portions of diverse layers without permanent shifts.
Set the opacity of each layer to attain smooth blending and subtle moves between components.
Arrange layers into groups to keep the project manageable, particularly when working with different components and impacts.
![]()
Step 3: Color And Tone Manipulation
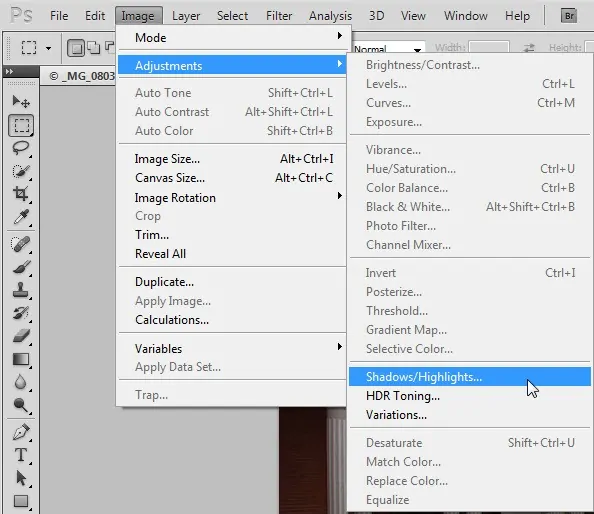
Regulate the brightness and contrast to retain the light and dim zones of the mage, ensuring the central elements look evident.
Change the hue to move colors and alter saturation to make colors more distinctive or calm, according to the required temperament.
Utilize Curves or Levels tools to tune tonal balance over shadows, midtones, and highlights for a polished impression.
Apply color tints to the picture to bring out particular feelings, like using warm tones for sentimentality and cool tones for tranquility.
Overlay gradient maps to form smooth color shifts over the picture, including profundity and proportion.

Designate specific zones and apply particular color corrections to essential components.
Be beyond any doubt that all the changes go with each other to maintain a cooperative tone that corresponds to the creative pursuit.
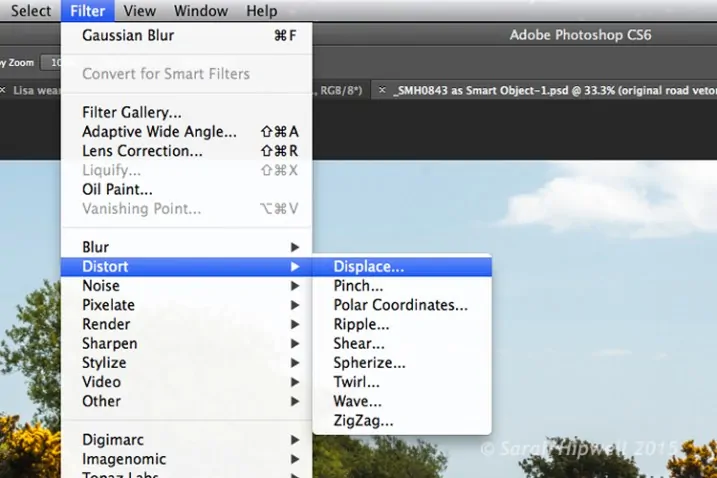
Step 4: Addition Of Visual Distortion And Dimensionality
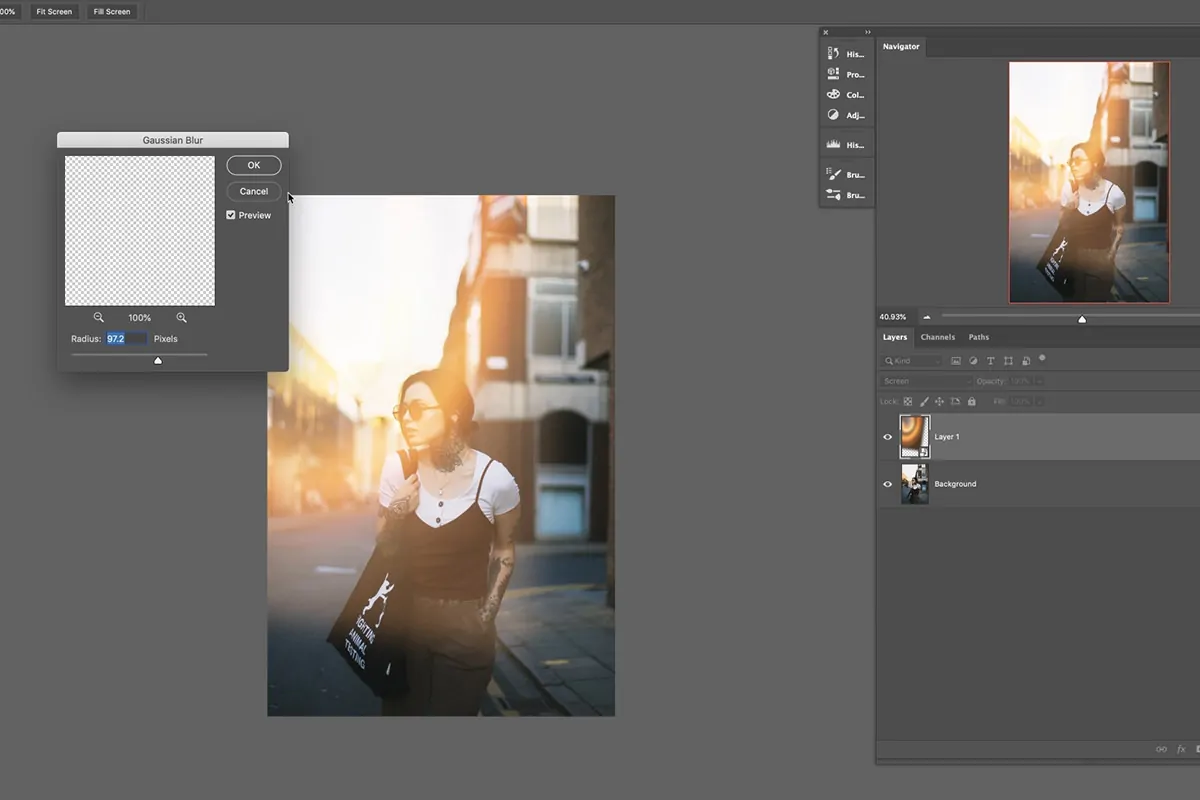
Utilize tools such as Gaussian Blur or Motion Blur to calm the ranges, making sense of focus and drawing focus to critical subjects.
Transform different details of the picture with Warp or Perspective tools to mimic profundity and movement inside the composition.
Add a displacement map to make warped surfaces or subtle warpings that upgrade the visual interest.
Sharpen particular zones to include detail and contrast, particularly in key central points, making sure that they stand out against softer backdrops.
Include a subtle grain effect to provide the artwork surface, mimicking a material or film-like quality.
Utilize brushes or gradient overlays to paint in extra highlights and shadows, adding more dimensionality.
Use masks and blending modes such as Overlay or Soft Light to blend the distortions and improvements with the rest of the photo.
Step 5: Selective Adjustments Via Masking
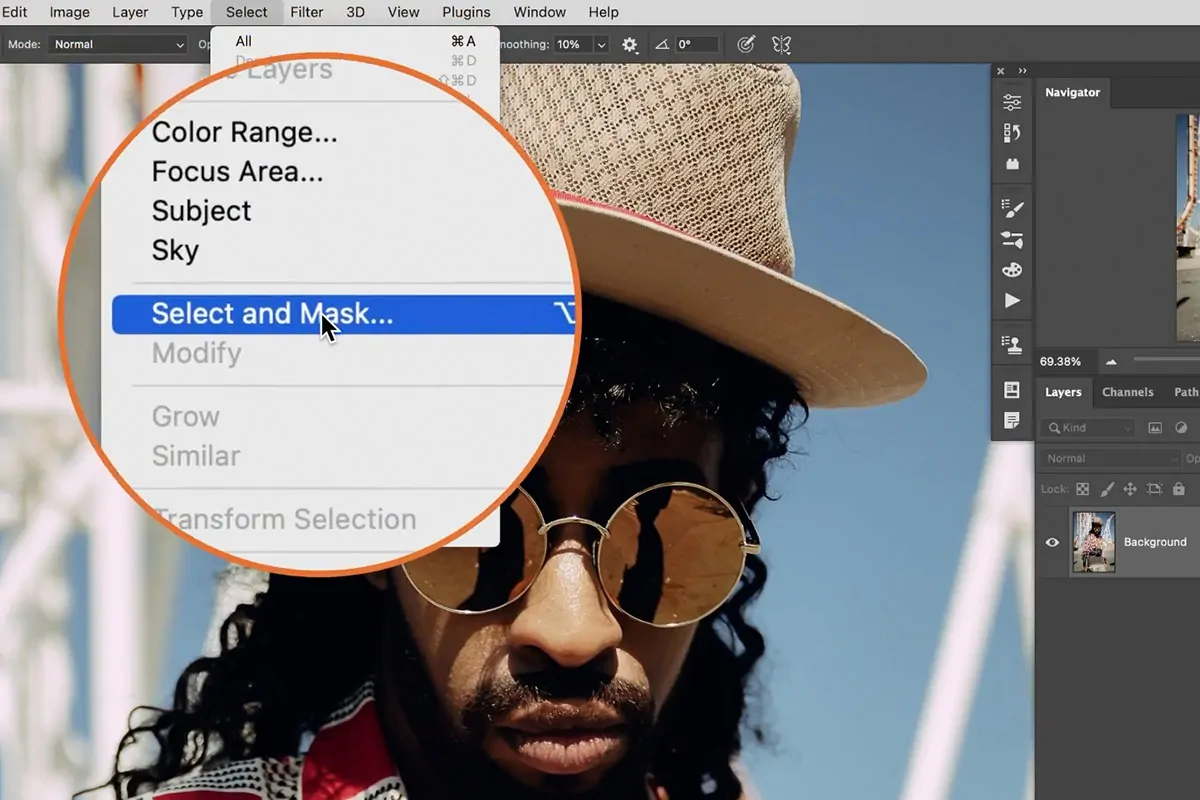
Choose the layer you need to alter and press the Include Layer Mask button at the bottom of the Layers panel. That permits for non-destructive changes.
Select the Brush Tool and determine your foreground color to black to repress regions of the layer or white to uncover them. Utilize a delicate brush for smooth moves.
Alter the opacity and flow alternatives of the brush for more noteworthy control over how much of the layer you disclose or suppress. More down values make inconspicuous adjustments.
Utilize smaller brush sizes for detailed regions like edges and larger brushes for broader strokes. It permits accuracy in your alterations.
Press on the eye symbol following the layer to rapidly compare the masked and unmasked forms. That helps make sure that you’re accomplishing the required impact.
Rather than a solid brush, utilize a gradient on the layer mask for consistent mixing between layers, which is particularly useful for blurring impacts.
Reprise the method by including more masks in other layers. It empowers complex compositions with different obvious and covered-up components for an integrated appearance.
Step 6: Use Of Textures And Designs
Access or construct textures that harmonize your picture, like cloth, paper, or natural components. High-resolution surfaces go sufficiently for precise detail.
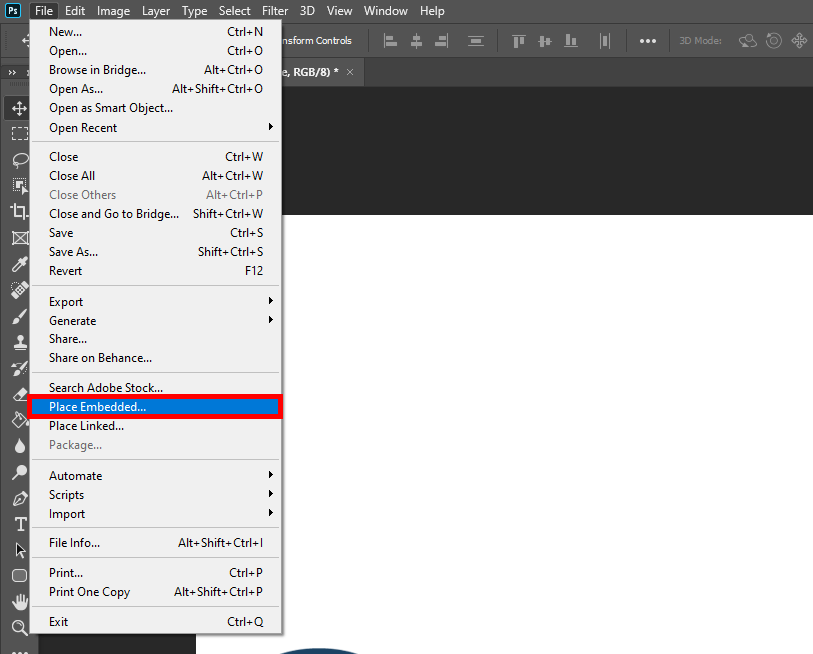
Haul and drop the texture records into your Photoshop workspace or utilize File > Place Embedded to include them as unused layers.
Utilize Ctrl + T for Windows or Cmd + T for Mac to resize and place the surface layer so it covers the ranges you need to improve.
Play with diverse blending modes such as Overlay, Soft Light, or Multiply to witness how the surface communicates with the fundamental image. Each mode builds distinctive visual impacts.
Alter the opacity of the surface layer to handle its prominence. Descending opacity can make a subtle, coordinates look while more elevated opacity highlights the surface.
Add a layer mask to the surface layer and utilize a delicate brush to specifically uncover or hide parts of the texture, permitting you to blend it consistently with the picture.
Utilize adjustment layers, including Hue/Saturation or Color Balance, on the surface layer to coordinate colors with the remainder of your artwork, guaranteeing cohesion all through the composition.
Step 7: The Final Refinements
Take a step back and evaluate the whole work of art. Search for balance, center areas, and any components that will require adjustment for way better visual agreement.
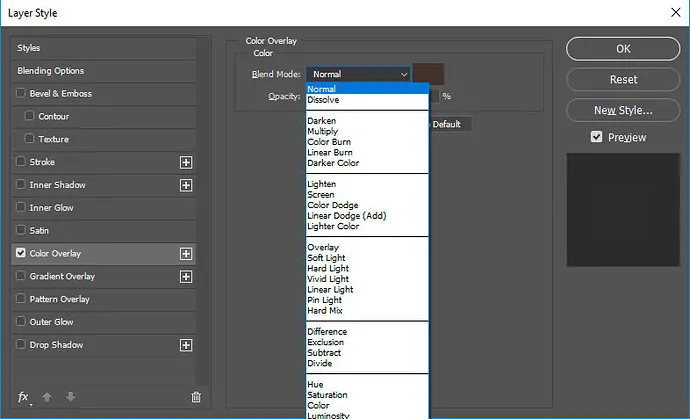
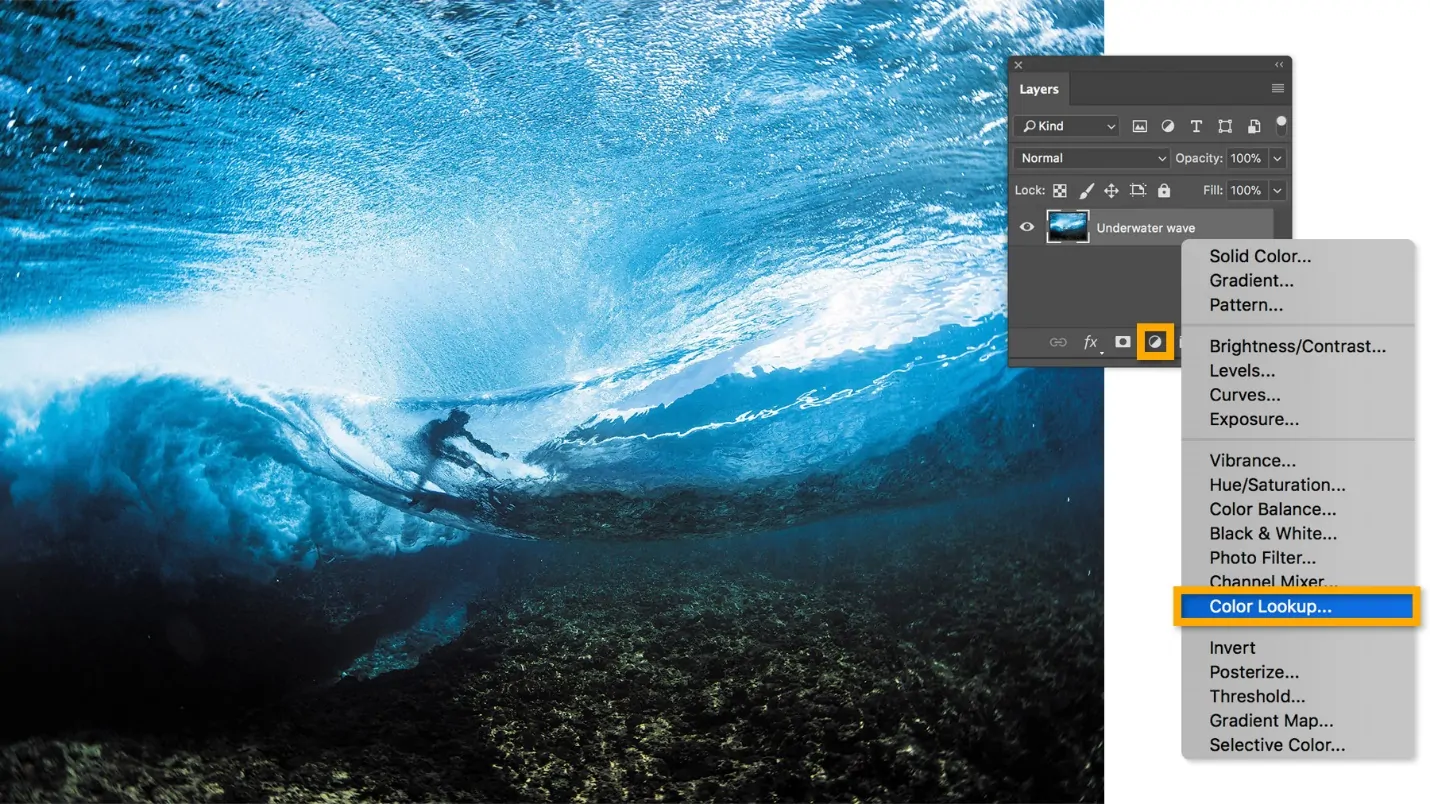
Utilize adjustment layers such as Levels, Curves, or Color Lookup to change the general color balance, brightness, and contrast, guaranteeing all components blend consistently.
Use sharpening specifically to the most focal focuses utilizing filters like Unsharp Mask or Smart Sharpen. It draws focus to climactic points of interest.
Look into little details like vignettes, lens flares, or light leaks to include an aesthetic energy. These impacts can upgrade the temperament of the composition.
Confirm that the visual factors like color palette, texture application, and lighting are uniform throughout the work to make a harmonious look.
Preserve your work in different formats like PSD for editable layers, JPEG for sharing, and PNG for transparency to oblige different uses.
In case possible, acquire suggestions from peers or take a brief break before your last audit. A new point of view can assist you in catching missed points of interest or inspire further upgrades.
Conclusion
In conclusion, visual art encompasses the quest for imagination and creativity that stimulates uniqueness and promotes the conversion of ideas, feelings, and stories into visual expressions. You can make visually stunning artwork by connecting your individual aptitudes with visual art themes. Also, if someone appreciates working in creative disciplines while possessing artistic abilities, creating such artworks can be fun and fulfilling employment. In the end, you can exhibit their ability and creativity to produce works that are visually appealing and elicit strong feelings.
