How To Create A Wall Art Effect
Any kind of artwork, ornamentation, or decoration that is hung on a room’s walls, including tapestries, paintings, photos, posters, and other decorative entities, can be considered wall art. Wall art in the modern age has become a crucial component of interior design to enhance the magnificence of the whole structure, giving your home a more trendy appearance. The purpose of wall art extends beyond simply adorning your walls. It is a means of using your art, specifically the kind of atmosphere you want to see around you and live in, to express who you are. While designing walls is a flourishing practice, the core ideas behind this art are also taking their place in the field of digital art, and image enhancement. The features of the wall art effect are often envisioned by artists and editors to add the characteristics and aesthetics of classic wall art in digital images, which offers them a more artistic and textured impression. Following are the steps to employ while applying a wall art effect in images.
Step 1: Organizing The Composition
Begin by recognizing the central subject of the photograph, drawing focus to the zone you need viewers to concentrate on. Identifying the focal point is key for directing the viewer’s gaze.
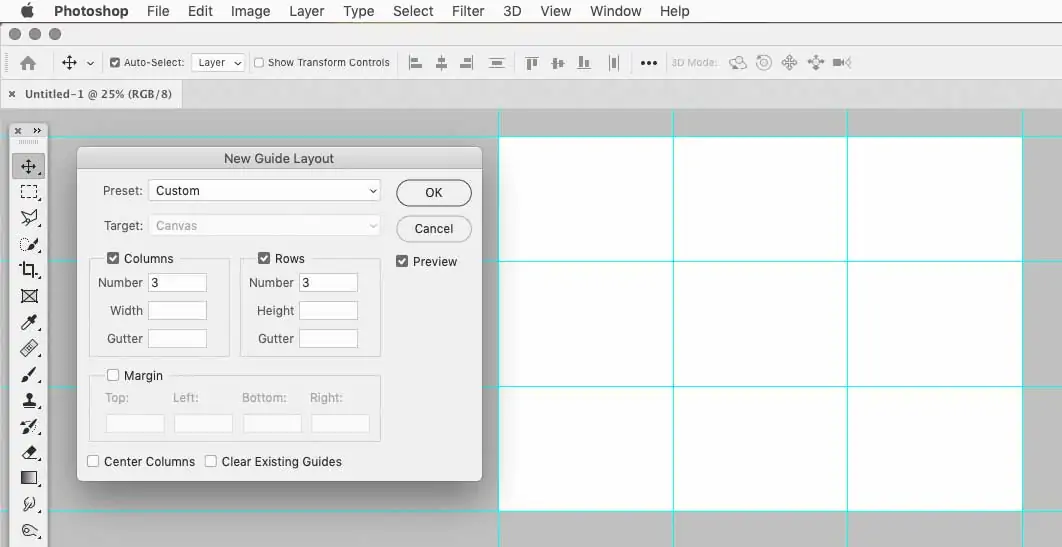
Partition the picture into a 3×3 framework and put the subject along the lines or crossing points. This classic strategy includes symmetry and makes compositions look more attractive.
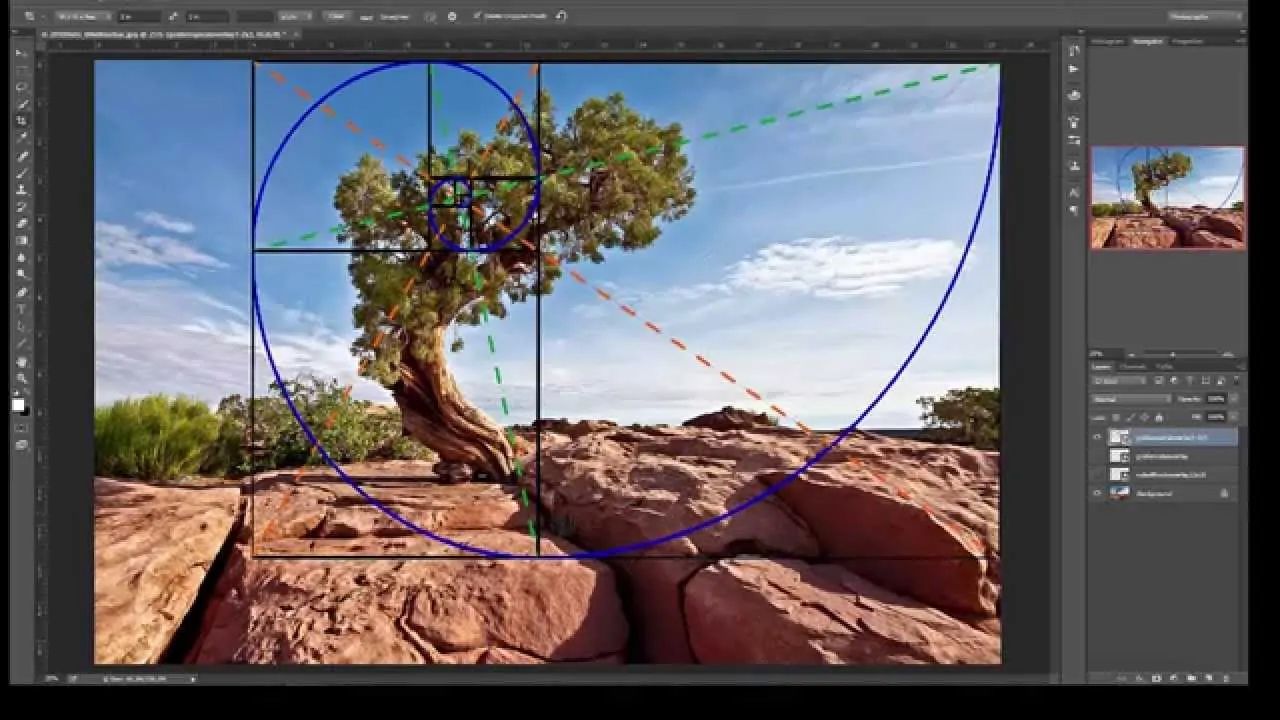
For a rhythmic feel, position key components utilizing the Golden Ratio (1.618). This spiral-like strategy can bring a characteristic flow to the picture.
Utilize lines to bring attention towards the leading subject, improving the visual pathway and making depth.
Include natural frames, like walls or different architectural elements, around the subject to further enhance it and provide the form.
Organize objects within the foreground, center ground, and background to form a sense of profundity, improving the viewer’s encounter with layered visual interest.
Step 2: Working On Color Balance
Begin by selecting colors that recall the temperament you need to communicate. For attaining a calm or nostalgic climate, utilize muted tones; for vitality, opt for dynamic tones. This pre-selection of a palette will help in keeping colors consistent.
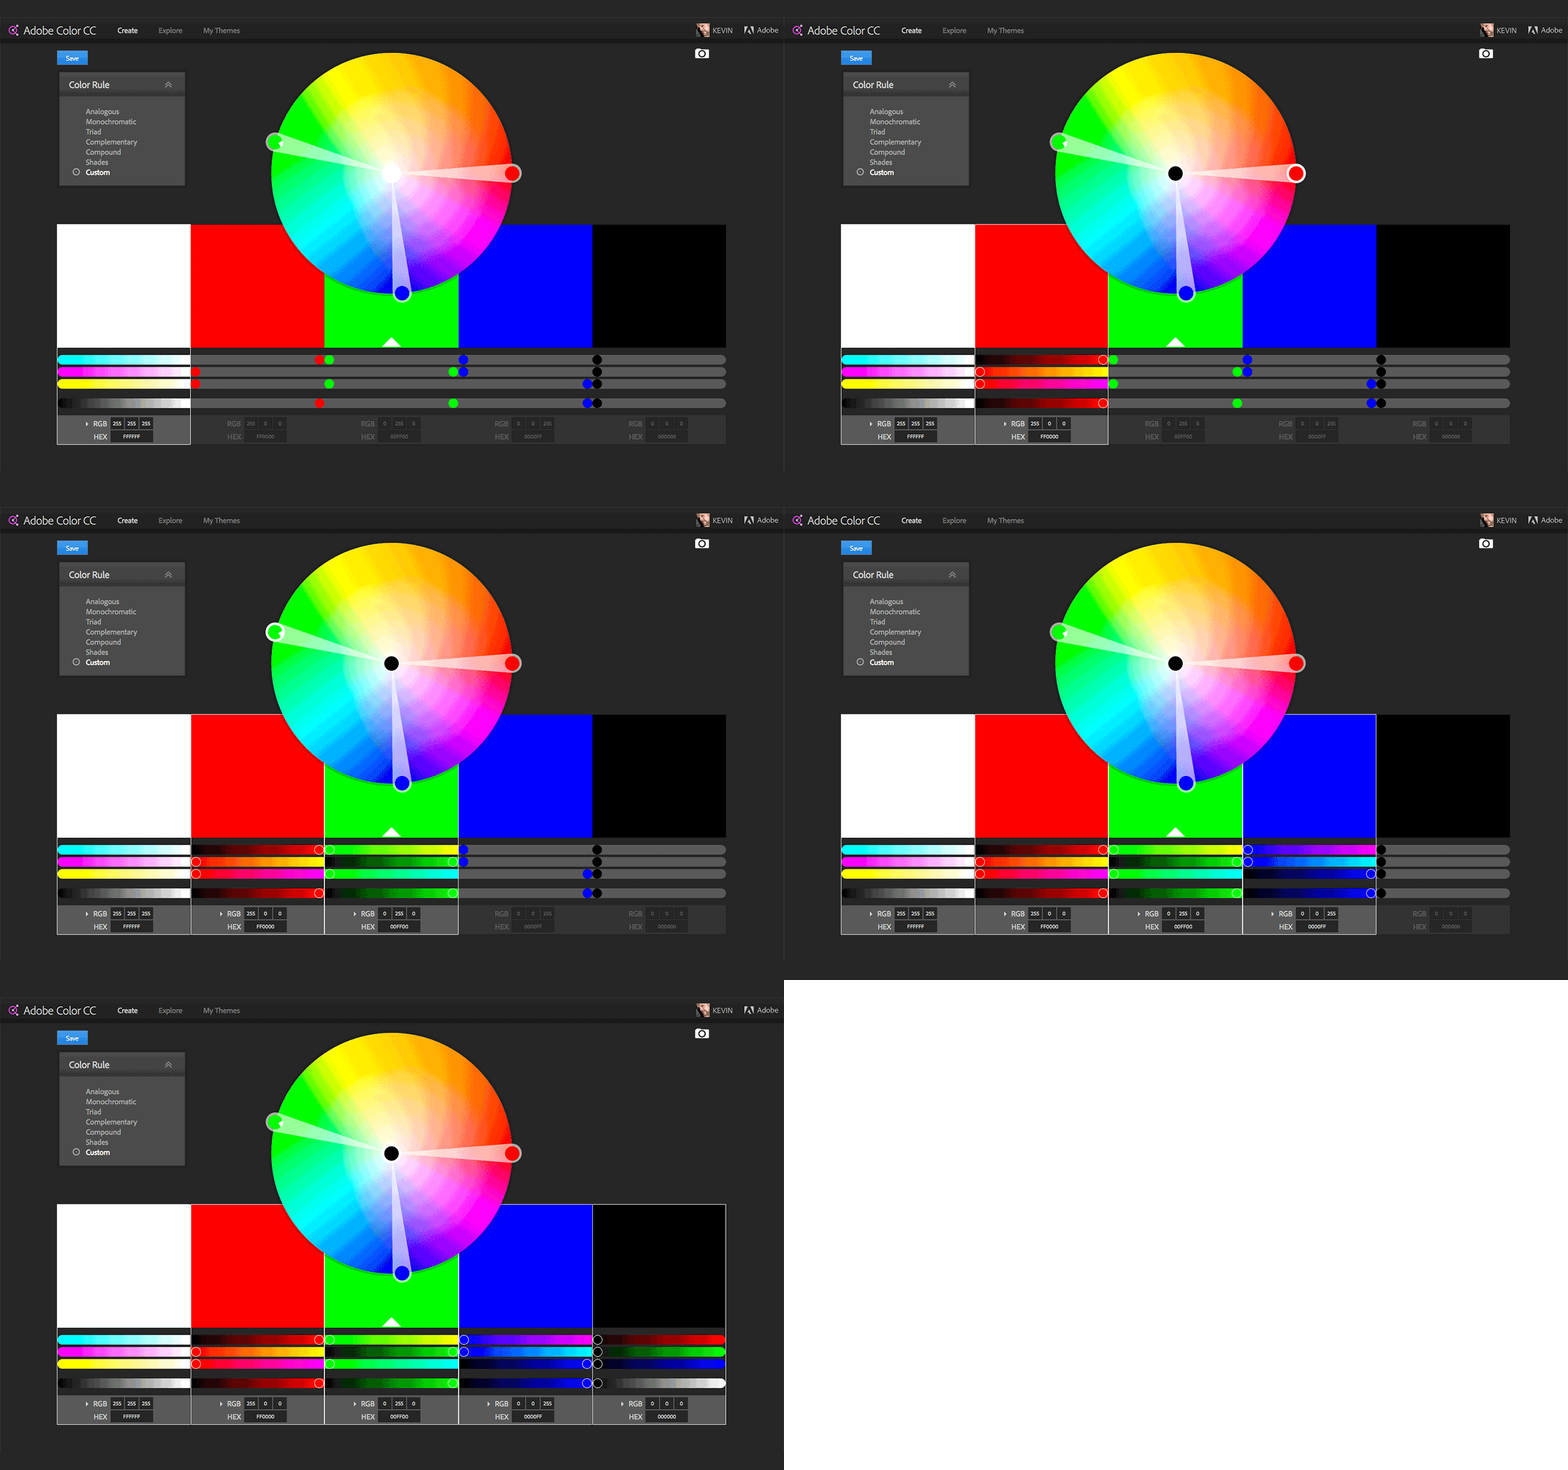
Identify colors that are opposing to each other on the color wheel, such as blue and orange or red and green. This contrast makes an energetic and visually interesting impact on the image.
To get a more unified feel, utilize colors that are following to each other on the color wheel, like blue, green, and turquoise. This nuance gives an alleviating, harmonious look.
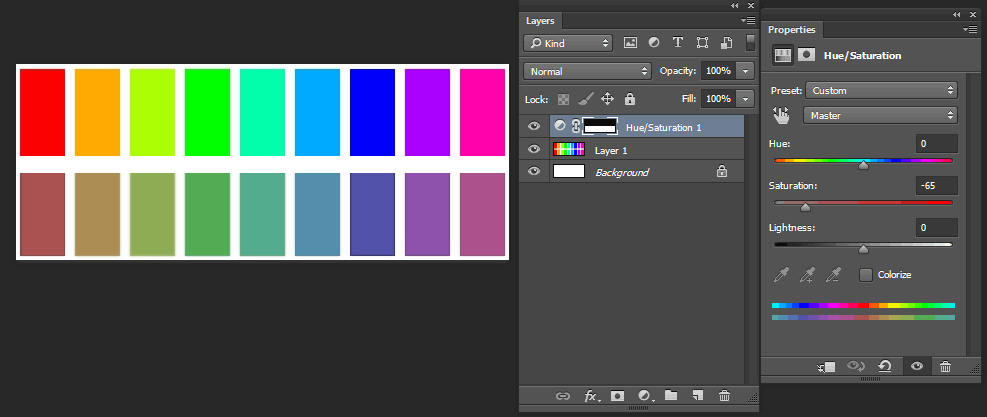
Polish the assertiveness of colors by altering saturation and brightness, helping yourself control disposition and profundity.
Including warm tones can inspire coziness, whereas cool tones recommend calmness. Adjusting these inside your composition gives it an affluent, adjusted color scheme.
Step 3: Enhancing Shadows And Lighting
Distinguish the primary light source within the photograph. Whether it is natural or artificial, understanding the light direction has a vital role in enhancing shadows and highlighting realism.
Maximize or minimize exposure to managing overall brightness. For emotional effects, decrease exposure for a grouchy impression or increase it for a lighter, breezy feel.
Highlight the lightest regions of the image by stimulating highlights, particularly on focal points. That will draw attention and add dimension.
Darken shadow zones to create contrast with the highlights, adding depth and visual lure. Solid shadows also stress the structure and surfaces within the picture.
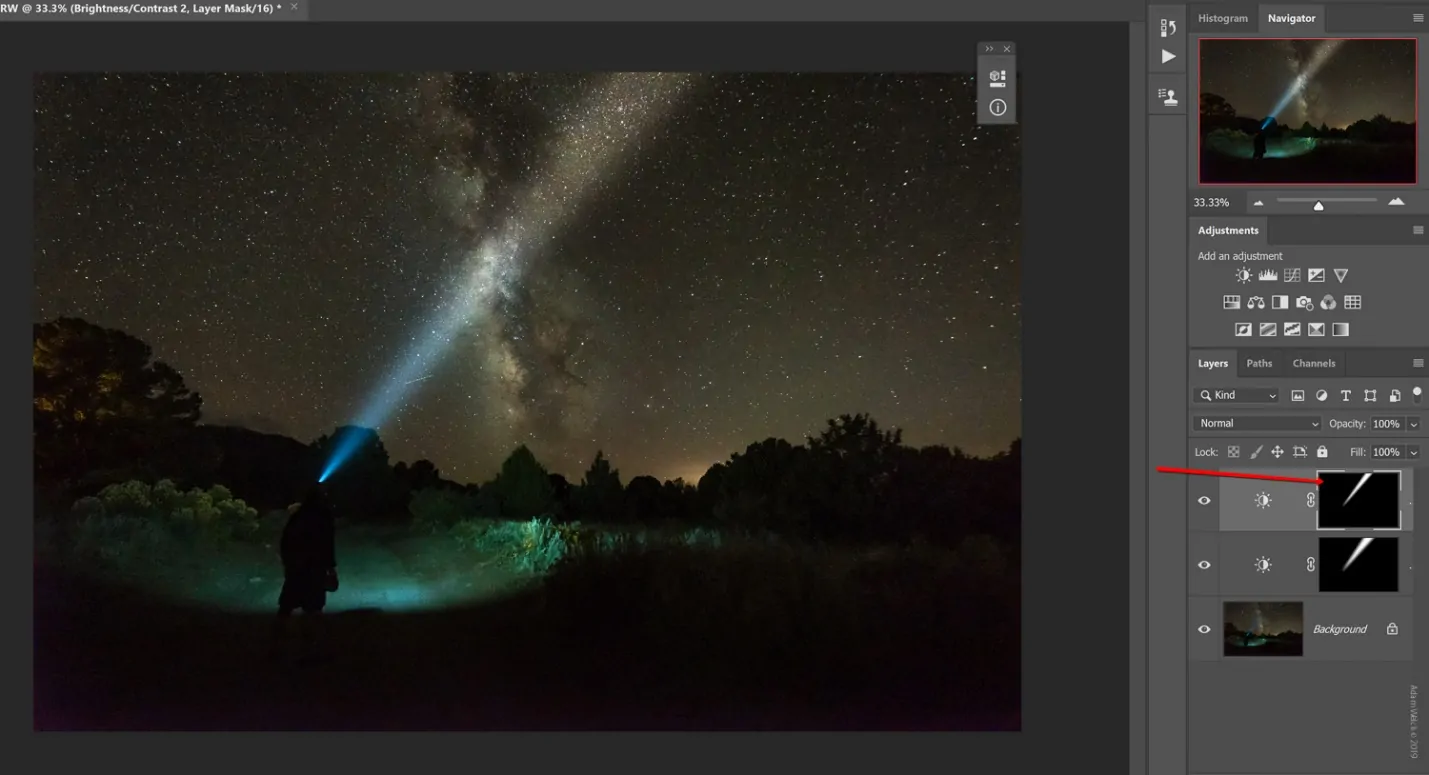
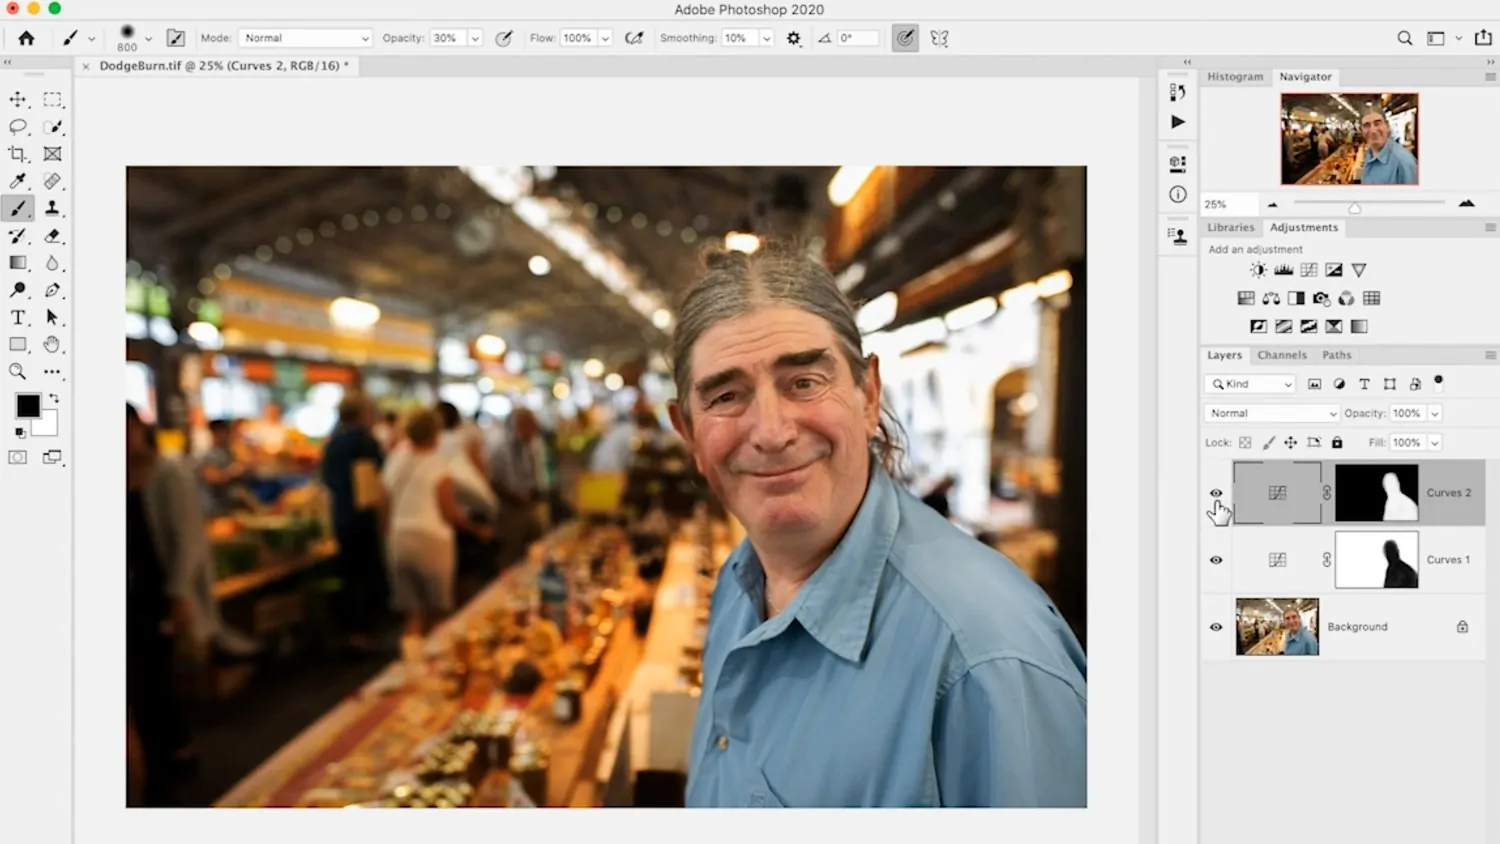
Use the dodge and burn features to specifically tune zones where light naturally falls or lessens.
Darken the edges of the picture narrowly using a vignette effect, leading the viewer’s gaze toward the center and upgrading the widespread profundity and framing.
Step 4: Using Texture Overlays
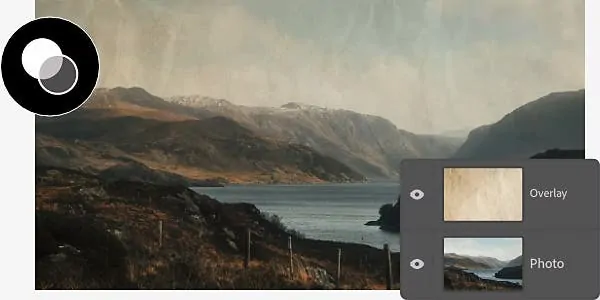
Select a surface that conforms to the picture, such as grain, canvas, or paper, for a wall art appearance. Coordinate the surface with the temper; for example, unobtrusive textures for delicate, nostalgic vibes or unpolished surfaces for an ardent feel.
Import the surface as a new layer in your editing application and alter its size to wrap the entire image. This layer provides the ground for the texture impact.
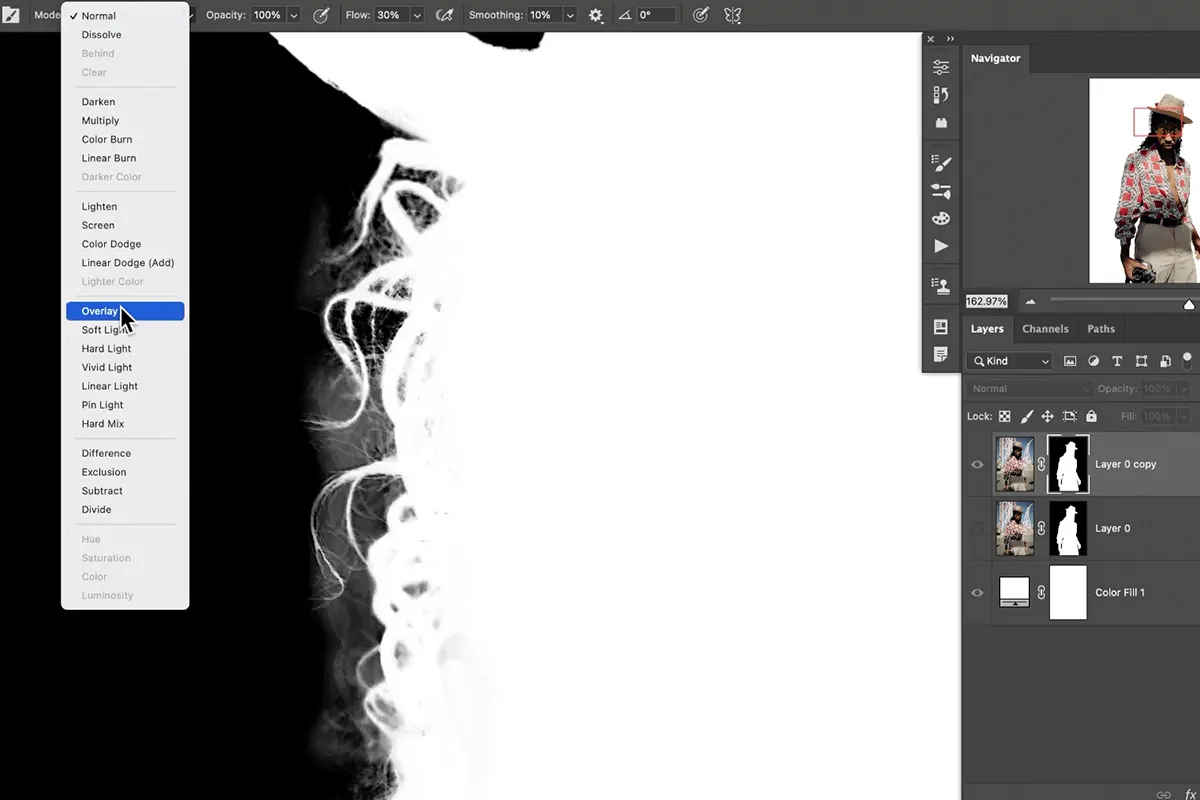
Experiment with distinctive blending modes, including Overlay, Multiply, and Soft Light, to discover the finest impact. Each mode articulates itself uniquely with the picture, improving colors, highlights, and shadows.
Minimize the opacity of the surface layer for a subtle impact or keep it more elevated for a more emotional look, keeping up a balance between the surface and the fundamental photograph.
Utilize masking tools to apply the surface specifically, making the subject precise while including depth to the foundation or other zones for a pristine and well-adapted effect.
Step 5: Enhancing Contrast And Depth
Decide zones within the picture that take advantage of enhanced contrast, regularly around the focal point or between light and dull areas. This step helps bring focus and makes details look notable.
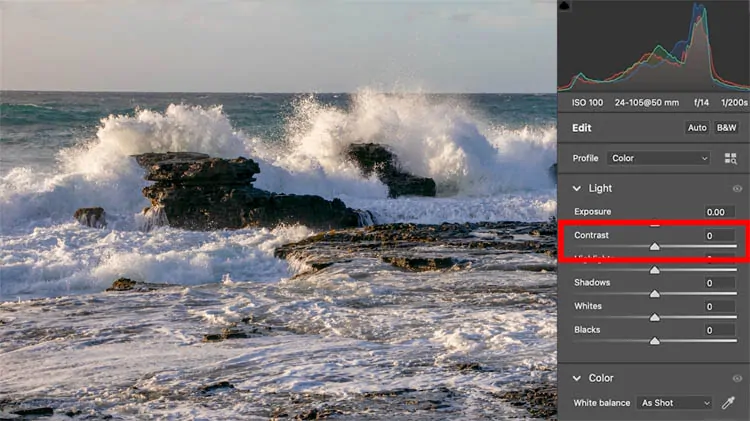
Increment overall contrast marginally to define boundaries between light and dull ranges. This phase is fundamental for including dimensions without losing detail.
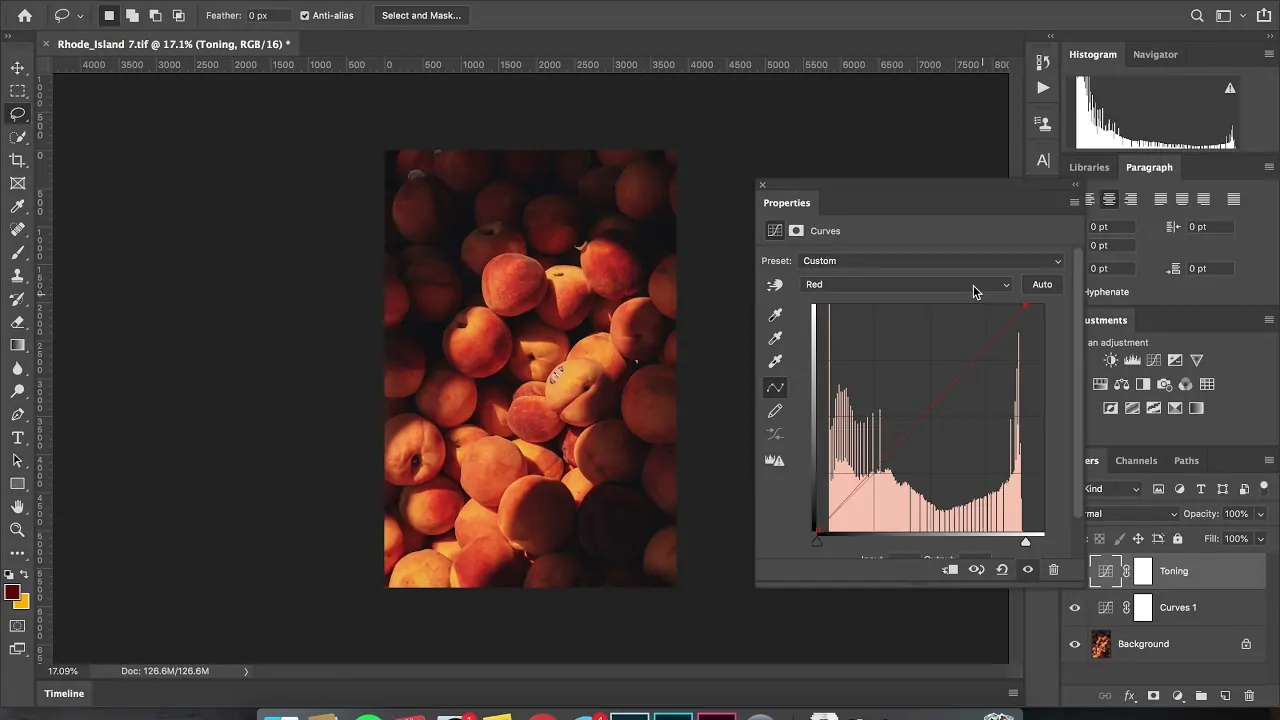
Polish contrast by adjusting curves to upgrade particular tonal ranges. Drag the curve up in highlights and down in shadows for a proportional and dynamic impact.
Increment midtone contrast to include clarity and detail without making the picture appear too harsh. This strategy keeps subtle surfaces unharmed.
Apply contrast, specifically utilizing localized tools to include depth where it is required, such as around the primary subject or within the backdrop.
Guarantee contrast adjustments do not make the picture too dark or too bright. Preserving this balance helps keep up a natural formation, including depth.
Step 6: Using Brush Work
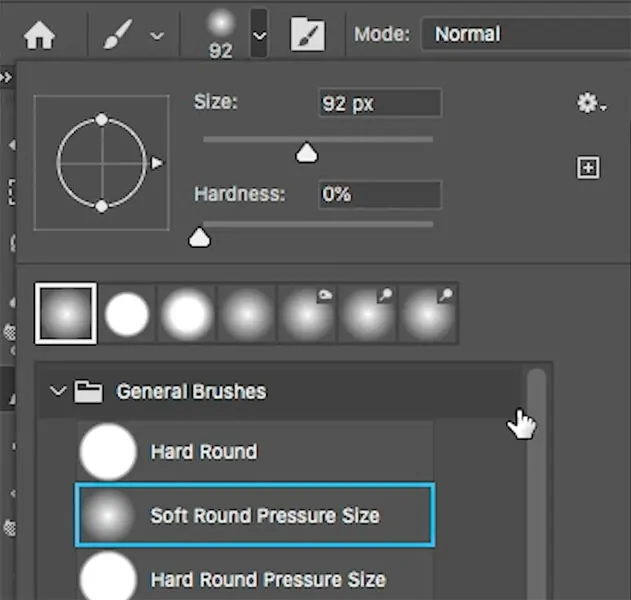
Select the brush tool to include artistic elements. Select a delicate circular brush for modest upgrades or a textured brush for more articulated impacts.
Tailor the brush size, hardness, and opacity per the detail level you need to attain. More down opacity level permits for gradual layering, whereas greater sizes can mask more regions rapidly.
Utilize the brush to highlight or shade specific areas of the picture. Gently painting over regions can make highlights, whereas darker tones can include shadows, providing the picture more profundity and dimension.
Apply diverse brush types to include varied surfaces, imitating conventional painting methods. This step improves the visual elaborateness and includes an aesthetic flair.
Utilize the brush to present subtle color variations, upgrading particular regions to make a more energetic and energetic composition.
Add your brush effects on partitioned layers and utilize masks to tune the zones where the impacts show up. This method permits non-destructive altering, empowering alterations without changing the initial picture.
Step 7: Using Aesthetic Filters
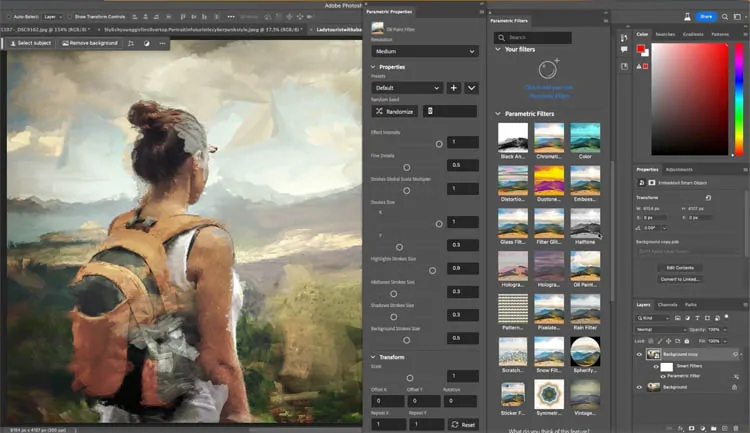
Examine different artistic filters accessible in your editing program, like oil paint, watercolor, or sketch impacts. These can change your picture into a wall art piece, improving its visual appeal.
Begin with filter application at low intensity to preserve the original subtle elements. Steadily increment the effect till it accomplishes the specified look, guaranteeing it fits the general composition.
Set filter settings such as texture, brush size, and intensity to acclimate with your vision. This alteration helps make a special artistic fashion custom-made to the photo.
Play with layering distinctive filters to make a more complex impact. For instance, incorporating a watercolor filter with a surface overlay can include profundity and interest.
Once done with applying filters, return to overall contrast, brightness, and color balance to confirm cohesion. This step guarantees that all components of the picture work agreeably together.
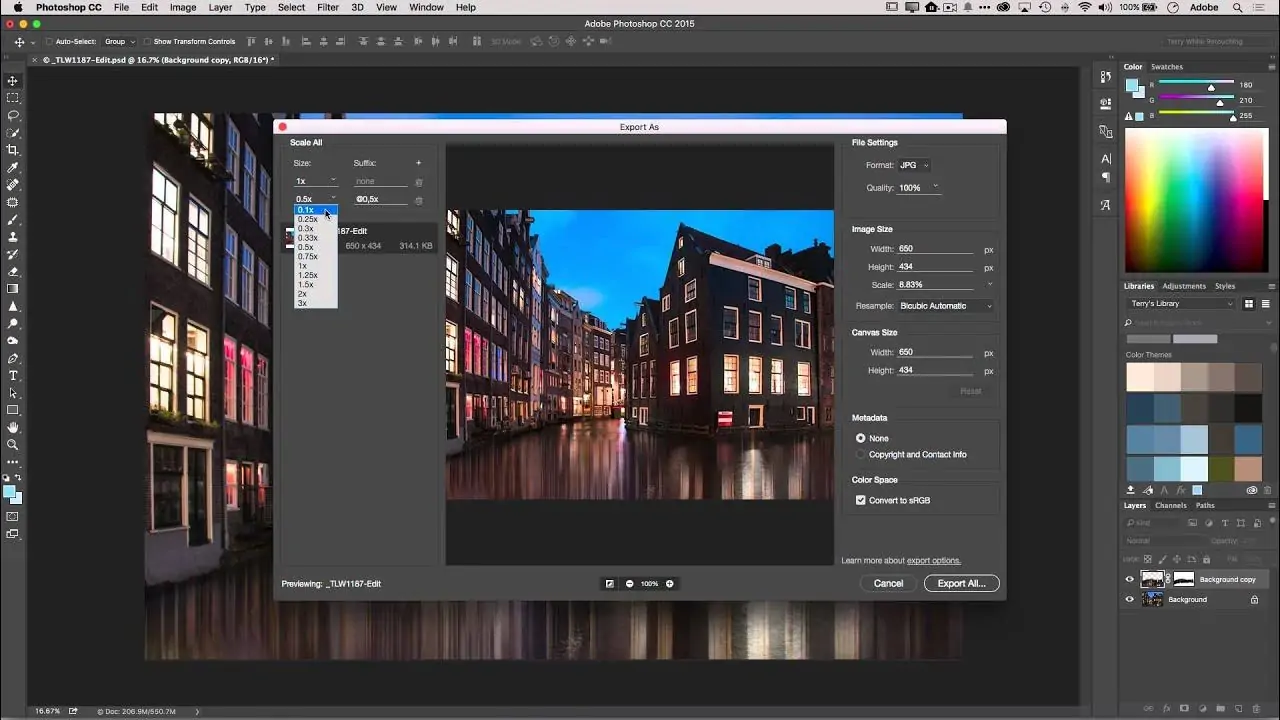
Send out the finalized image in various formats like JPEG, PNG, and TIFF for distinctive uses, protecting quality for print or online display while holding the wall art characteristics you’ve made.
Conclusion
In a nutshell, the application of wall art elements to your photographs makes your shots look like astonishing art pieces. Besides enhancing an image itself, this approach also expands the utilization of wall art-based modified images. For instance, you can use your images as references to practically apply your own creation onto the walls of your house or any of your personal space. The traditional ideas associated with wall art settings persist, and the inclusion of digital tools supplements those concepts. Further, digital image enhancement techniques can save your time and expenditure as you can make informed choices while visualizing the result of an art idea before its practical implementation.


