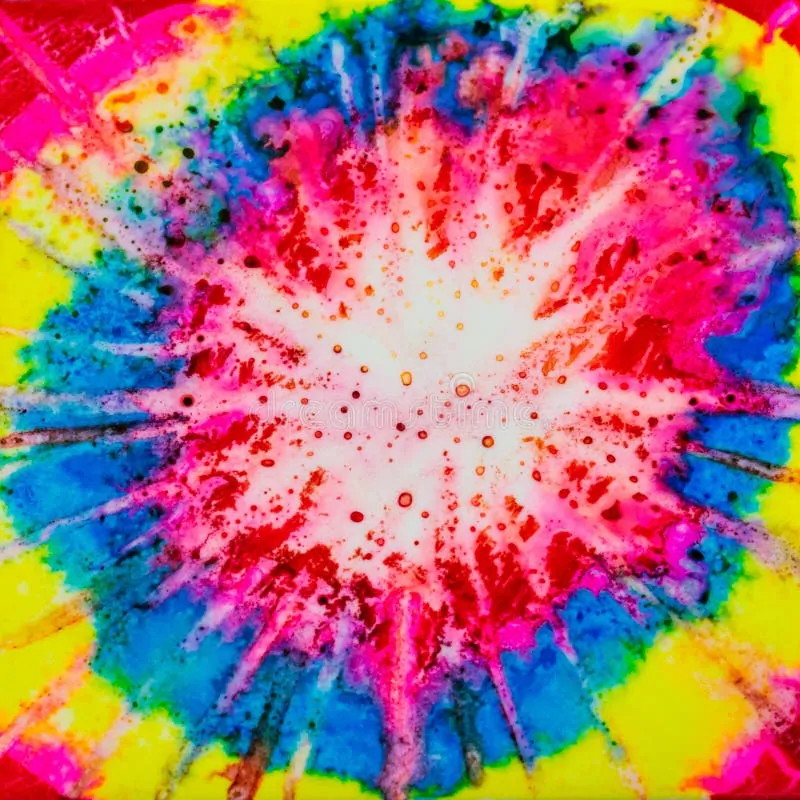
How To Create A Tie Dye Effect
Tie dye is one of the most popular and traditional methods of fabric printing, adding a variety of vibrant colours and designs to clothes. Tie dye has its roots in Japan, where it was first used as a traditional dying method in the eighth century. The process creates complex and distinctive designs by folding, twisting, bunching, and tying cloth before dying it. Tie dye designs have now become extremely common in fabric design and dyeing to create vibrant multi-coloured textiles. Initially, the technique was intended to enhance the colours and vibrancy aspect of apparel, yet with time; it has now been employed to create classic and bold attires. Moreover, digital designs and images are equally influenced by this innovative and energetic art approach. Various kinds of graphics, artworks, and images can be generated relying on this amazing approach. Moreover, this effect can also be approached as an enhancement that heightens an image’s charm by emphasizing the background, the foreground or any critical zones. The following is a step-by-step process to create a digital tie dye effect while employing and experimenting with resourceful tools and techniques.
Step 1: Prepare Your Canvas
Initiate your preferred image editing software considering choices like Photoshop, GIMP, or Procreate, and start your project.
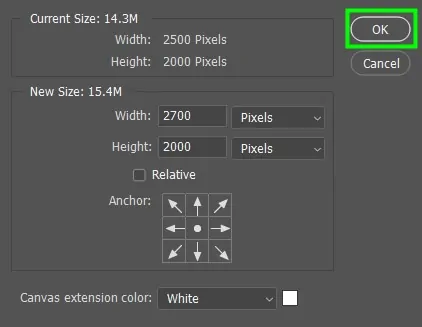
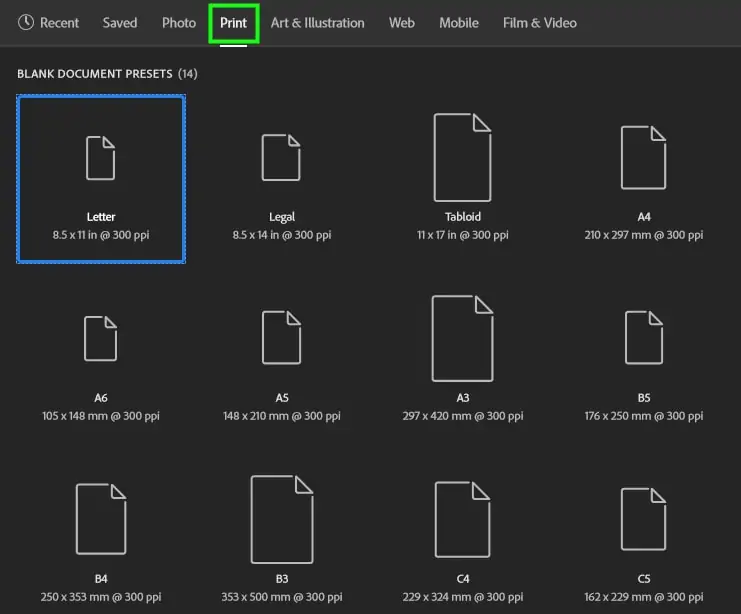
Make a new blank canvas. In most design plans, a square or rectangular canvas goes well, and it has 1080×1080 pixels for social media use.
Specify the resolution to 300 DPI to get a high-quality yield, particularly if you have to get a print of the design.
Choose a neutral or solid colour to fill the background layer. For ease, you can choose white, which is typically utilized because it enhances the tie dye colours.
Form a new transparent layer over the background layer to isolate the layout from the base.
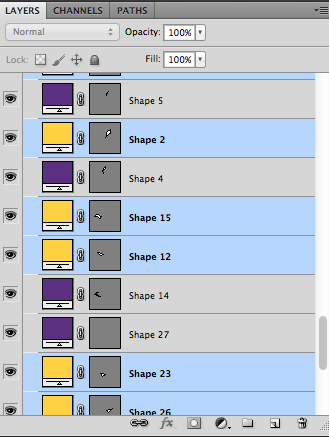
Title your layers for easy access as you continue with the effect creation. That can help in making edits effectively.
Save your project in your software’s native format, like PSD for Photoshop, to preserve layer adaptability for future alters.
Step 2: Prepare The Color Palette
Select a colour theme that matches your design purpose. Usually, dynamic and contrasting colours do well for tie dye effects.
Decide on 3 to 5 colours to form a proportional yet vibrant appearance. Prevalent combinations incorporate rainbow tints or shades of blue and green for a cool palette.
Access a colour wheel to be sure that the chosen colours harmonize well or contrast successfully without conflict.
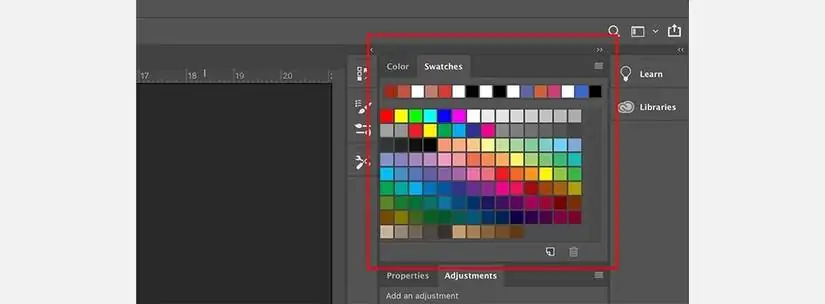
Make your chosen colours accessible throughout the process by saving selected colours as swatches within the software.
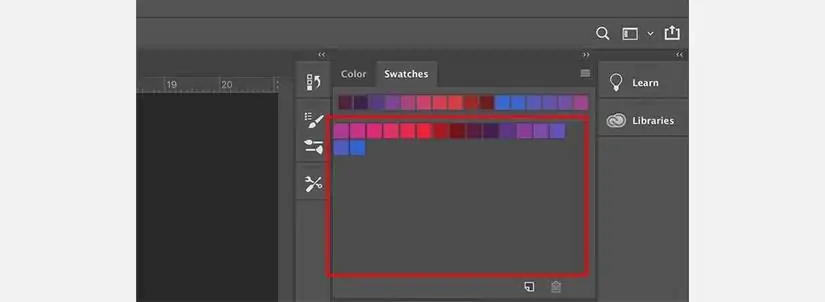
Alter the opacity levels to obtain variations in intensity, making a few colours more prevailing and others nuanced.
Attempt small colour tests on a separate layer to see how they mix together before executing the complete plan.
Organize your tools for simple switching between colours while designing, guaranteeing a smooth editing process.
Step 3: Create Tie Dye Patterns

Begin by making circular or spiral shapes on the canvas. Utilize the brush tool, shapes tool, or sketch freehand for natural imprints.
Activate gridlines or guides in your program to preserve symmetry or steady spacing if preferred.
Mimic conventional tie dye patterns are created by imitating folds, twists, or creases through overlapping shapes or brush strokes.
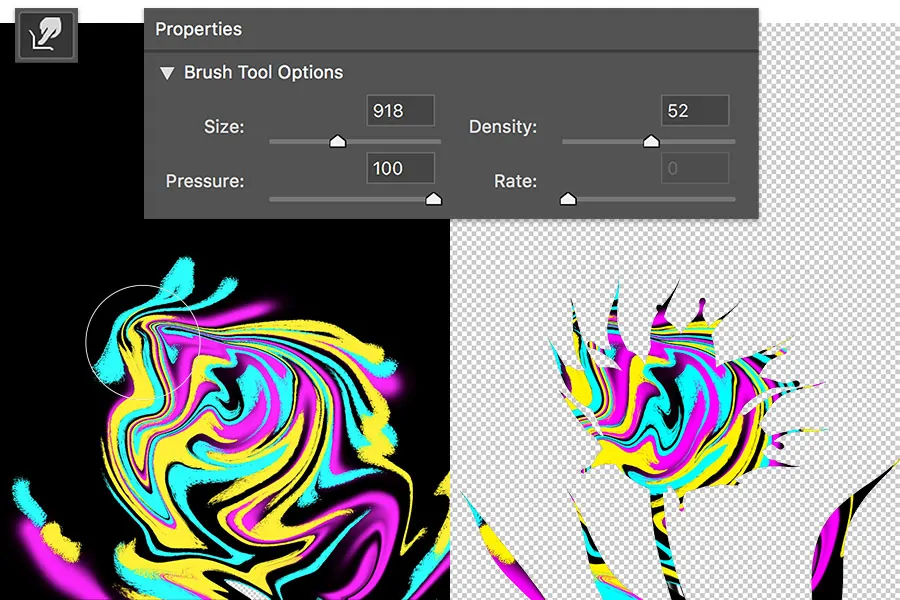
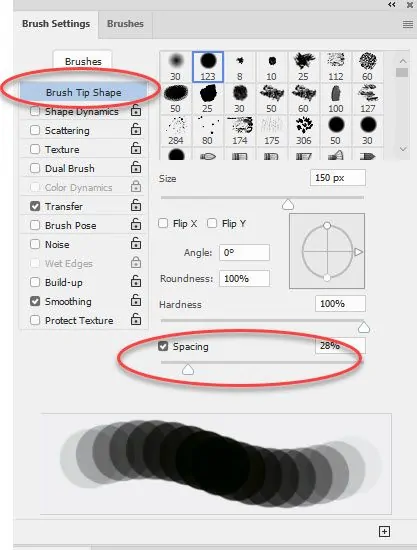
Select soft round brushes or texture brushes to imitate natural colour bleeding effects. Alter brush size as required.
Utilize multiple layers for distinctive segments of the design. That will permit flexibility for alters without affecting the general plan.
Some programs also offer symmetry or mandala tools to make flawlessly reflected designs, perfect for complex arrangements.
Muffle the edges of each design utilizing smudge tools or feather effects for a realistic dye appearance. Save progress before proceeding forward.
Step 4: Apply Gradients And Swirls
Make a new gradient layer and add radial or linear gradients to your base designs. Select colours from your prepared palette for uniformity.
Play with different gradient styles, like radial for a centred swirl or angular for energetic impacts. Tailor the transition between colours to create a smooth blend.
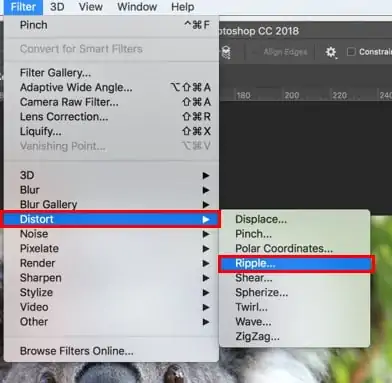
Use the swirl or distort tools. For instance, if using Photoshop, you can choose Liquify > Twirl to present natural, curved movements inside the patterns, mirroring genuine tie dye designs.
Regulate the strength and angle of the swirl’ to prevent excessively chaotic designs. Inconspicuous alterations make a more realistic flow.
Utilize layer blending modes, including Overlay, Multiply, or Soft Light, to improve profundity and make a layered impression.
Minor changes to colour blends and swirl thickness should be made to confirm a congruous and satisfying result.
Make sure that the gradients and swirls mix evenly over the complete canvas before you head to the following step.
Step 5: Experiment With Blending Modes
Combine gradient and pattern layers deliberately while keeping essential components editable. That will lessen the complexity of your workflow.
Adjust the opacity of each layer to attain a proportional appearance with even blending. The reduction in opacity can result in soft, layered transitions.
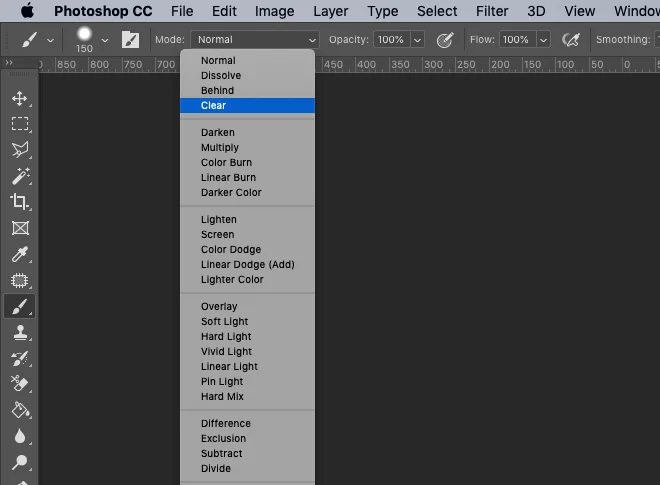
Play with blending choices such as Overlay, Screen, or Multiply to coordinate colours and designs naturally.
Utilize the Eraser tool with delicate edges to smooth out harsh transitions or overlaps between layers.
Make duplicates of layers with desired effects to include depth. Rotate or resize these copies to introduce variation.
Apply modest hue or saturation adjustments over all layers to attain a steady colour palette.
Boost the brightness and contrast of particular zones with the help of a soft white brush or gradient. Also, make sure that all layers are accommodated visually before you advance to the next steps.
Step 6: Work On The Texture
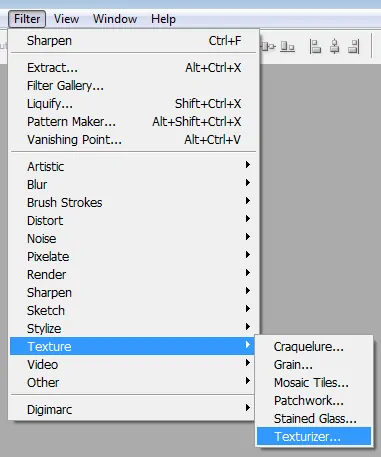
Pick textures that give the impression of actual fabrics from the texture library of your software, or consider importing one from outside sources.
Put the texture layer over your tie dye design layers within the layer stack.
Specify the blending mode of that layer to alternatives such as Overlay, Soft Light, or Multiply, depending on the specified effect.
After that, you need to shift focus on decreasing the opacity of the texture layer to prevent it from overwhelming the tie dye design.
Utilize layer masks to erase the texture from regions where it might not be required, making sure that the design remains prominent.
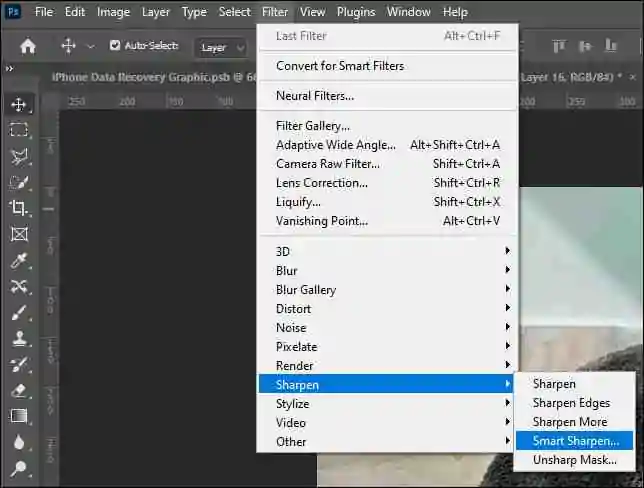
Lay a minute sharpening filter onto the widespread plan, improving the visibility of the tie dye designs and texture.
Add a little colour tone adjustment, such as warm or cool tints, to the surface, guaranteeing it blends pleasingly with the design palette.
Step 7: Polish The Composition
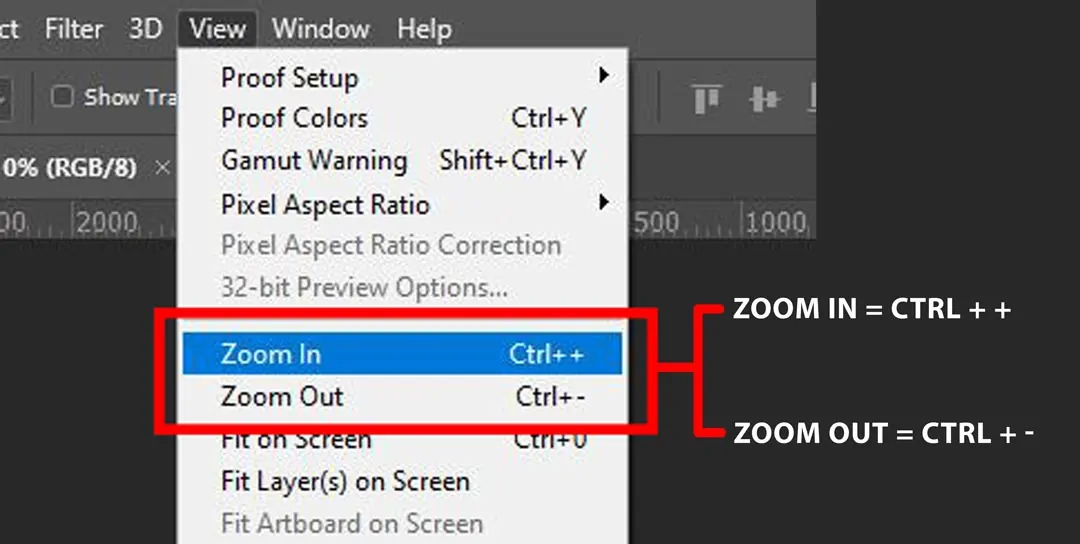
Proceed to the Zoom in and out features to examine the whole arrangement and guarantee there are no irregularities within the designs or colours.
Make adjustments to the brightness, contrast, and saturation to make the design dynamic and outwardly entertaining.
Get help from the smudge or blur tool to settle any abrupt edges or uneven moves between colours.
Think about adding a glow or vignette to provide the plan a groomed impression.
Blend all visible layers once you are satisfied with the ultimate formation. Save a backup of the layered file for prospective edits.
Select a suitable file format like JPEG or PNG for web usage, TIFF for printing, or PSD for editable saving.
Save the final design in your wanted resolution and size, guaranteeing it fulfils the ultimate purpose, either digital sharing or print preparation.
Conclusion
In conclusion, the application of traditional approaches like tie dye in visual art represents the unrestrained trait of art and design, which highlights the integration of every single kind of art into various mediums. Human ingenuity has produced a wide range of artistic mediums, materials, and techniques. The development of digital art tools and techniques, like the one highlighted in the above blog, especially facilitates the artist’s experimentation with innumerable colour and design blends. When modernity and tradition work together, they produce visually stunning and unthinkable effects that may not be possible when any of these elements are employed solo.
