
How To Create An Emulation Effect
Emulation describes the return of traditional aesthetics and the influence on modern imaging and art. The nostalgic attraction of bygone eras still plays a significant role in image modification, even if digital innovations have facilitated us with aspects like fantastic image quality with great dynamic range, low noise even in low-light images, breathtaking macro details, etc. Digital artists and image editors find themselves drawn to the imperfections of conventional film imaging and artworks in addition to their timeless appeal. The distinct colour reproduction, contrast, and sense of authenticity evoke strong feelings that digital photography sometimes lacks. The process of applying an emulation effect to images involves using digital tools and effects to mimic the appearance of the photos that belong to traditional styles and mediums, including old films, paintings, cultural artworks, and vintage games, often exhibiting imperfections and antiquity together. This blog will further elaborate on the steps that can help enhance images employing an emulation effect.
Step 1: Selecting The Base Image
Begin by selecting a high-quality image that conforms to the style you need to emulate. Choosing a clear and high-resolution image allows you more adaptability, making the emulation effect more striking.
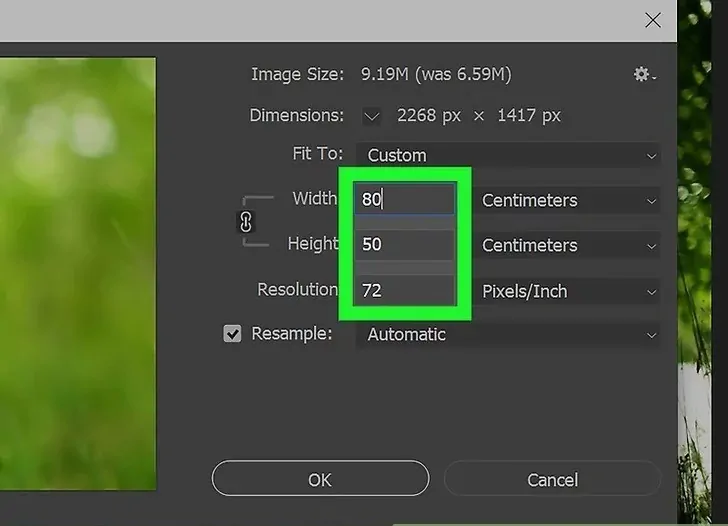
Select your choice of photo editing programs, like Adobe Photoshop or Lightroom, or a free choice, like GIMP. Make sure that your software is set to operate the picture size and resolution affluently.
Resize the photograph to accommodate the pursuit of your final result. If it is for digital use, alter it to a web resolution of 72 DPI, while, for print, you should hold a higher resolution, like 300 DPI.
Before creating your emulation effect, change the image into a proper file format that preserves editability with layers or utilize a lossless format such as TIFF for high-quality outcomes.
Always hold an unedited version of the initial photograph to refer to the initial if you ever need to reset or restart.
Step 2: Utilize Creative Filters
Pick the type of creative transformation you need for your shot. Applications like Photoshop or Procreate present a broad range of filters, such as oil painting, watercolour, pencil sketching, and much more. Choose one that adapts to your vision or style you need to emulate.
After filter application, alter the intensity or opacity to confirm that the result isn’t too overbearing. Unlike a digital overlay, you can frequently refine the effect for nuance, making the image more realistic.
Some emulation effects might need the layering of multiple filters. For instance, including a watercolour texture in conjunction with a pencil sketch effect can blend the impression of hand-drawn strokes with painted textures.
Refine the applied filter, utilizing custom brushes or painting tools, painting over zones of the photograph, softening rough lines or including extra texture for a personalized touch.
Step 3: Add Raw Textures
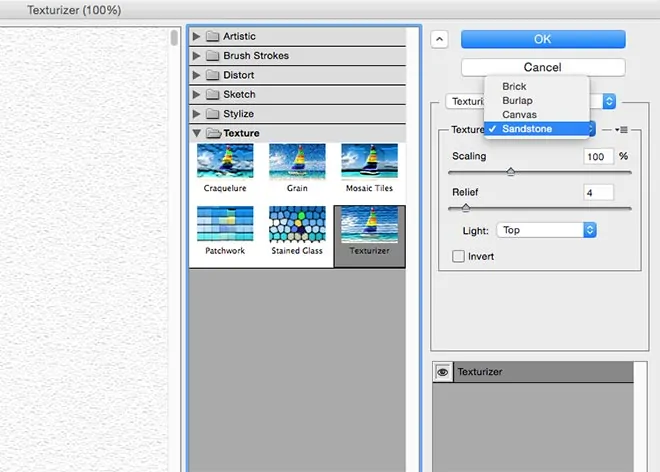
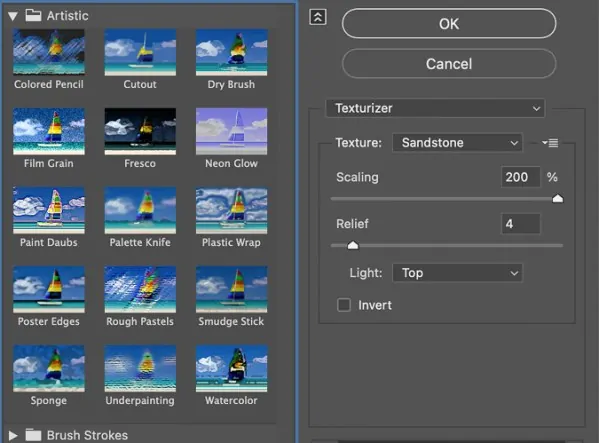
Select textures that correspond to the type you’re emulating, like canvas, paper, cloth, or grain. These textures can imitate the natural impression of conventional media such as painting or photography.
Put the texture on a fresh layer over your picture. Alter the size, orientation, and position to conform the image adequately. Consider rotating or scaling the texture to coordinate it with the composition and angles of the image.
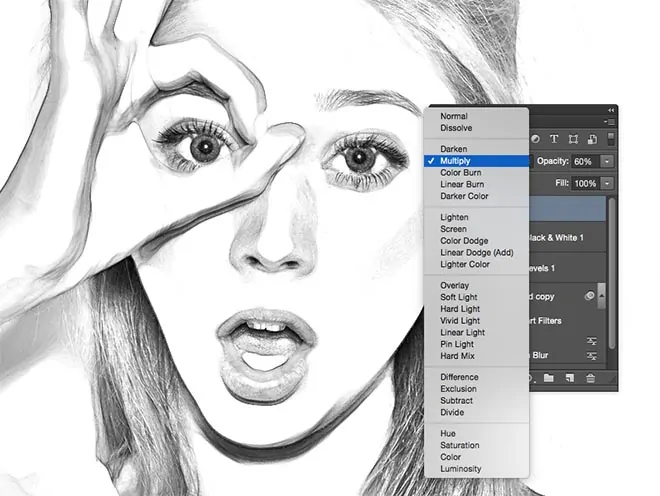
Play with varying blending modes to coalesce the texture with your photo and fix its opacity.
Employ layer masking to dismiss those parts of the surface where there is no need to express it or to decrease their impact in particular zones.
Step 4: Prepare Your Color Palette
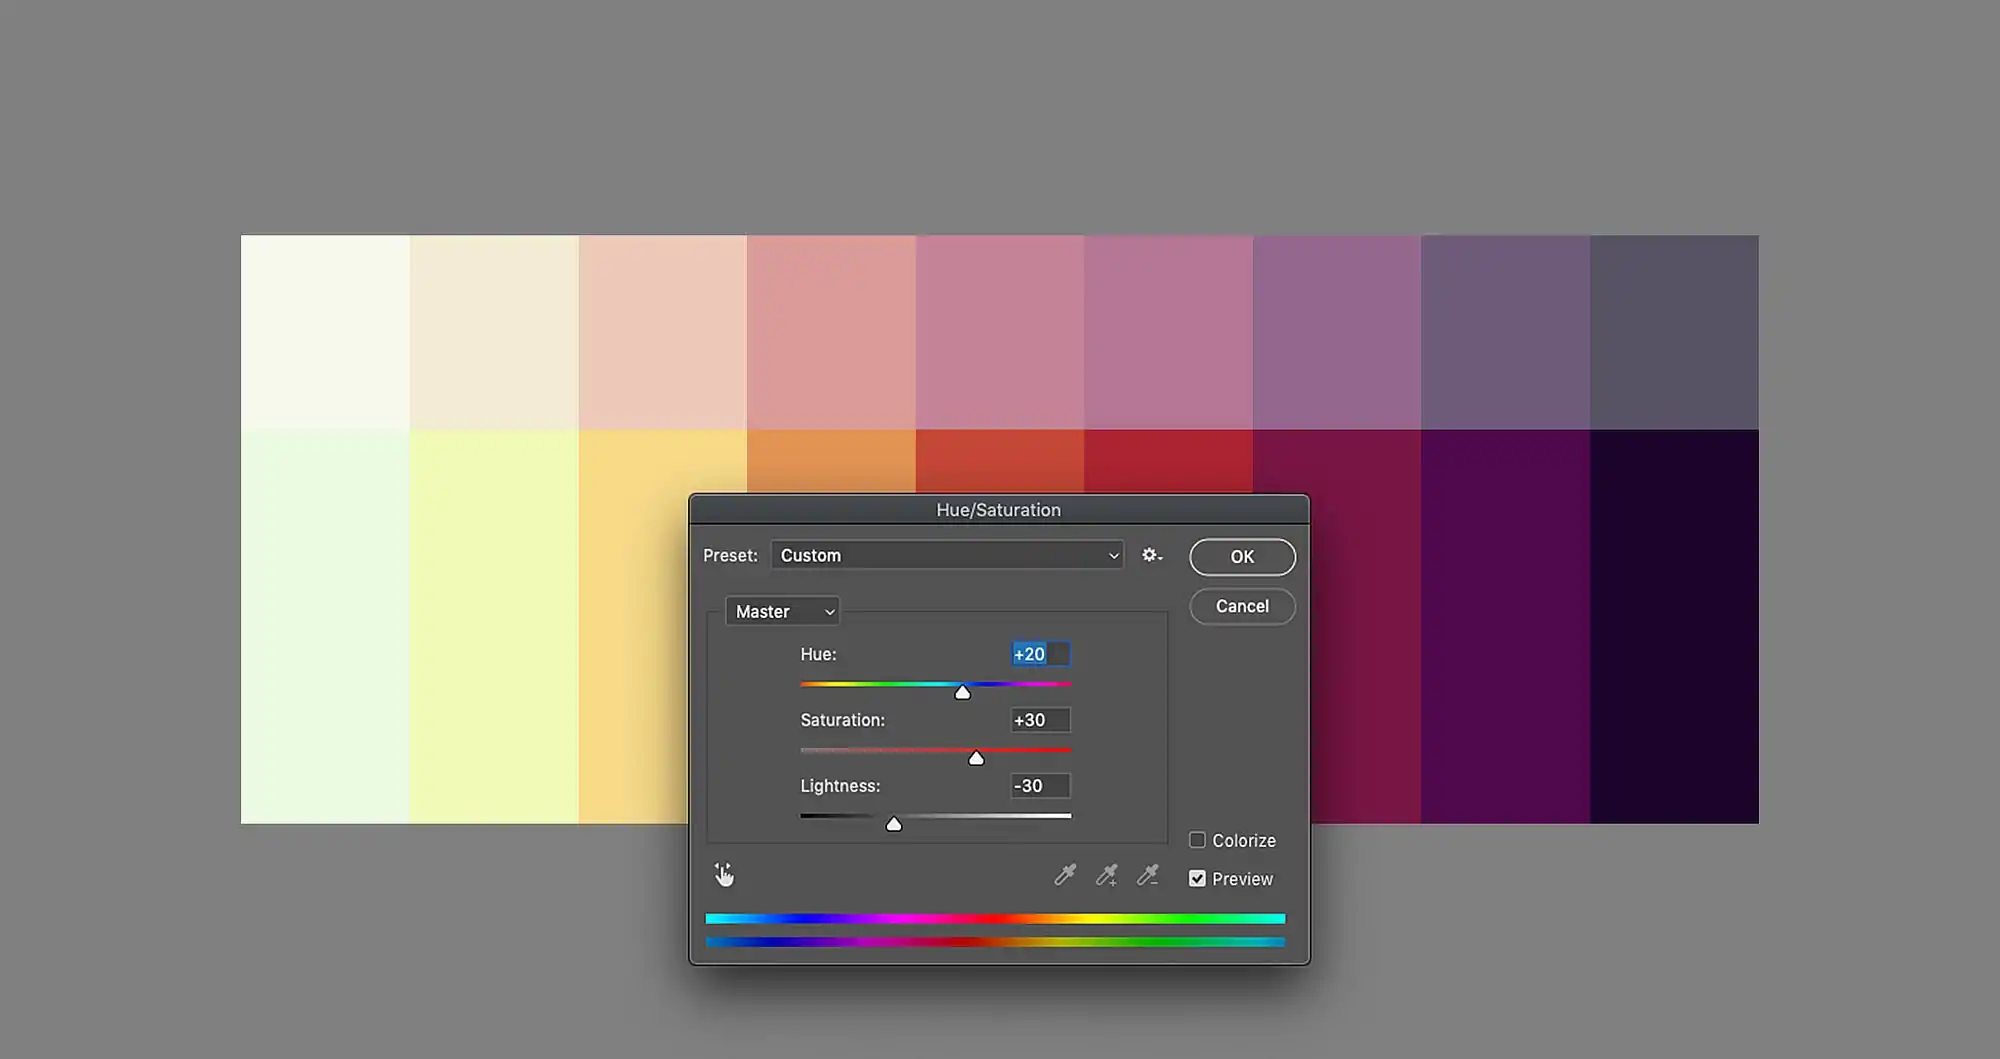
Investigate the distinctive colour palette while providing you with an understanding of colour alternatives like muted tones, pastels, or dynamic contrasts.
Operate colour grading tools, including Hue/Saturation, Levels, or Curves, to adjust the image’s base colours. Warm or cool tones can be balanced to provide the appearance you’re attempting to create.
Consider applying the specific colour filters that instantly modify the temperament of an image. That may enable imitate the ageless qualities of analogue photographs or other conventional media by imbuing tints often found in those arrangements.
Enhance specific ranges by selectively upgrading particular regions of the image by utilizing colour masks. That will permit you to highlight critical parts of the picture while keeping the general style uniform.
Confirm that the colour palette harmonizes with the texture overlays you’ve included. For example, if you included a canvas texture, you may need to alter the palette to muted, natural tones, conforming to the rugged feeling of a painting or illustration.
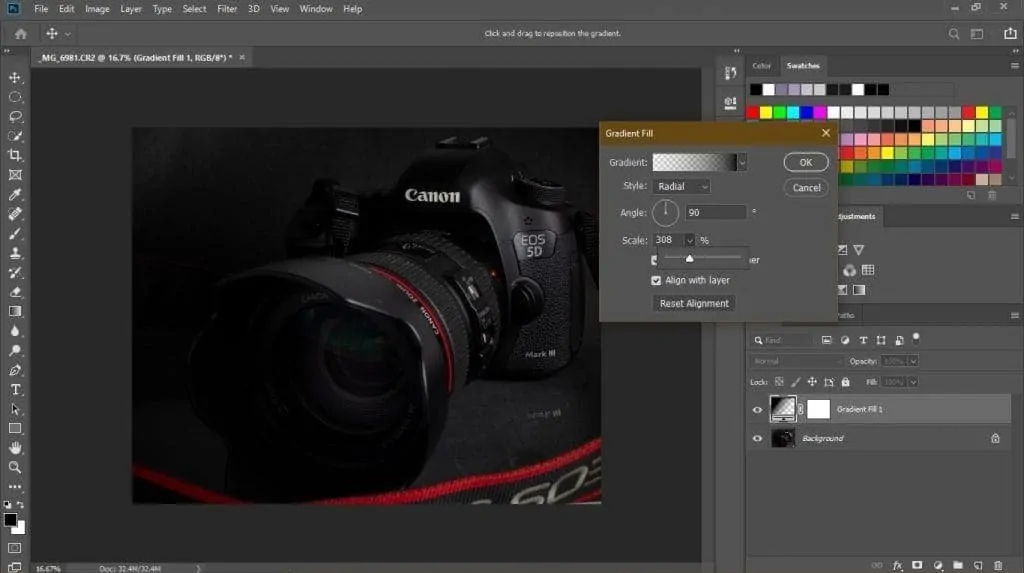
Think about including subtle gradient effects within the background or over the photo via filters or custom gradient layers. These can reenact the lighting effects typically seen in conventional pieces.
Step 5: Attain A Smooth Blending
Make sure that the textures, filters, and colour adjustments are coordinated naturally by fine-tuning the layer’s interaction. Utilize layer masks to selectively blend diverse components, permitting smooth moves between surfaces or artistic effects and the initial photo.
Reset the opacity or fill percentages for textures and filters to sidestep harsh moves between the emulated effects and the initial picture. Lessening opacity can make the blend look more natural instead of like two incoherent layers.
To attain smoother blending, apply gradient masks to soften the edges between emulated zones and the untouched regions of the photo. That will make an incremental change and enhance the lifelike look of the emulation effect.
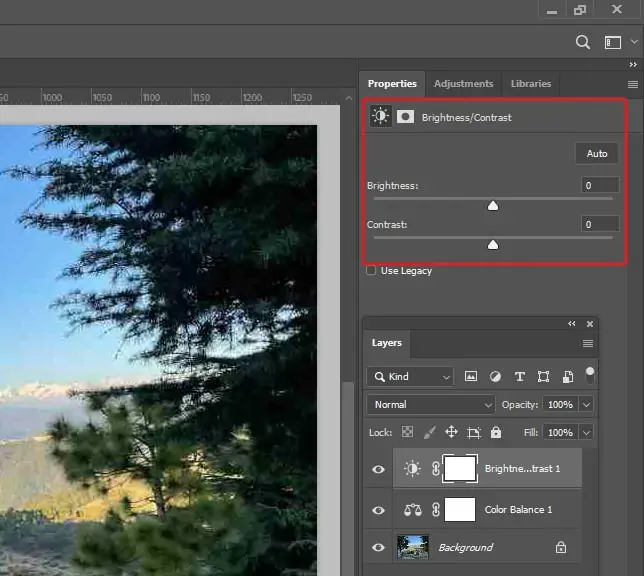
Address the depiction of light and shadows over the photograph and the included emulation components. Alter the contrast and brightness to be sure the shadow zones within the texture or effect adapt to the initial lighting of the photograph.
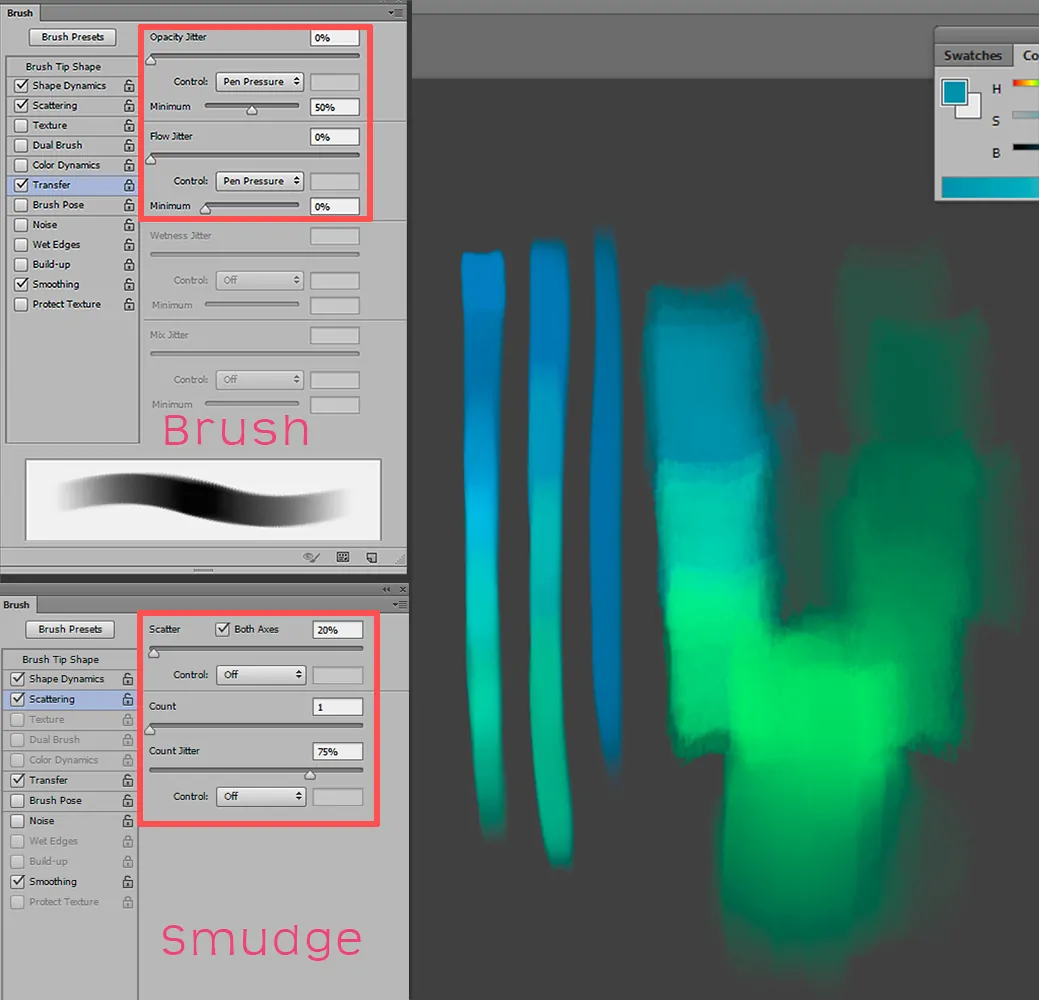
Utilize digital brushes to manually incorporate harder edges, fine details, or zones that might not naturally flow into the effect. Delicate brushing on the fringes of overlays, for instance, can incorporate them with the image for a more coherent formation.
Step 6: Accomplish Final Touch-Ups
Get depth to your picture by conscientiously modifying the highlights and shadows. For example, you can brighten focal points to imitate light hitting a painting’s surface or deepen shadows for a more emotional effect. That will strengthen the artistic style while including authenticity.
Recreate a film or vintage appearance by moderately adding noise or grain to the picture to make the figment of a customary photo or painting.
Include manual or digital brush strokes onto the photograph to bring a more personal, art-like touch. You can simulate brush textures from acrylics, oils, or pastels, relying on the style you are simulating.
Delicately soften the photo’s edges or surfaces where they fulfil the frame or foundation. A smooth transition between effects and the photograph prevents the components from looking too sharp or digitally propelled, improving the prevailing elegance.
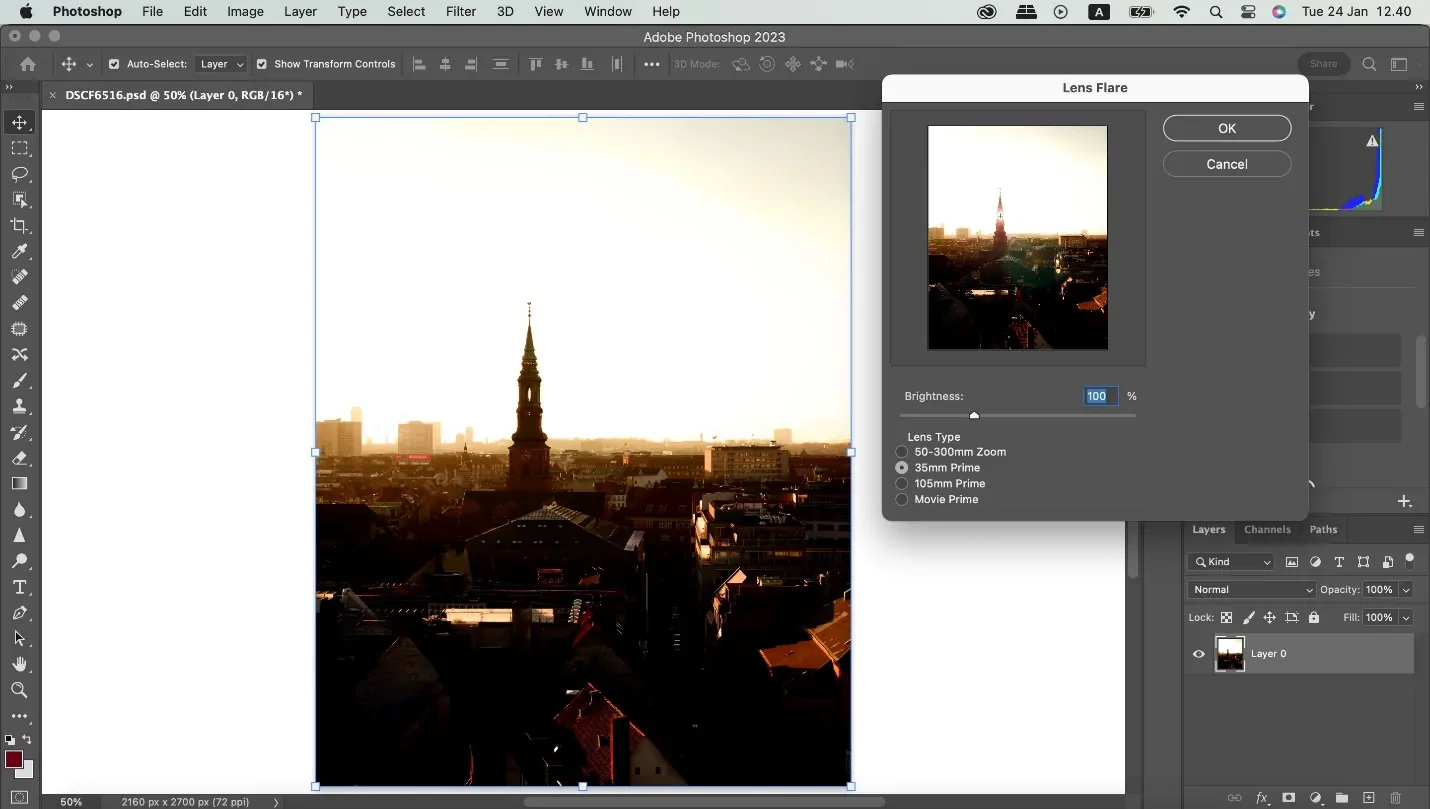
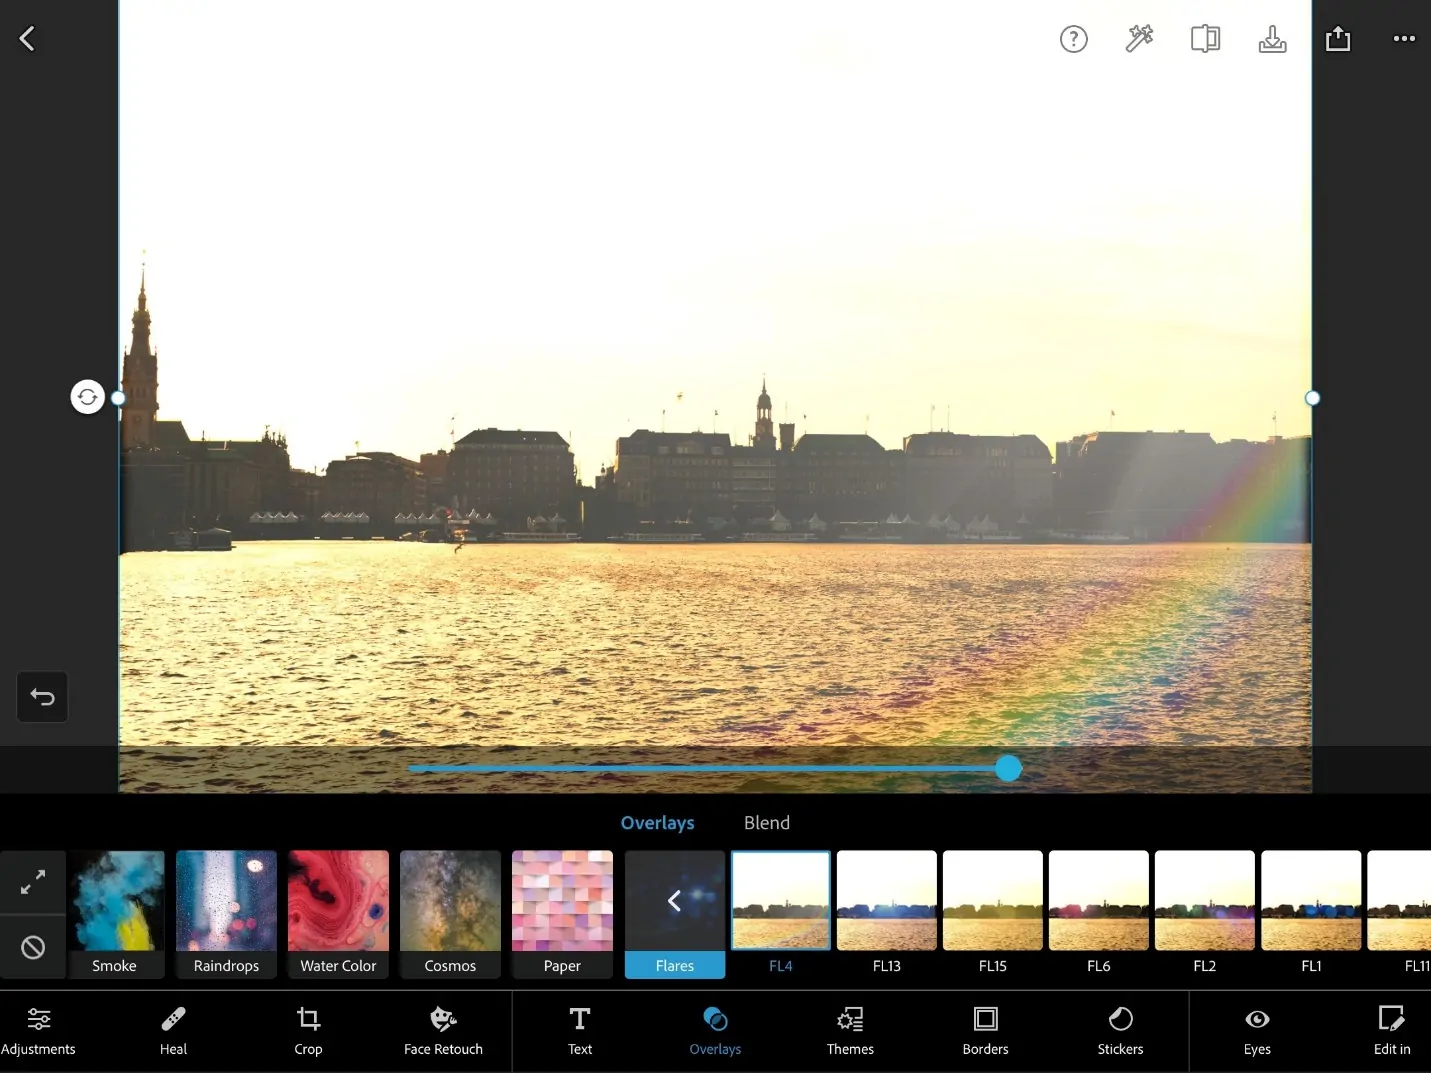
Try lighting effects like glows, reflections, or lens flares to include an additional layer of vibe to the setting.
Include a soft vignette to the corners or an inventive border around the photograph to bring attention to the centre and emulate conventional visual manners.
Step 7: Export The Final Effect
Maximize the sharpness of vital zones to bring out the foremost essential highlights of the photograph so that these ranges look better and do not get dissolved within the overall emulation effect.
Look for further details like strokes, highlights, or thin traces around particular ranges to enrich the scene with more character, making the photograph feel less digitally influenced.
Refine the contrast and saturation of the photograph to make the colours pop or mellow them out, relying on your creative vision. Expanding contrast can include depth and drama, while dropping it may provide the photo with a more modest, vintage feel.
Recheck that all textural elements utilized throughout the photograph—whether canvas, fabric, or brush strokes coherently integrate with the composition. You’ll need to smooth over any irregularities where surfaces clash or show up excessively drastic.
After finalizing the emulation effect and all components blended, flatten the image as necessary to a single layer while keeping a duplicate of the layered file for future alterations.

Export the ultimate piece within the resolution sufficiently suited for its aiming use, such as a high-resolution print form or a web-suited format. Make sure that the file size is reasonable for the stage you will be displaying it on.
Conclusion
In summary, adding an emulsion effect to a photograph creates a classic ambience, including the imperfections and rawness seen in old photography, films and tangible artworks. Creating an atmosphere, defining a tone, or arousing certain emotions gives your contemporary images and graphics the appearance of being from another era. You can experiment with various aspects of traditional media by adding them to your pictures. You can only focus on lighting or contrast to enhance the mood of your shots. Also, you can add noise, blur, or any imperfections to simulate the exact atmosphere seen in old photography. Ultimately, the outcome will always be charming and striking, regardless of which of the nostalgic qualities of ancestral compositions you use in your image.
