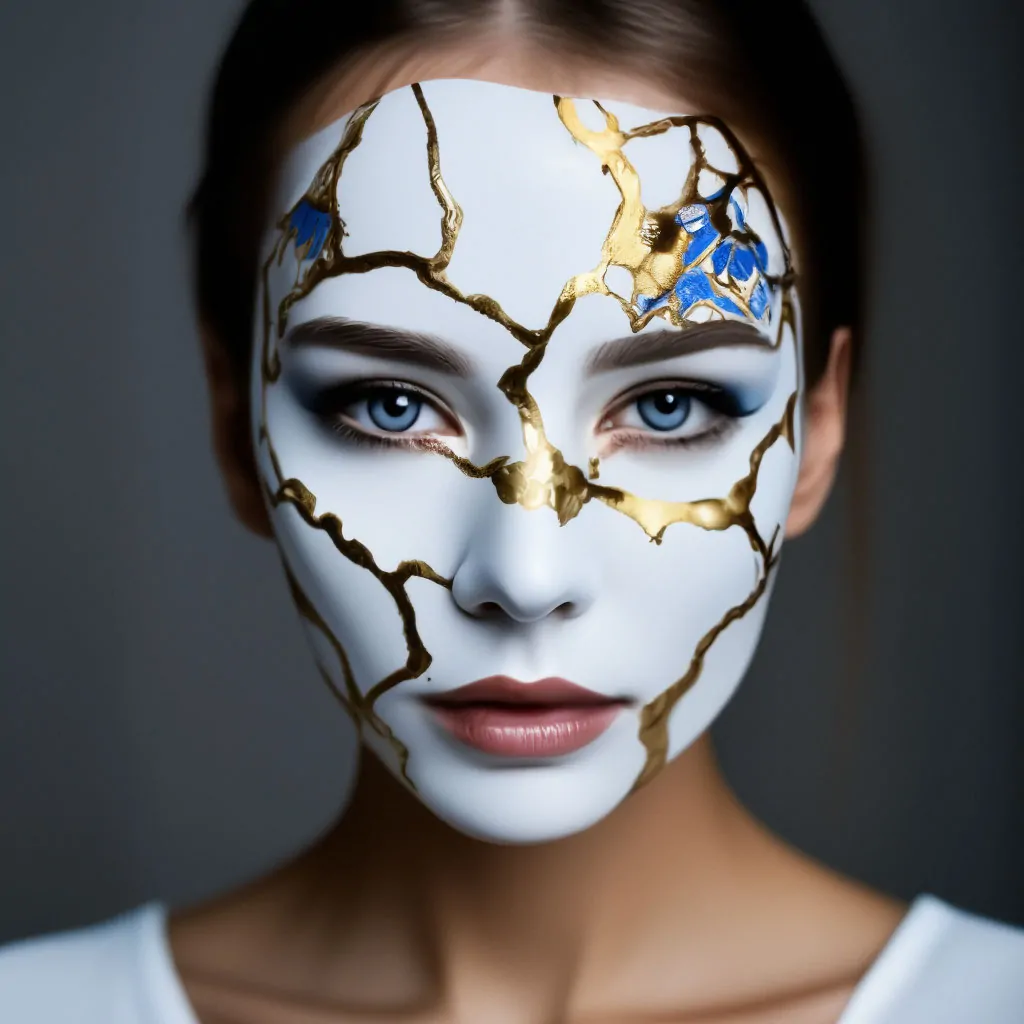
How To Create A Kintsugi Art Effect
Kintsugi art presents the ancient Japanese technique of repairing broken pottery in an aesthetic manner. A mixture of lacquer and powdered shiny metals like gold, platinum and silver was used to fill cracks, tuning imperfections to elegance and refinement. The essence of kintsugi art is to embrace shortcomings by turning them into sources of innate magnificence and brilliance. This ancient art approach continues to flourish in various modern art forms. Most eminently, contemporary digital artworks and images are greatly influenced by kintsungi art techniques. Modern artists and image editors are using this art’s components and distinctive features in their compositions to encourage the viewer to explore the beauties of apparently imperfect-looking entities. Advanced software like Photoshop, Lightroom, Illustrator, and many others can help users mimic irregular crack patterns seen in kintsugi works to get a kintsugi art effect into images. The familiar techniques and tools involved in this process are metallic texture overlays, layering, gradient overlays, masking tools, brush tools, blending modes adjustments, and more. The following steps present the process of adding kintsugi effects into artworks as well as images.
Step 1: Create Crack Patterns
Start by opening your chosen photo in an editing program like Photoshop or GIMP. Confirm that the resolution for detailed work is satisfactory.
Include a blank layer, particularly for the crack patterns. That step maintains the initial photograph while empowering edits without making permanent modifications.
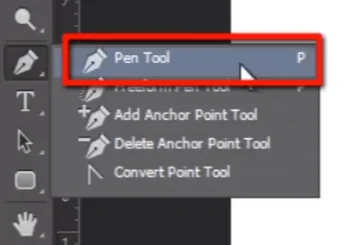
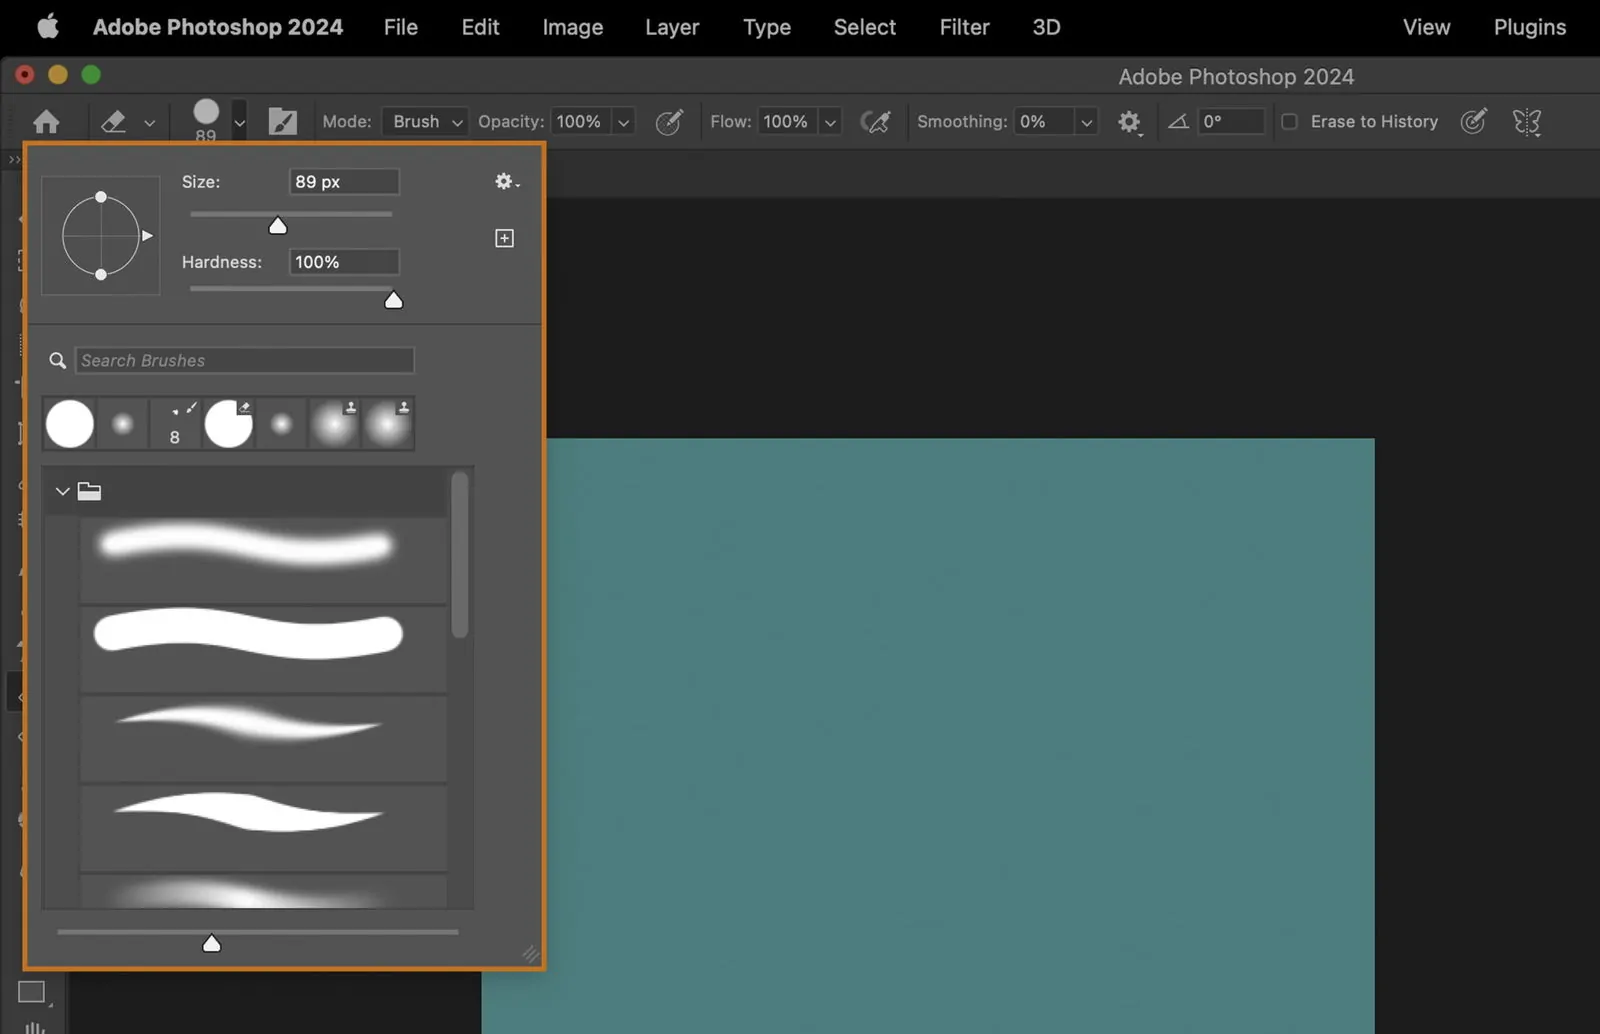
Utilize the pen or brush tool to make the cracks. To get a realistic effect, select a fair brush size with a sharp edge.
Create irregular, natural crack designs by brush, attending to the flow and structure to simulate broken pottery. Focus on ranges where the cracks will enhance the photo’s charm.
Shift the crack thickness somewhat, as common breaks are never consistent. That will add genuineness to the design.
Erase or adjust any lines that look forced or out of place, fine-tuning the overall design.
Do not go for symmetrical layouts, as kintsugi is honoured for its natural imperfections.
Save your progress and group the layers, documenting them suitably to remain organized for the coming steps of the process.
Step 2: Apply Metallic Textures
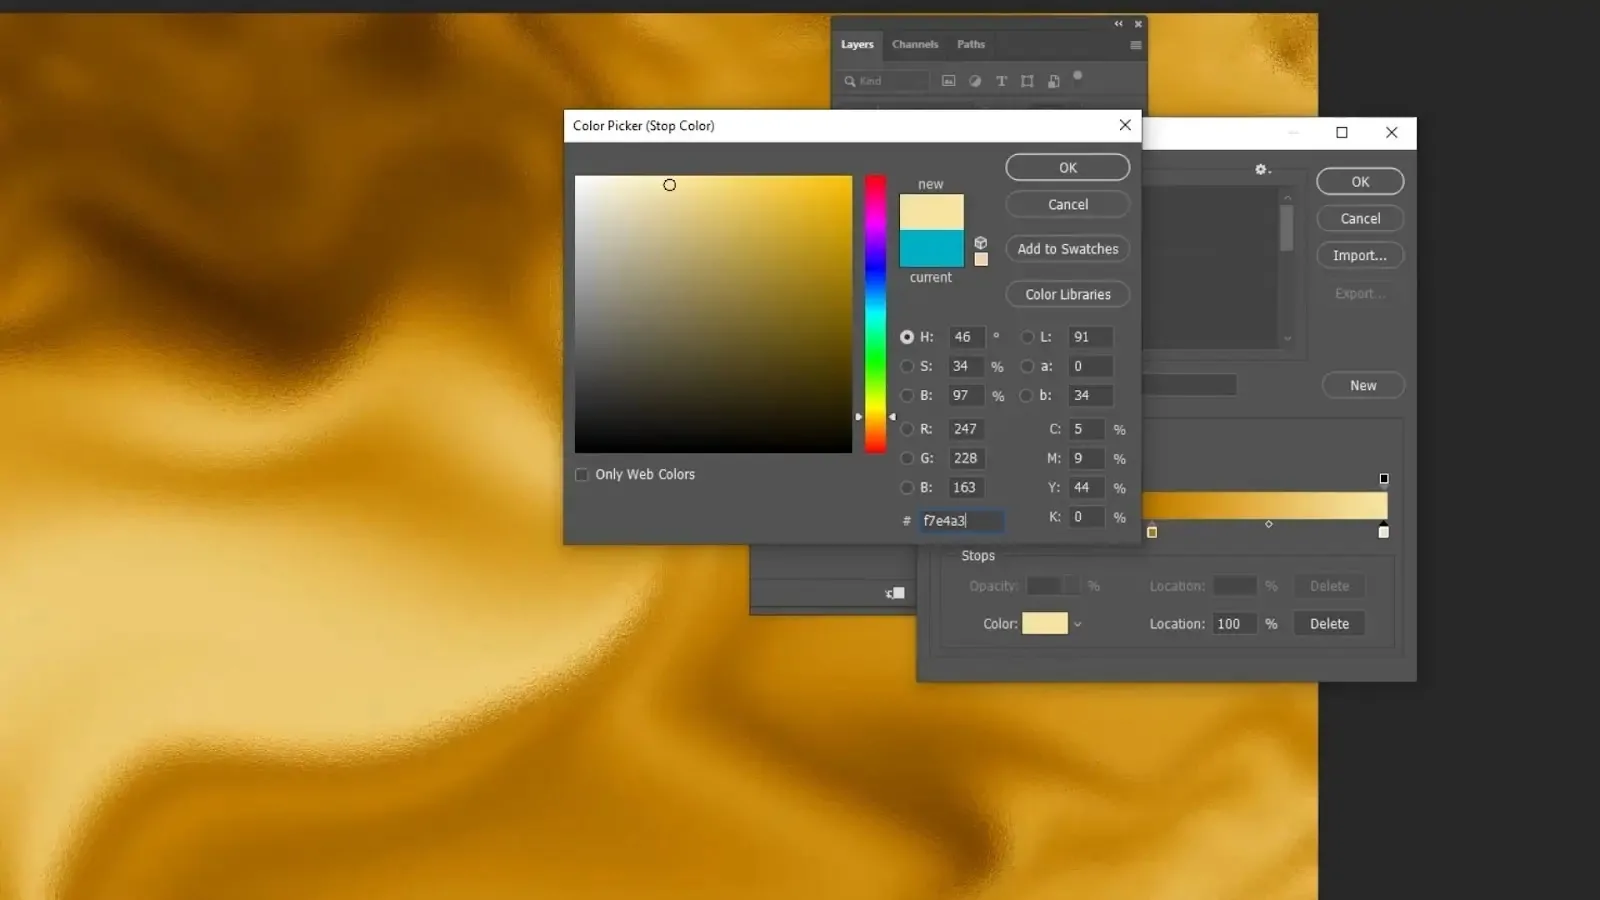
Get a high-resolution metallic surface, ideally gold, silver, or bronze, in your editing app.
Put the texture layer over the crack design layer and resize it to spread onto all the cracks.
Click on the metallic texture layer and select the clipping mask option to confine the texture to the cracks.
Alter the arrangement of the texture to acclimate its highlights with the crack plan, enhancing the authenticity.
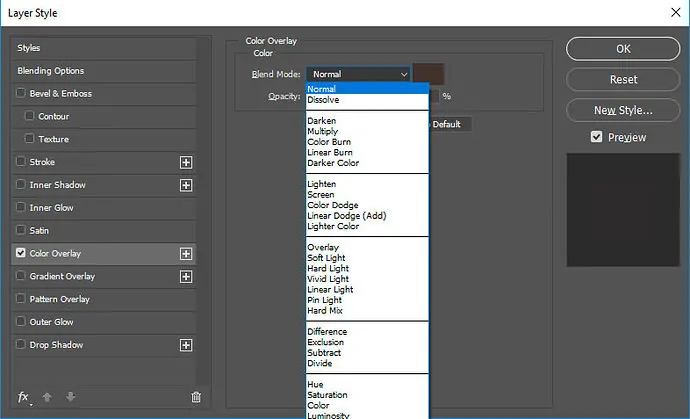
Utilize the blending modes, like Overlay or Soft Light, to consistently incorporate the texture with the cracks and fundamental photograph.
Polish the opacity of the metallic layer to regulate its brightness and intensity, guaranteeing it goes with the photo’s general tone.
Delete excess metallic parts employing a soft brush for smooth edges and to make the breaks look sharp.
Analyze the metallic highlights, transforming brightness or saturation as required to create an effect that is visually flashy and balanced.
Save the file before continuing to the following step.
Step 3: Polish The Crack Patterns
Make a duplicate of the crack design layer to get a backup for extra adjustments.
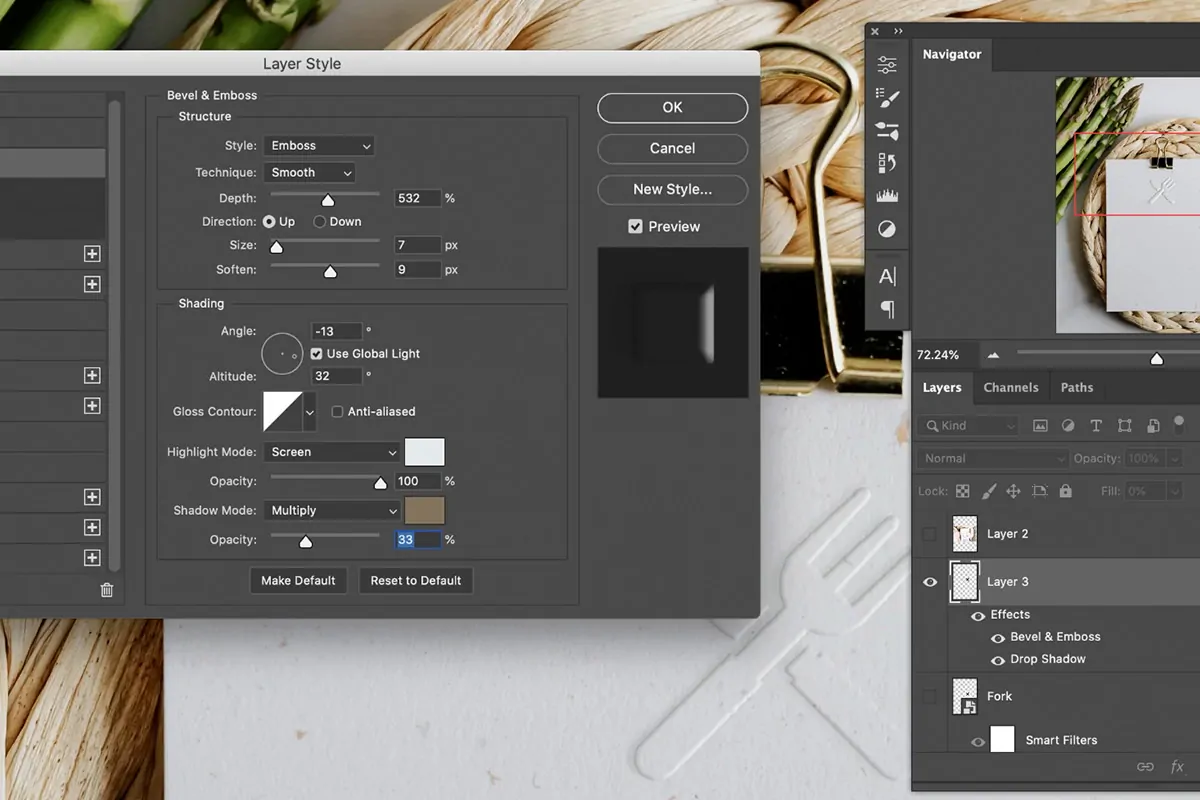
Add a Bevel and Emboss effect to the cracks to enhance depth and a subtle 3D appearance.
Alter the Size and Depth settings within the effect’s alternatives to attain a raised, lacquer-like formation for your cracks.
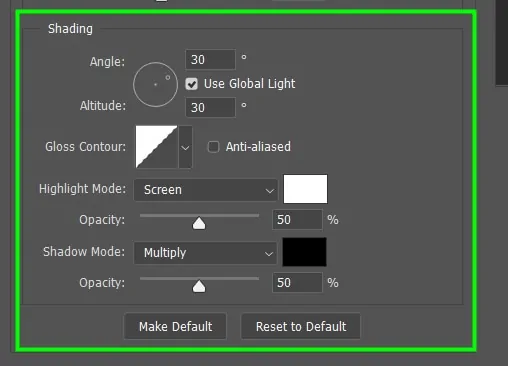
Polish the Angle and Altitude settings to regulate the direction and strength of the light source, offering the cracks lifelike highlights and shadows.
Utilize a dark, soft brush on a new layer beneath the metallic surface to manually include shadows along the cracks, further enriching the illusion of profundity.
Integrate these shadows with a lower Opacity setting to make them characteristic and consistent.
Include a subtle Gaussian Blur to the shadow layer as required for a gentler move.
Audit the changes to guarantee the cracks mix concordantly with the picture, boosting visual depth without overwhelming other components.
Save your work to ensure the upgrades before proceeding to the next step.
Step 4: Fine Tune The Metallic Glow
Click on the metallic texture layer and duplicate it to amplify the shine in particular regions.
Utilize a soft eraser on the duplicated metallic layer to specifically decrease the intensity, keeping the shine conspicuous only in desired districts for a natural appearance.
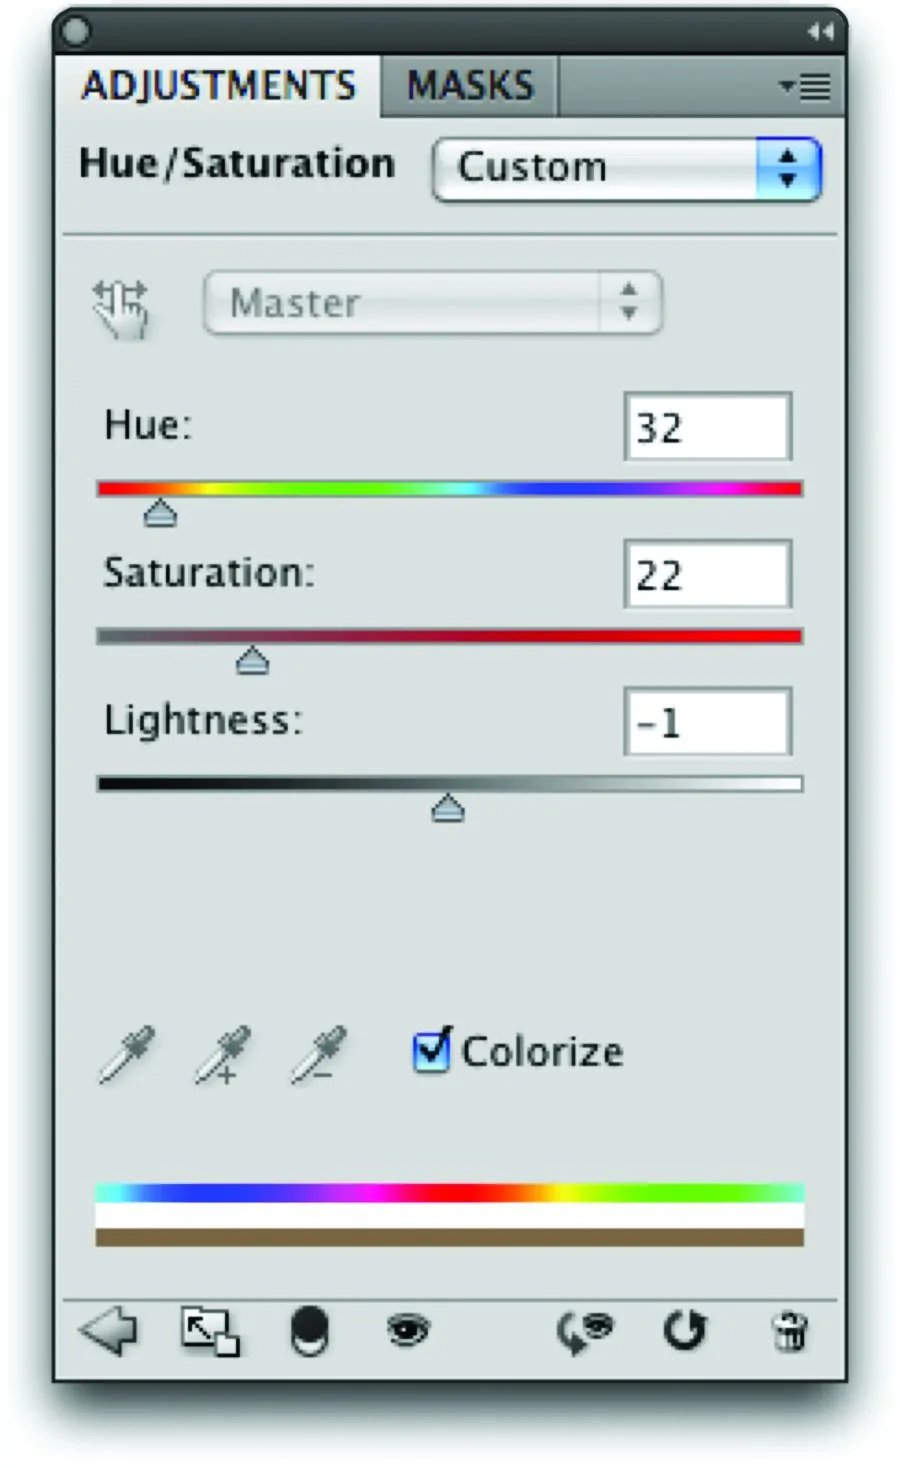
Include a new alteration layer, like Brightness/Contrast or Hue/Saturation, united with the metallic texture layer to tune its colour and gleam.
Alter the Saturation slider to upgrade the richness of the metallic effect without making it excessively dynamic.
Make a new layer and utilize a small, soft brush with a shining gold colour to paint highlights manually along the boundaries of the cracks where light can naturally reflect.
Specify the blending mode of that layer to Overlay or Soft Light to incorporate the highlights consistently.
Play with including slight gradients to the metallic layer, making a dynamic, multi-tonal sparkle that mirrors real gold enamel.
Review the photograph closely, guaranteeing the metallic effect shows up harmonious and realistic.
Save the edits before proceeding to the next steps.
Step 5: Adjust The Blending Of Components
Consolidate the crack layers and metallic texture layers into a single group for more promising organization and enhancement.
Include a Layer Mask to that group and use a delicate brush to fine-tune the edges of the cracks, making sure that they blend naturally into the backdrop photograph.
Alter the opacity of the crack group slightly to let the effect look more balanced with the photograph while protecting its visual impact.
Utilize the Blur Tool moderately on the edges of the cracks to muffle abrupt moves and get a more realistic blend.
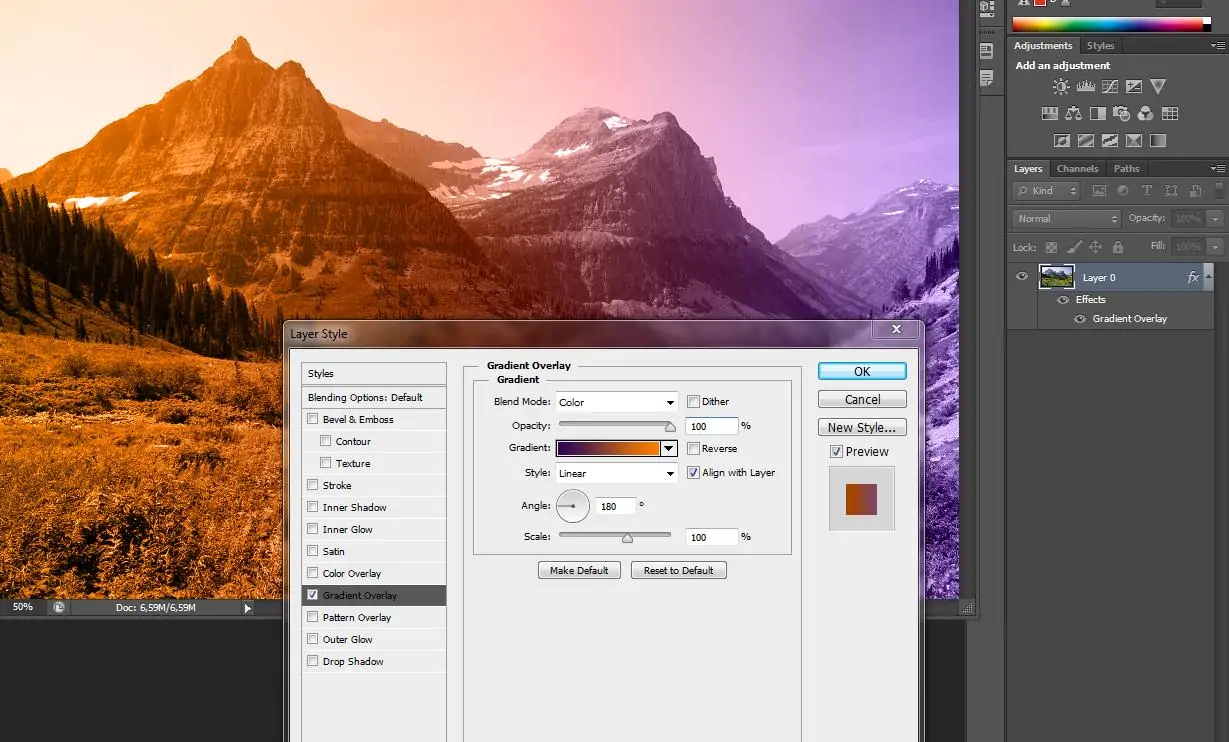
Utilize a subtle Gradient Overlay to the whole picture, on the off chance that is required, to make a harmonious tone and decrease any stark contrasts caused by the metallic components.
Try with global adjustments like Color Balance or Curves to coordinate the tones of the cracks with the general picture palette.
Use the Zoom out periodically to assess how the breaks and metallic textures link with the whole composition, making changes if essential.
Save the blended picture as a separate record to protect that refined adaptation for further upgrades.
Step 6: Add Finishing Touches
Scan the composition thoroughly to identify any zones that will require additional upgrades or adjustments.
As fundamental, include subtle highlight spots employing a soft brush with a bright colour like gold or silver along the breaks to mimic light reflections.
Add a delicate Glow to the metallic components of the cracks by duplicating the metallic texture and adding a Gaussian Blur to it, then altering its opacity for a gentler, shining look.
Review the overall contrast and brightness of the photograph and change settings like Levels or Curves to improve visual allure.
Perform any definitive refinements for the crack lines or metallic textures, confirming that they stay unified with the photo’s style and tone.
If you find any imperfections that are still visible within the cracks, utilize a healing brush or clone stamp to tend them.
Look into including a slight vignette impact around the edges of the picture to further highlight the cracks and vital points.
Step 7: Save And Export
In this final step, you will use the zoom in and out options to be sure that the kintsugi effect looks consistent and realistic from all viewpoints.
Analyze the composition to guarantee the cracks are adjusted over the picture and the metallic surfaces align inherently with the rest of the components.
Review for any remaining blunt lines or overwhelmed metallic zones and polish them, making alterations to preserve harmony and nuance.
Compare the photograph to your beginning idea or reference to ensure that the ultimate result satisfies the specified look.
After you are satisfied with the effect, confirm that all layers are properly labelled and grouped, keeping up an organized file layout.
Pick the proper resolution per the planned use, whether for print or digital media.
Finally, you can export the photo within the expected format while keeping up the most satisfactory quality for the purpose.
If you opt for easy future enhancements to your image, you can save the project within the native format like PSD for Photoshop.
Conclusion
In summary, the kintsugi art effect is a classical art approach; it emerges as an innovation in the fields of digital art and image editing. It goes conversely to the traditional image enhancement approach, which often focuses on eliminating flaws and blemishes from images and adding fine touches to get refined, perfect final results. The kintsugi art, on the other hand, with its cracks displayed in the image that looks to be filled with a mixture of endearing metals, makes imperfections more and more exquisite. In the end, you will have the images deliberately fled to get to that level where even imperfections start looking more outstanding than conventional aesthetic standards.
