How To Create A Mica Effect
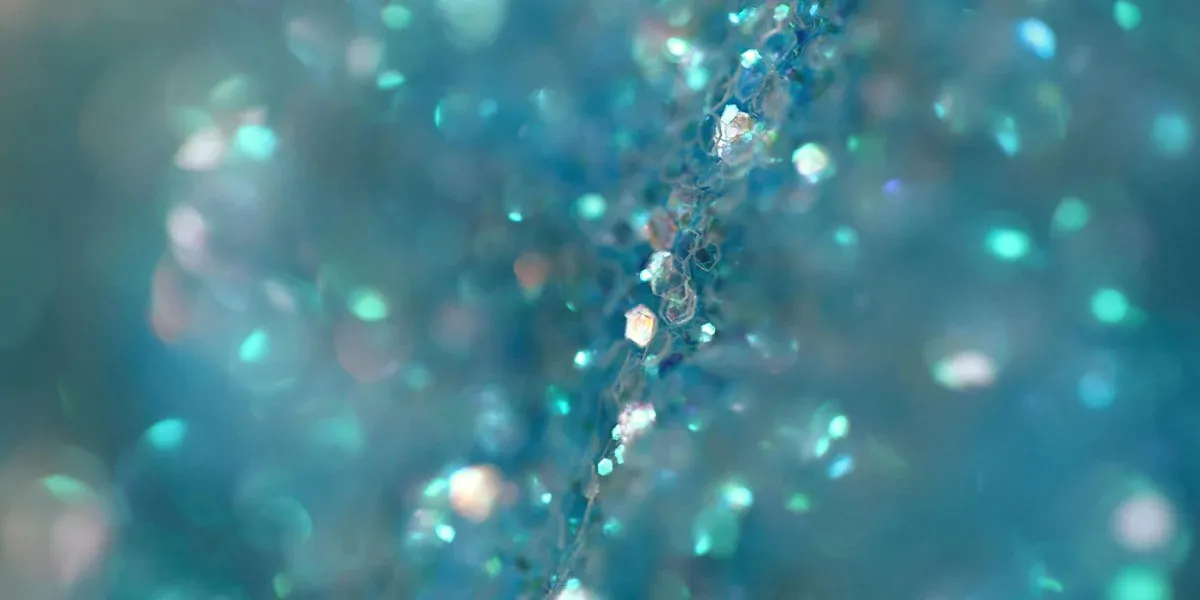
The Mica effect is a phenomenal art approach which features shiny and reflective characteristics akin to the natural lustre possessed by mica mineral. This mineral, because of its shimmery trait, is widely used in designs, cosmetics, paints, coatings, household goods, and antique pieces. Speaking of digital designs and images, a mica effect is utilized there to simulate a shimmering layered impression, light reflections and a colourful glow. Such digital compositions represent an integration of the magnificence found in nature and technology across various related fields, including artwork and image enhancement. Particularly in the field of image editing, the mica effect upgrades images with dazzle and shiny colours integrated with natural-looking shadows and highlights. Image manipulation tools like layering, masking, blur tools, gradient tools, noise filters, healing brush, clone stamp tool, and blending modes all significantly contribute to mimicking the glow and shimmer seen in a natural mica surface. This blog will further elaborate on the process of creating a mica effect using digital tools and approaches.
Step 1: Preparing The Image
Select a high-resolution photograph that conforms to the mica effect application, confirming that the details are crisp for superior results.
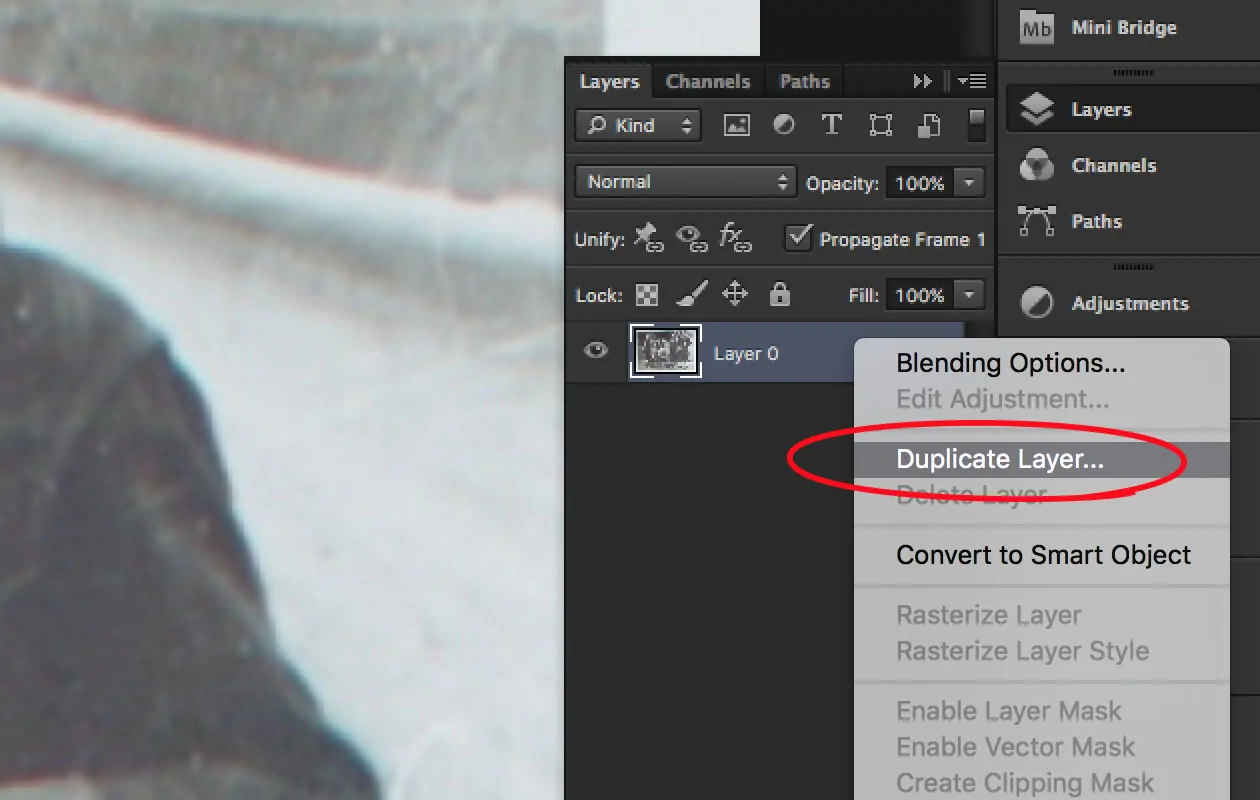
Create a duplicate of the initial photo layer to hold a backup for future alters and comparisons.
Establish a suitable canvas size that suits all effects and layers while keeping up project necessities.
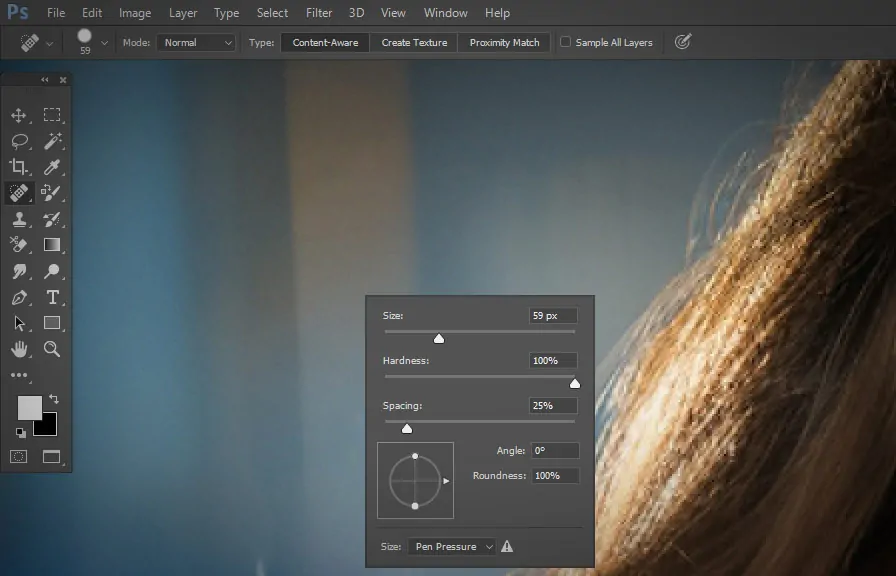
Tidy up any diversions within the picture utilizing tools such as the healing brush or clone stamp to get a refined base.
Improve picture quality as essential by altering brightness, contrast, or sharpness to be sure that the mica effect will stand out.
Arrange the workspace by naming layers and grouping components for simpler navigation during editing.
Keep the project file in a layered format, such as PSD, to protect edits and authorize further alterations as required.
Step 2: Choosing The Base Colour
Make a new layer over the picture and choose a colour that coordinates the mica effect, like metallic silver, gold, or pearlescent tints.
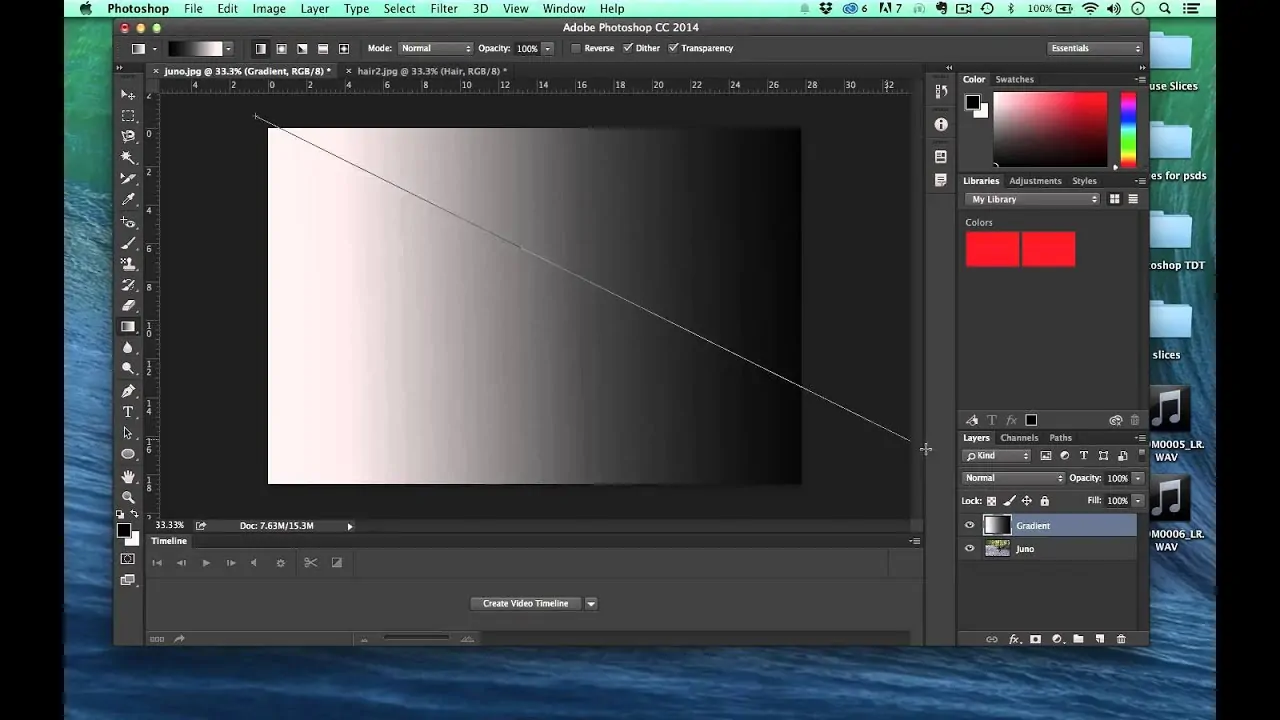
Utilize the paint bucket or gradient tool to fill the newly created layer with the desired colour, guaranteeing an even coverage over the photo.
Put the blending mode of this layer to alternatives like Overlay, Soft Light, or Screen to blend it naturally with the picture.
Alter the layer opacity to handle the intensity of the base colour, keeping it modest to upgrade the mica effect without overwhelming the picture.
Utilize layer masks to apply the base colour specifically to particular regions of the picture if a more localized effect is wanted.
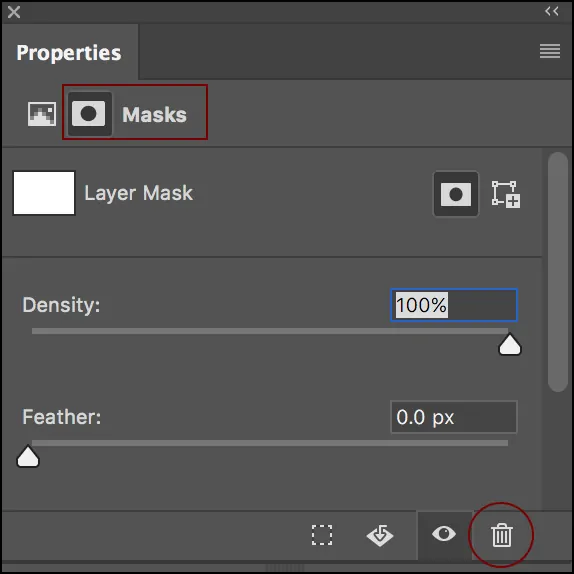
Polish the edges of masked regions with a delicate brush to ensure smooth transitions and a natural impression.
Save your progress to retain the edits before moving to the following step.
Step 3: Incorporating Reflective Properties

Make another new layer over the base colour layer to incorporate reflective properties to mimic the mica effect.
Utilize a soft gradient or texture brush with metallic tones, including silver, gold, or iridescent colours, to paint over the layer.
Specify the blending mode of that layer to Overlay or Hard Light for enriched reflections that coordinate well with the photograph.
Alter the layer opacity to accommodate the reflectivity and guarantee it goes with the base colour.
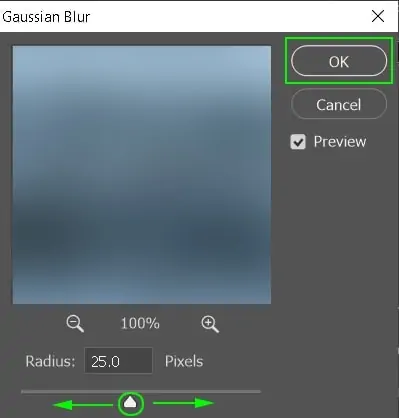
Try using filters like Gaussian Blur to soften the reflections or give them a polished appearance.
Employ layer masks if required to restrict reflections to particular regions, such as highlighted surfaces or ranges where light rays normally strike.
Tweak the brightness and contrast of the reflective layer to get depth and make the shimmer effect look more voiced.
Step 4: Creating Shimmering Textures
Include a new layer over the reflective layer and fill it with a neutral base colour, like grey, utilizing the paint bucket tool.
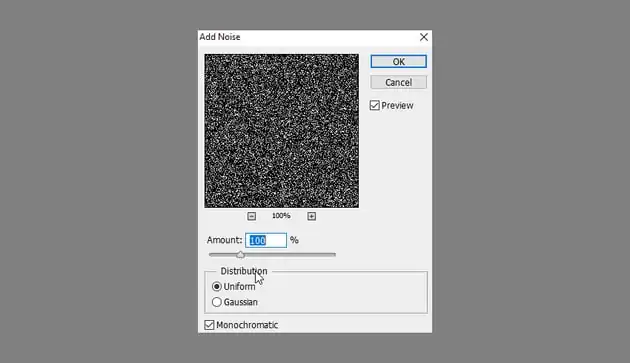
Use a noise filter like Add Noise to that layer, setting the noise type to Gaussian or Monochromatic for a pleasing, sparkling effect.
Alter the noise intensity to make the sparkle texture noticeable but not overpowering, keeping up a realistic appearance.
Utilize the Motion Blur or Radial Blur filter to give the noise a directional, smooth flow that reflects natural mica particles.
Specify the layer’s blending mode to Soft Light or Overlay to blend the shimmer texture with the layers underneath.
Use masking onto the layer by utilizing a soft brush to remove the sparkle texture from zones where the effect is unneeded, like shadows or non-reflective parts.
Lessen layer opacity and change brightness to make the shimmer impact mix naturally while keeping up its fine sparkling formation.
Step 5: Blending All Layers
Audit all layers and be sure that they accommodate visually, modifying their positions if fundamental to attain a cohesive impression.
Refine the blending modes of each layer, including the base colour layer, reflective layer, and shimmer surface for immaculate integration and symmetry.
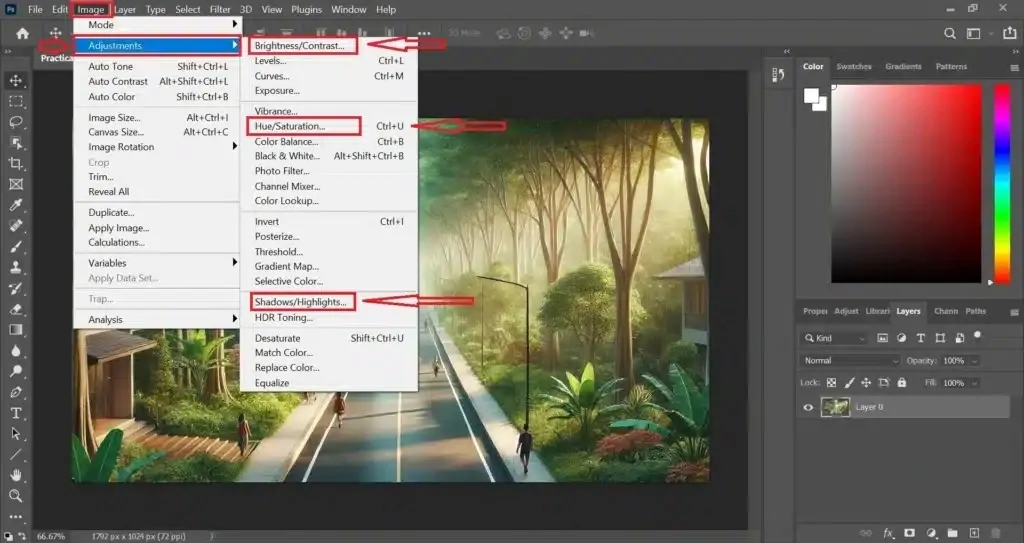
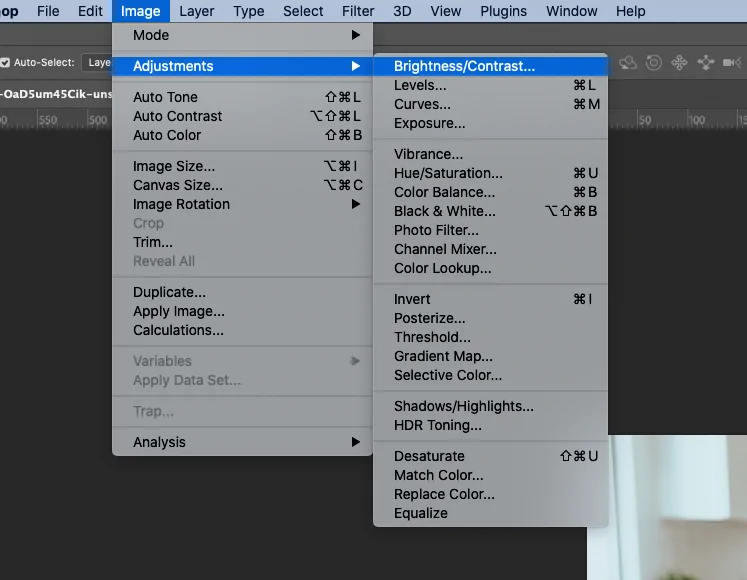
Utilize adjustment layers, like Brightness/Contrast or Hue/Saturation, to bind together the overall tone and highlight the mica effect’s reflective quality.
Play with opacity settings on all layers, moderately accommodating the intensity of the shimmer and reflective components.
Include a global gradient outline layer for colour adjustment, guaranteeing the mica effect complements the tone of the image without overwhelming it.
Utilize a soft Gaussian blur to chosen layers if required to hone transitions between effects and dispense with any sharp lines.
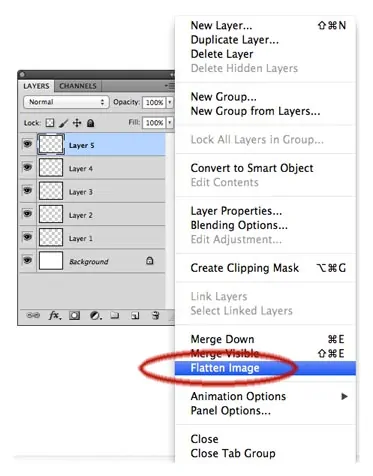
Flatten the visible layers or keep them assembled and arranged, holding flexibility for advance adjustments before concluding the composition.
Step 6: Adjusting Highlights And Shadows
Make a new layer and specify its blending mode to Soft Light or Overlay Blending mode to modify the highlights and shadows without modifying the base colours.
Utilize a soft brush with lower opacity to paint over regions of the picture where you need to upgrade highlights, like the rims of the reflective surfaces.
Pick darker tones or low-opacity black paint to extend shadows in ranges that require more depth, like crevices or backdrop components.
Use the dodge and burn tools for more exact control over highlight and shadow alterations. Add them delicately to avoid abrupt contrasts.
Examine the picture and evaluate the dispersion of light over the layers, guaranteeing the mica effect seems natural with suitable highlights and shadows.
Fine-tune the moves between light and dark zones, utilizing layer masks to keep alterations smooth and even over surfaces.
Reconsider the photo’s general contrast and brightness, editing any ranges where highlights or shadows may require further refinement to top the mica effect.
Step 7: Finalizing The Effect
Use the Zoom in and out features to check the picture for any irregularities or subtle elements that require adjustment.
Do final colour changes utilizing adjustment layers, confirming that the mica effect is dynamic yet adjusted with the overall composition.
Survey layer settings and opacity levels guarantee no layer is too overwhelming, and the effect blends consistently with the remnant of the picture.
Consider cropping and resizing the photograph if required to remove purposeless space or focus attention on the key regions where the mica effect is most discernible.
Once you are satisfied with the overall appearance, proceed to flatten all layers or group them for simpler overseeing and export.
Save your project file within the wanted format, like PSD, for future edits if required, or you can export it in your choice of format for final use, like JPEG, PNG, or TIFF.
Correspond to the photo’s resolution and quality settings before you finalize the exporting, confirming that it is appropriate for your aimed medium, including web, print, or social media sharing.
Conclusion
To sum up, adding a mica effect to photos and designs allows you to create an exceptional sheen, mainly a bright glow and even metallic elements that can refresh or highlight what is already really wonderful. That mineral ingredient is commonly seen in today’s world of glamour and fashion and is often used in cosmetics, design items, and decor to create shimmering, sparkling, or luminous impressions. The reflecting quality of mica further enhances the image’s visual appeal by illustrating the inherent nature of light when it hits glossy surfaces, which results in a persistent glow across the scene.
