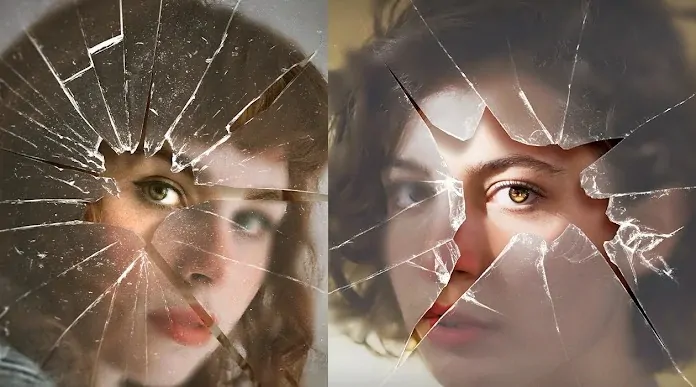
How To Create A Glass Crackle Effect In An Image
A glass crackle effect is a unique visual art approach that involves replicating the shattered pieces seen in an actual cracking of glass. This technique is common in digital art, design, and image enhancement to summon up the perception of fragility and tension and also create a textured effect. The process of creating a glass crackle effect involves layering transparent or translucent textures with lines and crack patterns resembling a natural glass breaking. The resultant compositions provide a sense of drama and stir, enhancing the visual storytelling aspect more significantly than before. Unlike the lifelike phenomenon of glass cracking, this simulated visual scene highlights the view that even imperfections look eye-catching when presented in an elegant and steady manner. Other than using pre-designed or tailored patterns, some other editing tools, like blending mode settings, opacity adjustments, brightness and contrast enhancements, filters, and more, are also employed to create an image that shows natural depth and realism. The following steps of this blog will further elaborate on the process of creating a glass crackle effect to enhance images as well as digital artwork.
Step 1: Create The Base Layer
Begin by importing the photo you need to work on into your chosen editing app.
Be sure that the photograph is of high resolution for an improved quality result.
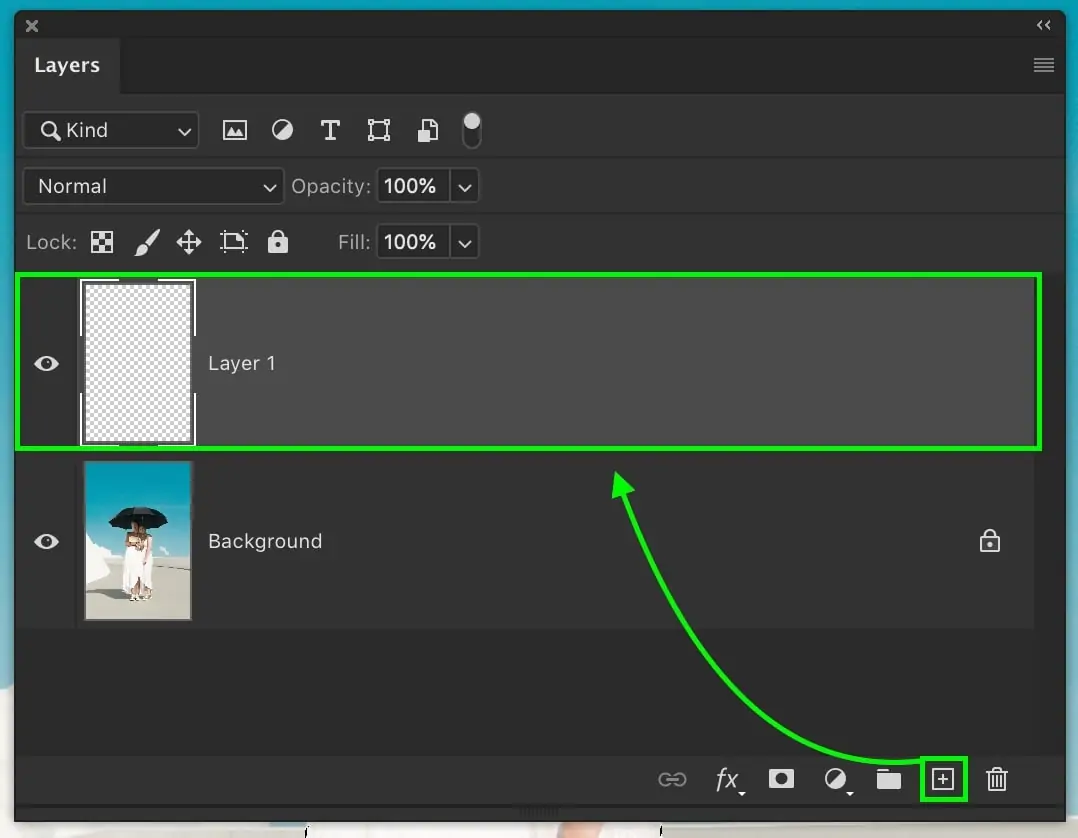
Create a new layer for your effects, keeping the initial photo intact. It permits non-destructive altering, giving you more adaptability in modifying the effect afterwards.
As required, edit the image to concentrate on the range where you need the crackle effect to seem.
Turn the picture layer to a smart object so you can apply filters or edits that can be adjusted later.
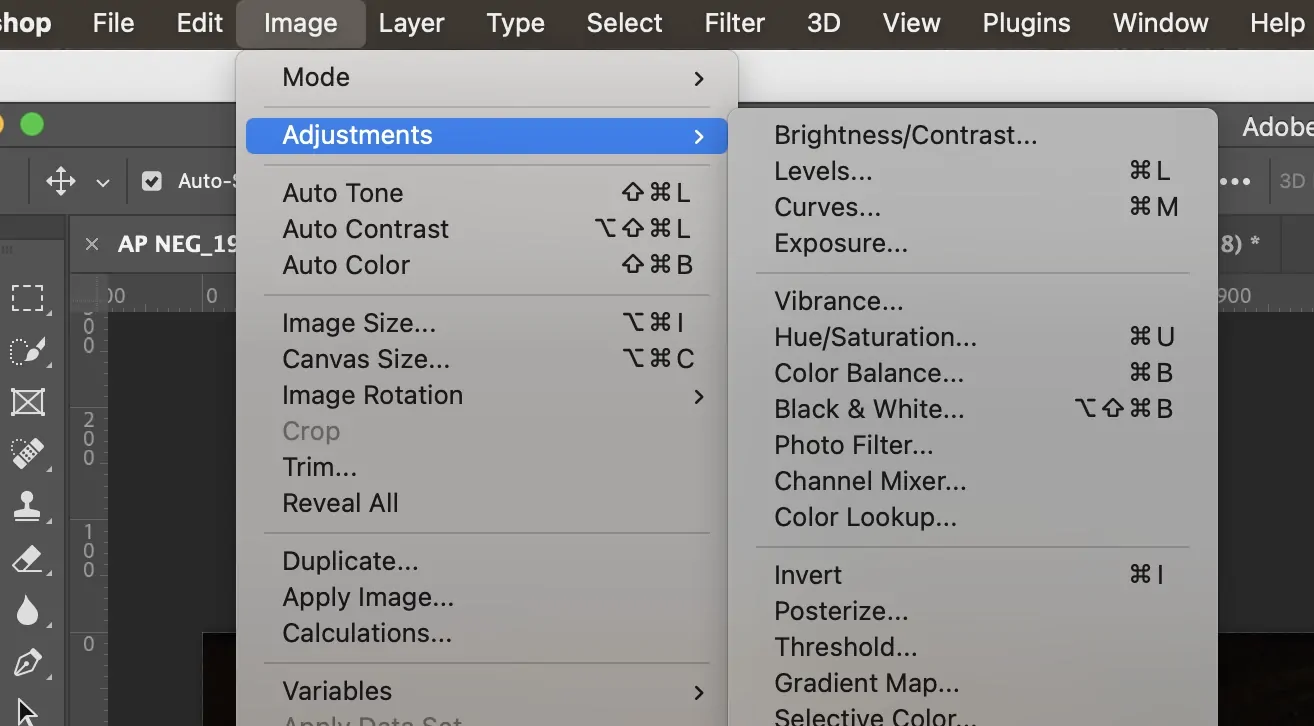
Make any essential adjustments to the lighting or contrast to help establish the tone and improve the cracks when they show up.
Alternatively, apply a slight blur to the background to make the cracked glass effect seem more noticeable.
Save your progress frequently to confirm that no data is misplaced during the process.
Step 2: Apply The Crack Patterns
Discover or make a crack surface or design that mirrors genuine glass cracks, either by looking online or making one manually.
After creating or downloading it online, import the crack surface onto a new layer over your base photograph.
Resize and position the crack design to accommodate the zone where you need the effect to emerge.
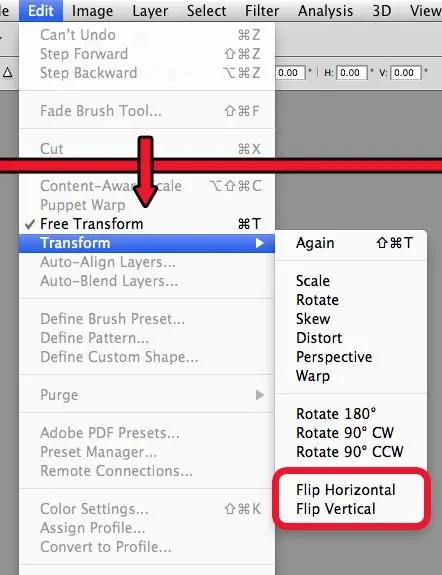
Utilize transformation tools to alter the angle and shape of the cracks to coordinate the basic photograph’s layout.
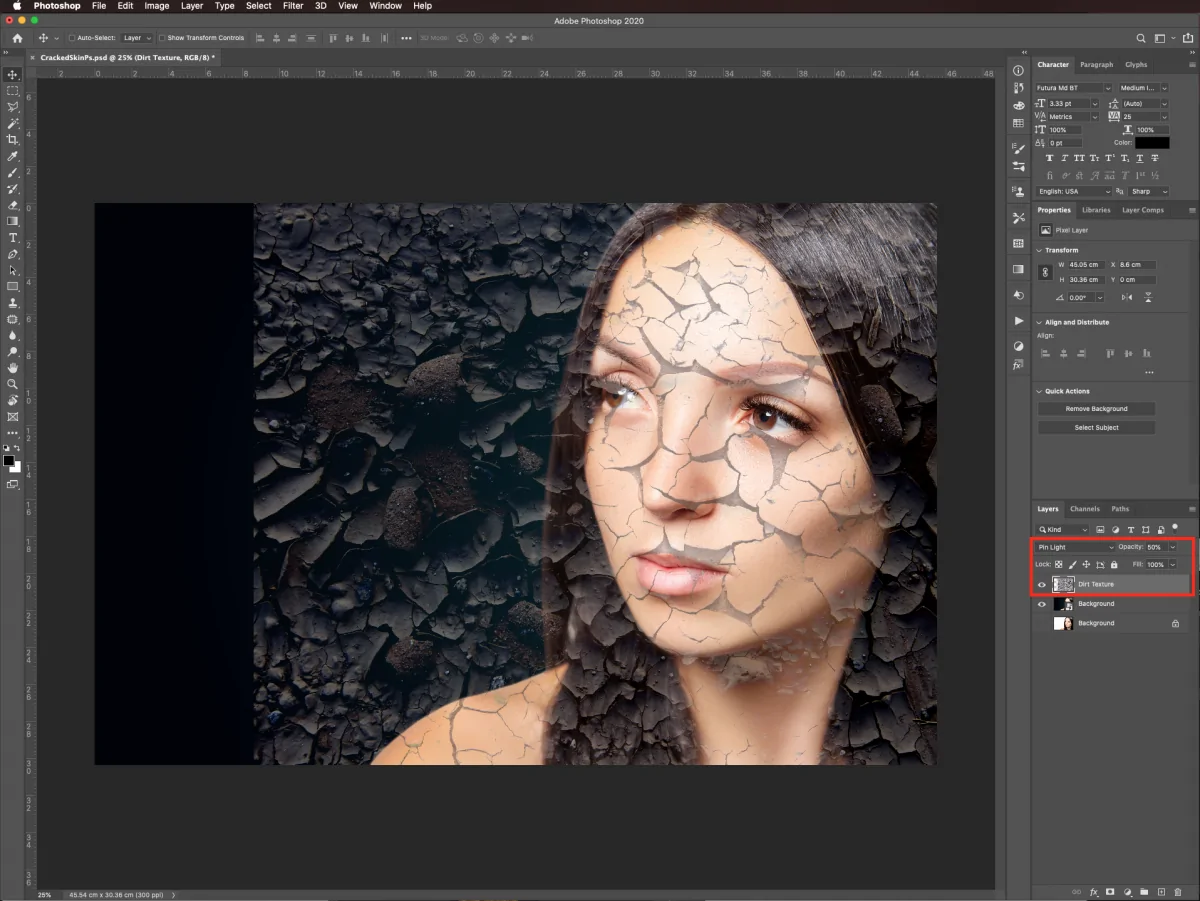
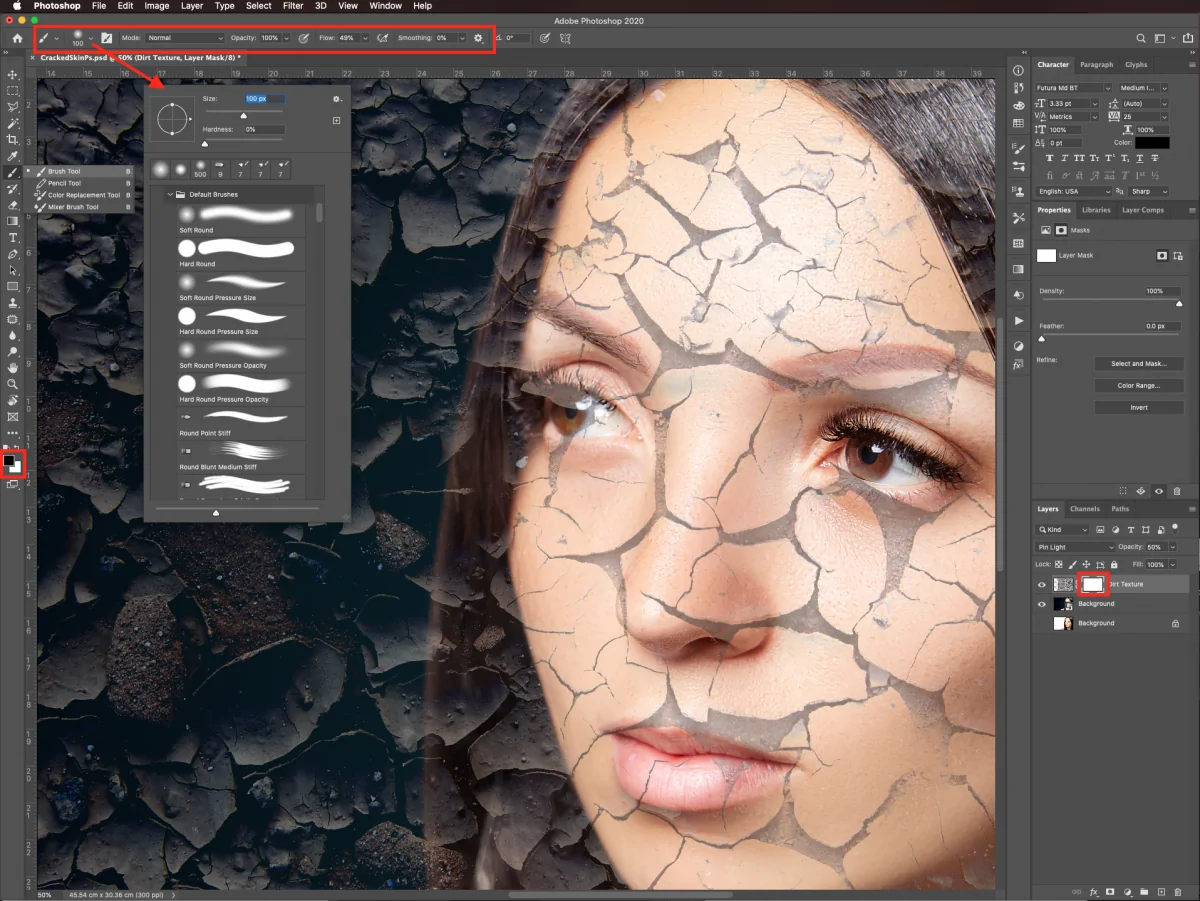
Specify the crack surface layer’s blending mode to something such as Overlay, Multiply, or Screen, depending on the specified intensity and interaction with the base photograph.
Alter the opacity of the crack texture layer to control how striking or inconspicuous the effect should show up.
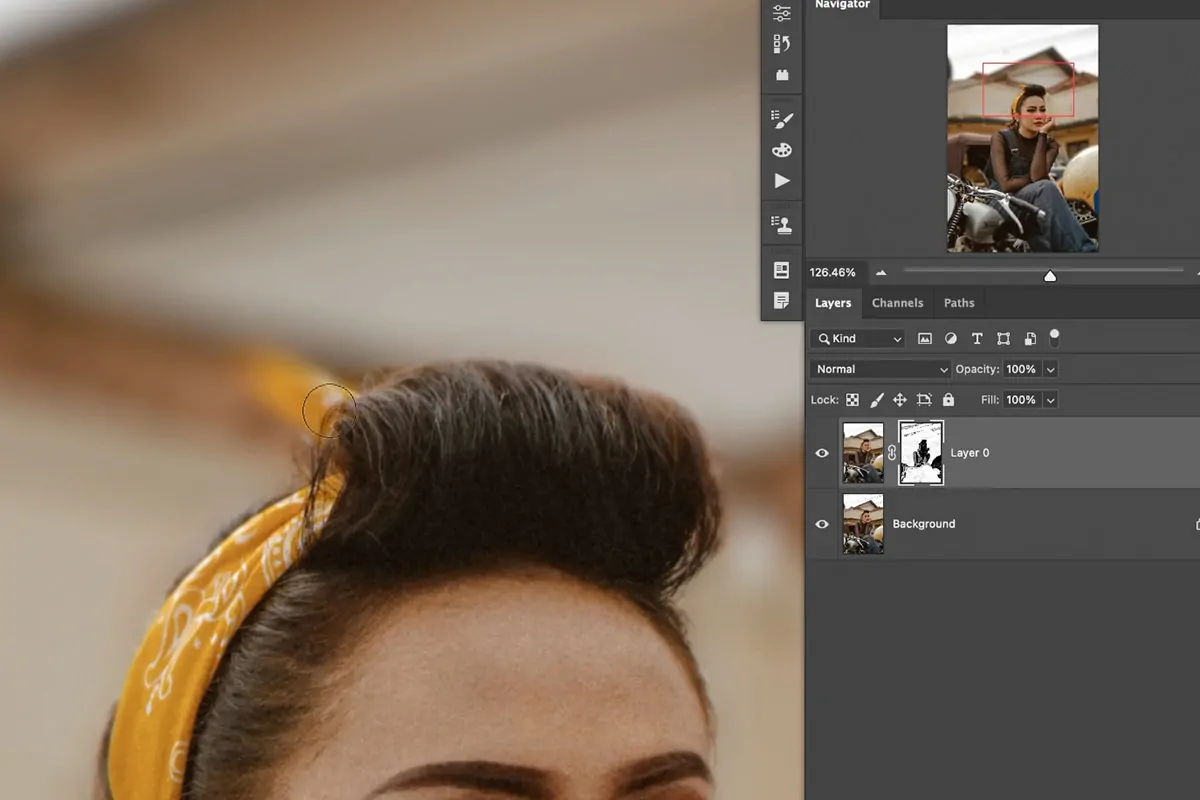
Try utilizing layer masks to fine-tune regions where the crack pattern ought to be more or less visible, making sure the cracks blend consistently into the photograph.
Step 3: Blend And Adjust The Patterns
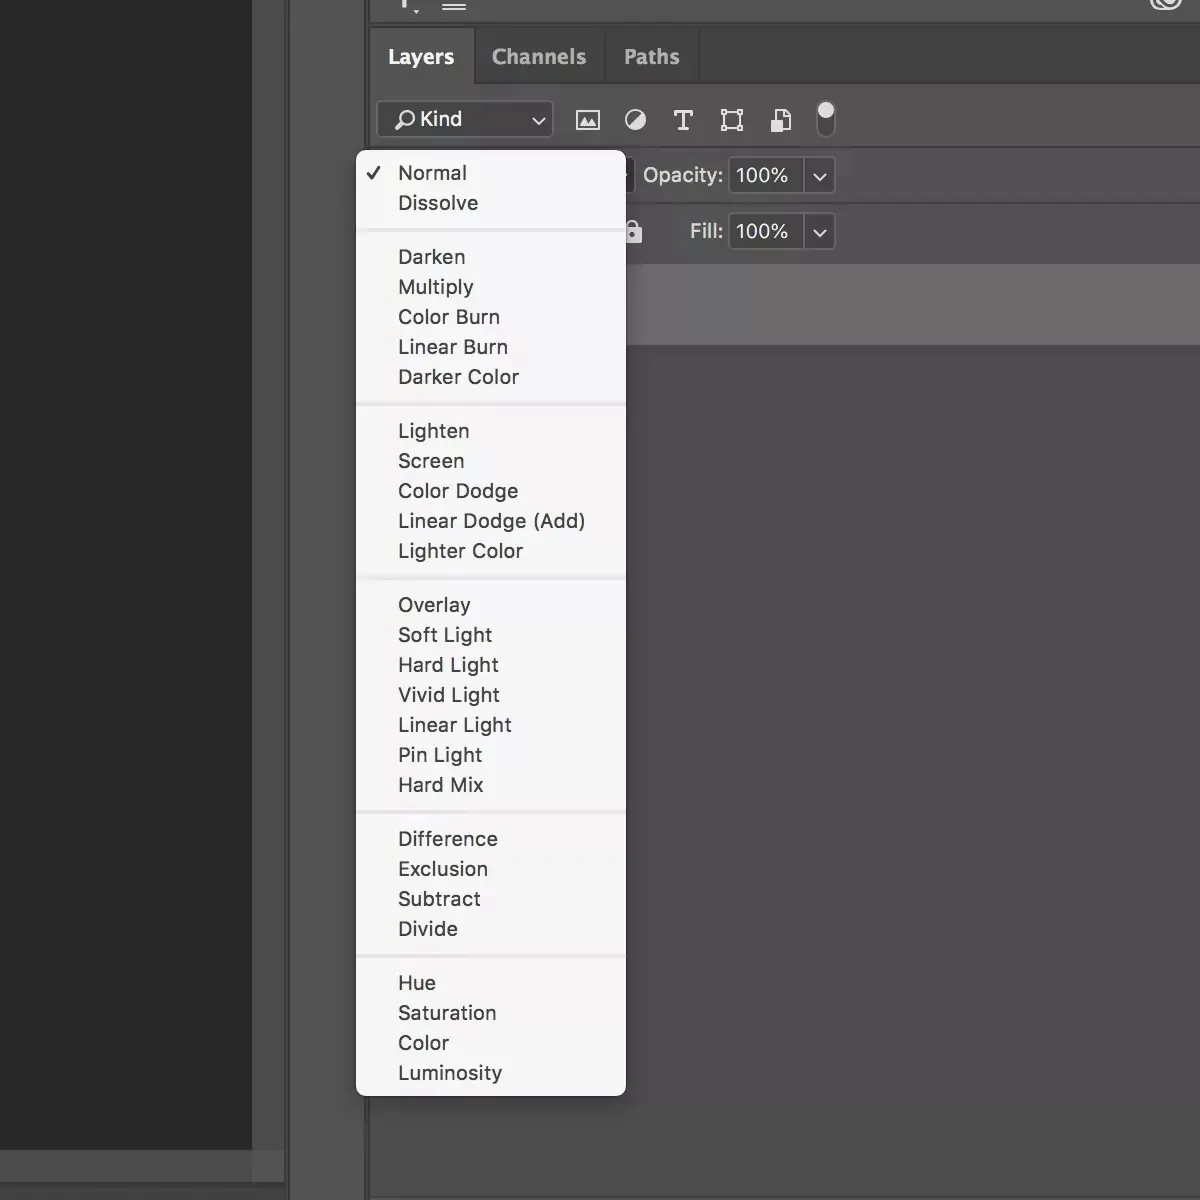
Once with the crack pattern application, refine the blending by trying out various blending modes, including Overlay, Multiply, or Soft Light, to let the cracks blend better with the photo.
Alter the opacity of the crack layer to control the visibility of the cracks, making sure they do not dominate the basic photo but still stay visible enough for authenticity.
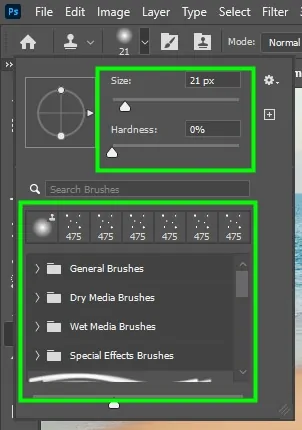
Utilize the Erase tool on the crack layer with a soft brush to specifically remove or fade out cracks in regions that should not have the effect, like the face or critical subjects.
Include subtle adjustments to the colour of the crack pattern by utilizing colour correction tools such as hue/saturation or curves to coordinate the cracks more naturally with the image.
Centre on keeping up equilibrium as too harsh or high contrast between breaks and images can diminish realism.
Review distinctive parts of the photo to guarantee the crack design flows naturally and does not look tedious or out of place.
Utilize a layer mask to further fine-tune ranges where the crack surface ought to transition easily into the rest of the image.
Step 4: Create Shadows And Highlights
Include shadows and highlights along the cracks to mimic profundity and make the effect look more 3D. Utilize a soft brush with a low opacity to paint these shadows and highlights onto a new layer.
Utilize a slight Gaussian blur to the crack layer to let the cracks look less intense and more like natural breaks. Alter the blur amount based on the distance and focal length of the photo.
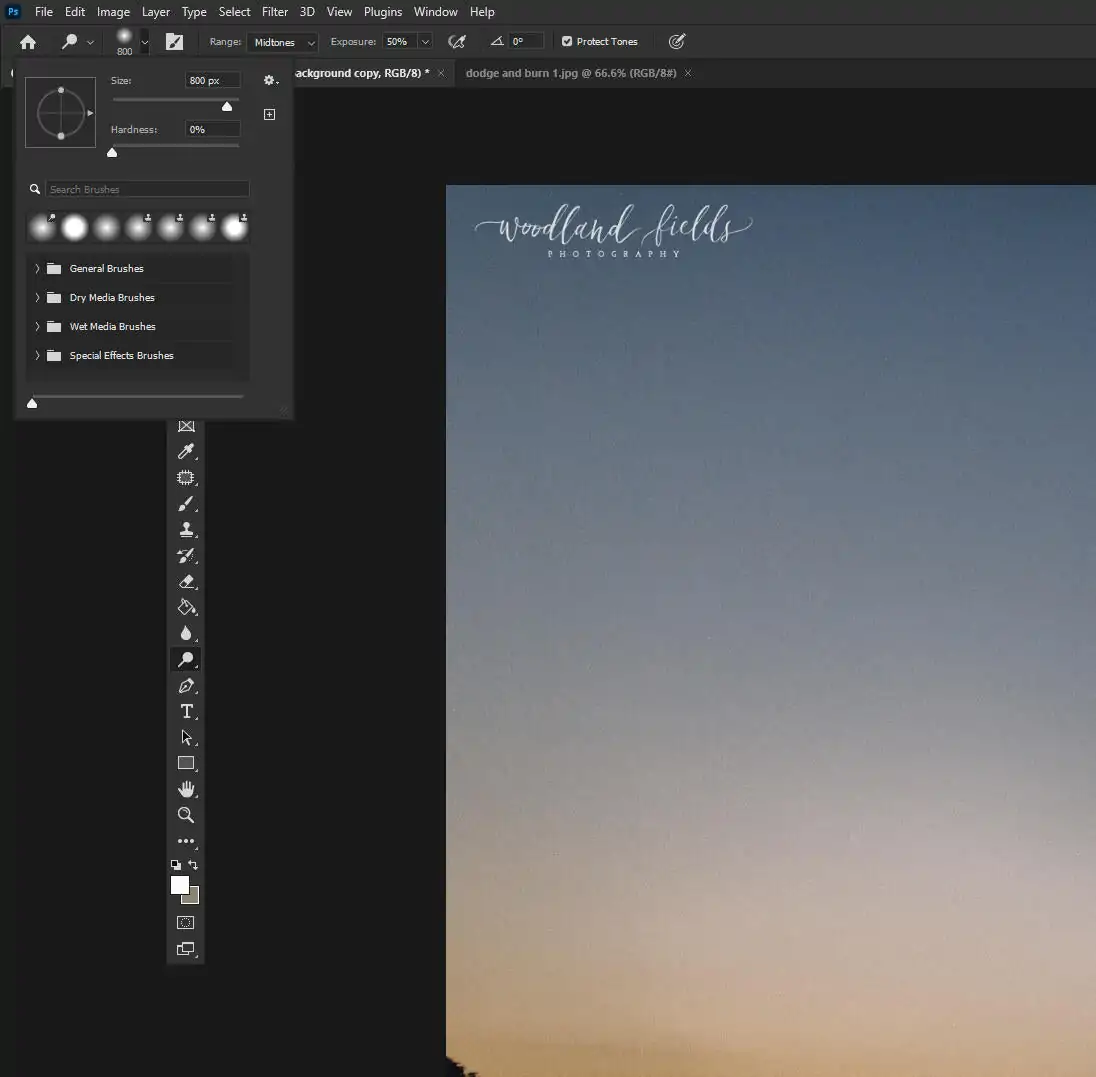
Utilize the Dodge and Burn tools to include nuanced light and dark zones along the cracks, improving their depth and making them more realistic.
Include a glass surface overlay like frosted or cracked glass to provide the splits with a translucent, gleaming appearance typical of genuine shattered glass.
Present subtle refraction or light dispersion near the cracks, mimicking how light might scatter through broken glass.
If the photograph has reflections, utilize a gentle smudge or blur effect to relax and reflect the split effect onto adjacent surfaces, strengthening the authenticity.
Lastly, alter the overall contrast and brightness of the photograph to coordinate the lighting elements of cracked glass, making sure the breaks show up blended with the remainder of the photograph.
Step 5: Adjust The Color Balance

Begin by adjusting the general colour balance of the photograph to coordinate the cracked glass effect, keeping it reliable with the lighting conditions within the photo.
Utilize tools such as hue/saturation or colour balance to revise the colour tones of the breaks, allowing them to integrate naturally with the image’s prevailing tints.
On the off chance that it is vital, apply a slight desaturation to the design of the crack to avoid it from conflicting with the colours within the photo.
Try including a touch of blue or green tint to the crack layers to imitate the cold, slightly pale blue tint commonly seen in broken glass beneath certain lighting conditions.
Review for ranges within the photo where the cracks might require colour alteration for a more consistent transition. It might include softening edges where the cracks encounter other components within the picture.
Alter the contrast and brightness of the crack effect to correspond to the photograph’s environment, guaranteeing the cracks do not stand out too much or show up unnatural.
After the cracks conform with the image’s colour scheme, apply any conclusive polishing to sharpen or soften particular regions that upgrade the natural glass-breaking effect.
Step 6: Refine The Edges
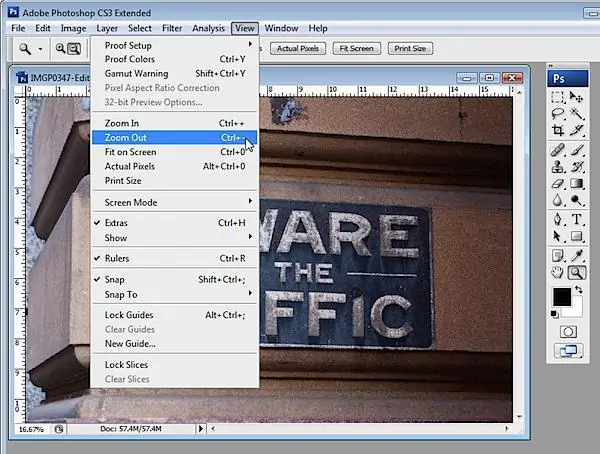
Use Zoom on the edges of the crack design and fine-tune them, employing a soft, low-opacity eraser tool to incorporate the cracks more smoothly into the foundation, preventing drastic lines.
Utilize a feathered selection to form soft, graduated transitions where the splits meet the main components within the photo, making sure that there are no rigid boundaries between the effect and the photo.
If the cracks are too assertive in certain zones, add a slight Gaussian Blur to relax them and coordinate the prevalent focus and depth of field within the photo.
Selectively utilize the Clone Stamp or Healing Brush option to clean up any irregular or undesirable designs within the crack layer that may have strayed from the natural look of split glass.
Create depth by utilizing the Smudge Tool to tenderly drag the edges of cracks into adjacent ranges, giving them a more smashed, less consistent impression.
If there are overlapping ranges where breaks meet, alter their opacity or position to avoid visual diversions, making sure that the focus remains where you want it.
Perform a last check over the whole picture to confirm that the breaks show up consistently and naturally integrated, with the edges blending consistently into the photo.
Step 7: Save Your Final Composition
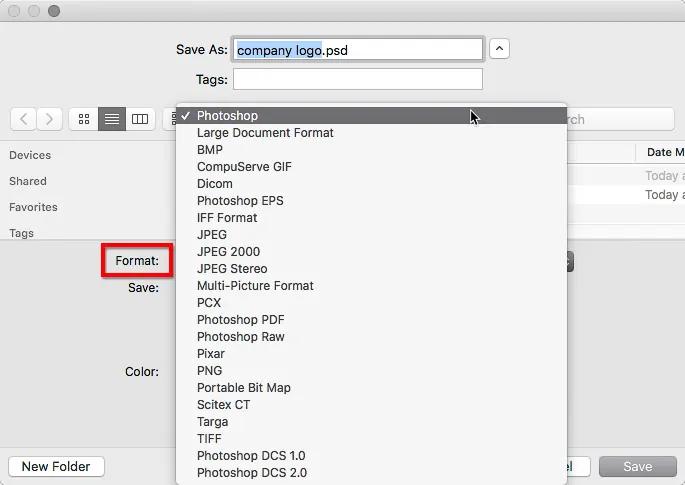
After you are satisfied with the crackle effect, save your work in its editable file format, like PSD in Photoshop or XCF in GIMP, to maintain layers for future alterations.
Export the final image to the file format you want for sharing or distributing, like JPEG, PNG, or TIFF, depending on the usage.
Make sure that you select the right resolution for the expected use, like higher resolutions for print and smaller ones for web usage.
If utilizing PNG, be sure to choose the option to maintain transparency in case your cracks are over a transparent foundation.
Recheck for any visible artifacts or undesirable leftovers of edits, particularly along the cracks. Execute minor changes as necessary before the ultimate export.
Finally, save a backup of your layout in case you wish to return to or alter it later.
Conclusion
To sum up, a glass crackle effect is a visionary approach that seems to deviate from conventional visual art aesthetics. It possesses an innate classiness that prompts the viewer to explore the perfection and precisionness hidden within imperfections like glass cracks. You can either lay it onto the whole scene presented within an image, or you can focus on critical zones or the primary subject. However, wherever you employ this approach, either to enhance images or designs, it must look precise and accurate so that it does not overly monopolize the essential components of your visuals.
