
How To Create A Liquid Chrome Effect
The liquid chrome effect replicates the look of shiny, reflective chrome, though with it, it exhibits the additional attribute of a fluid-like appearance. It is widely utilized in digital art, animations, graphic designs, and 3D models to get a smooth metallic surface that mirrors the surrounding details. This effect gives the impression that the objects and elements within a design are made of a material that blends liquid and chrome. Besides creating visually alluring advertisements, product designs, and illustrations, a liquid chrome effect also prevails as an artistic approach in the image-enhancing field. It can add a dapper and futuristic touch to the images, eliciting a sense of motion and energy. It applies the properties of chrome with the inclusion of intense highlights and reflections that refer to the naturally occurring reflections from the surface of polished metals with further enhanced dynamism using flowing shapes. This blog will review the detailed steps to create a liquid chrome effect for multiple projects.
Step 1: Tailor A New Document
Load Adobe Photoshop and make a new document tailored to the resolution and dimensions you would like for your project.
The size ought to be suitable for the ultimate output, whether you’re making a logo, digital art piece, or text.
A larger resolution, like 300 DPI or higher, will function best to capture better details of the chrome effect.
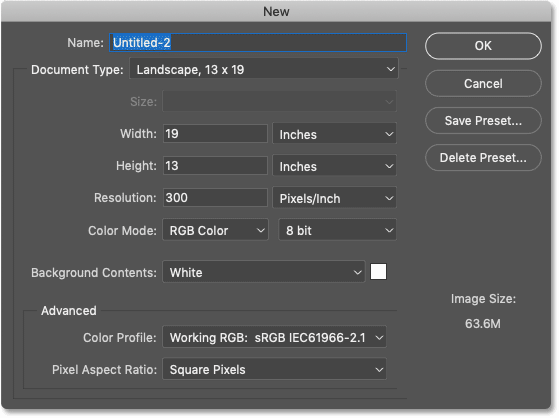
Head to File > New, then specify the document width, height, and resolution approving your project’s essentials.
If you are working on a standard print project, utilize 300 DPI, but for digital pictures such as social media content, 72 DPI is adequate.
Make sure the colour mode is specified to RGB for web work or CMYK if you are preparing for print.
After your document is set up, tap Ok.
You presently have a clean canvas to use to make the liquid chrome effect.
Ensure that you save your work frequently, particularly when you begin including layers, as the effect will be complex and require multiple alterations.
Step 2: Setting Up The Object
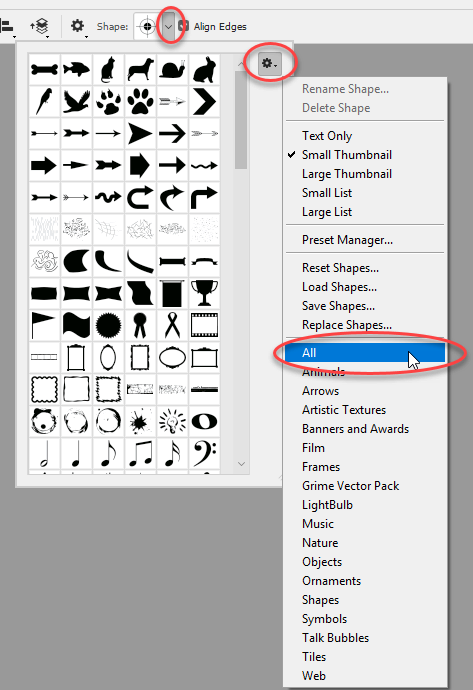
Select an object or shape, such as a logo, text, or another design element, that you need to spread the liquid chrome effect to.
In case you are beginning with text, utilize the Type tool to type your text.
To get a more fluid liquid look, make a smooth layout for the object utilizing the Pen tool or pre-designed vector shapes.
Ensure the object is a strong, defined shape with clearly visible edges that can echo the shiny chrome surface.
In the case of working with text, look into choosing a striking and geometric textual style, as these work better with chrome impacts.
Be sure that the shape or text layer is chosen within the Layers panel for easy access during the editing process.
If you would like to form multiple objects or text within the same design, arrange them to conform to the composition.
Alter the positioning or size if it is vital to make sure the object stands out inside the design setting.
At the end of this step, your object will be prepared to go through further styling with the chrome effect.
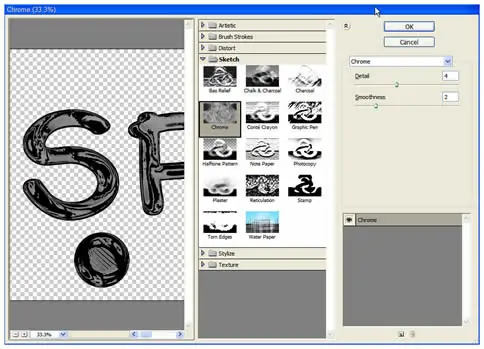
Step 3: Applying Chrome Gradients
To make the base chrome effect, choose the object layer that you need to apply the gradient to.
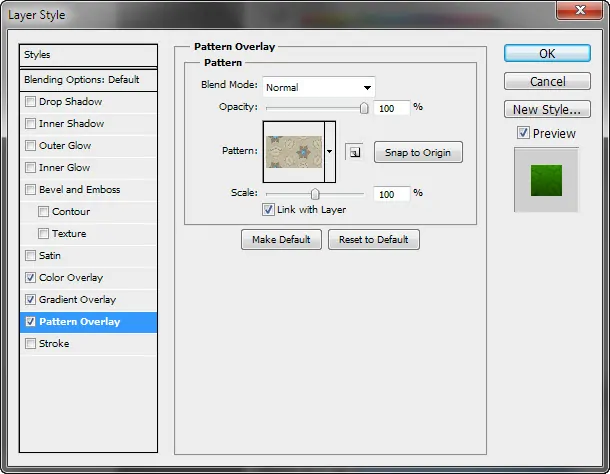
Unlock the Layer Style menu by double-clicking on the object layer or by going to Layer > Layer Style > Gradient Overlay.
Within the Gradient Overlay window, press on the gradient bar to open the gradient editor.
Choose a gradient that ranges from dark grey to white, or tailor one to create a glossy, metallic chrome appearance.
Alter the Angle of the gradient to correspond to the direction of the light source, giving the object a reflective sheen. A standard angle value of 45 to 60 degrees works sufficiently for most designs.
Modify the Blending Mode to Soft Light or Overlay to attain a more natural effect.
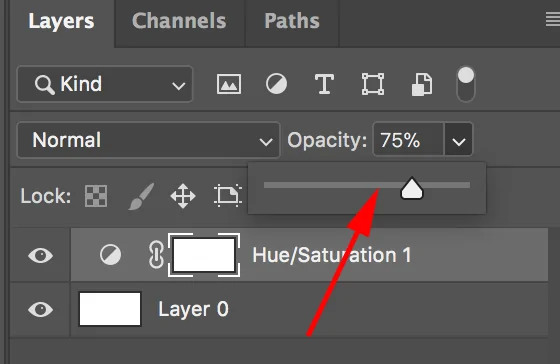
Revise the Opacity as essential to get the level of reflection that accommodates your design. Higher opacity often makes the impact more drastic.
At the end of this step, your object will contain a smooth, metallic base prepared for further highlights and refining.
Step 4: Include Glossy Reflections
Make a new layer over the object layer to include glossy highlights.
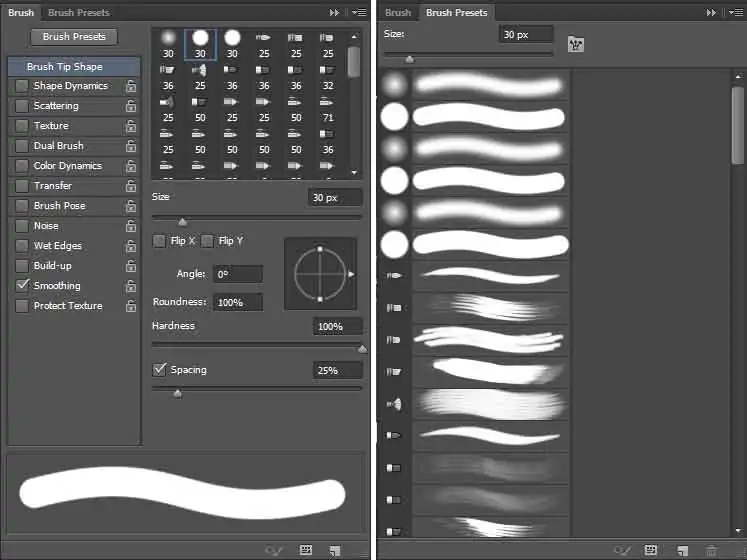
Click on the Brush Tool option and select a soft round brush with low opacity, like 10 to 20%, and white or very light colour to create subtle highlights.
Onto that new layer, paint along the regions of the object that would capture light. Work on the upper edges, curves, and convex zones where the reflective chrome surface would naturally sparkle.
Shift the size and softness of your brush as required to recreate the sporadic yet reflective nature of the chrome surface.
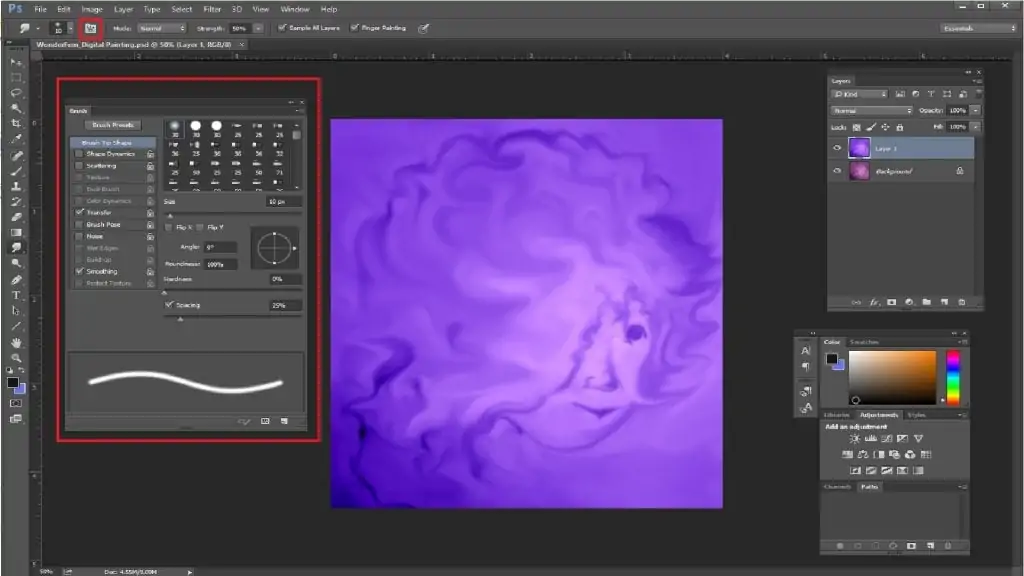
Utilize the Smudge Tool set to a low strength to smooth out the paint strokes and make the soft, seamless reflections regularly noticed on chrome surfaces.
To get an even more realistic effect, utilize the Gaussian Blur using Filter > Blur > Gaussian Blur, soften the highlights, and blend them innately into the object.
Shift the layer’s Blending Mode to Soft Light or Overlay to blend the highlights into the object while keeping up a smooth, reflective chrome formation.
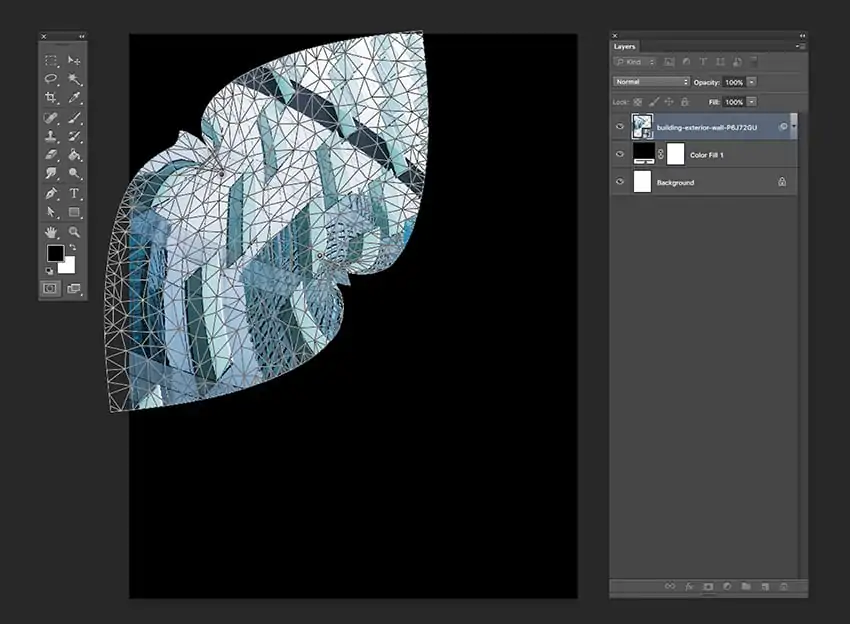
Step 5: Using Liquify Filter
Head to the object layer to transform it into a smart object by right-clicking and choosing Convert to Smart Object. It will permit you to make non-destructive alters.
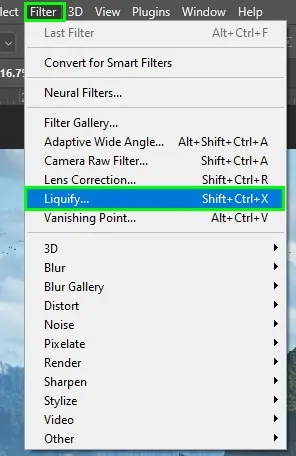
Proceed to Filter > Liquify to open the Liquify dialog box.
Within the Liquify window, utilize the Forward Warp Tool to gently distort the object. Begin from the edges and move toward the centre, pushing the pixels in flowing liquid-like directions. It will recreate the fluid, melting formation of liquid chrome.
Concentrate on adding subtle warps instead of extreme distortions to preserve a convincing chrome texture while giving the effect a sense of movement.
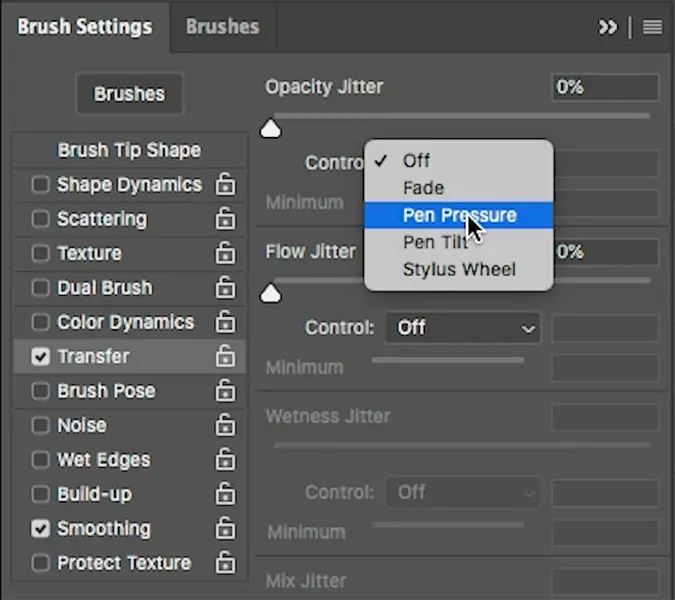
Vary the Pressure of the brush based on how far you need the shape to move.
You’ll also utilize the Pucker Tool to pinch certain zones or the Bloat Tool to extend areas, including further dynamic flow to the object.
After you are satisfied, tap Ok, and the object will get a more natural, fluid appearance while holding its chrome-like wrap-up.
Step 6: Enhancing Shinny Highlights
Make a new layer over your object layer to improve the glossy formation of the liquid chrome effect.
Click on the Brush Tool and pick a soft, circular brush with 10-15% opacity. Choose a bright white or light blue colour to include highlights to zones where light would naturally recall off the chrome surface.
Focus on the highest points of the object, like curved edges and raised areas, where reflections would be most intense.
Change the size and intensity of your brush as required to make dynamic highlights that seem more realistic and fluid.
For smoother moves, utilize the Smudge Tool and tenderly blur the edges of your brush strokes, integrating them with the chrome surface.
Put the layer’s Blending Mode to Soft Light or Overlay to consistently blend the highlights into the object, confirming that they improve the reflective, glossy impression without overwhelming the chrome effect.
At the end of this step, your object will have dynamic, true-to-life reflections and sparkle that improve the liquid chrome finish.
Step 7: Refining The Final Composition
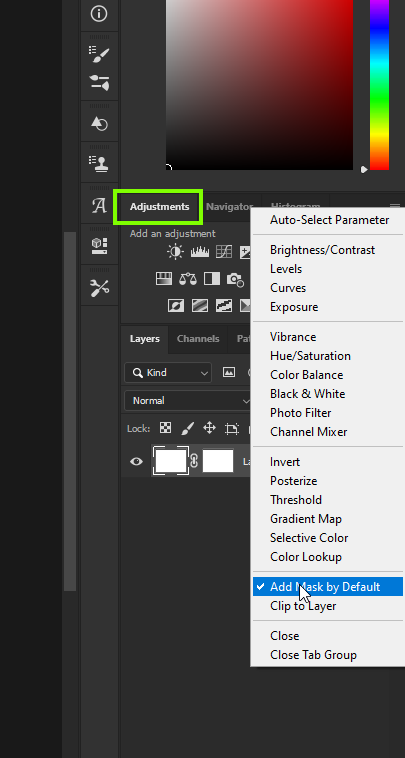
After the liquid chrome effect takes the desired shape, proceed with fine-tuning the contrast and brightness. Move to Image > Adjustments > Brightness/Contrast and enhance the contrast to let the highlights pop against the darker zones, improving the chrome effect.
Utilize the Dodge Tool to lighten and the Burn Tool to darken to quietly polish particular ranges, including more depth to the shiny and shadowed regions. It will make the chrome effect more realistic.
Utilize a Gaussian Blur following Filter > Blur > Gaussian Blur to your highlights layer in case they show up too sharp. A low blur value can help mix highlights smoothly into the object for a consistent look.
To add a more advanced touch, include a surface reflection underneath the object to simulate a polished chrome surface. Make a copy of the object layer, flip it vertically, and position it underneath. Decrease the opacity and apply a gradient to offer it a soft, mirror-like effect.
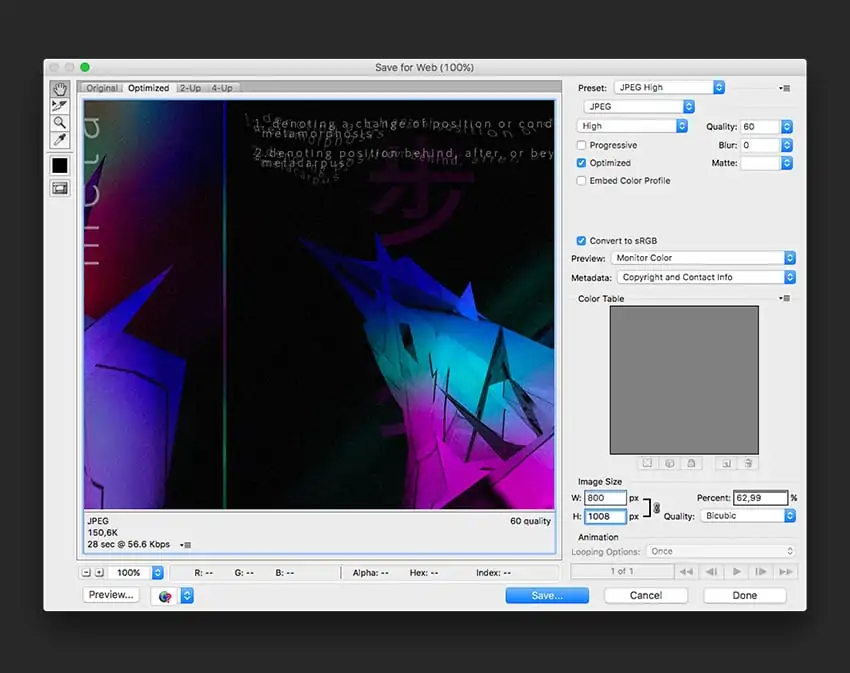
Finally, save and export the document, and also consider checking the composition in different lighting conditions to guarantee the chrome effect looks natural.
Conclusion
In summary, a liquid chrome effect gives digital artwork and photos a remarkable metallic look that skillfully combines fluidity and reflexivity. From formal illustrations to product modelling and animations, this approach is winning out in a variety of fields. By using an organized process like the one outlined in this blog, you can transform fundamental compositions into exceptional ones with intricate highlights and gradients. With the array of vibrant, rainbow-like reflections exuding a mystical air, this unusual effect can also sometimes give off a better surreal impression, which dazes the onlookers.
