How To Create A Dry Brush Effect
Dry brushing is a common painting technique that involves applying the minimum quantity of paint at the very tip of the brush onto the canvas. It often creates a rustic or worn finish that looks realistic and close to nature. The distinctive aesthetics of dry brush painting are now prevailing in various art mediums like oil painting, watercolour art or ink art. The art approach helps add a layered look, depth, texture details and even a 3D impression to visual art pieces. Besides tangible art forms, a dry brush effect is also employed in digital art, designs, and images to build a unique, painterly, rugged feel. It turns images into hand-painted abstract works that exhibit organic textures and simplified details. Though dry brush filters are common in various software, various other tools and approaches like brightness/contrast enhancement, posterization, dry brush textures, layer masks, smudge tools, noise filters, blur tools, blending modes, and opacity settings are also employed to maximize the realism and untamed characteristics seen in dry brush artworks.
Step 1: Image Preparation
Before you begin the process of creating a dry brush effect, you need to first choose a suitable photograph that holds sharp details and well-defined edges.
The chosen image should have high contrast and highlighted textures.
Once you have decided, import the chosen image into your editing software to perform preparatory adjustments.
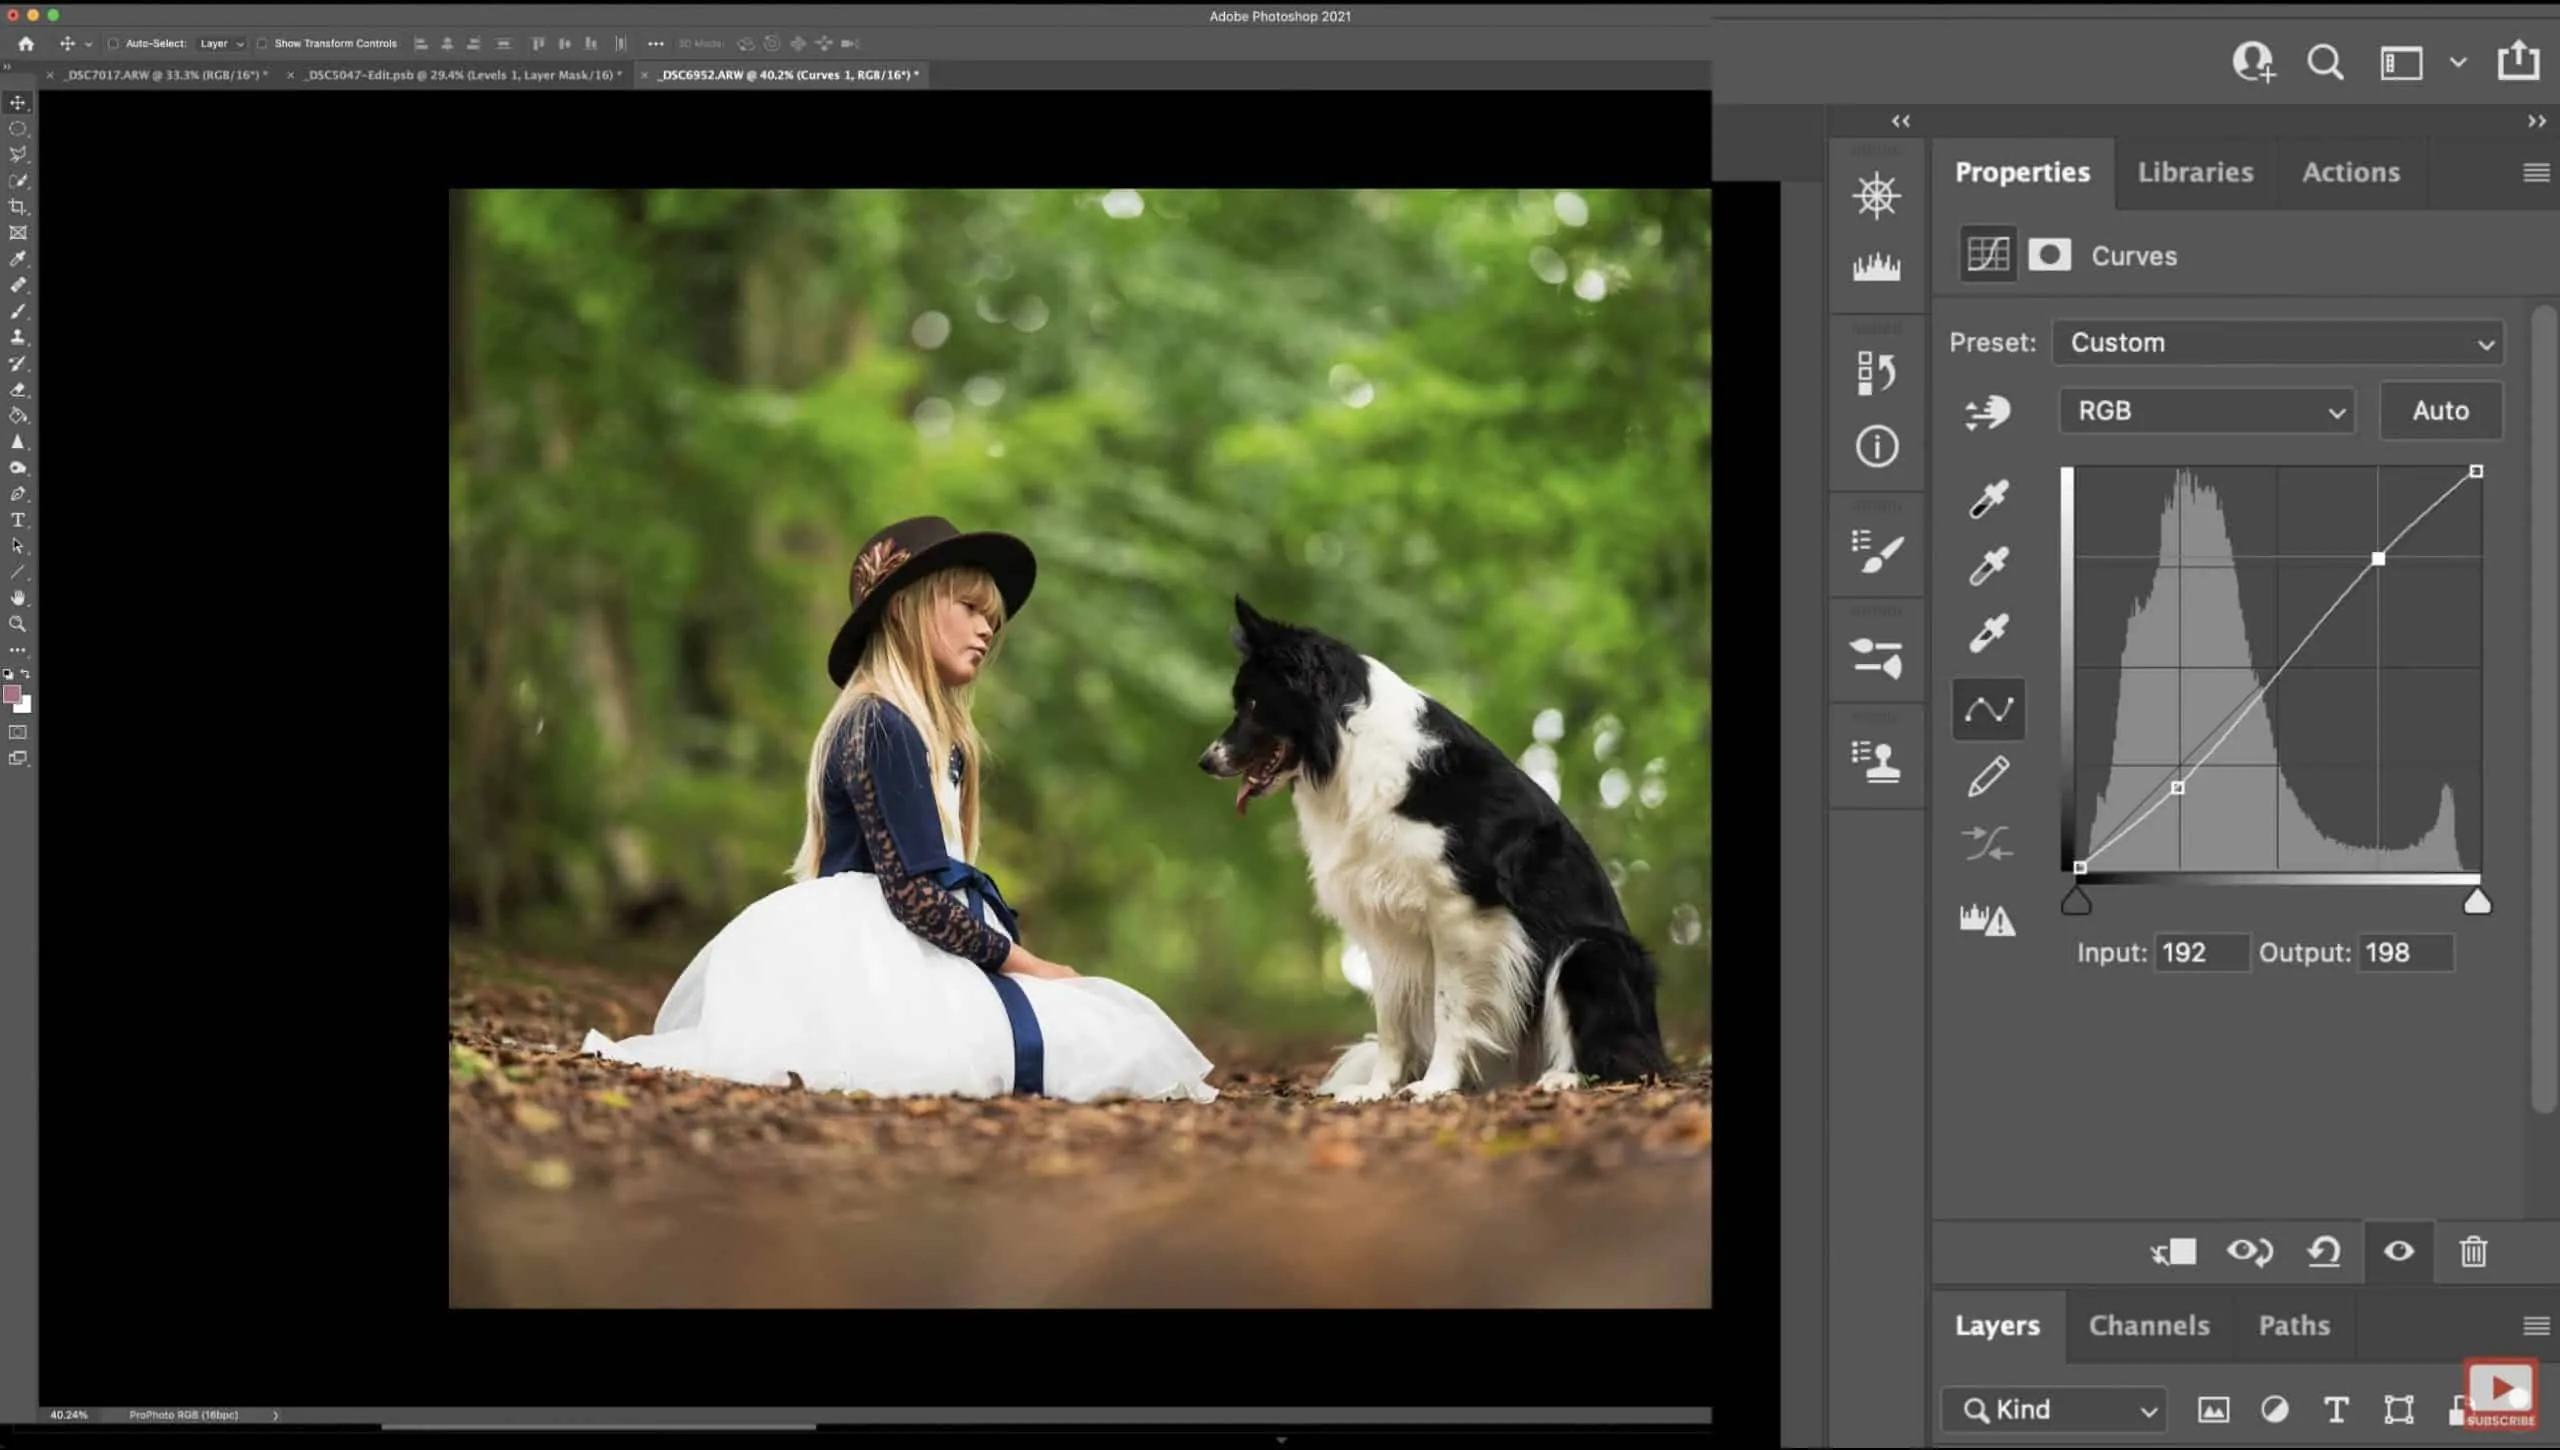
Modify the general brightness/contrast, Levels and Curves to add more brightness to highlights and darkness to shadows. It also helps indicate the dry brush texture.
To further highlight the edges and details, consider using a high pass filter with Filter > Other > High Pass.
![]()
Get rid of the excessive grain by employing a Surface Blur or Median filter. It will clean up grains while keeping sharp lines unchanged.
Duplicate your image containing all preparatory adjustments before you go for detailed edits.
Step 2: Posterization Effect Application
In this step, you will posterize the image to simplify colour gradients and build up the overall layout. It will make the image conform more to the dry brush effect.
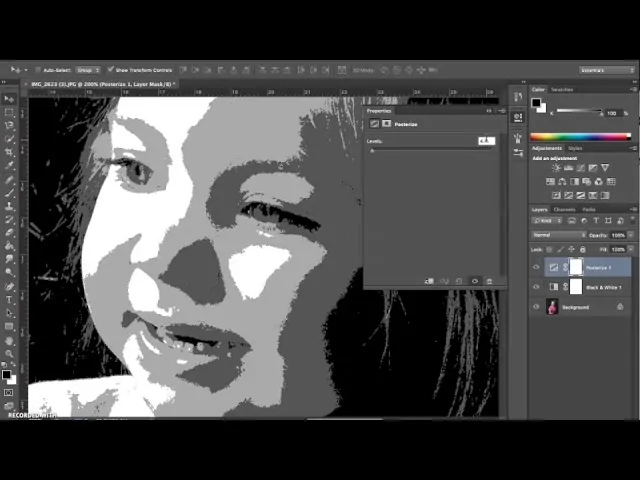
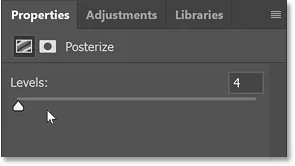
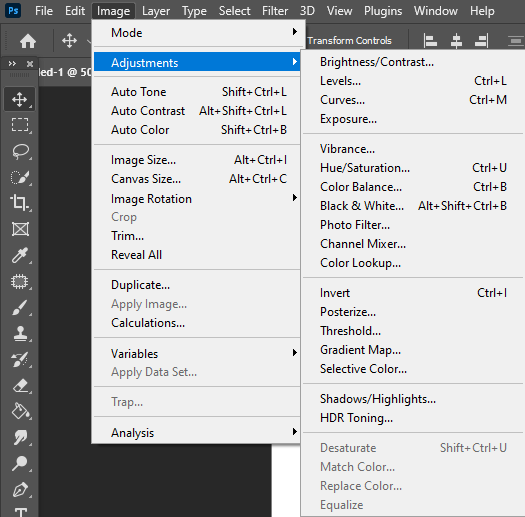
Make sure that you are working on the duplicate and locate the Adjustments with the Image menu. In the Adjustment options, click on Posterize, then adjust the Levels slider to 3 to 6 levels to get a simple appearance with reduced colour tones.
Preview the image to confirm that it still maintains sufficient details in shadowed, highlighted and edge-containing zones.
Again, refine the Levels’ numbers as too few numbers will make the photo flat, while a higher number can emphasize the details more.
Make edges more defined using Threshold or Curve adjustment, emphasizing the zones that are supposed to get more highlighted with a dry brush effect.
Be sure that the photographs present an abstract painted look with a prominent distinction between light and dark regions.
Step 3: Extracting The Vital Edges
This step is about extracting edges that emphasize vital elements and sharp lines, just like seen in dry brush strokes’ texture.
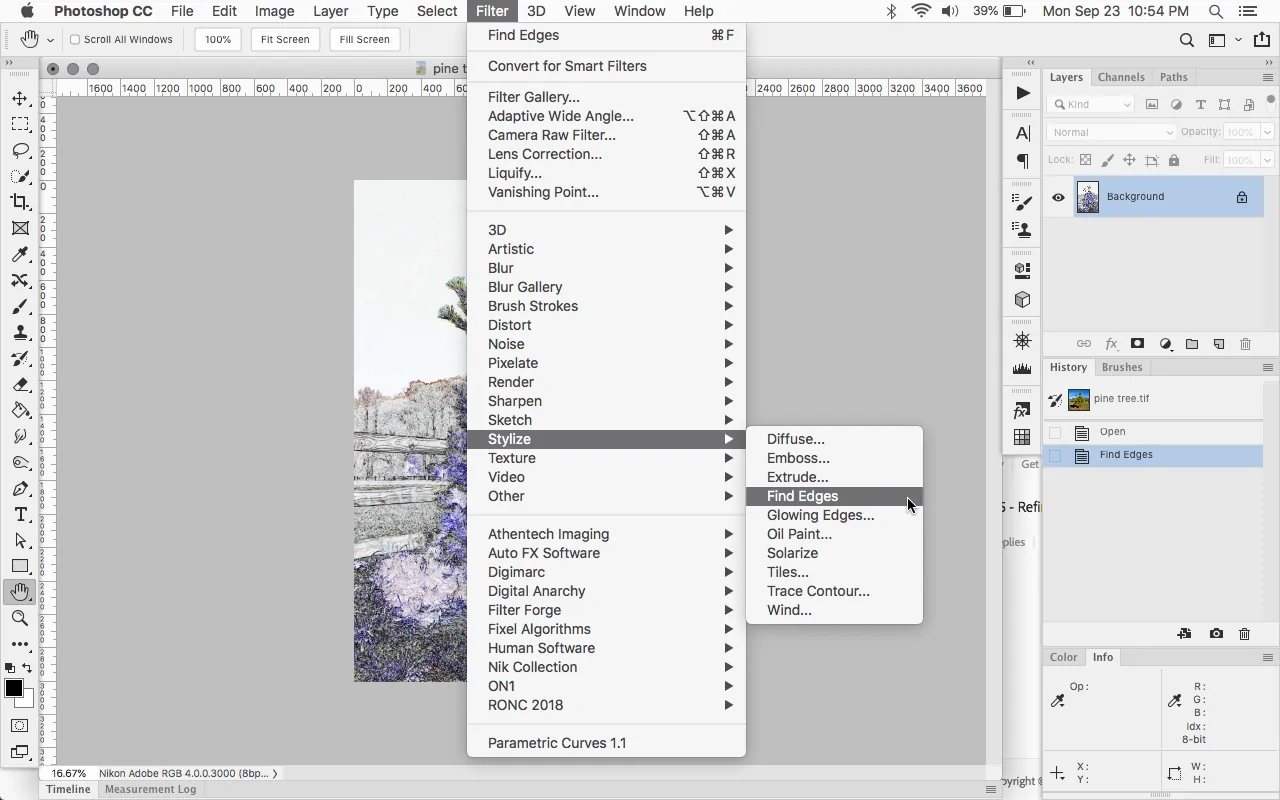
Duplicate the posterized image, and while keeping the duplicated image activated, proceed to Filter > Stylize > Find Edges to detect the pre-eminent edges lines.
These settings will create a sharp enough outline, highlighting rims, lines, and objects.
Make the effect more striking in dark colour strokes by using Ctrl+I to invert the colours.
Convert your active image layer to black and white using Image > Adjustments > Desaturate. It will direct your exact focus on the edges.
Utilize Levels and Curves to enhance the edges’ contrast so that they show up more prominently in the background.
If there are any extra distracting parts, use a layer mask to remove those areas or hide them.
Step 4: Creating Dry Brush Textures
In this step, you will provide the image with a more painting-like or textured appeal using dry brush textures.
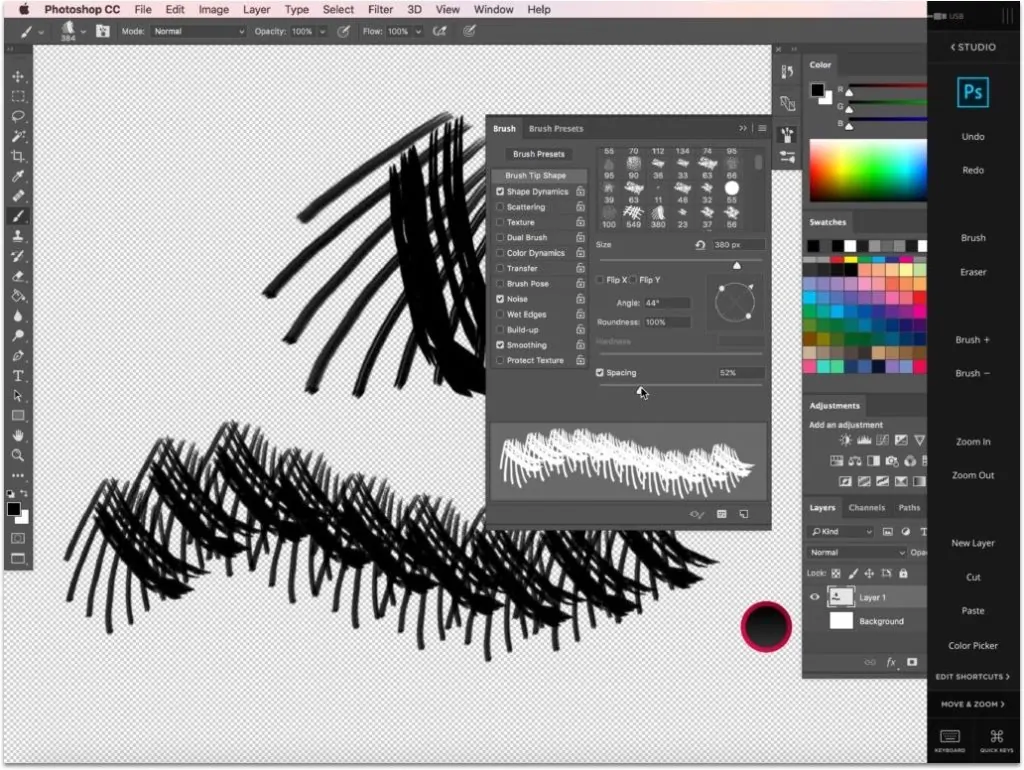
Search for textures or dry brushes online, or consider making your own dry brush texture on paper, then scanning and importing it at your workspace.
On the other hand, you can also use pre-made dry brush textures available within your software texture libraries.
Duplicate the layer you edited in step 4 and add the dry brush texture in high-resolution form to that layer.
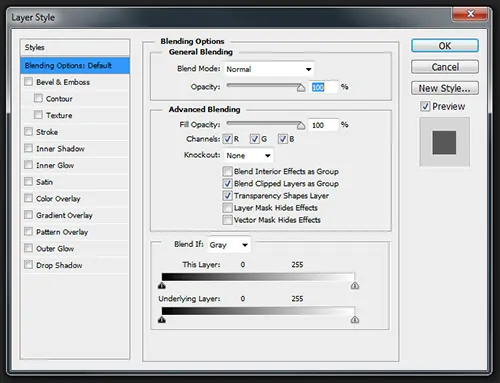
Specify the blending mode of your texture layer to alternatives like Overlay, Soft Light, or Multiply. It will provide a smooth integration of texture with the image.
Set the size of the applied texture using the Transform function, making the brush strokes look more blended and natural.
Utilize a layer mask if you want to remove the texture from certain areas of the image.
Decrease the opacity of the layer, enhancing the image details instead of overpowering them.
Step 5: Using Selective Smudging
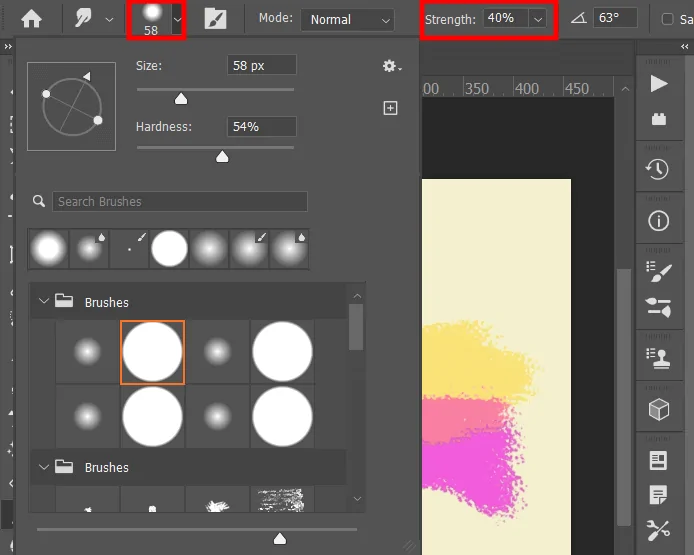
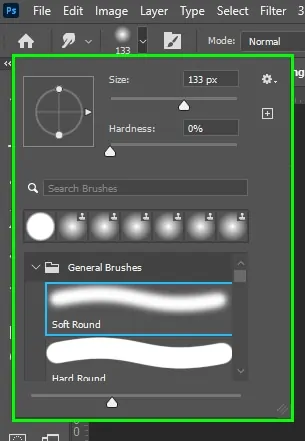
To create smooth transitions and blend different zones of the image, activate the Smudge Tool with its brush set to soft, round and dry brush settings.
Revise the Strength of the tool to around 10 to 20 per cent value, ensuring a smooth blend without over-smudging.
Address those zones where strokes intersect, including highlights, shadows and edges.
Bring the tool onto the natural stream of the image components like hair, clothing or any essential textures.
Create an organic feel by smudging the particular parts of the custom dry brush texture, ensuring a natural integration.
Look into using a small brush to confirm that the zones with high contrast and sharp lines are maintained.
Keep using zoom in and out on and off to get smooth transitions while you are working on regulating multiple details of the composition.
Using a selective smudging approach will provide you with a fluid and cohesive dry brush effect.
Step 6: Adding Noise Effects
In this step, you will add a mild grainy texture that simulates the physical feel of drybrush pieces.
Create a new layer above your image while undergoing the process. On that layer, you both choose either to use paper or canvas texture, picking directly from the texture library, or you can create a grain surface yourself.
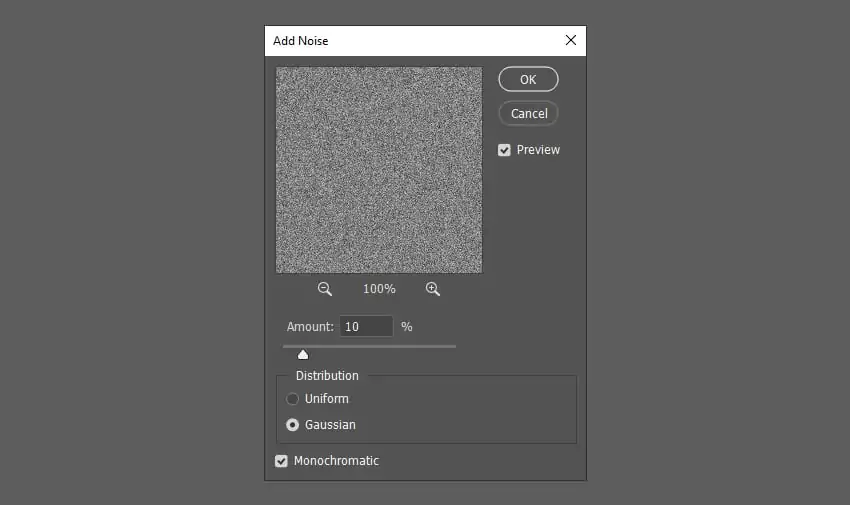
Locate the noise-creating filter in your software tools and options. It can usually be named an ‘Add Noise’ option or something similar. Specify the amount of noise, like 5 to 10 per cent, and modify noise settings till getting a uniform appearance.
Integrate the noise texture naturally into the image by applying modes like Overlay, Soft Light, or Multiply while adjusting the opacity accordingly.
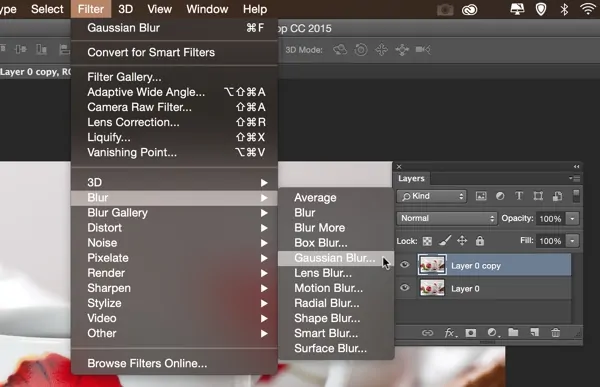
Use a subtle blur effect with a Gaussian Blur to lower the harshness of the texture, making it merge into the image organically.
As needed, use a layer mask to diminish the texture from those regions where it may overpower the main components.
Step 7: Saving The Final Image
Once you find the overall effect satisfying enough, you can move on to the final step, which involves saving and exporting the composition.
Here, once again, use the zoom-in and out options and thoroughly access the arrangements, looking for any inconsistent moves or detecting portions that require further tuning.
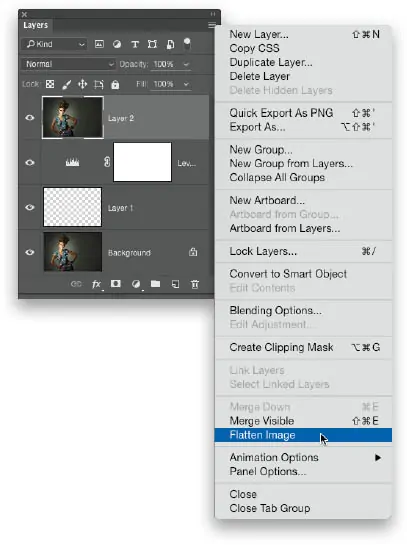
After examination, you will merge all layers into a single cohesive composition. If using Photoshop, employ the Layer > Flatten Image setting, and you will create a single layer holding the attributes of all separate layers.
Pick a proper format to export your image; for online use, you can select JPEG or PNG, and for future editing, PSD or XCF are suitable.
Also, the resolution value should be modified; for the web, it should be 72DPI, and for printing, 300 DPI works suberbly.
Once done with all necessary exporting adjustments, you can Save and Export it, making dry brush artwork ready to share or print.
Conclusion
To conclude, adding a dry brush effect to your photographs expands depth and textures, infusing an element of artistic realism. Your images look like genuine dry-brush artwork, introducing a unique atmosphere that emphasizes the details and vital regions. The colour looks more blended, and the components look more unified, giving an elegant, wispy impression. Advanced image editing software provides a range of tools that help users create various art effects, like a dry brush effect while experimenting with different transitions without worrying about the limitations or expenses of art resources. The resulting composition often presents a fleeting appearance, making the viewer fill zones lacking solid strokes using their inner eyes and enriching their imagination.
