How To Remove Artifacts From Images
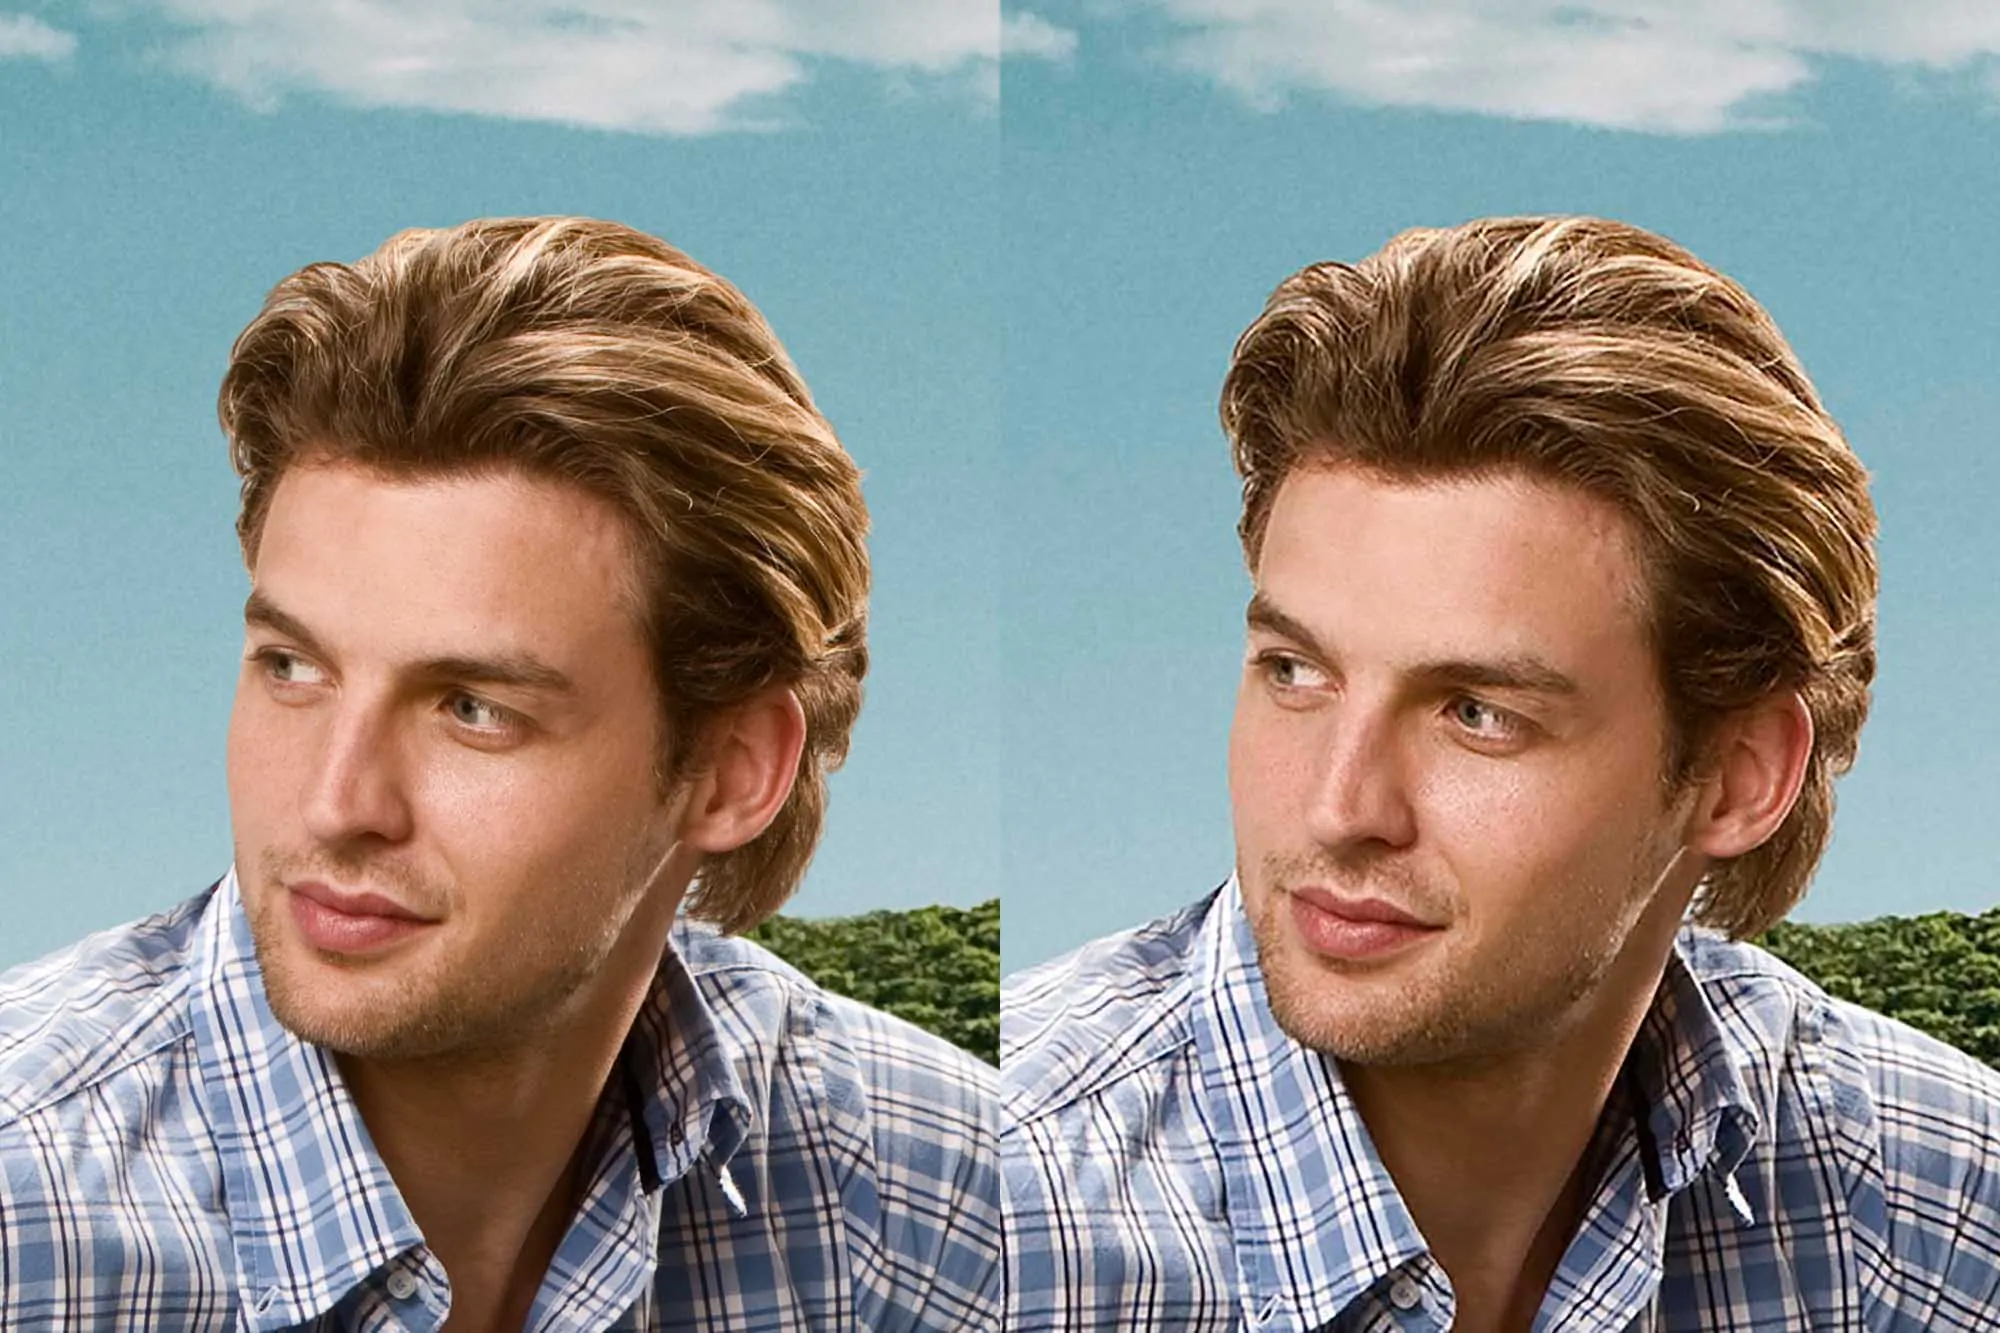
The term artifacts involve the visual distortions and imperfections that occur in photographs that result in poor image quality, inaccuracies, and declined the aesthetic appeal. Artifacts often happen when an image is captured, processed, compressed, or transmitted. Compression in particular is the most common cause of such imperfection associated with artifacts. When an image is converted to lossy formats like JPEG, the resultant data loss induces blurriness, blockiness, and ringing effects around the edges. Secondly, noise is also another factor contributing to compromising an image’s clarity. The noise often appears in the form of specks or grains, often because of low light conditions or sensor limitations. Another aspect is colour banding that appears like a step-like gradient onto images due to limited colour depth during rendering and storing those images. The moiré effect, edge halos, and posterization are some other examples of artifacts that happen to occur in photography due to repetitive patterns overlapping, over-sharpening, and reduced bit depth, respectively. In general, the artifacts are caused by low-quality camera sensors and inoptimal lighting and respective conditions. However, advanced photographic equipment are delivering shots with minimal artifacts thus yielding flawless ideal photographs. Nonetheless, the images still holding artifacts, even captured within ideal settings, can still be enhanced and corrected using the advanced tools and techniques cited in the step-by-step process below.
Step 1: Examining The Image

Initiate your choice of editing app like Adobe Photoshop, Lightroom, or GIMP and import the photograph and make sure it is shown at full resolution.
Utilize zoom tools to closely assess the picture, focusing on tricky zones.
Search for typical artifact cues like blockiness, noise, banding, or bizarre-looking edges.
Think about whether artifacts are induced by compression or blockiness, low light or noise, or dealing with errors like halos or posterization.
Utilize reference guides in case you are unsure about artifact traits.
Utilize guides or markers accessible within your software to highlight the influenced areas for simple reference during editing.
Choose which tools or strategies will be required for correction according to the observed issues, like noise reduction or edge refinement.
That arrangement ensures productive and targeted editing to handle particular artifact issues.
Step 2: Removing The Noise
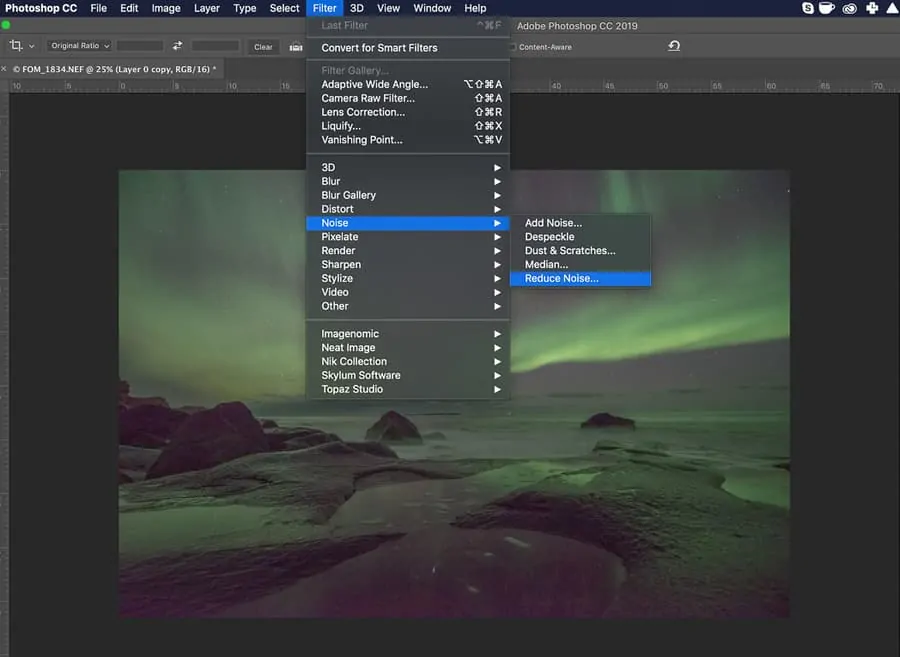
Find noise reduction features in the software, like Filter > Noise > Reduce Noise in Photoshop or the Detail panel in the case of Lightroom.
Alter strength settings to smooth out grainy zones while carefully checking the balance between noise reduction and detail maintenance.
Utilize sharpening choices, if accessible, to tune edges that might become too soft after noise reduction.
Use noise reduction specifically by utilizing masks or brushes to target particular zones, such as noisy backgrounds or shadows, without influencing sharp regions.
Preview changes in before and after views to guarantee the adjustments upgrade picture quality without making unnatural effects.
Save your progress incrementally to avoid losing alters and keep up adaptability for refining later.
Review the photo for remaining noise and adjust further if essential to guarantee a neat yet realistic output.
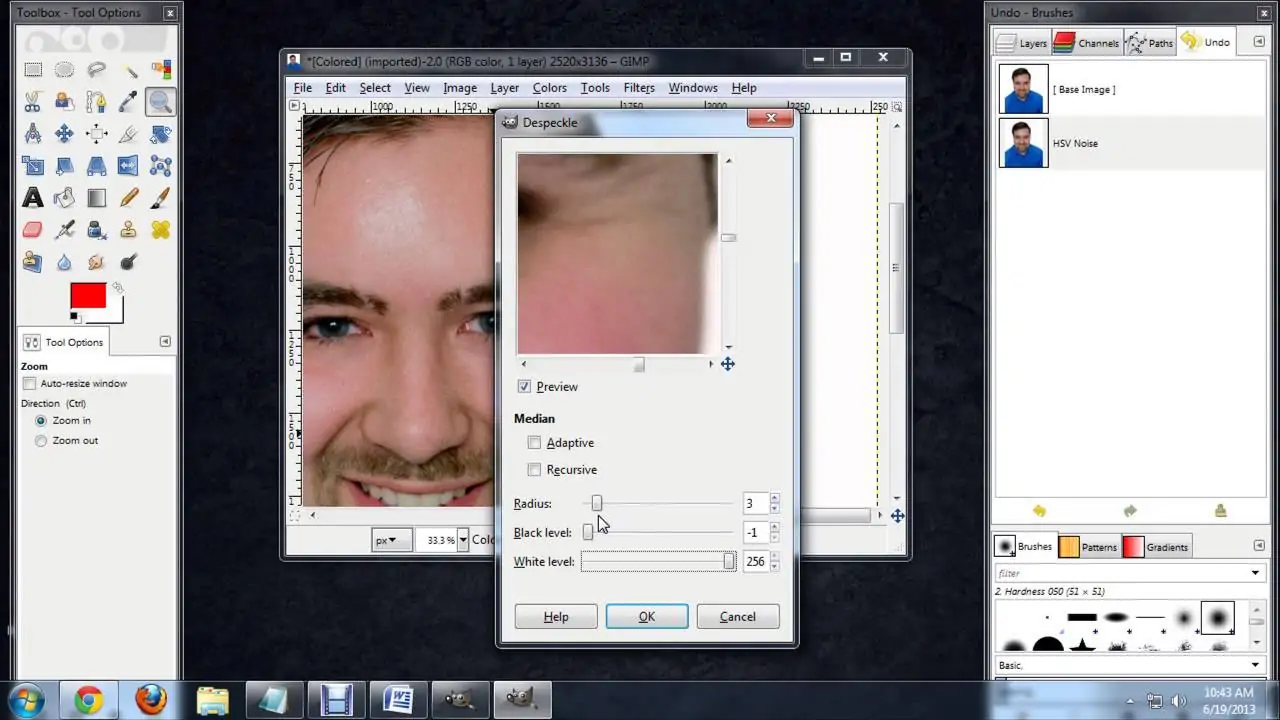
Step 3: Fixing Compression Issues
Load the affected photograph and focus on ranges with visible blockiness, ringing, or blurring caused by compression.
Utilize blur or smoothing filters such as Photoshop’s Reduce Noise or GIMP’s Despeckle to soften the harsh blocky surfaces without losing too much detail.
Alter the filter intensity continuously to balance artifact removal and picture clarity. Prevent over-smoothing, which can make a plastic-like formation.
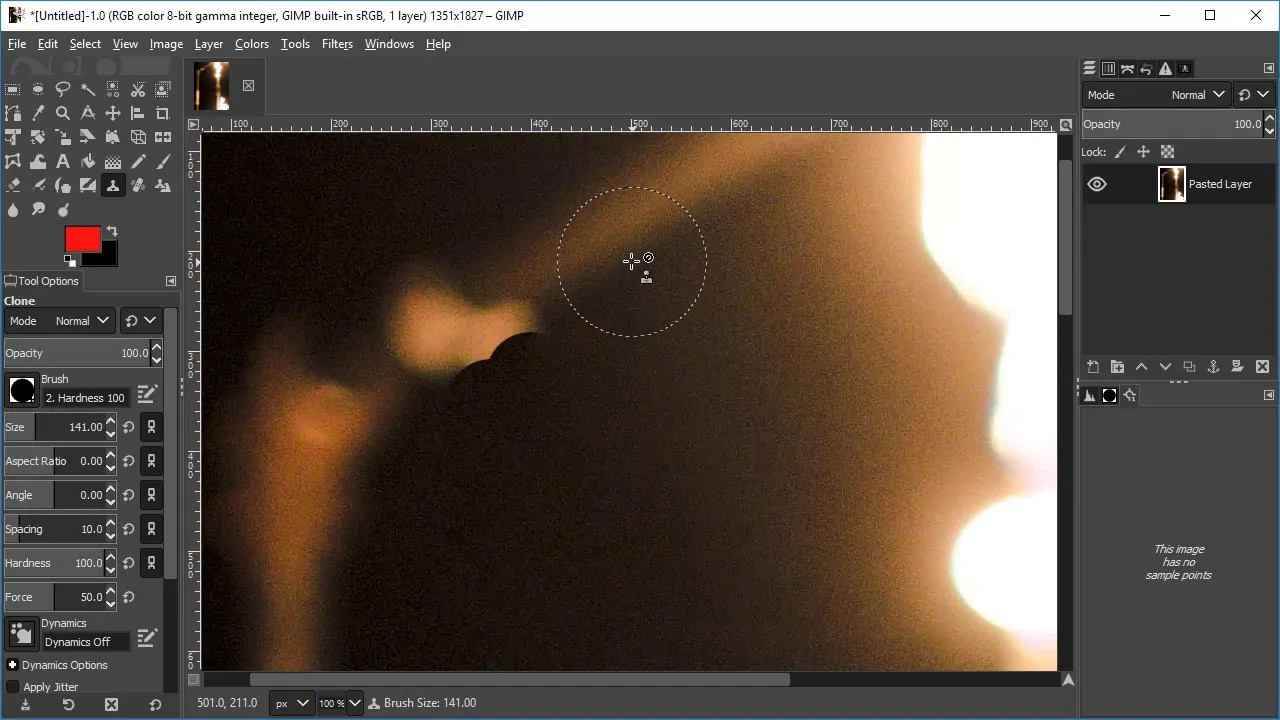
For edges influenced by compression, apply tools like the Clone Stamp or Healing Brush in Photoshop to manually tune distorted ranges.
If specific areas require polishing, apply the corrections selectively utilizing layer masks or adjustment layers to prevent unnecessary alterations to intact parts of the photograph.
Review the ranges with subtle surfaces, like skies or skin, where compression artifacts are more discernible, and repeat corrections as required.
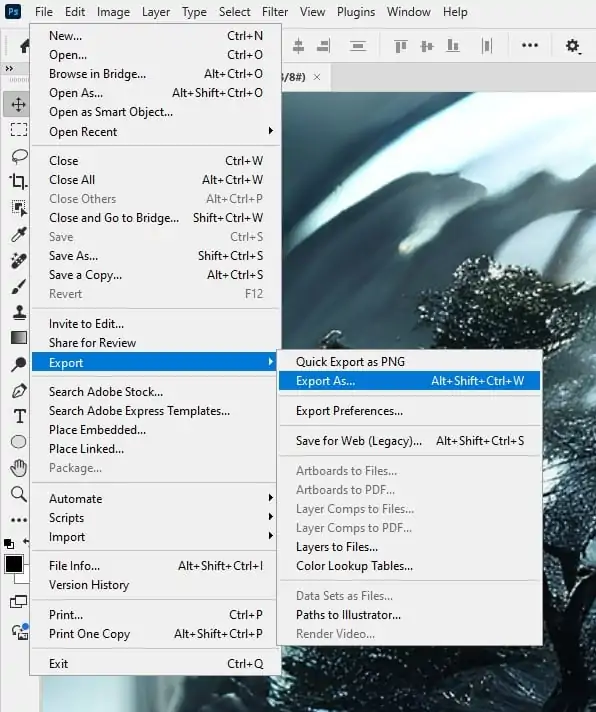
Export the photograph in a lossless format such as PNG or TIFF to avoid the reappearance of compression artifacts during saving.
Step 4: Fixing The Colour Banding
Use Zoom to regions with noticeable colour banding, especially in gradients or smooth colour transitions.
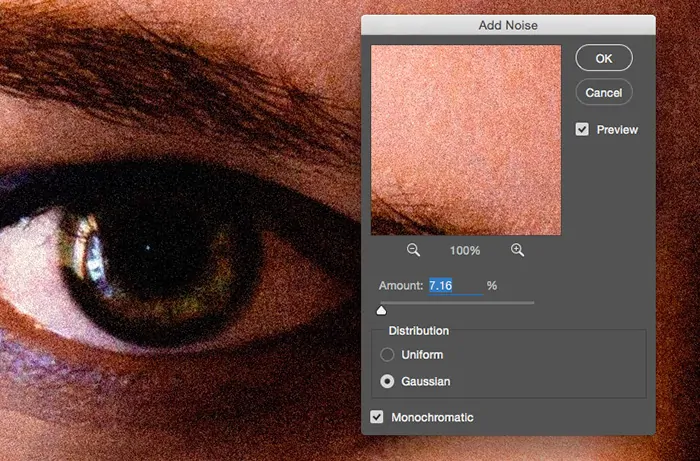
Include a small amount of noise to the affected region utilizing noise filters such as Add Noise in Photoshop or the Noise tool in GIMP. It will smooth out the bands and reestablish smoother gradients.
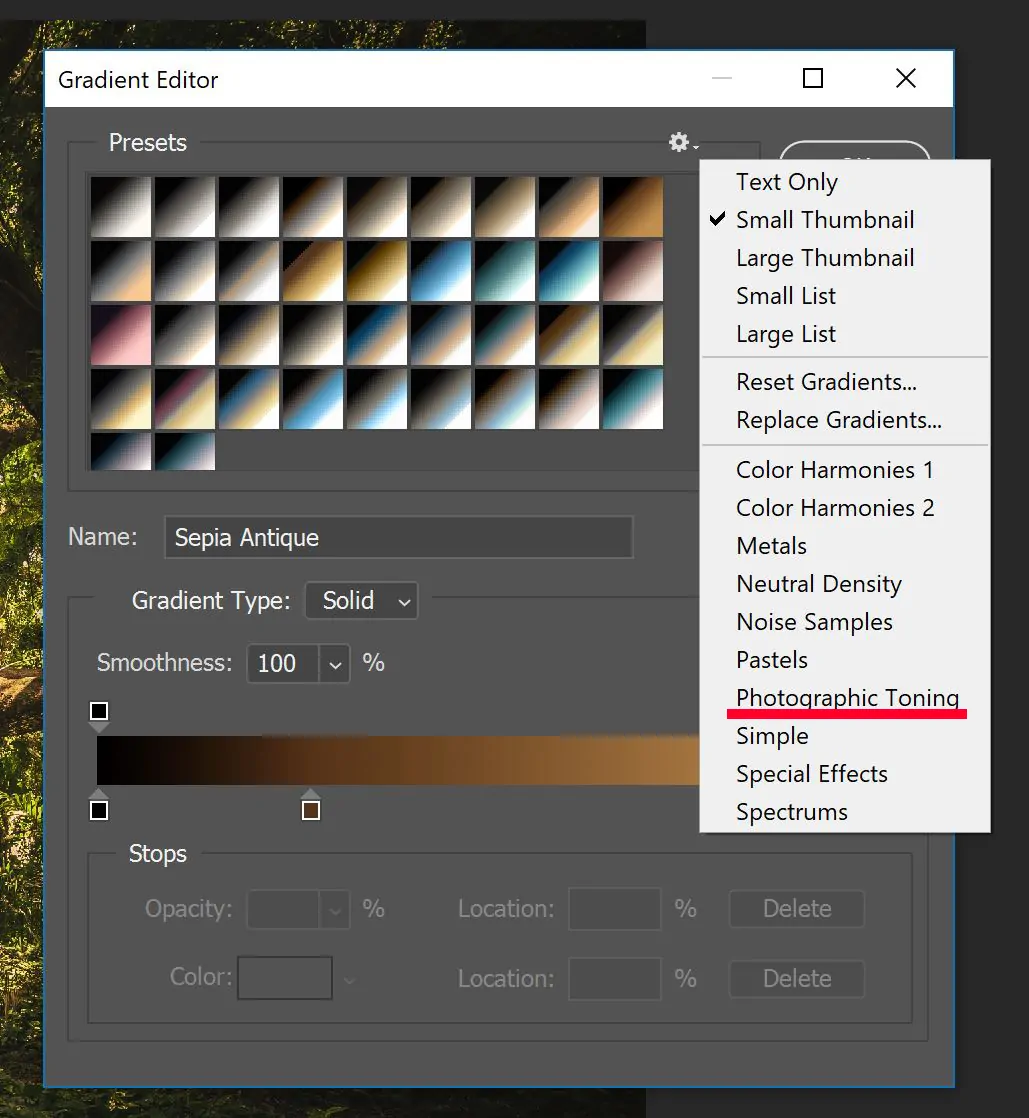
Utilize a Gradient Map in Photoshop to regulate colour transitions within the banded zones, adjusting the gradient curve to decrease sharp lines.
If the photograph is in a low-bit colour depth, look into converting it to a higher bit depth like 16-bit or higher to permit more subtle colour shifts.
Utilize a subtle Gaussian Blur to the influenced area, decreasing the sharpness of the colour transitions to reduce the visible banding.
Utilize Selective Color adjustments to harmonize problematic tints and blend them into adjoining colours more naturally.
Once done with the application of the correction, survey the picture in different light conditions to make sure the banding is decreased and colour smoothness is re-established.
Step 5: Cleaning Up The Edge Halos
Use the Zoom in feature to the zones with discernible halos or ghosting, especially around edges or transitions within the photograph.
Utilize the Clone Stamp or Healing Brush tools in Photoshop to tenderly paint over the haloed regions, supplanting them with pixels from adjacent ranges to reestablish natural transitions.
In case ghosting is induced by motion blur, apply the Motion Blur filter in Photoshop to the influenced zone, carefully adjusting the angle and distance to correspond to the actual scene’s perspective.
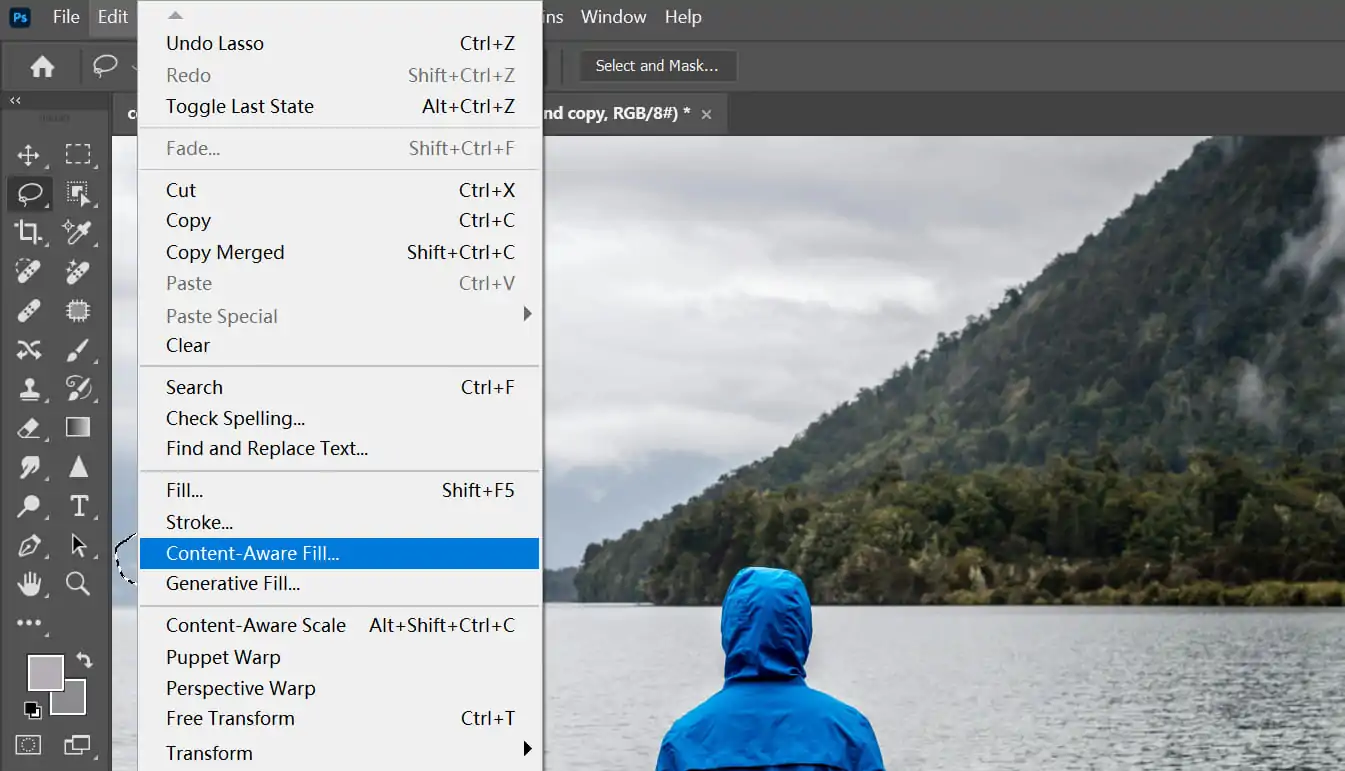
Use the Content-Aware Fill tool to dispose of undesirable halos, letting the tool automatically replace the haloed area with encompassing pixels.
For those halos generated by oversharpening, decrease the Amount or Radius in sharpening tools and utilize masking procedures to separate sharpness only on edges.
In case haloing is within the background, apply selective masking and decrease its sharpness or contrast to decrease the halo effect.
Once done with adjustments, use the zoom out and assess the general photograph to guarantee the corrections blend consistently without presenting new artifacts or unnatural results.
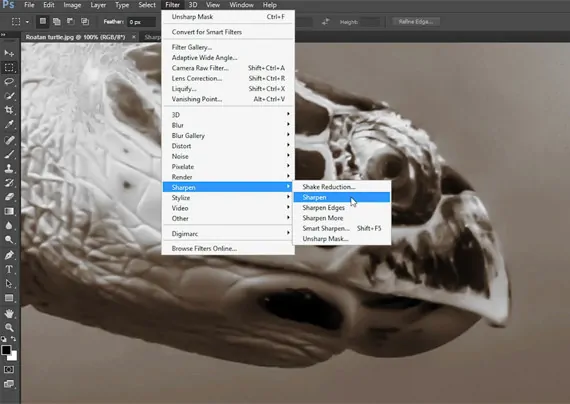
Step 6: Balancing The Sharpness And Blurriness
Begin by assessing the photograph for ranges which will appear too soft or blurry after earlier artifact corrections.
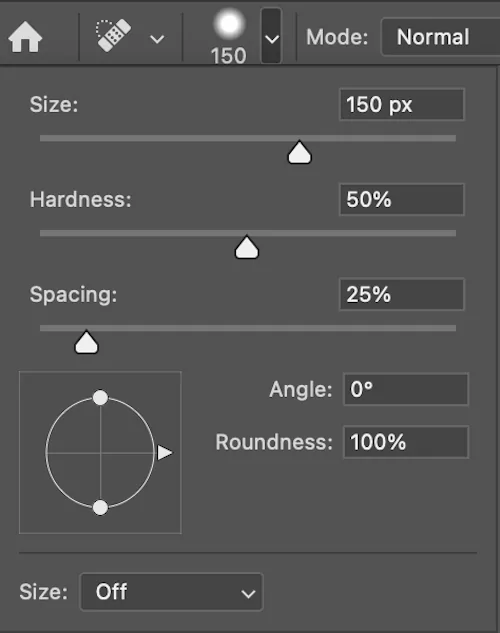
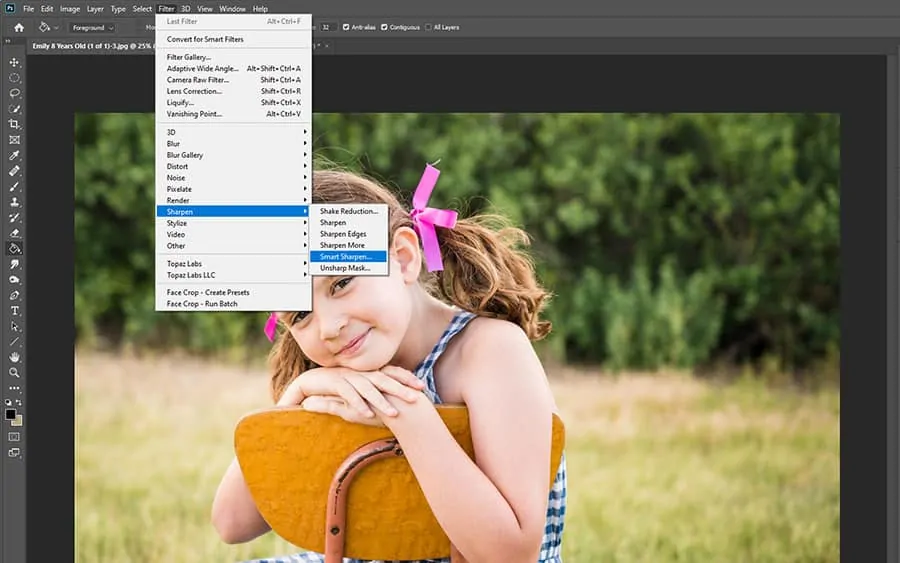
Utilize Unsharp Mask or Smart Sharpen in Photoshop to sharpen details in critical areas without overstating noise or causing haloing.
Alter the Amount and Radius parameters, focusing on details like edges, surfaces, or fine lines that should stay sharp, while keeping skin or smooth surfaces soft.
In case the photograph has been oversharpened and becomes intense, apply a nuanced Gaussian Blur to ease the most influenced regions, guaranteeing a proportional, realistic result.
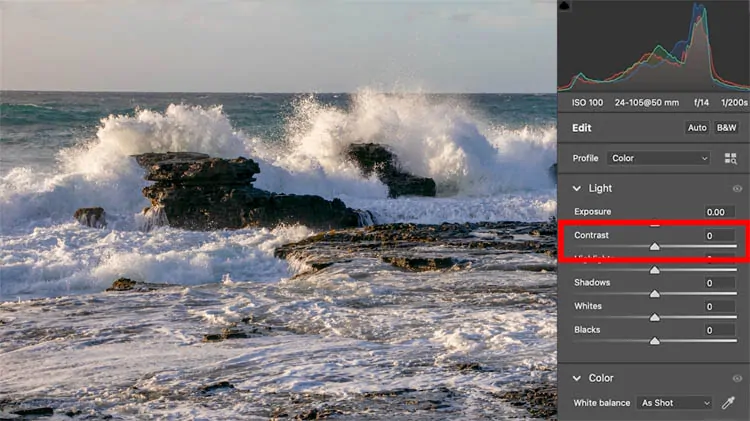
For noisy areas, selectively blur or decrease contrast to smooth out diverting patterns or grain without influencing focal points.
After making alterations, compare the picture at full resolution and alter the sharpening strength until it looks natural.
At long last, apply a slight Feathering effect along the edges to avoid any sharp moves that could show up too artificial or make new halos.
Step 7: Finalizing The Image
After the picture edits are concluded, double-check the ultimate result to confirm that artifacts have been effectively removed or decreased without compromising critical details.
Select a suitable file format for saving the photograph, with PNG or TIFF being best for keeping up high quality and avoiding the reintroduction of artifacts through compression.
In case exporting as a JPEG, alter the compression level carefully to harmonize picture quality and file size. Put it to a high quality like 80 to 100% to protect the corrections.
Perform any final colour adjustments or profile settings, making sure that the picture looks natural over different screens or output strategies.
If you are working on a project that includes print, change over the photograph to the proper colour space, like CMYK for printing, before exporting.
Test your image on diverse gadgets and in varying lighting conditions to affirm that artifact correction remains uniform.
Save your project file like PSD in Photoshop to hold the ability to alter or revert changes if fundamental in the future.
Conclusion
In conclusion, artifacts are inevitable in the world of photography, despite advancements in cameras and procedures. These flaws are common, though they have been recognized and lessened somehow, which is crucial for producing digital photos of superior quality. When photos are free of artifacts, their edges become more distinct and their details and sharpness are restored. Besides, sometimes even image processing produces artifacts as a result of overdoing details. Eventually, regardless of the kind or reason for the imperfections in your photos, digital tools and approaches can help you improve your photos by eliminating these mishaps. You just need to follow a formative process and suitable techniques like the one highlighted in the above blog.
