
How To Create A Shearing Effect
A shearing effect is a common approach in image enhancement, adding an artistic distortion, transformation, or a dynamic perspective. It can modify the geometry of an image by shuffling its elements along a particular axis and keeping the opposite axis intact. The sheared image gives a slanted or tilted impression, which is useful for a number of creative and artistic projects. A shearing effect presents angular distortions that help image creators and digital artists enhance the dynamic quality and aesthetics of the composition. In addition, this technique is also beneficial for correcting alignment issues within images and adjusting various components, including textures, objects, or any critical zones. Shearing also adds a surreal touch to photographs to boost the narrative aspects, infusing an unconventional charm into typical images. Various editing tools are employed to create a shearing effect. The primary options involve cropping tools, transformation tools, layering, brush tool, smudge tool, blending mode settings, opacity adjustments, shadows and highlights, contrast adjustments, saturation, and more. The following steps of this blog will elaborate on the process of creating a shearing effect to enhance the depth and visual charm of your photographs.
Step 1: Image Import And Preparation
Open your chosen image editing program, like Adobe Photoshop, GIMP, or Illustrator.
Find the photograph you need to edit and confirm it is in a compatible format such as JPEG, PNG, or comparative.
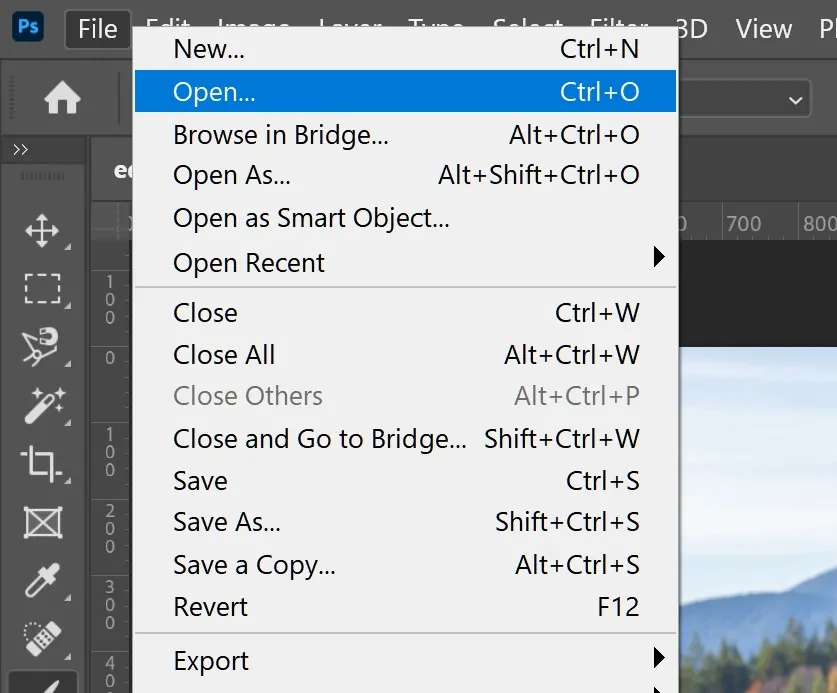
Tap on the File menu, then click Open to load your photograph into the workspace.
Review the resolution and size of the photograph; higher-resolution pictures frequently yield superior results as you apply transformations.
As vital, duplicate the layer to protect the initial and work non-destructively.
Discard any unnecessary background components or diversions by cropping or masking the image.
Arrange the layers in your file, making sure that the main image is the dynamic layer for simpler manipulation.
Make sure that gridlines or guides are activated if accurate alignment during the shearing process is fundamental.
Save the project file in its native format, like PSD or XCF, to preserve flexibility all through the editing process.
Step 2: Image Layer Selection
After you have opened your image, determine the layer containing the photo or object to which you need to add a shearing effect.
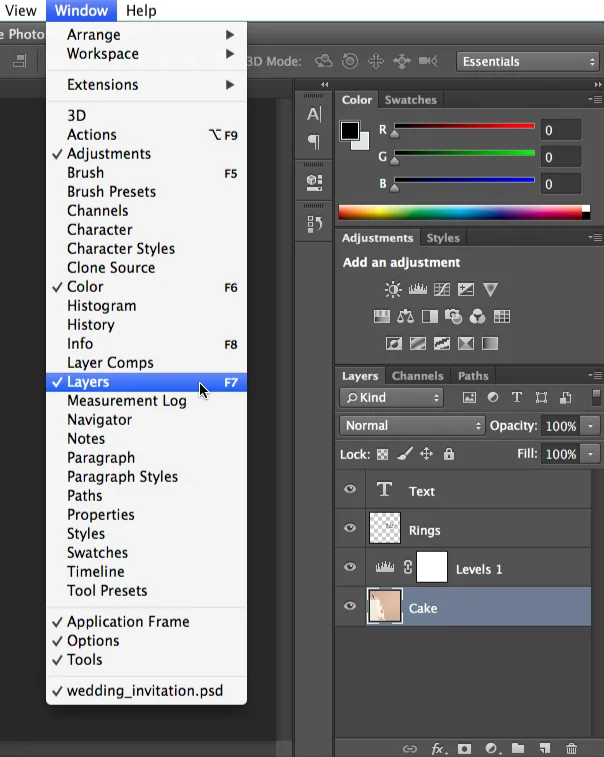
Tap on the Layers panel to view all accessible layers in your project.
Make sure that the proper layer is highlighted so as not to make changes to unintended details.
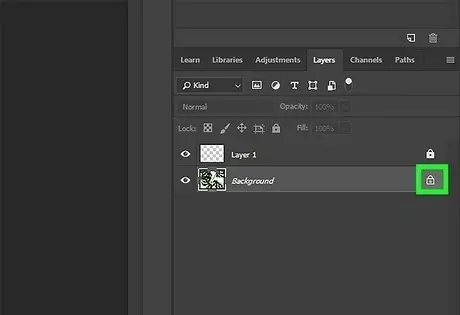
In case the picture is on a locked background layer, open it by clicking the lock symbol following the layer title.
If you are utilizing multiple layers, select the particular one you want to apply the shear effect to, whether it is some text, shape, or a raster picture.
For those arrangements that have numerous components, you’ll need to group the pertinent layers for adequate control.
In some software, by right-clicking the selected layer, you can get to additional choices, including duplicating or masking, to confirm a non-destructive workflow.
For a moment, hide or disable any unnecessary layers for a clearer view during the editing process.
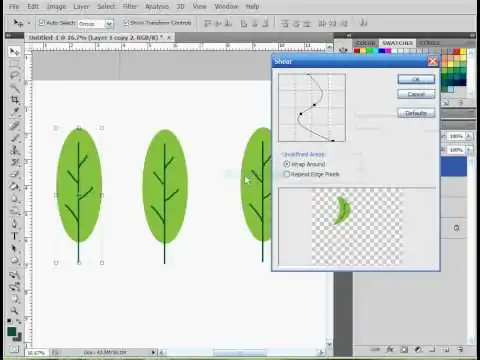
Step 3: Activating The Shear Tool
Inside your editing software, find the Transform or Distort tools, which often include the shear function.
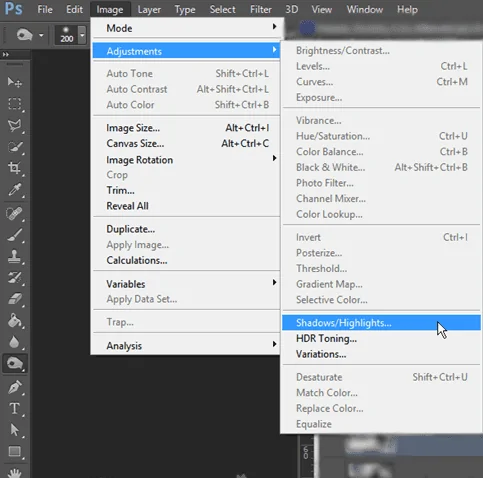
For instance, in Photoshop, you need to head to Edit > Transform > Shear within the top menu.
If using GIMP, select Tools > Transform Tools > Shear.
In the case of Illustrator or Affinity Photo, you will generally locate the shear tool within the Object > Transform menu.
Click on the specified tool to activate the shearing options, which can supply handles for distortion.
Make sure that the tool is applied to the active layer, permitting you to control the chosen content.
According to the software, a grid or guides may occur, making it simpler to see the effect as you alter the photograph.
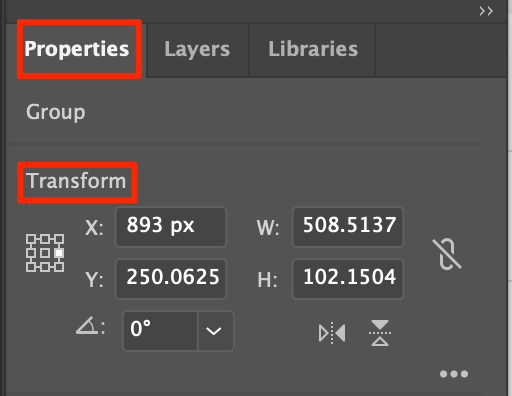
Be sure to modify settings like the shearing angle or axis if needed, permitting you to adjust the photograph or object’s orientation.
Step 4: The Angle Adjustments
After the shear tool is active, focus on the handles or controls that show up on the chosen object or layer.
Begin by clicking and dragging the handles along the specified axis to start applying the shearing effect.
Drag horizontally for a horizontal shear or vertically for a vertical one, depending on the impact you need.
Refine the angle by entering a particular numerical value if your program permits exact adjustments, making sure of precision.
Watch the changes as you adjust to decide the ideal angle for the required effect.
Keep the angle subtle to preserve the integrity of the image unless pointing for a more emotional distortion.
During this process, ensure that the object’s visual appeal is intact, checking for any undesirable stretching or unbalanced distortions.
Persistently monitor the result within the preview pane before you finalize any modifications.
Step 5: Monitoring The Transformation
Once done with the angle adjustment, preview the effect closely applied to your photograph.
Most editing programs will automatically update the photograph in real time as you modify the shear settings, providing you with a clear idea of the transformation.
Review the image from distinctive points and zoom in to determine any unintended distortions, particularly around the edges or critical focal focuses.
If using Photoshop, you’ll press Ctrl + Z on Windows or Cmd + Z on Mac to undo any changes if the impact is too excessive.
For better control, toggle the visibility of other layers or utilize grids and guides to see how the sheared picture interacts with the rest of your structure.
As essential, try distinctive shearing angles or directions until you are happy with the general effect.
Step back periodically to consider the photograph as a whole, evaluating how the transformation conforms to the overall design.
Step 6: Fine-Tuning Edges And Details

After evaluating the transformation, zoom in on the edges of the sheared picture to be sure that they stay pristine and smooth.
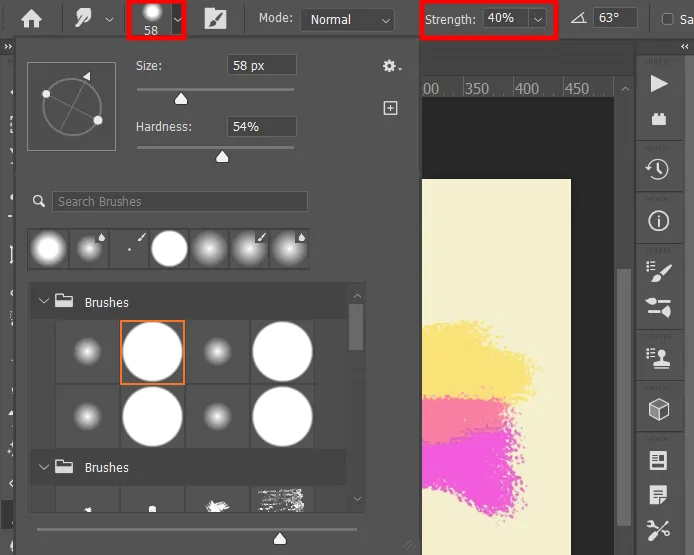
Utilize the Eraser or Brush Tool to settle any zones which will have gotten distorted or jagged during the shearing process.
In some cases, you’ll need to apply masking to isolate affected zones and alter them without modifying the whole photograph.
Revise the layer’s opacity, fill, or blending modes as essential to make sure the shearing effect seems consistent inside the context of your layout.
Look for any overlapping or unnatural moves at the shear points and smooth them out utilizing the Smudge or Clone Stamp options.
Be sure that any text or fine details are still clear and proportionate after applying the effect.
In case the shearing causes a loss in clarity, consider sharpening certain ranges by utilizing the Sharpen Tool to reestablish details where required.
After you are satisfied with the results, lock or flatten the layers to avoid further coincidental modifications.
Step 7: Finalizing The Composition
After you have refined the shearing effect applied and the image, take the opportunity to upgrade the general impression further.
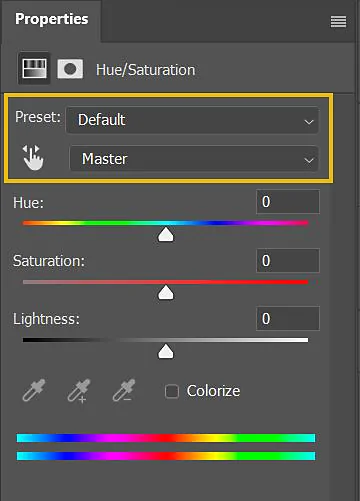
Play with colour correction tools, such as Brightness/Contrast or Hue/Saturation, to ensure the image’s tones have harmonized after the distortion.
Look into including other effects, such as shadows, highlights, or blur, which can add to the shearing and produce a more energetic composition.
Apply a filter to improve the temperament or style of the picture, such as a vintage or grunge effect, to adapt it to your artistic vision.
Make conclusive adjustments to the composition by aligning components, modifying contrast, or adjusting the layer progression to refine the symmetry.
Audit your image at full resolution to guarantee each detail accommodates the aimed result with no undesirable artifacts or distortions.
Preserve the final file in both editable format, PSD or XCF, and a finalized version like JPEG or PNG to retain full editing adaptability in the future while guaranteeing easy sharing or printing.
Conclusion
In summary, the shearing effect modifies an image’s structure to produce a new perception angle that improves the alignment of its components. It sometimes even creates an illusion of motion and energy, turning static images into animated tales. It covers various creative prospects, from introducing abstract aesthetics to correcting the placements, shapes, and alignment of parts of an image. Deviating from traditional uniformity, it presents an asymmetrical arrangement, thus alleviating the sense of monotony while introducing unique aesthetics. To create a shearing effect, you need to be proficient in certain image manipulation tools and techniques, like the one also depicted in the above-mentioned steps. At last, you can modify your images using a number of creative adjustments that emerge during the shearing process.
