How To Do AI Upscaling Of Images
AI upscaling techniques can enhance the resolution of photographs and videos with the help of AI algorithms. The conventional image upscale involves simply stretching the images, which may result in pixelation issues or blurred compositions. Whereas, the AI upscaling approach is based upon machine learning models that are trained on vast datasets that can analyze and predict missing details of low-resolution images. The machine learning models employed in this process use special techniques such as deep learning and convolutional neural networks, which aid in the reconstruction of textures, edges, and critical details. In the final compositions, there are high-quality results with clearer and sharper details. AI upscaling techniques are common in various fields related to visual content, like media, the game industry, films, graphic designs, image editing, video editing, and more. It is also used to reform the old content, which, after AI upscaling, is turned into high-quality display standards like 4K or 8K, thus giving the content a modern appearance. In this blog, we will mainly focus on the use of AI upscaling to enhance images. We will go through a step-by-step process to effectively upscale images and enhance the clarity and sharpness of the final images.
Step 1: The Photograph Selection
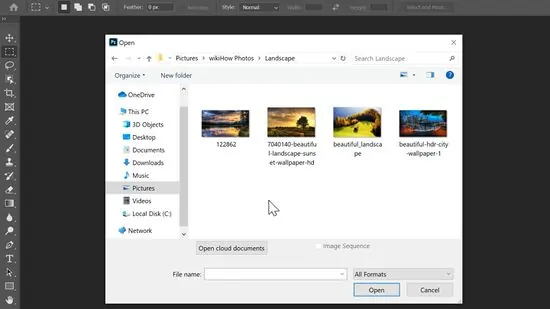
Select the photograph you need to enhance. This could be a low-resolution photo, an old photo, or any picture that needs quality advancement for printing or sharing.
Look at the current quality of the photograph. Seek obvious details, noise levels, and general clarity to specify realistic expectations for the upscaling process.
Contemplate the objective of why you are upscaling the picture. For example, is it to attain a high-quality print or a digital display, or is it for archival purposes? The objective will help in selecting the proper settings in the coming steps.
Put the image in an easy-to-open folder. Managing your files will make it faster to transfer the picture to your chosen AI upscaling tool.
Confirm that the file format of your photograph like JPEG or PNG is supported by the AI upscaling tool you intend to utilize.
Make a duplicate of the picture to retain the initial version in case further alterations are needed.
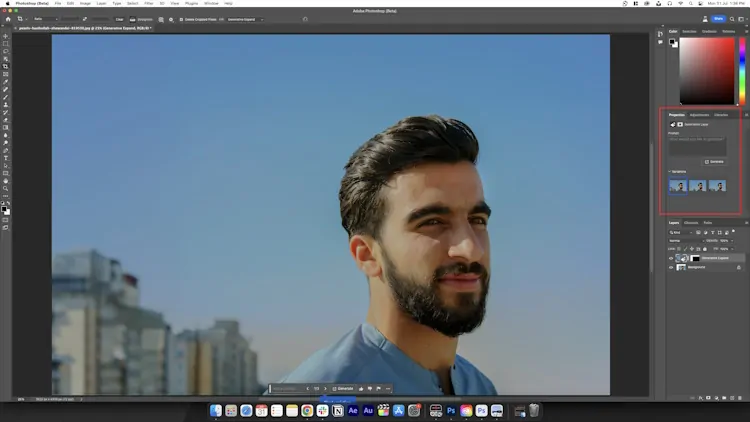
Step 2: Selecting An AI Upscaling Application

Choose a dedicated AI upscaling application, like Topaz Gigapixel AI, Adobe Photoshop, or an online tool such as “Let’s Enhance”. Make sure that the tool accommodates your particular needs, like improving fine elements or clearing noise.
If utilizing desktop software, download and install it on your PC. Pursue the installation instructions to guarantee the program is set up accurately.
Initiate the application or get to the online stage. Acquaint yourself with its interface to simplify the process.
Import the chosen picture by dragging it into the workspace or utilizing the import/upload option. Ensure that the shot loads accurately without any blunders.
Check the default setups within the app. Some tools may apply programmed edits, which you might need to tailor afterwards.
In case the program offers additional plugins or AI models, activate them in the event that is required for superior results.
Be sure that your system fulfils the software’s requirements, particularly for intensive AI software that requires high computational control.
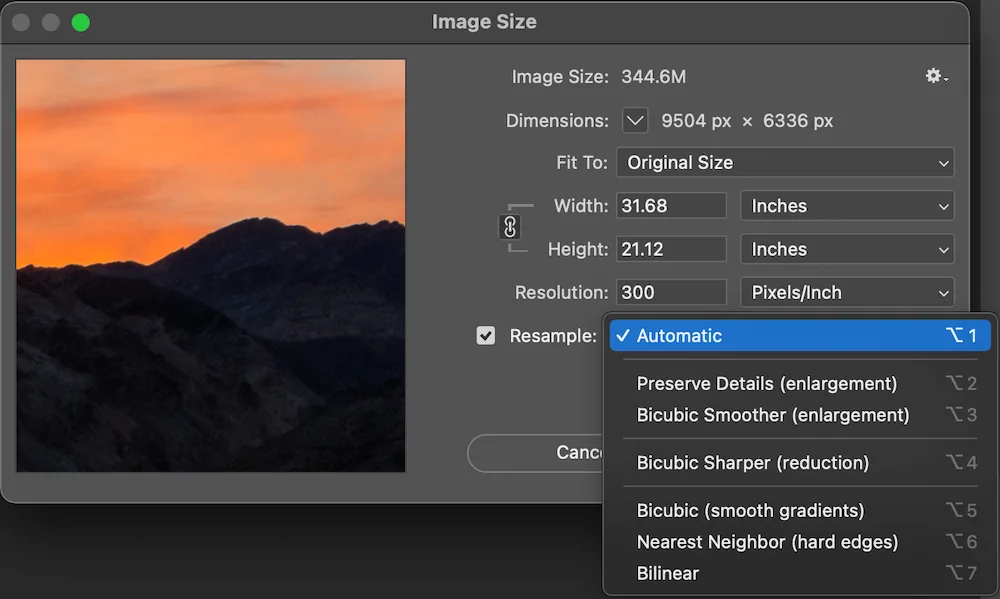
Step 3: Specifying AI Model Parameters
Set the AI model inside the software that best fits your needs. For instance, some tools offer models optimized for faces, landscapes, or text-based images.
Indicate the preferred resolution for the upscaled picture. Typical choices incorporate doubling the resolution 2x or customizing it to correspond to your necessities like 4K or 8K.
Regulate noise reduction settings to tend up grainy or pixelated regions without losing fundamental details.
If accessible, activate sharpening filters to upgrade edges and make subtle elements more specified.
Some software permits you to select scaling strategies like bicubic or deep learning-based. Choose the most advanced AI-based algorithm for ideal results.
Utilize the preview option to observe how the settings influence your image. Alter parameters as required to harmonize detail and realism.
Save your settings if the program lets you; you can reuse them for similar pictures in the future.
Step 4: Initiating The Upscaling Process
Begin the upscaling process by tapping on the appointed button; it could be entitled Upscale, Enhance, or Run. The program will start scrutinizing and enhancing the photograph utilizing AI algorithms.
Observe the progress bar or status indicator to keep track of the upscaling. As per the resolution and your system’s performance, it may take some seconds to minutes.
The AI model will examine the picture, recognizing highlights such as edges, surfaces, and patterns to recreate better details at the target resolution.
Make sure that your system isn’t overloaded with other tasks to avoid delays or errors during the process.
As the process advances, a few tools may show a real-time preview. Opt for potential artefacts, like over-sharpening or unnatural surfaces, and alter settings as essential.
After the upscaling is done, the software will inform you or display the enhanced photograph for audit.
Keep a draft version of the upscaled picture to check the results in different situations before concluding it.
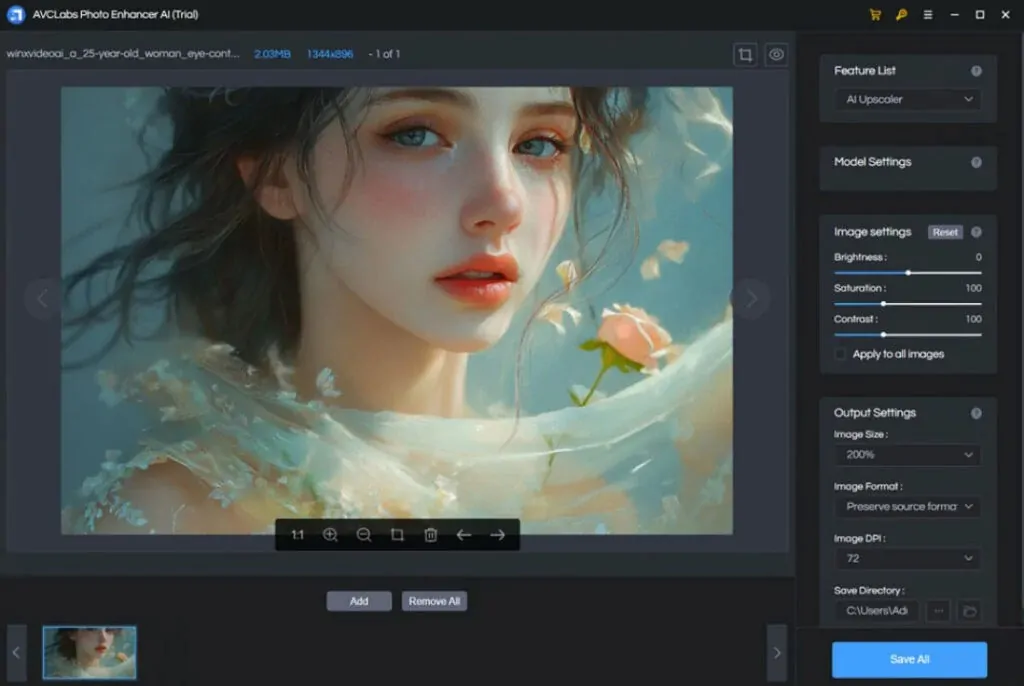
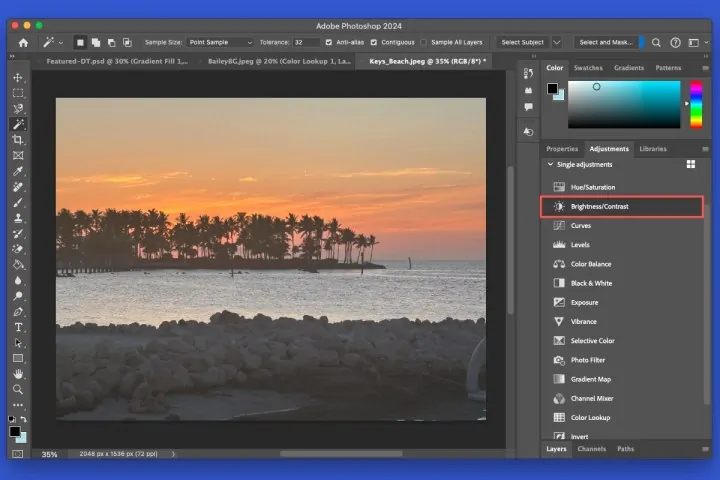
Step 5: Enhancing Image Details
Reconsider the enhanced image carefully for quality. Emphasis on key zones including edges, textures, and nuanced details to identify imperfections or overprocessing.
Modify the sharpness level if edges appear too delicate or excessively defined. Various tools offer a slider or option to polish this.
Decrease or increase noise suppression to keep a natural impression while getting rid of grainy artefacts. Overdoing that might result in loss of detail.
Enhance particular surfaces, like fabric, skin, or natural components, utilizing localized adjustment features or additional filters.
As required, alter brightness, contrast, and colour tones to guarantee the photograph looks dynamic and realistic after upscaling.

Keep comparing the adjusted photograph to the initial and the initial upscale version for the most fitting outcome.
Save the adjustment settings if you want to upscale equivalent photographs in the future.
Step 6: Previewing And Adjusting
Utilize the software’s split-view or side-by-side comparison to see the initial photograph side by side with the upscaled version. It helps you see the changes and identify any potential points.
Concentrate on critical image highlights including edges, surfaces, and color accuracy. Review to confirm that the upscaled photograph preserves fine details and does not present undesirable artefacts including blurriness or distortion.
Zoom in to look at better details, particularly in regions such as faces, text, or intricate designs. It will help you spot any errors that may not be obvious at lower zoom levels.
Make sure that the upscaled picture looks natural and true to life, avoiding any over-sharpening or artificial impacts. The improvement should progress clarity without making the picture show up as unrealistic.
Per your preview, make any fundamental changes to sharpness, noise reduction, or other settings to enhance the image further.
Once done with the comparison, ensure that the upscaled photograph satisfies your preferences before saving it
tep 7: Exporting The Final Image
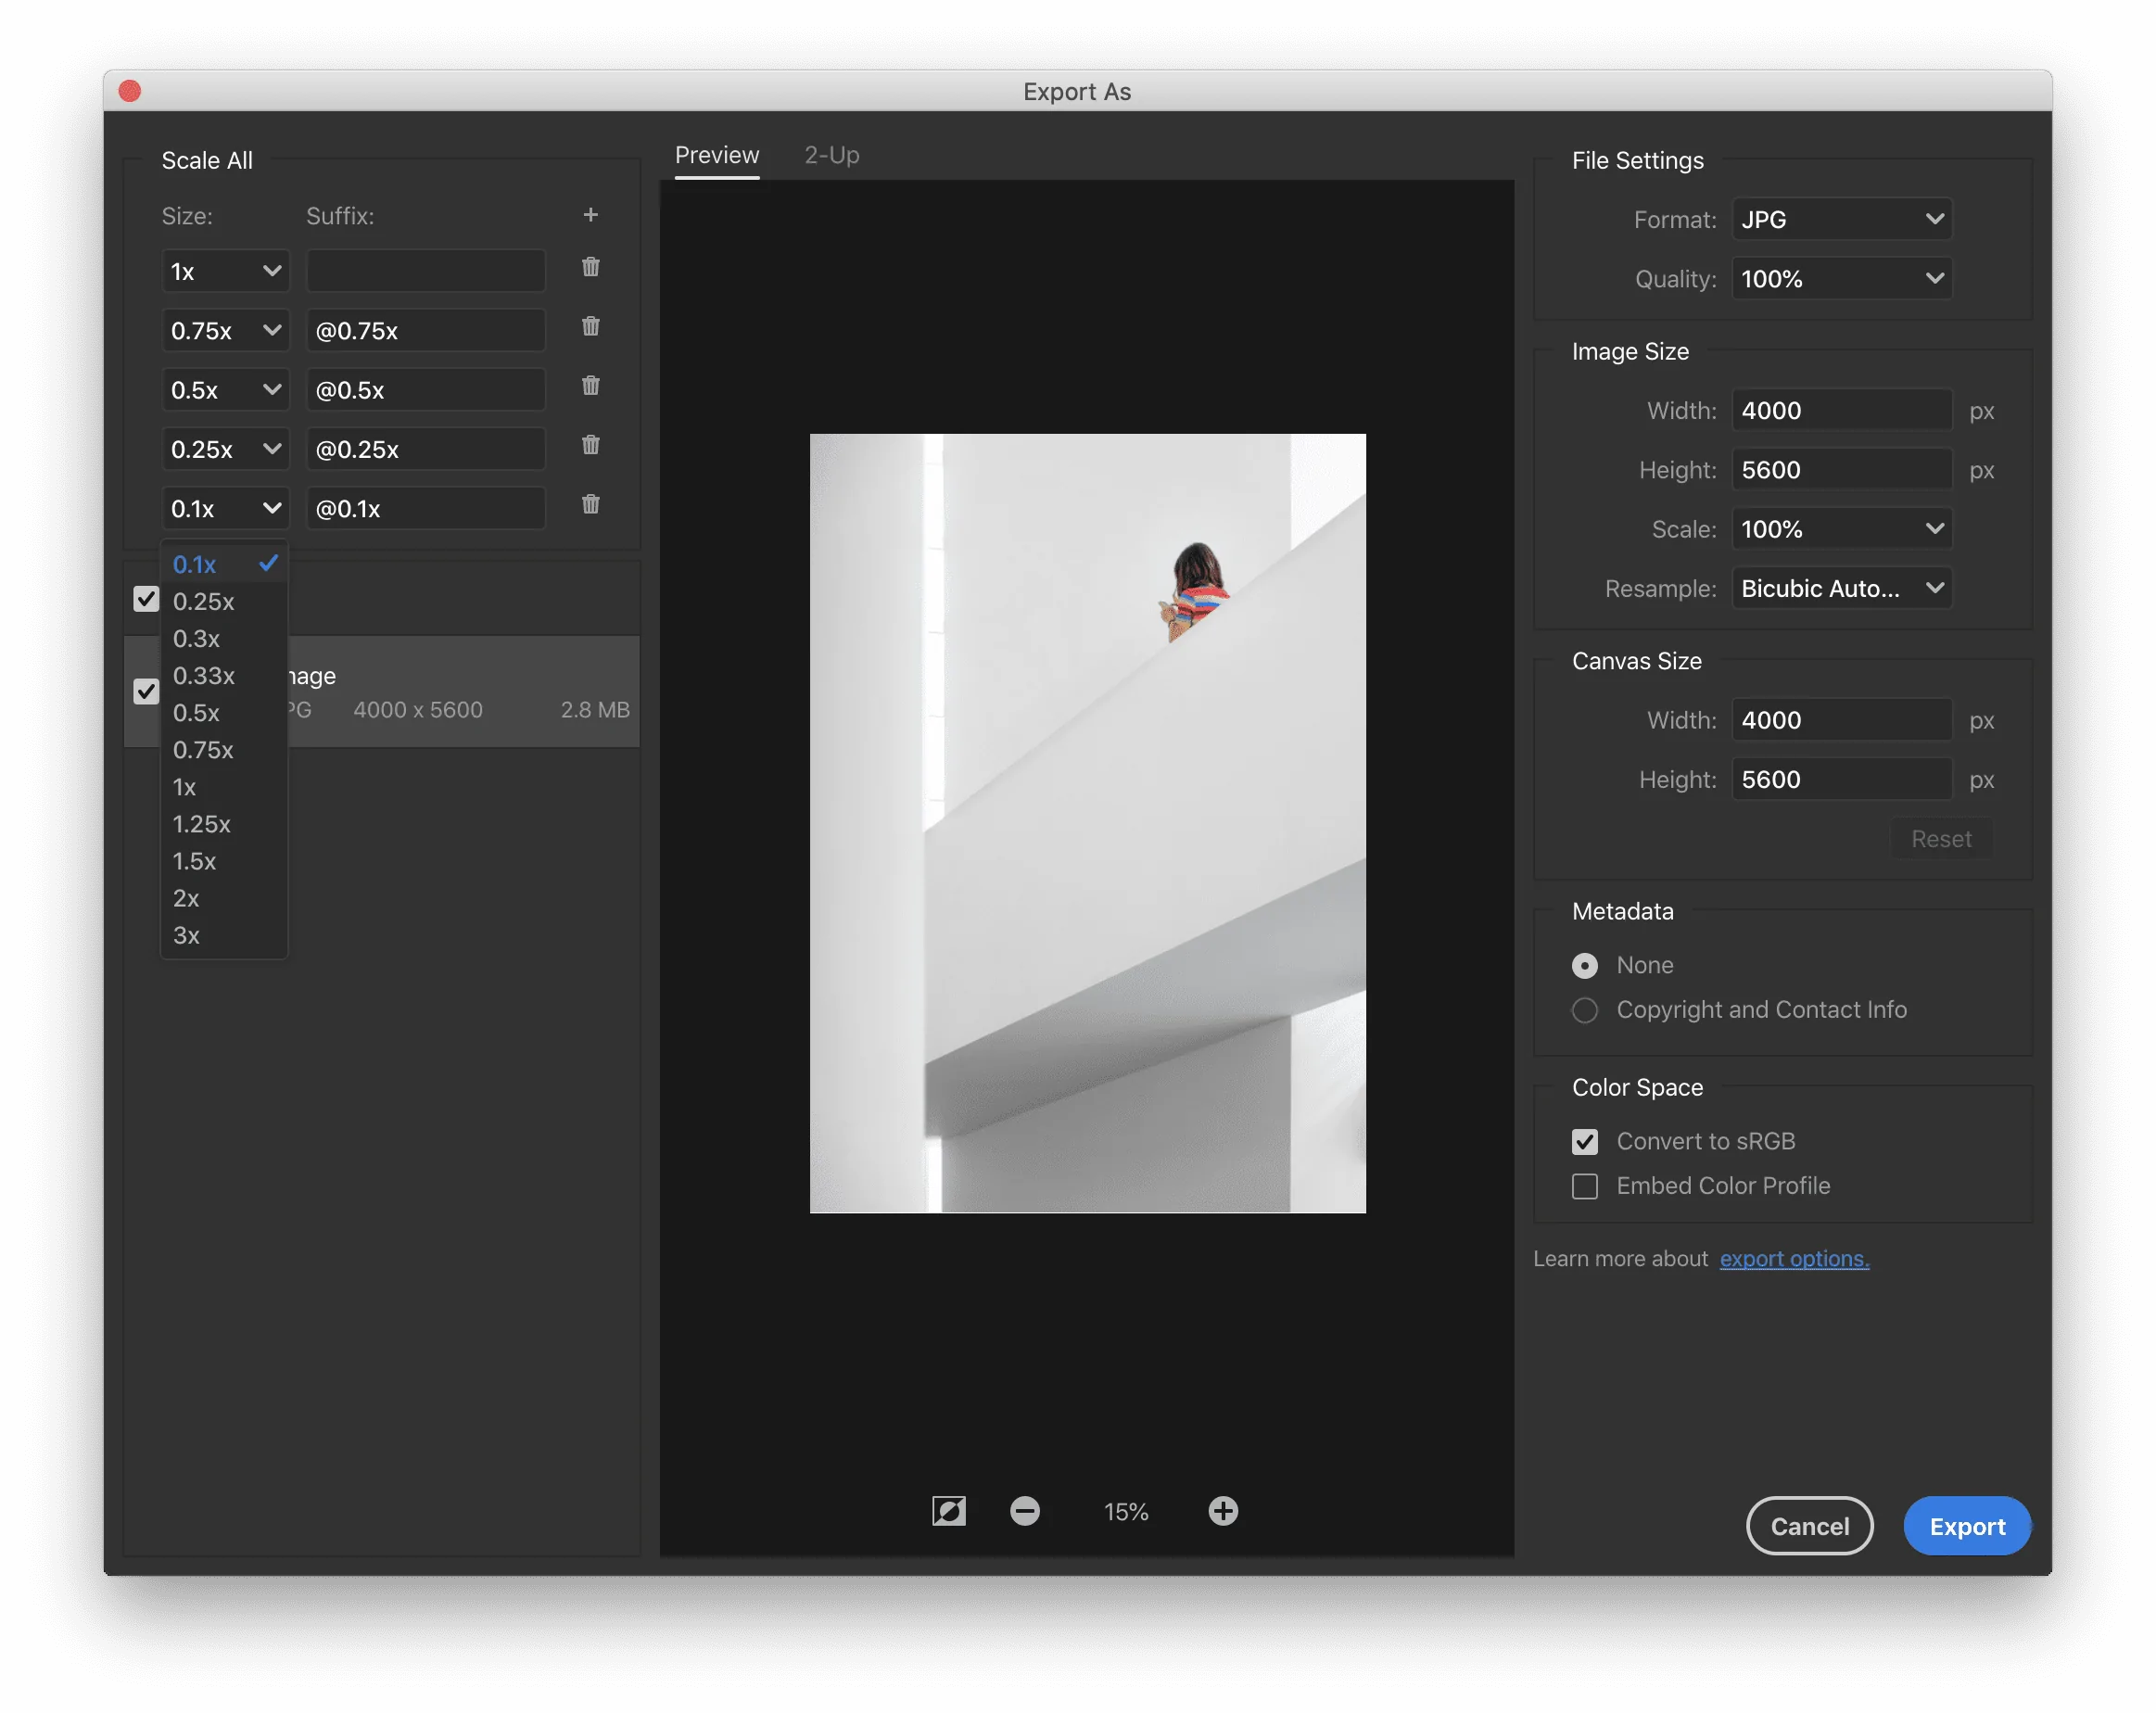
Pick the fitting file format for the upscaled picture, like JPEG, PNG, TIFF, or others, according to the planned use. If you want high-quality prints, TIFF or PNG is suggested, while JPEG could be appropriate for web use.
Confirm that the image is saved at the specified resolution. In case you have upscaled to a particular size, affirm that the resolution is correct before you move towards exporting.
If you are saving the photo in a compressed format such as a JPEG, modify the compression level to preserve quality while reducing file size. Avoid over-the-top compression that will lead to loss of quality.
Title the file in a way that echoes its high-resolution status, like including an upscaled or enhanced filename. It will help in keeping track of your original and upscaled forms.
Choose a folder or directory on your gadget where the picture can be easily accessed.
Make a backup of the upscaled photograph on a separate drive or cloud storage to avoid details loss.
Conduct a final review of the picture for quality, then click on Save or Export to conclude the process and store the upscaled picture within the chosen area.
Conclusion
In summary, AI upscaling enables you to transform low-resolution photographs into exceptionally clear artworks emphasising the revolutionary power of artificial intelligence. It is an effective tool that lets you revise the resolution of photographs so you can either make them larger or smaller without compromising quality. By manipulating the intricacies of resolution settings you turn your average shots into visually dazzling and memorable images. Likewise, you can also get assistance from step-by-step instructions as addressed above. Your efforts can result in more comprehensive and high-resolution images, guaranteeing that your edited photos appear polished and professional for any project.
