How To Do Color Inversion Of Images
Color inversion is a photographic technique that reverses every color in the RGB spectrum of the color wheel to its opposite binary value. For instance, an RGB inversion turns blue into orange, green into magenta, and white into black. Analog photography is where color inversion first appeared. Inverting a typical black-and-white film negative makes the dark portions luminous, resulting in a recognizable image. In the past, inverting a photo’s colors required a tedious procedure that involved a dark room and multiple chemicals that were originally used only in film production. Customary color inversion practices might still appear to be cherished, even in today’s world of digital photography. However, with the development of photo manipulation techniques, color inversion has now become a simple and accessible technique to generate distinctive aesthetics in photos. The adoption of digital tools like Adobe Photoshop has made color inversion much easier than it was in times gone by, making it a snappy approach to creating unusual compositions. A thorough description of techniques and tools employed for color inversion of images is described in the step-by-step process as follows:
Step 1: Adjusting The Base Image
Choose the software or tool you will utilize for color inversions like Adobe Photoshop, GIMP, or any online photo editor.
Initiate the selected software on your PC and confirm that it has been prepared for photo editing.
Proceed to the folder where the photograph is stored. Make sure that the software supports the file format like JPEG or PNG.
Utilize the Open or Import button within the software’s menu to load your picture.
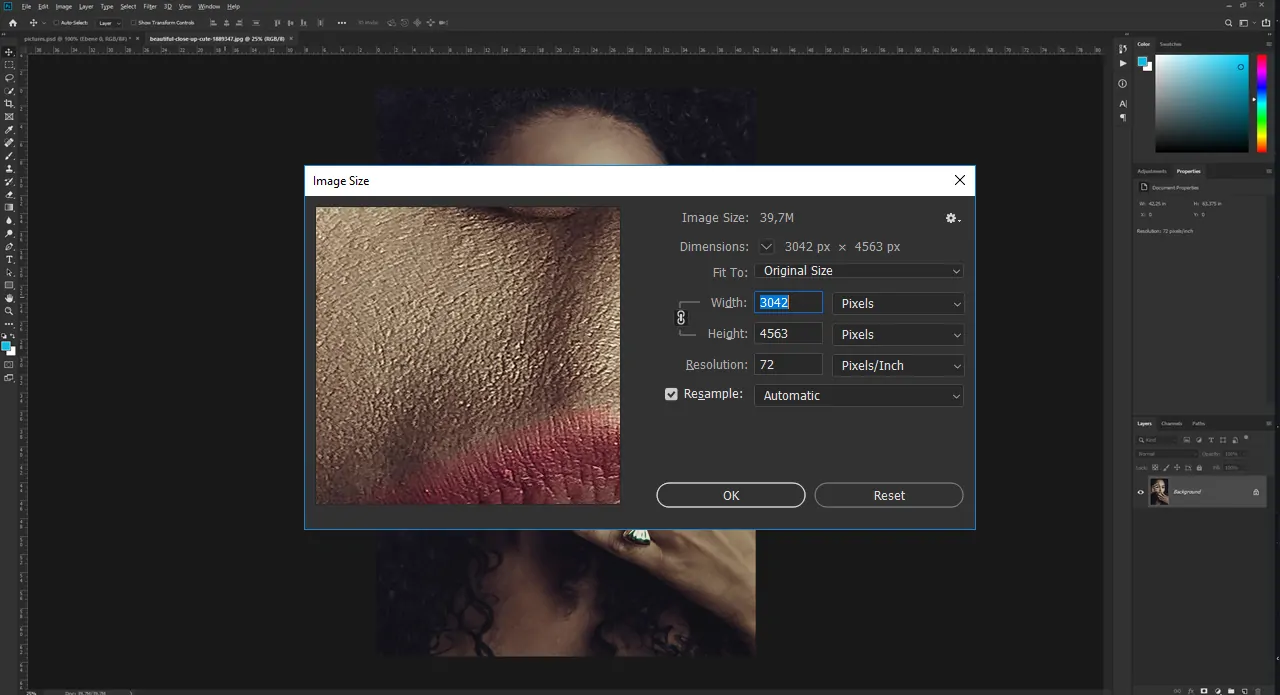
Confirm that the image resolution and quality are up to the mark. High-resolution pictures produce superior results after editing.
Keep a duplicate of the initial picture before making any alters to protect the unedited form.
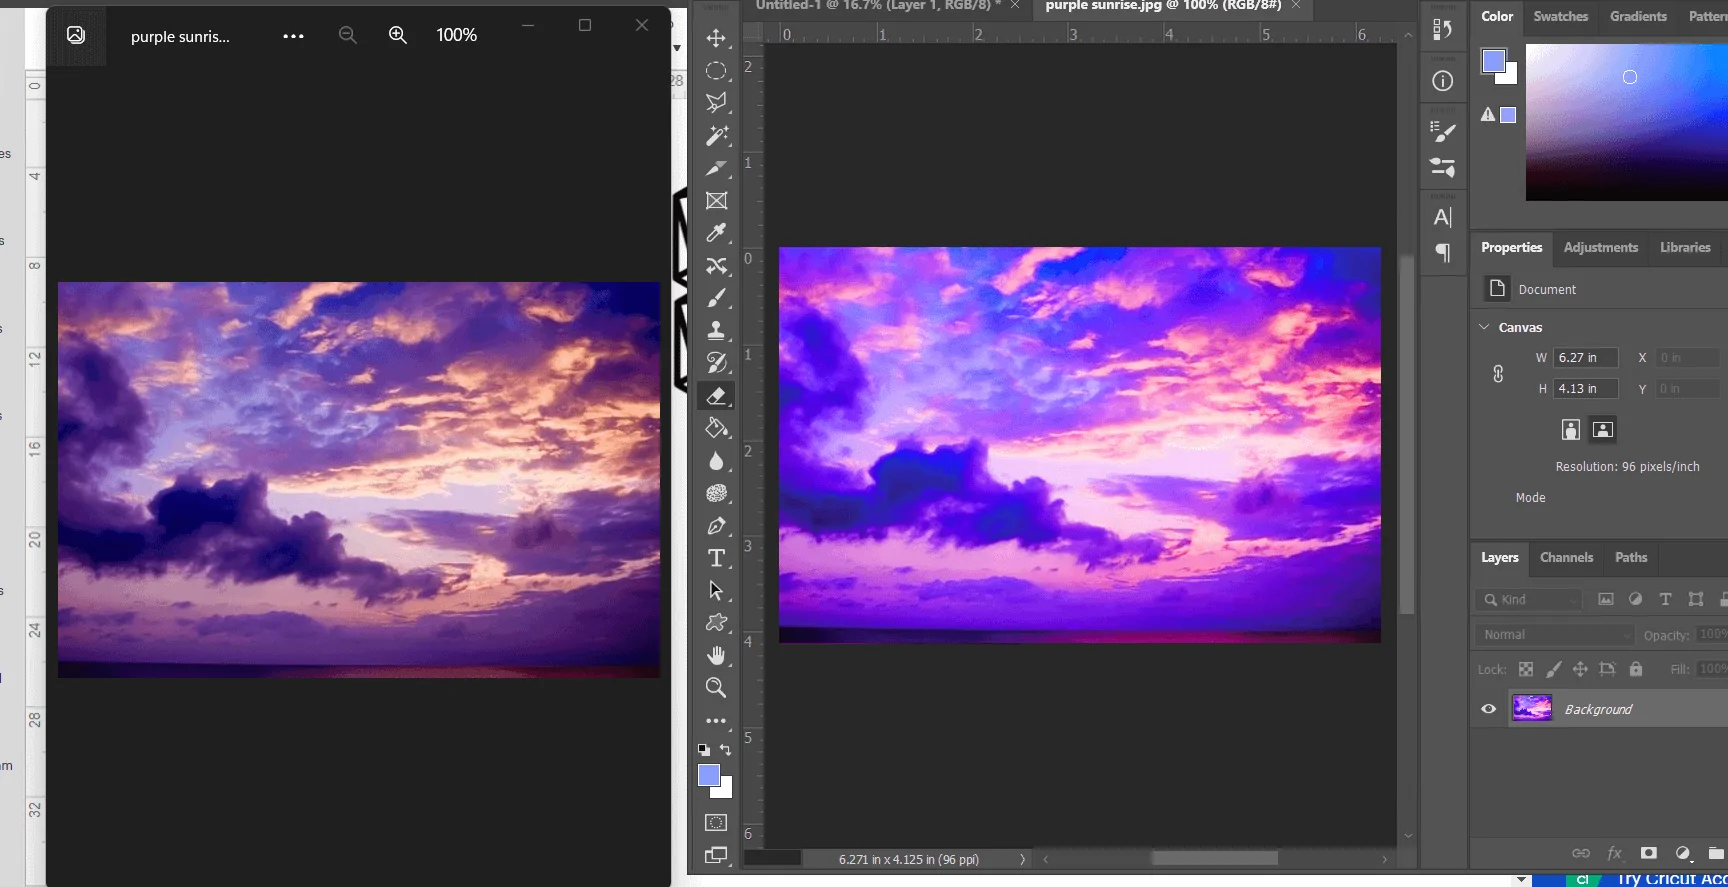
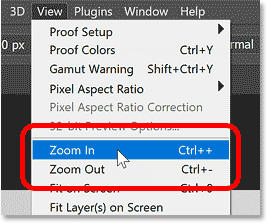
After the image is imported, make sure that it conforms to the workspace properly, zooming in or out in case fundamental.
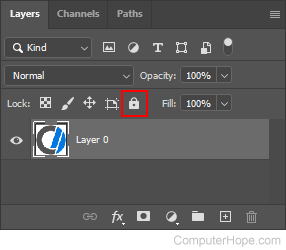
As appropriate, lock the initial picture layer to avoid coincidental changes during the editing.
These initial preparations confirm a smooth editing workflow for the color inversion process.
Step 2: Locating Color Inversion Tool
Find the editing or adjustment panel in your program. That can be where tools for color modification are generally accessible.
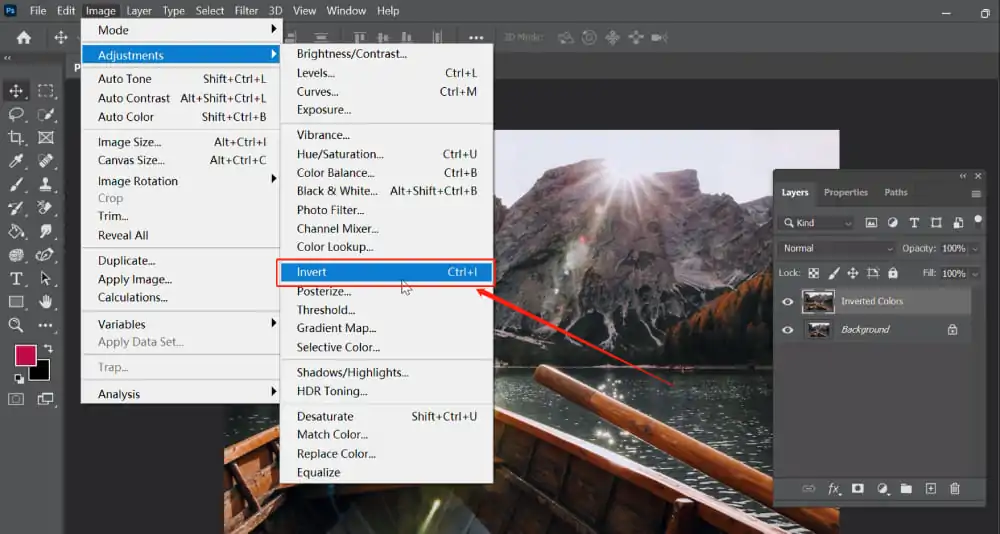
Seek for an alternative marked as Invert, Color Inversion, or equivalent. It could be beneath menus such as Adjustments, Image, or Effects.
In different software like Photoshop, pressing Ctrl+I in Windows or Command+I in Mac executes fast color inversion. Confirm if your program bears this shortcut option.
Press on the image layer you need to modify. Make sure that it is highlighted within the layers panel to avoid modifying the wrong component.
Press on the inversion tool to see its effect on your photograph, in case your application supports non-destructive editing.
After you are done with the preview, affirm the use of the inversion tool to continue with editing.
It will make sure that the right tool is applied for particular color inversion.
Step 3: Working On Color Channels
Head to the color settings or adjustment panel in your program, commonly located beneath menus such as Adjustments, Filters, or Image Settings.
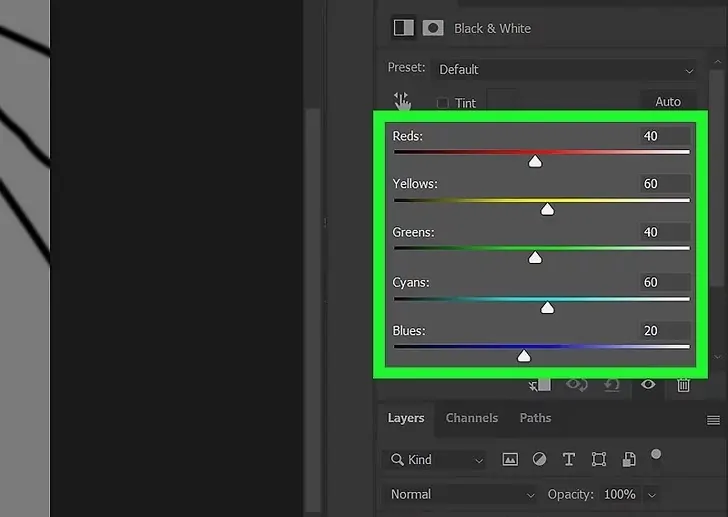
Concentrate on RGB (Red, Green, Blue) channels for accurate control. Some software permits editing each channel individually.
Find an alternative to invert particular channels. You can play with inverting only one or a hybrid of channels to attain diverse results.
Adjusting brightness and contrast can upgrade the visibility of inverted colors, guaranteeing the image holds clarity.
Utilize a real-time preview highlight to survey how your alterations influence the general picture.
Try using additional sliders or filters if your objective is to attain a striking artistic impact.
Affirm the changes and continue to the following step once elated with the result.
This step confirms that the color inversion conforms with your creative or practical aims.
Step 4: Finalizing The Inversion
Utilize the software’s appointed Invert command, usually located within the Image or Adjustments menu, or apply the shortcut Ctrl+I or Command+I if using Photoshop.
Review the image to make sure that all colors have been inverted, shifting light ranges to dark and dark ranges light.
Affirm that the proper layer was inverted, particularly in case you are performing with numerous layers in your project.
If you would like to invert only a portion of the photograph, utilize the selection tool to highlight the region before you apply the inversion.
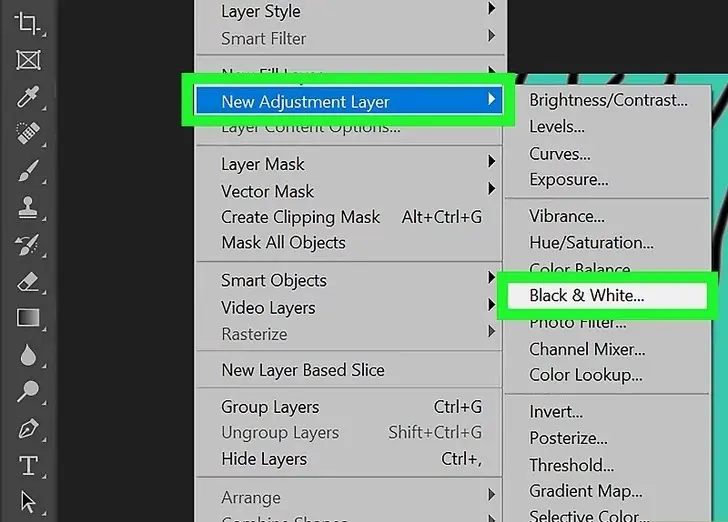
In a program like Photoshop, you can apply the inversion in the form of an Adjustment Layer. It permits you to toggle the effect on and off without changing the initial picture.
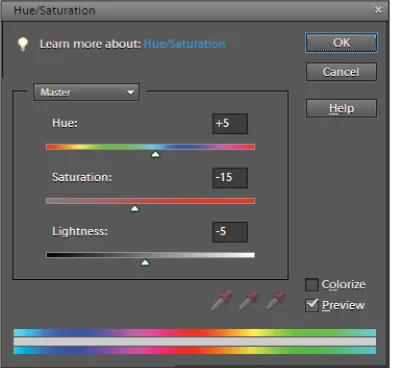
Connect the inversion effect with different filters, including Hue/Saturation or Levels, for improved visuals.
This step changes the image’s colors and makes it ready for further upgrades.
Step 5: Polishing The Composition
Once done with the inversion, closely look at the photo for any regions that may look too sharp or out of order.
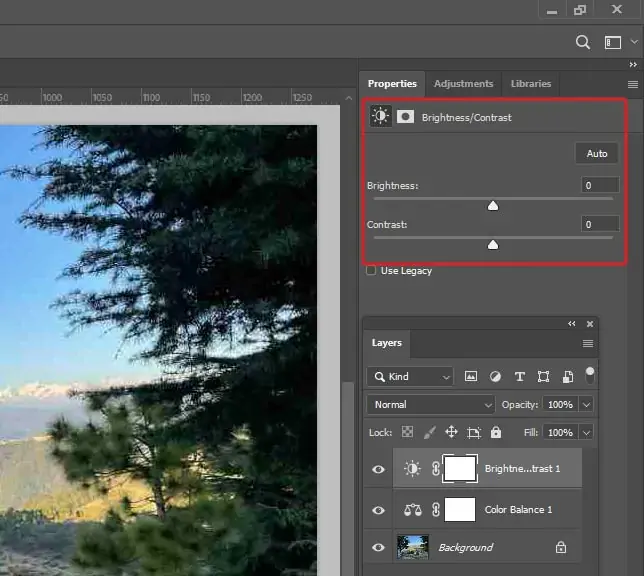
Utilize the Brightness/Contrast sliders to alter the general lighting. Inverted images can in some cases seem dull, so regulating these settings can help get back depth.
Adjust the Hue and Saturation sliders to make the colors within the inverted picture more dynamic or quiet, depending on your choices.
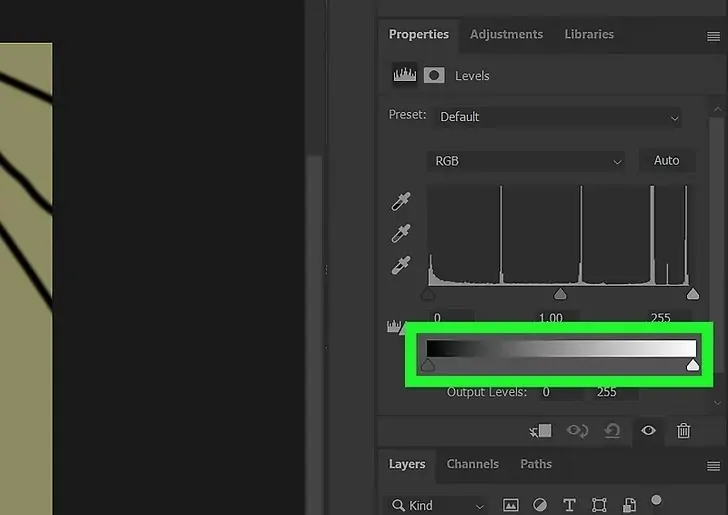
Alter the Levels or Curves to manipulate the tonal range of the photograph, moving forward the harmony between shadows, midtones, and highlights.
Add a slight sharpening to guarantee the subtle elements of the picture remain evident after inversion.
Seek for undesirable artefacts that will have shown up due to the inversion. Utilize the Healing Brush or Clone Stamp tools to expel them.
Before you finalize the composition, compare the initial and inverted versions to guarantee the alterations boost the effect as expected.
This step enriches the quality of the color-inverted picture, polishing its appearance and making it visually engaging.
Step 6: Scanning With Preview Feature
Most picture editing programs present a real-time preview of modifications. Be sure that this feature is enabled to see the impacts right away.
Toggle between the initial and inverted pictures to guarantee the changes are fulfilling your anticipations. If the software permits, split the screen to see both versions side by side.
Zoom in to examine more nuanced details that may be overlooked at normal viewing dimensions. That will help you catch subtle points that require adjustments.
Some applications also permit you to preview diverse settings at the same time, like contrast or saturation. Utilize this feature to check how multiple changes influence the picture.
In case you were working with layers, preview the alterations on each individual layer to affirm the effect is connected accurately without unintentional consequences.
According to the preview, make any essential changes to tune the picture. That can include further adjustments to color, brightness, or other components.
Use the snapshot or history feature to save a preview of the current image state to easily revert in case required.
Previewing guarantees that all edits accommodate your inventive vision and avoid undesirable changes.
Step 7: Exporting The Final Image
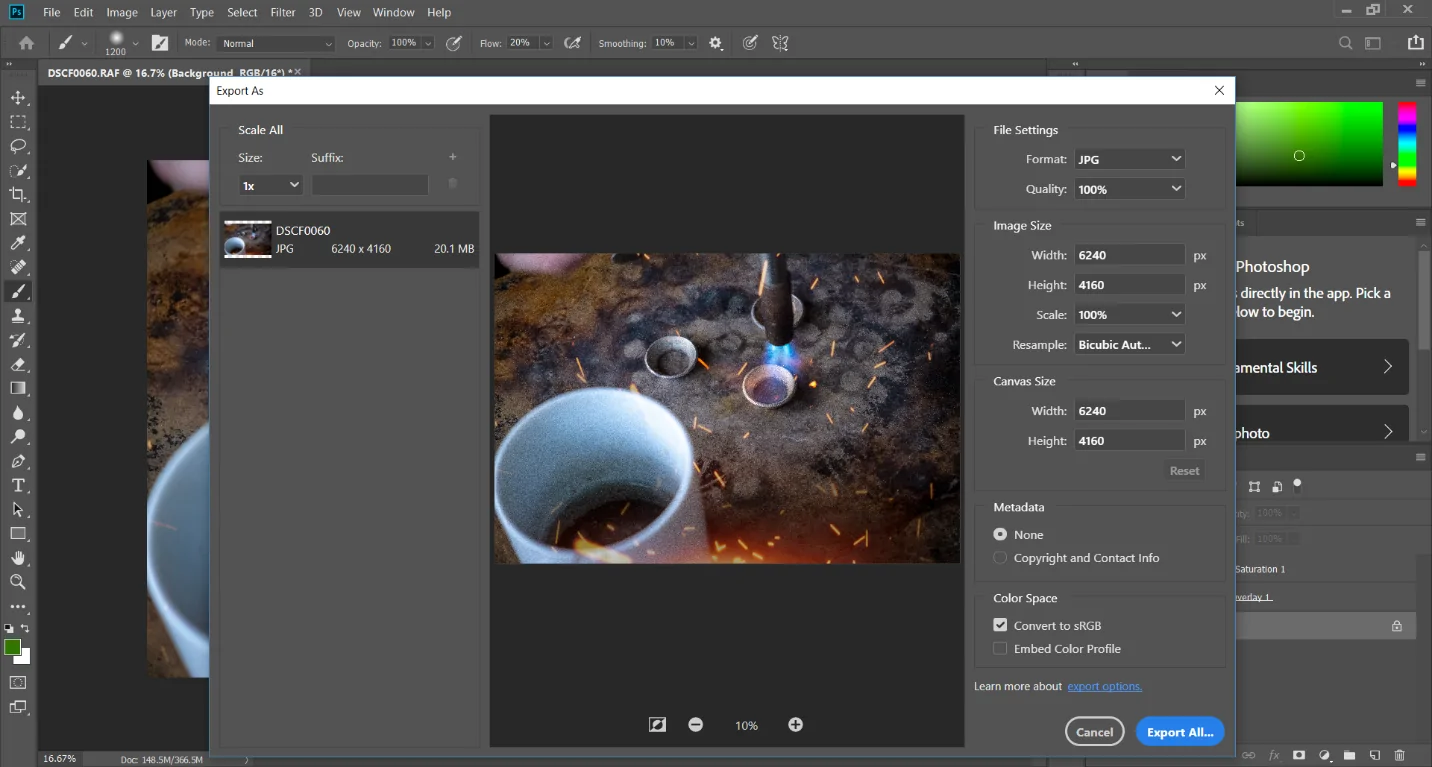
After you’re happy with the inverted image, head to the File menu and choose the Export or Save As option to prepare the shot for saving.
Choose the specified file format, like JPEG, PNG, or TIFF, based on your requirements. For high-quality yields, TIFF or PNG is favoured.
Put the suitable picture resolution and quality. Higher resolutions like 300 dpi are appropriate for printing, while lower resolutions like 72 dpi are adequate for web use.
Give a precise and expressive name to the file so it can be easily recognized later.
Select the destination folder on your PC or cloud storage to keep the picture.
In the case of working with large photos, look into enabling compression to decrease the file size without significantly influencing picture quality.
Tap Save or Export, and double-check the output file to confirm that it is saved within the proper format and quality.
The final step guarantees your inverted photograph is appropriately exported for expected use or sharing.
Conclusion
In summary, the color version approach when applied to digital images using advanced tools, creates stunning effects that leave viewers in awe. Besides image editing, this approach can be used to create color shifts in graphic designs and artworks to experiment with creative effects. Color inversion can improve the compositions’ visual magnificence, making them sparkle with striking and dramatic tints. Additionally, it can improve accessibility for color-blind people and rectify and harmonize color schemes, making art perceptible to everybody.
