How To Create A Zenith Light Effect
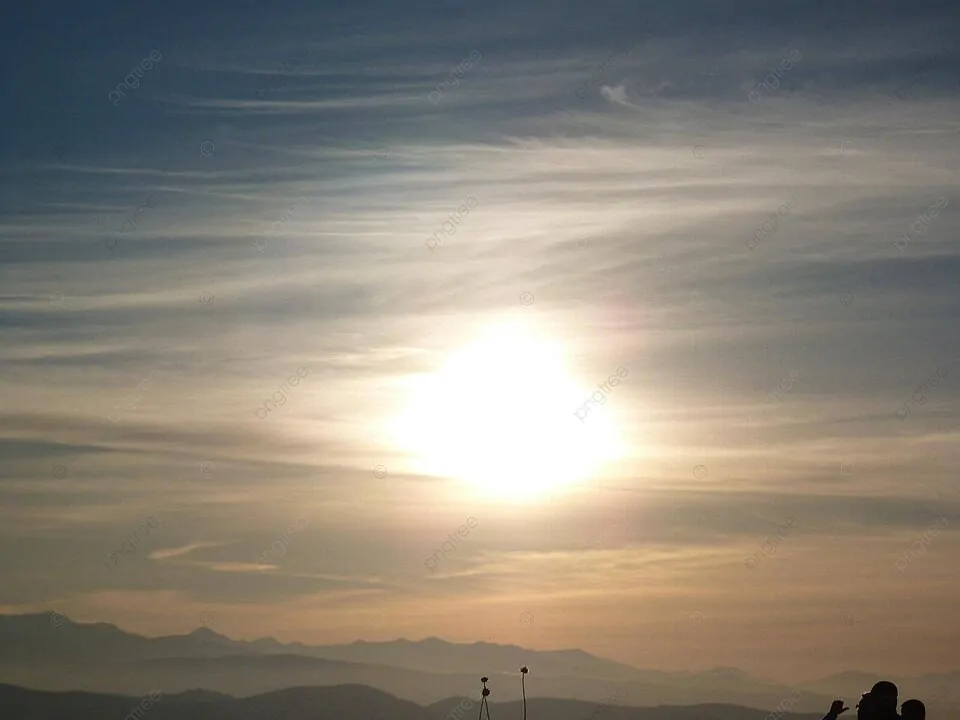
The term zenith describes an imaginary point that is directly above a specific location on the celestial sphere; it is vertically opposite to the apparent gravitational force or directly opposite to the gravitational pull. Similarly, the light that emanates from the zenith is known as the zenith light, and it is typically observed during the midday hours when the sun is at its highest point. Natural lighting effects are prevalent in photography and different visual art forms; artists and image editors equally adore the zenith light effect, which introduces a brightest and even glow all over the presented environment within a composition. It adds the least shadows by somewhat illuminating the objects, especially onto the top ranges, giving the images an ethereal dimension. Since the key idea behind a zenith light effect is the even dispersion of light throughout the scene with a little more intensity above the top zones, both warm and cool tones can be added to the composition. The following steps will discuss the essential tools and techniques to enhance images by recreating the zenith light effect.
Step 1: Present A Solid Overhead Light Source
To form the Zenith Light Effect, the primary step is to present a solid overhead light source that mirrors natural sunlight coming from straight above.
Initiate Photoshop and import the photograph you need to alter. Be sure that it contains a sufficient contrast to benefit from overhead lighting.
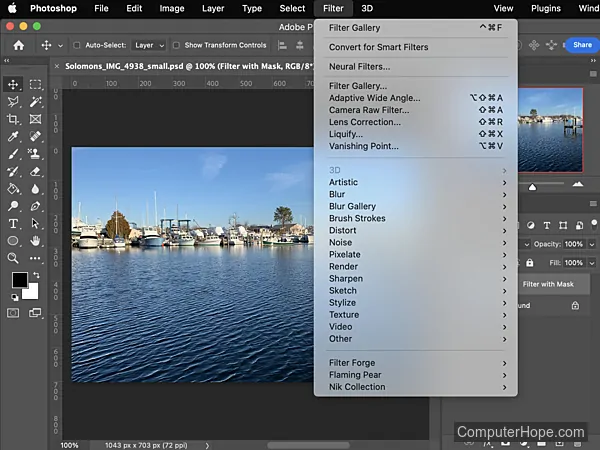
Head to Filter, click Render, and then Lighting Effects. That feature allows you to control light sources dynamically.
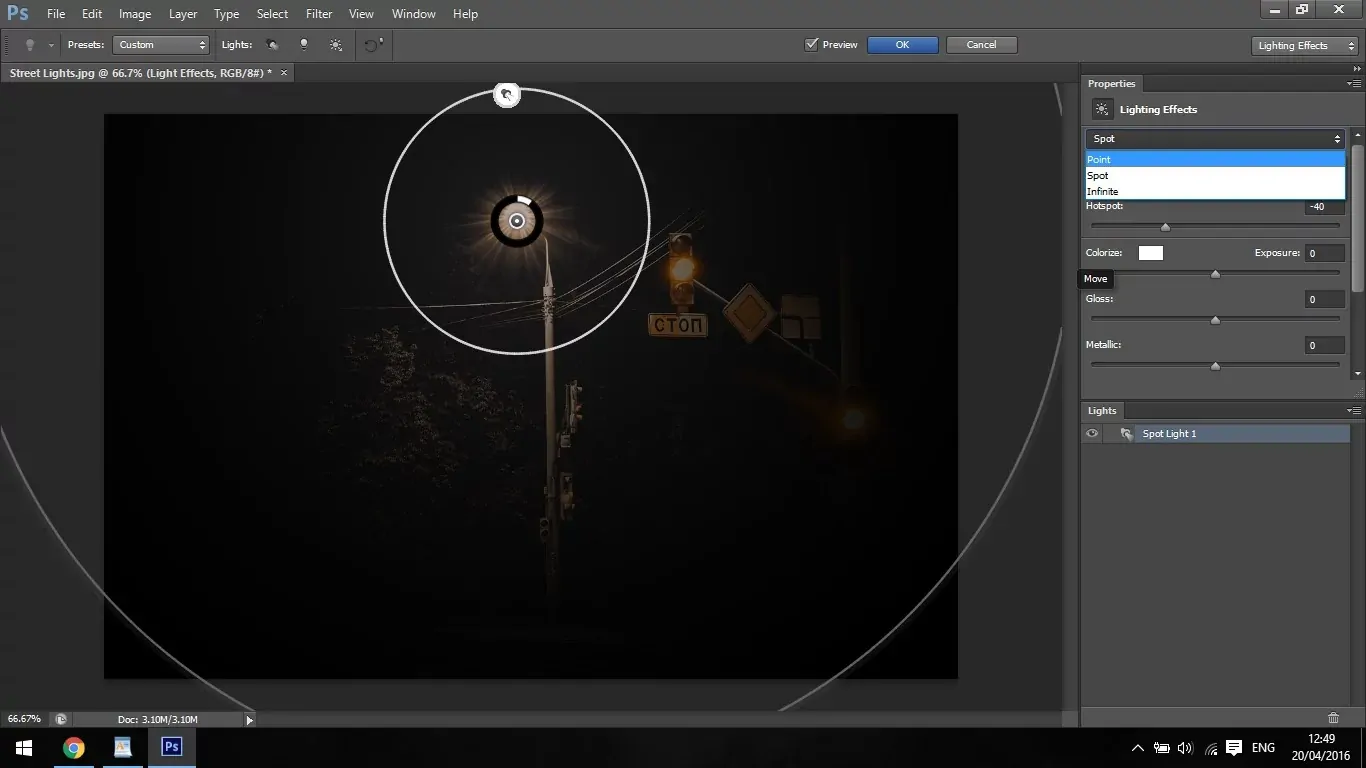
Select Spotlight for a focused impact or Directional Light for a broader stretch. Both of these tools recreate overhead brightening effectively.
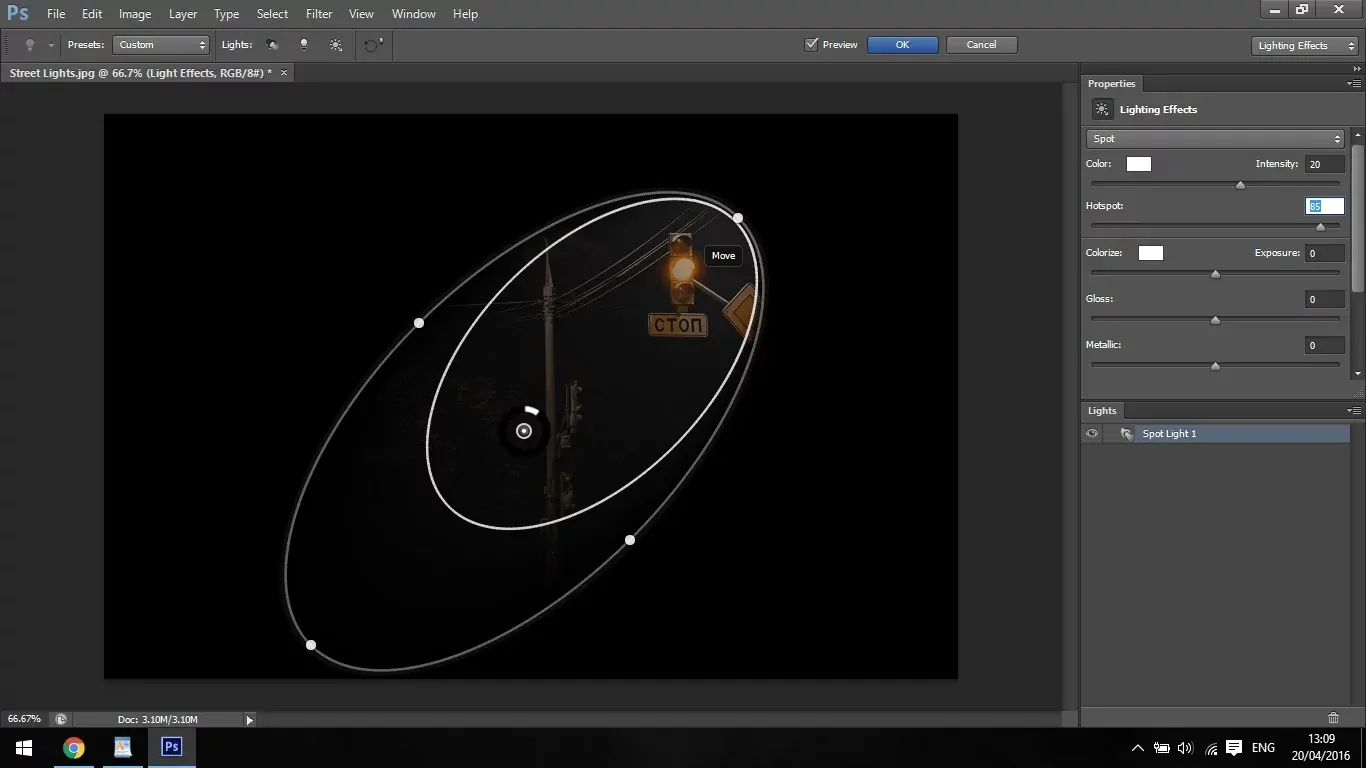
Pull the light handle to the centre-top of the picture, adjusting it with the zenith point.
Extend the hotspot size to wrap the subject uniformly while maintaining the most radiant point in the middle.
Press Ok to apply the lighting effect, setting the establishment for additional refinements.
Step 2: Fine Tune The Intensity And Spread
After you have applied the overhead light source, you can move on to fine-tuning the intensity and spread to create a natural Zenith Light Effect.
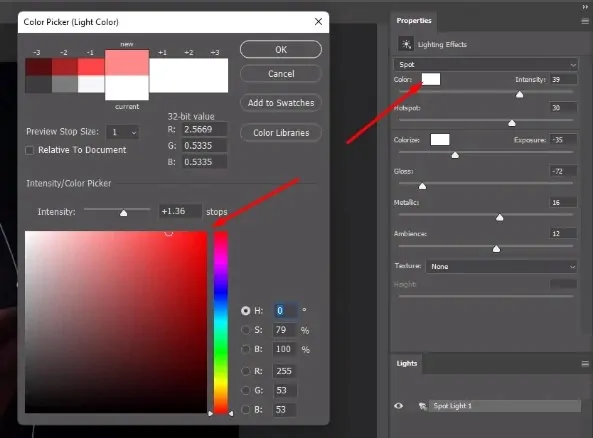
Within the Lighting Effects panel, alter the Intensity slider to regulate brightness. A more elevated value upgrades the effect but maintains a strategic distance from over-exposing the picture.
Adjust the Hotspot Size to specify how distant the brightest region expands. A bigger radius makes a softer effect, whereas a smaller one holds the light more focused.
Position the Falloff to handle the consistency of the light fading into shadows. A smooth transition guarantees a natural formation.
Increment Ambient Light slightly to avoid extreme contrasts and preserve the background particulars.
Make sure that no critical details fade out. As fundamental, change the settings for a proportional view.
Once you are satisfied, tap Ok to conclude the lighting advances.
Step 3: Upgrade The Glow And Soften Transitions
Once the light intensity and spread are modified, the next step is to upgrade the glow impact and soften moves to form a more natural Zenith Light appearance.
Include a new layer over your picture and put its blending mode to Overlay or Soft Light for a nuanced glow.
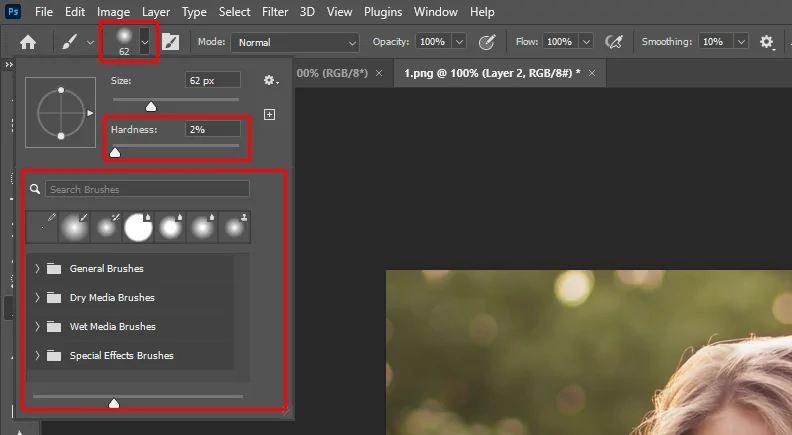
Activate the Brush Tool, put it on a large, soft, round brush, and decrease the opacity to around 20 to 30. Select white or a warm yellow colour and softly paint over regions where the light ought to show up most substantial.
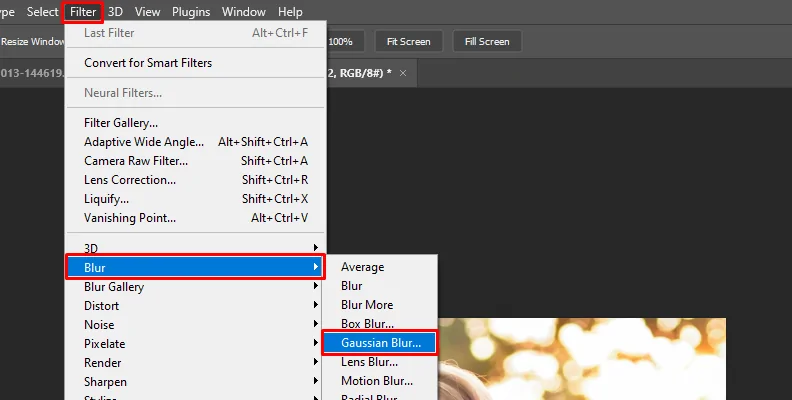
To make diffused radiance, proceed to Filter, click Blur, then Gaussian Blur and alter the radius to ease the painted ranges. It will make a lifelike dispersion of light.
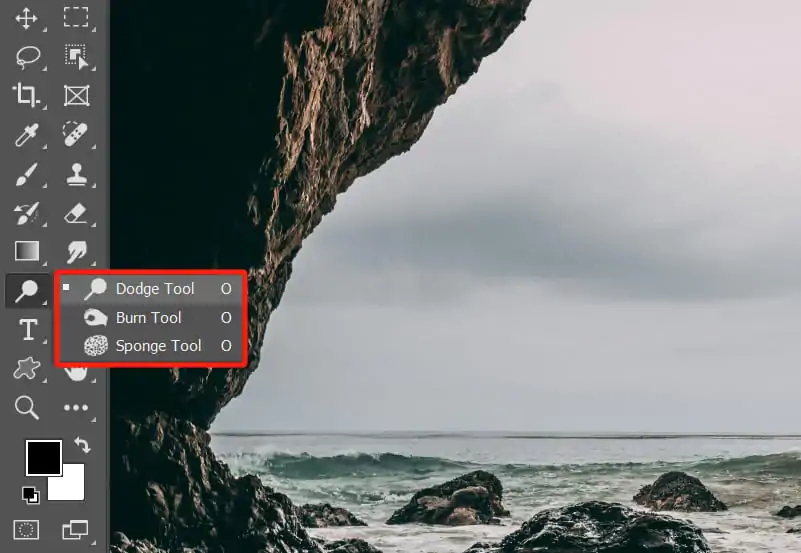
If you find some shadows show up too abruptly, utilize the Dodge Tool with a low exposure to illume those shadows somewhat.
Decrease the opacity of the glow layer in case the effect looks too strong. Point for a soft, balanced light.
Utilize layer masks to polish ranges where the glow ought to be more or less intense, guaranteeing a realistic, overhead-lit effect.
Step 4: Alter The Shadows And Highlight
After the gleam is all set, the next step is to alter the shadows and highlight the overhead lighting.
Pick the Dodge Tool, specify its Range to Highlights, and keep the Exposure as low as 10-15%. Delicately paint over ranges where the light ought to be most powerful, like the top of things or the head or shoulders of the main subject.
Activate the Burn Tool, put its Range to Shadows, and use it on ranges where the light does not reach, such as the beneath chins, lower body parts, or objects within the foundation. It will expand contrast and enhance realism.
Move to Image, click Adjustments, then Curves, and somewhat lift the highlights while deepening shadows for a well-regulated contrast growth.
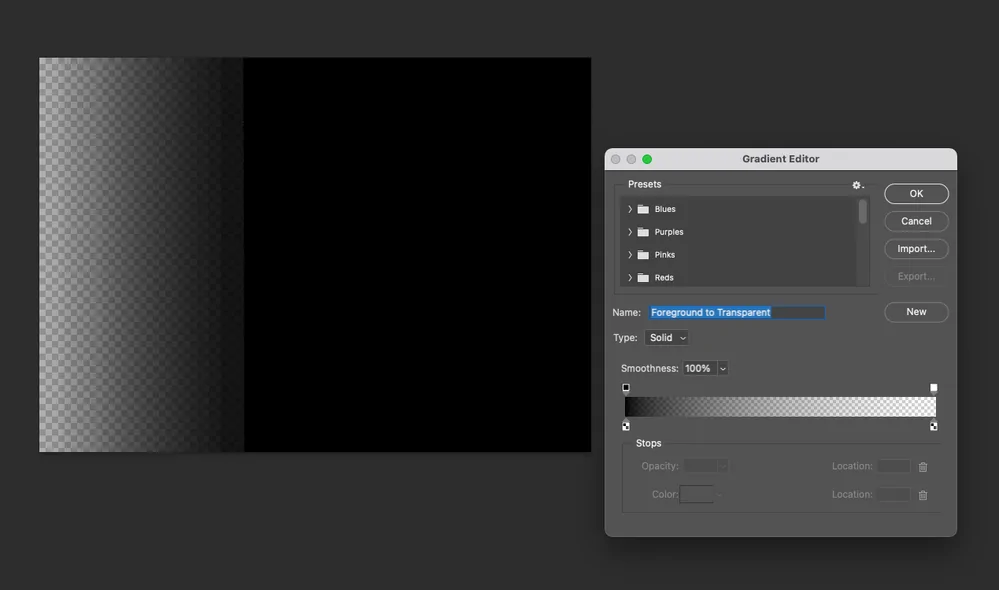
Incorporate a black-to-transparent gradient on a new layer utilizing the Gradient Tool. Put the layer mode to Multiply and alter opacity to moderately darken the lower regions.
In case the effect is too solid in certain ranges, utilize a layer mask with a delicate brush to erase the overabundance of highlights or shadows, keeping the effect harmonious.
Use the zoom out option and observe the lighting flows, ensuring their realism. Alter the Opacity of highlight and shadow layers to attain the ideal blend.
Step 5: Enhance The Colors
To make the Zenith Light Effect more remarkable, it is fundamental to alter the light’s colour and make sure that it corresponds to the scene’s temperament. Whether you need a warm golden gleam or a cool moonlit scene, colour grading helps unify the photograph.
Head to Image, select Adjustments, then Color Balance to adjust the Shadows, Midtones, and Highlights independently.
As we all know, the Zenith Light comes from above, so the highlights should echo its tone. Enhance Yellow/Red for a warm daylight impression or Blue/Cyan for a cooler, artificial shine.
Marginally redirect the mid tones towards the highlight colour to make a smooth gradient between light and shadow, guaranteeing a natural move.
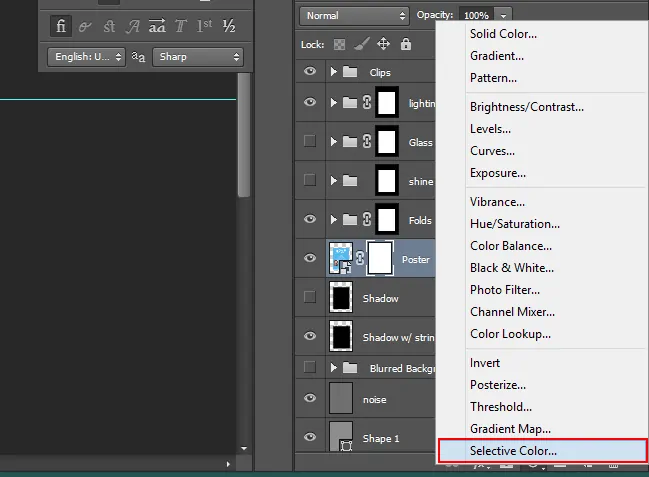
Move to Image, click Adjustments, then Selective Color, and change the Whites and Neutrals to polish the glow’s tint.
Include a Gradient Map adjustment layer, choosing a colour gradient that upgrades the overhead lighting. Specify the layer blending to Soft Light or Overlay modes and decrease opacity for a subtle upgrade.
In case the colour effect seems too concrete, utilize a soft brush on a layer mask to eradicate undesirable ranges while keeping the highlights dynamic.
Step 6: Include Soft Light Beams And Atmospheric Glow
To upgrade authenticity and depth within the Zenith Light Effect, including soft light beams and atmospheric glow can make a more immersive appearance.
Include a new layer over your photograph, specify the blending mode to Screen or Overlay, and utilize a soft white brush to paint nuanced streaks where the light source is most assertive.
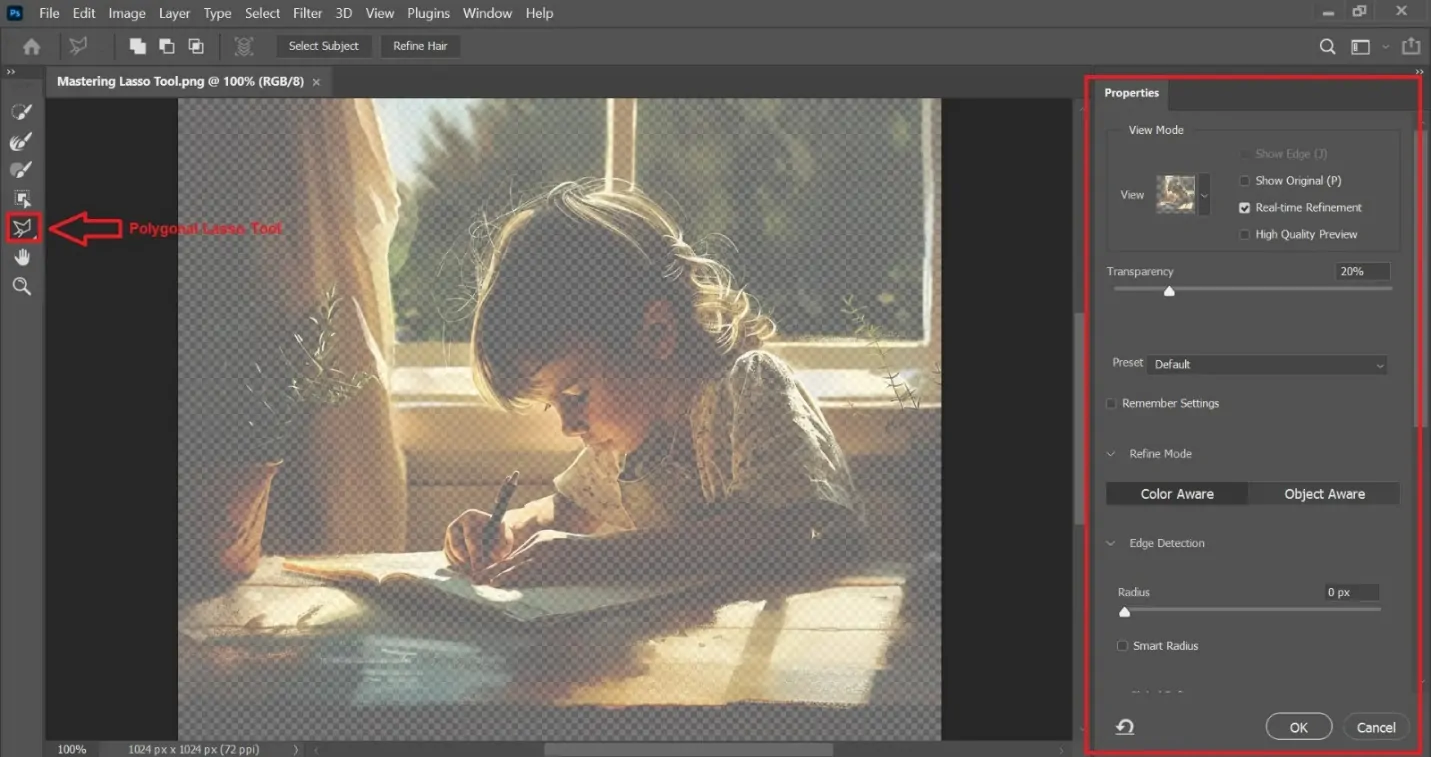
Choose the Polygonal Lasso Tool and draw narrow triangular forms transmitting from the light source. Fill the shapes with white, and add Gaussian Blur to ease them.
Decrease the layer opacity to 20 to 40 per cent so the light rays show up nuanced instead of overwhelming.
On another new layer, utilize a large, soft white brush with low opacity and delicately paint around the brightest zones to recreate a glowing climate.
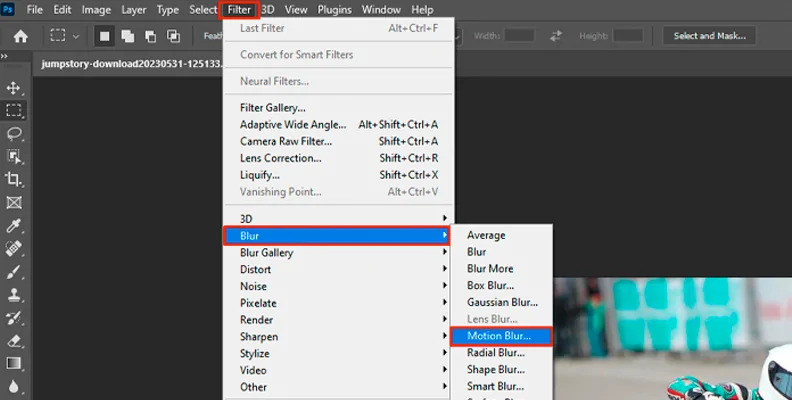
If you feel the light rays show up too sharp, add Motion Blur with a slight vertical tilt to make a natural beam effect.
Utilize a soft black brush on a layer mask to eradicate any undesirable ranges and make sure that the light rays blend consistently into the picture.
Step 7: Polish The Composition
The ultimate step involves polishing the details and confirming that the general composition looks adjusted and professional. Here, you will adjust the contrast, sharpen details, and apply final colour grading to attain a polished formation.
Proceed to Image, select Adjustments > Brightness/Contrast, and slightly raise both values to make the light look remarkable while keeping up depth within the shadows.
Navigate to the Filter option, then click Camera Raw Filter and change the Exposure, Highlights, and Clarity sliders to improve the lighting effect without overexposing subtle elements.
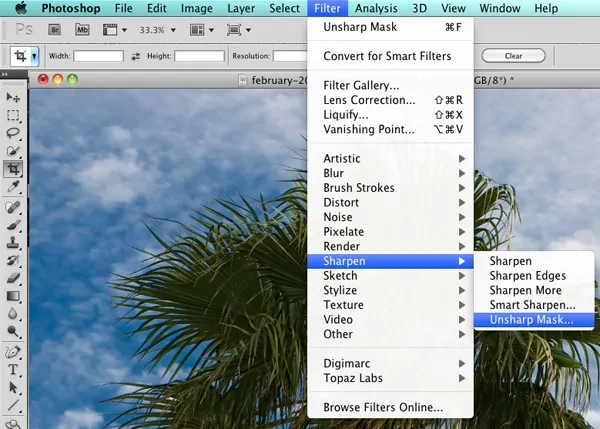
Tap again on the Filter, then Sharpen > Unsharp Mask, and use a low amount of 50 to 70% with a small Radius to emphasise surfaces in well-luminous ranges.
Within the Camera Raw Filter settings, move to the Effects tab and include a slight vignette to darken the edges, accentuating the major light source.
If you find certain regions too bright, decrease highlights utilizing Curves or reduce the opacity of the light layers.
After you are content, merge the layers and preserve the picture in high resolution for ideal quality.
Conclusion
In summary, since the sun’s rays penetrate the smallest layer of the atmosphere at its zenith, producing the brightest and strongest light and captivating sight, top lighting is paired with strongly contrasting light in nature. Likewise, simulating the lighting conditions seen in zenith light can present an intriguing sheen and glow across the photographs’ climate. It produces dramatic and arresting effects by highlighting the image’s upper areas in particular. After applying the zenith light effect, the pictures or artworks appear to have natural light directed from above, producing a lifelike scene.
