How To Create A Fluoro Effect
Various scientific domains, including ecology, forensics, dermatology, healthcare, and art conservation, employ fluoro imaging. To guarantee excellent, reliable results, fluorescence photography, like other photographic methods, must follow a few fundamental guidelines. To ensure that the only light being photographed is from the subject’s fluorescence and not reflection, one of these needs is to block the light source’s wavelengths. Also, a filter in front of the camera lens is necessary because, although the majority of digital cameras have some kind of internal filtration over the sensor, this is not always reliable enough to prevent all reflected UV rays. Additionally, under UV light, camera lenses themselves can glow. The distinctive visual effects attained from fluoro imaging also inspire design, artwork, and image editing, though they are recreating these effects in their own ways. With the advancement of digital art tools, a fluoro effect can be replicated in everyday images and designs by manipulating colours to exhibit unique colour combinations inspired by classic neons and producing spectacular atmospheres. The colours used in contemporary photographs are transformed into oversaturated, fluorescent-style hues by experimenting with bright, fluoro colours, resulting in resilient, intuitive pictures. The steps for creating a fluoro effect are as follows.
Step 1: Choosing A Suitable Photograph
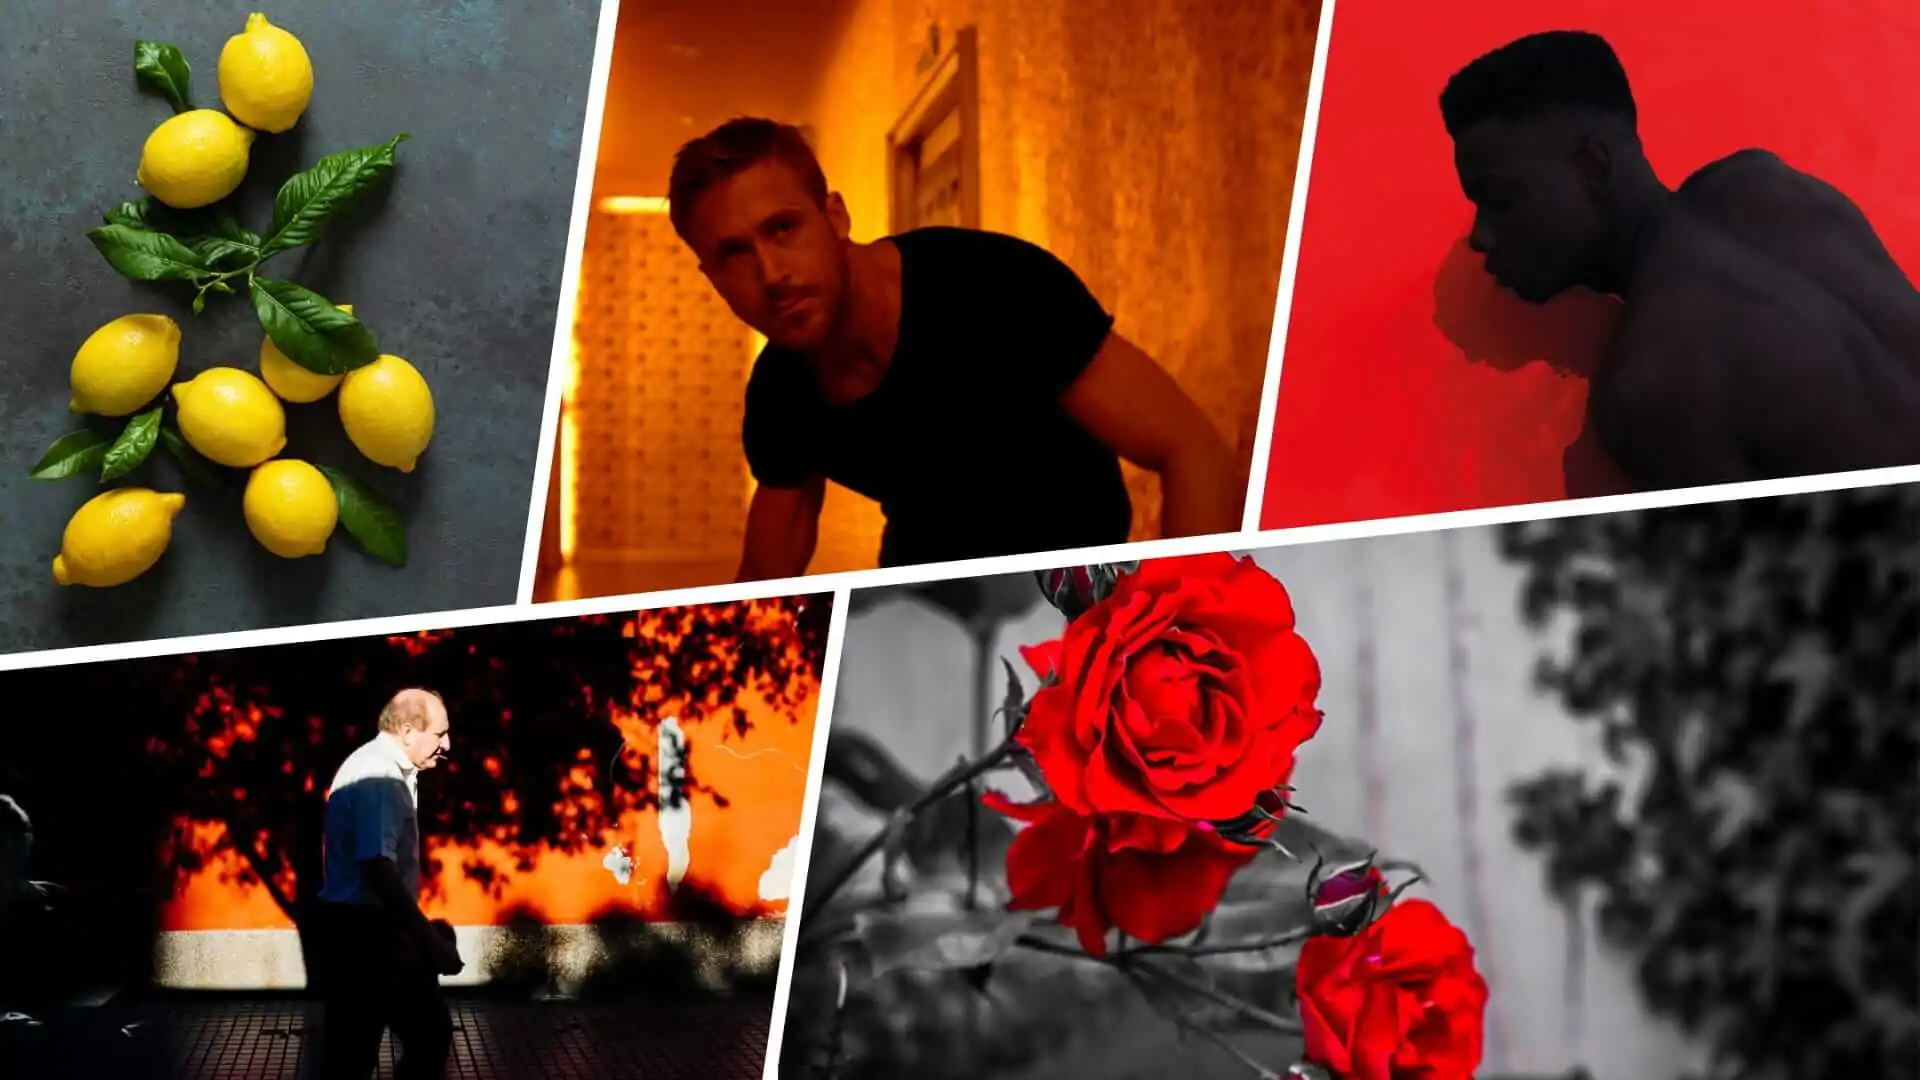
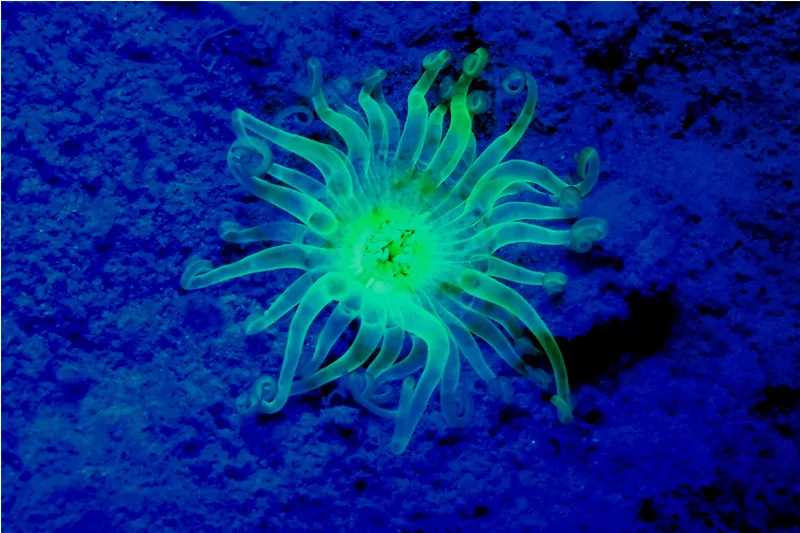
Picking the proper photograph is the foundation of accomplishing a strong fluoro effect. As this effect depends on dynamic colours and gleaming highlights, the photo should contain components that support high visibility and contrast.
To make a remarkable Fluorescent effect, the best option is dark foundations or regions with clear light-dark division. So, you can choose night shots, studio-lit portraits, or urban settings for the best results.
The objects that have crisp edges, such as neon signs, glowing accessories, or strong silhouettes, help upgrade the glow impact without looking blurry.
A photograph containing proportional lighting and strong colour depth will let the neon glow be incorporated without losing subtle elements. Usually, bright reds, greens, blues, and purples respond generously to the fluoro impact.
Choosing a well-composed picture containing a strong focal point makes the glow effect look more deliberate and proficient.
Step 2: Enhancing The Colours
This step involves enhancing the colours to create the signature fluoro effect. In this phase, you will expand saturation and vibrance to create eye-catching neon tones without losing picture quality.
Expanding saturation upgrades all colours, but too much can make the photograph look fake. Begin with an intermediate increment from +20 to +50 and alter steadily.
Enhance the vibrance to improve muted colours and keep skin tones and highlights adapted. It will prevent oversaturation in already bright zones.
Utilize the HSL panel of your software to target specific colours like boosting blues, greens, and magentas to attain a UV-style appearance.
Increase contrast to make bright colours look evident against dark foundations, improving the glowing effect.

If you feel that the colours look counterfeit or renounce detail, decrease saturation somewhat and polish tones individually.
Flip the effect on and off to compare before concluding. Alter is required to maintain harmony between energy and realism.
Step 3: Creating A Glowing Effect

After the colours are amplified, the third step is to create a glowing effect by making a duplicate of the picture and utilizing blending modes. It will increase brightness, include depth, and help mimic the neon glow.
Make a duplicate of the primary picture by using Ctrl+J, permitting non-destructive editing.
Shift the blend mode of the duplicated layer to the Screen to brighten the picture by removing darker regions while enhancing highlights, making it look lit up.
If you require more substantial contrast and colour depth in your composition, set Overlay mode instead. It will boost saturation and highlights, making a more dramatic appearance.
Decrease the opacity between 40 to 70 per cent to avoid overexposure and keep the glow accommodated.

To get a stronger fluoro effect, make additional duplicates and alter their opacity or blur levels to heighten the glow.
In case certain zones look too bright, utilize a layer mask and a delicate brush to eradicate excess glow while keeping the most subject dynamic.
Step 4: Building A Fluoro Atmosphere
To build a fluorescent atmosphere around the subject, you can utilize the Outer Glow effect or a soft brush to mimic genuine neon-like lighting.
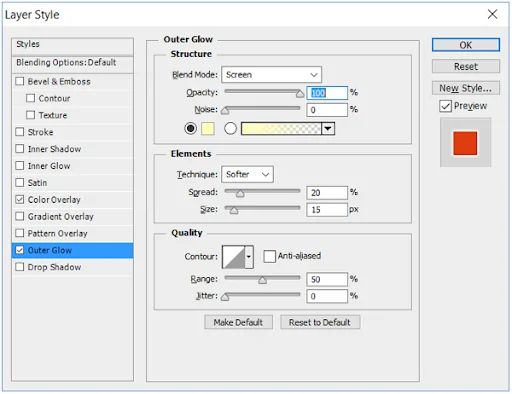
If using Photoshop, double tap on the duplicated layer to see Layer Styles, then choose Outer Glow. Select a bright colour like cyan, magenta, or green and put the blending mode on the Screen for a natural glow. Alter the size and spread to regulate the glow vigour.
Make a new layer, select a soft round brush, and choose a neon colour. Delicately paint around the subject’s rims; at that point, drop the opacity or put the blend mode to Overlay or Soft Light for a realistic impact.
If you find the glow too harsh, decrease its opacity or increment the feathering for a smooth shift.
Confirm that the glow colour harmonizes with the encompassing lighting to preserve realism.
Add a slight Gaussian Blur to smoothen the glow and harmonize it into the picture.
Including different glow layers at shifting sizes makes a more affluent, more energetic fluorescent effect.
Step 5: Softening And Diffusing The Glow
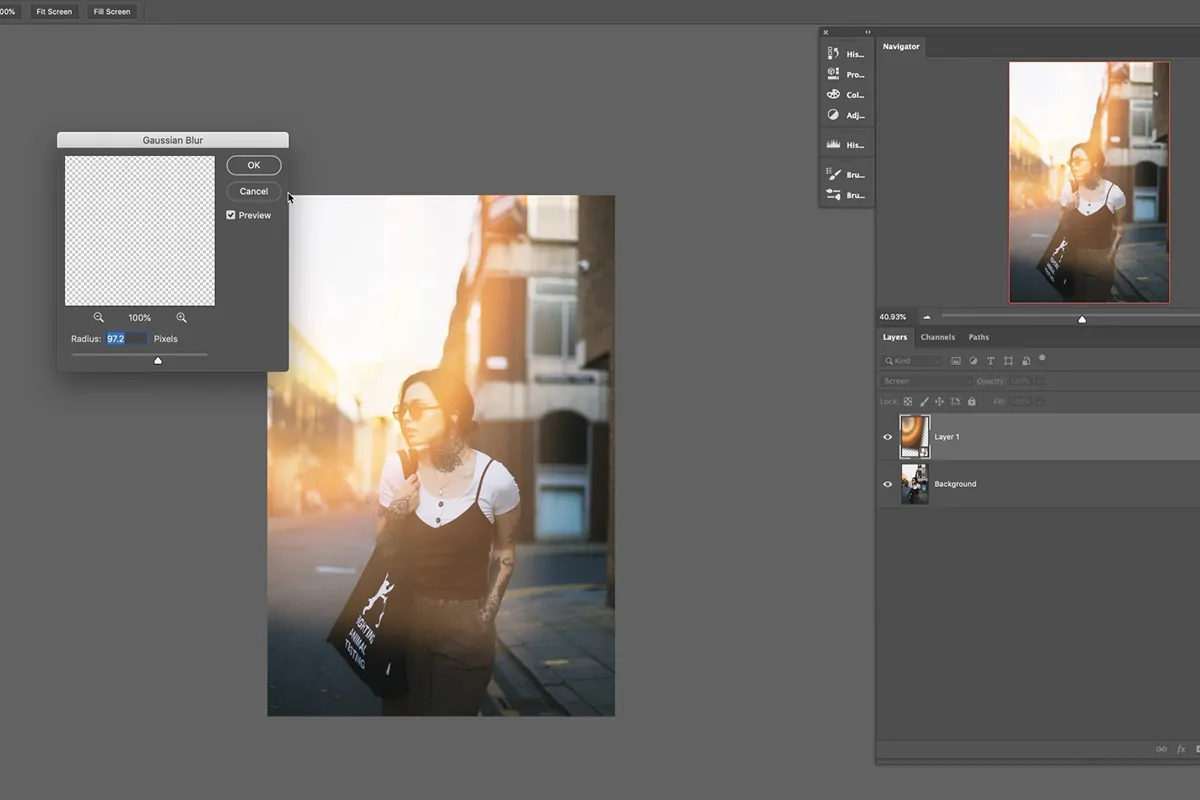
After including the outer glow, the fifth step is to soften and diffuse the glow to get a better natural, neon-like effect. It is often done by utilizing the Gaussian Blur filter, which corresponds the light smoothly into the encompassing regions.
Before you add blur, make a duplicate of the glow layer to protect the initial in case alterations are required later.
Head to Filter, select Blur, then click Gaussian Blur. Alter the radius between 10 to 50px to form a delicate glow development.
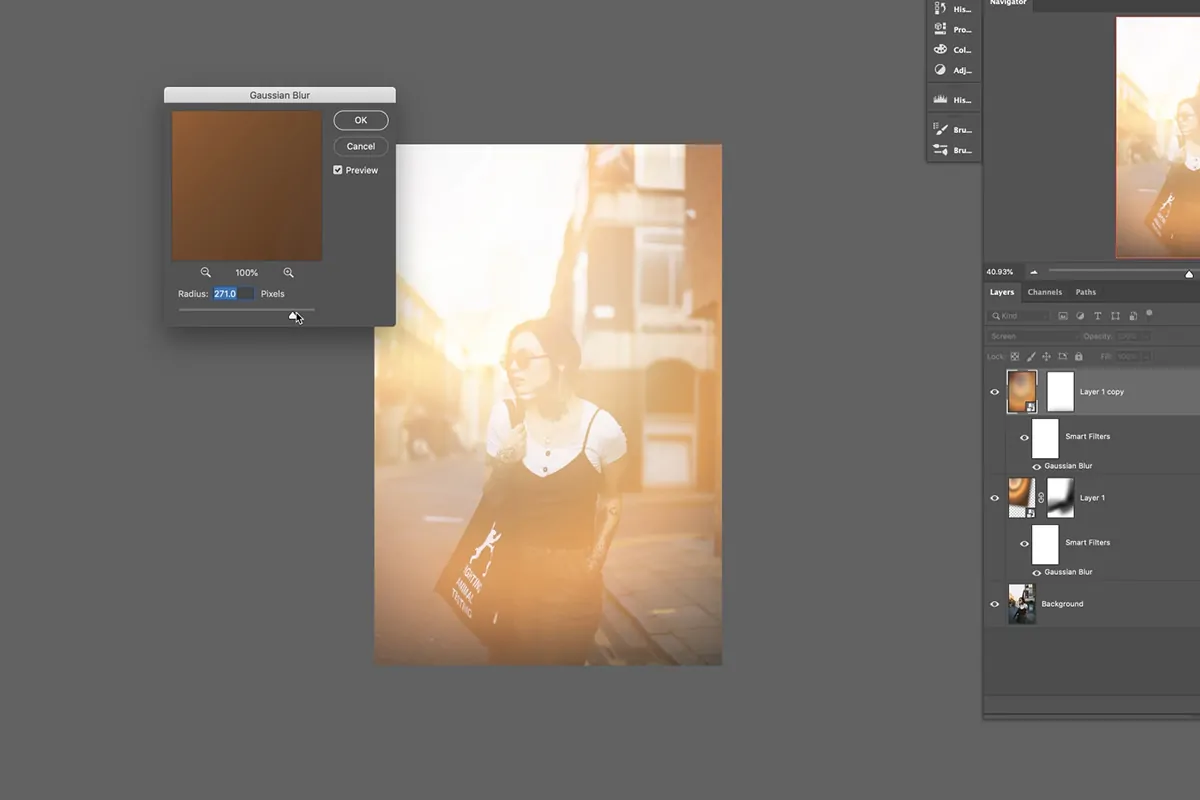
Add more grounded blur of higher radius to backdrop components for a diffused glow and a low radius lighter blur on the subject to keep it sharp.
Making duplicates and blurring layers at distinctive intensities creates a layered glow effect of rich depth.
In case certain zones become too hazy, utilize a layer mask and a soft brush to eradicate excess blur while keeping key glow ranges unaffected.
Alter the glow layer’s opacity and utilize the Curves or Levels tool to tune brightness for an adjusted, professional final product.
Step 6: Shifting Tints And Altering Tones

The colour-grading phase will deliver the picture of a genuine fluorescent, UV-inspired formation. It includes shifting tints and altering tones to improve the neon effect while keeping up consonance.
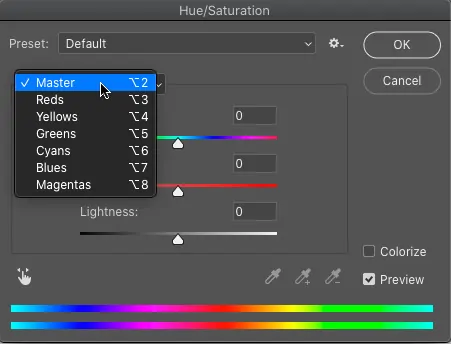
Head to the Hue/Saturation adjustment and move colours towards neon tones, including cyan, fuchsia, and electric green. It will aid in imitating the shine caught beneath UV light.
Within the Color Balance tool, expand cyan and blue within the shadows, whereas magenta or green is included within the highlights. It is meant to make a strong, futuristic contrast.
Utilize Curves to make neon ranges brighter without over-exposing the picture. Keep dark ranges rich to preserve contrast.
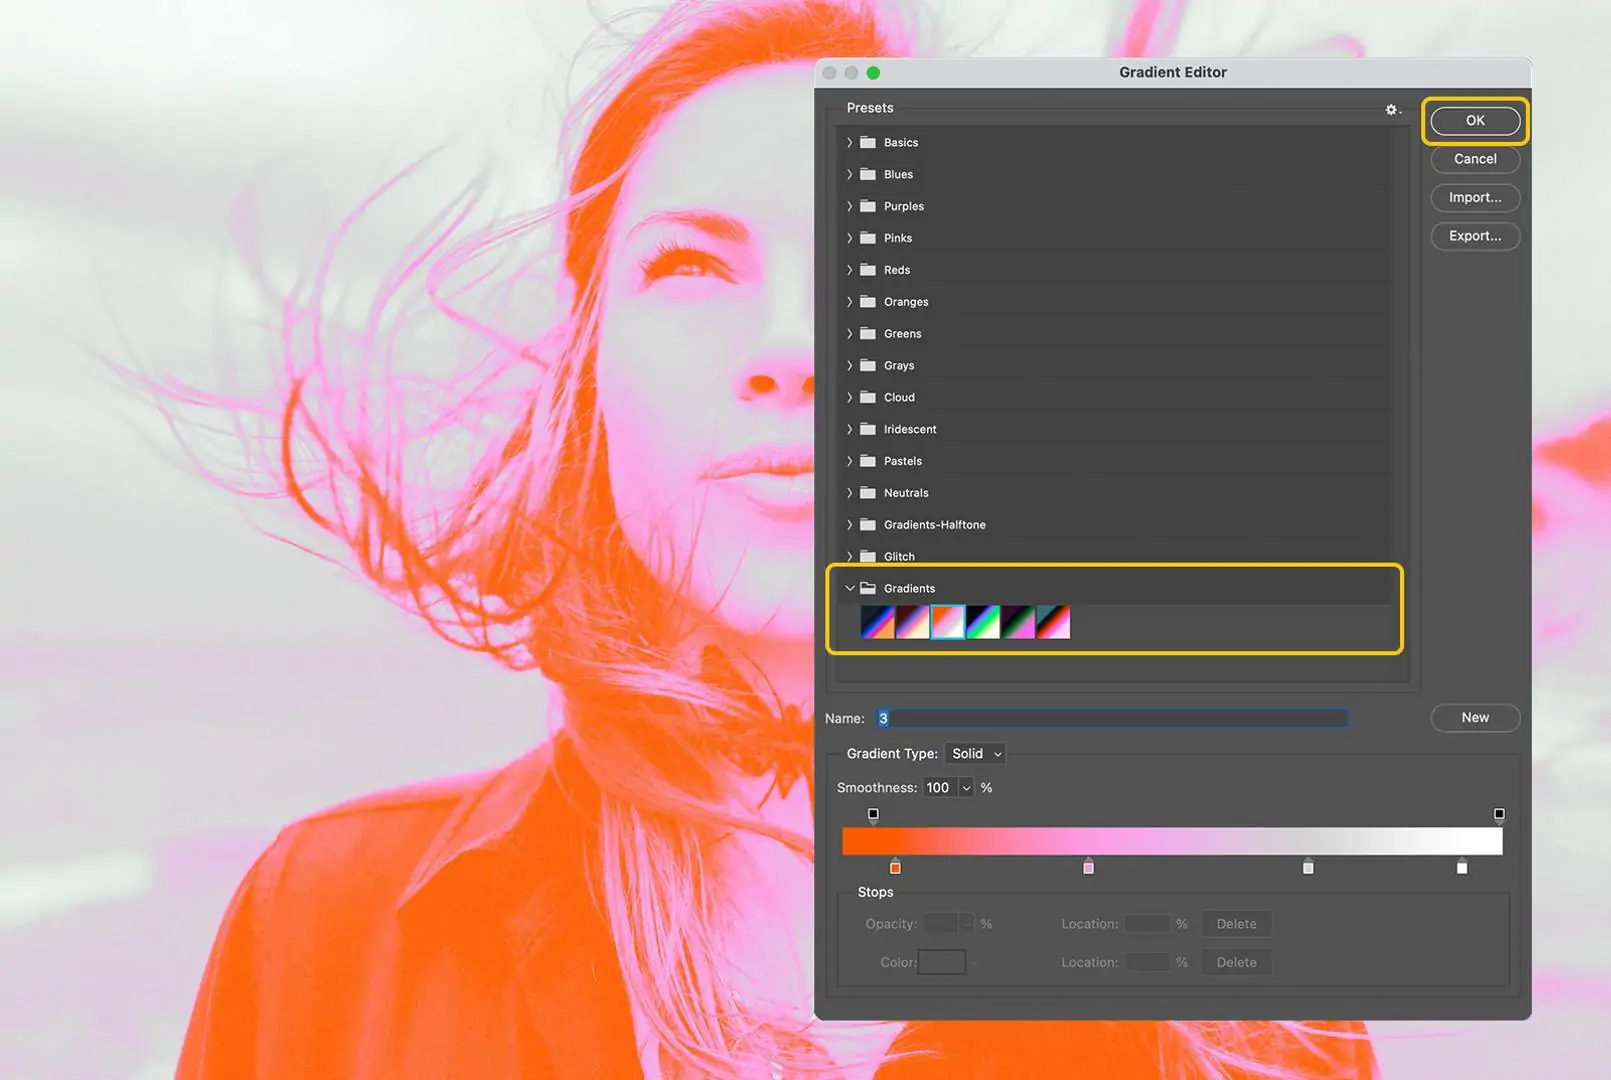
Utilize Gradient Maps with neon colour combinations like profound purple to shining cyan to make an aesthetic, high-energy scene.
Regulate the specific colours, making neon shades look superior while guaranteeing the picture looks polished and coherent.
Flip adjustments on and off to compare results so that the colours upgrade the fluoro effect without making the picture seem contrived.
Step 7: Polishing The Contrast And Highlights
The ultimate step is to polish the contrast and highlights to guarantee that the neon glow looks characteristic while keeping the picture accommodated. This step brings profundity and intensity, making the fluoro effect more groomed and proficient.
Utilize the Contrast slider or Curves adjustment to develop shadows and upgrade the glow. It will help separate the neon components from the darker backdrop.
Within Curves or Levels, slightly increase the highlights to form bright zones that are outstanding. It can include a glowing intensity, mirroring genuine fluorescence.
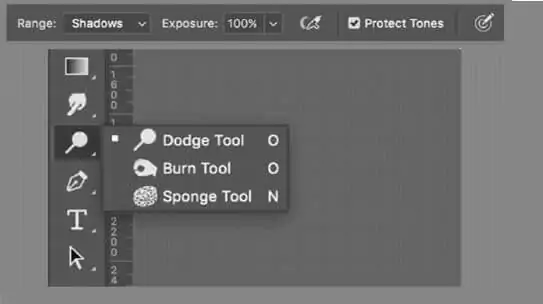
Utilize the Dodge tool specified for highlights and low exposure to illumine critical glow regions, making them more brilliant.
In the event that the photograph seems too washed out, decrease the exposure or utilize a burn effect on dark zones to fortify the neon contrast.
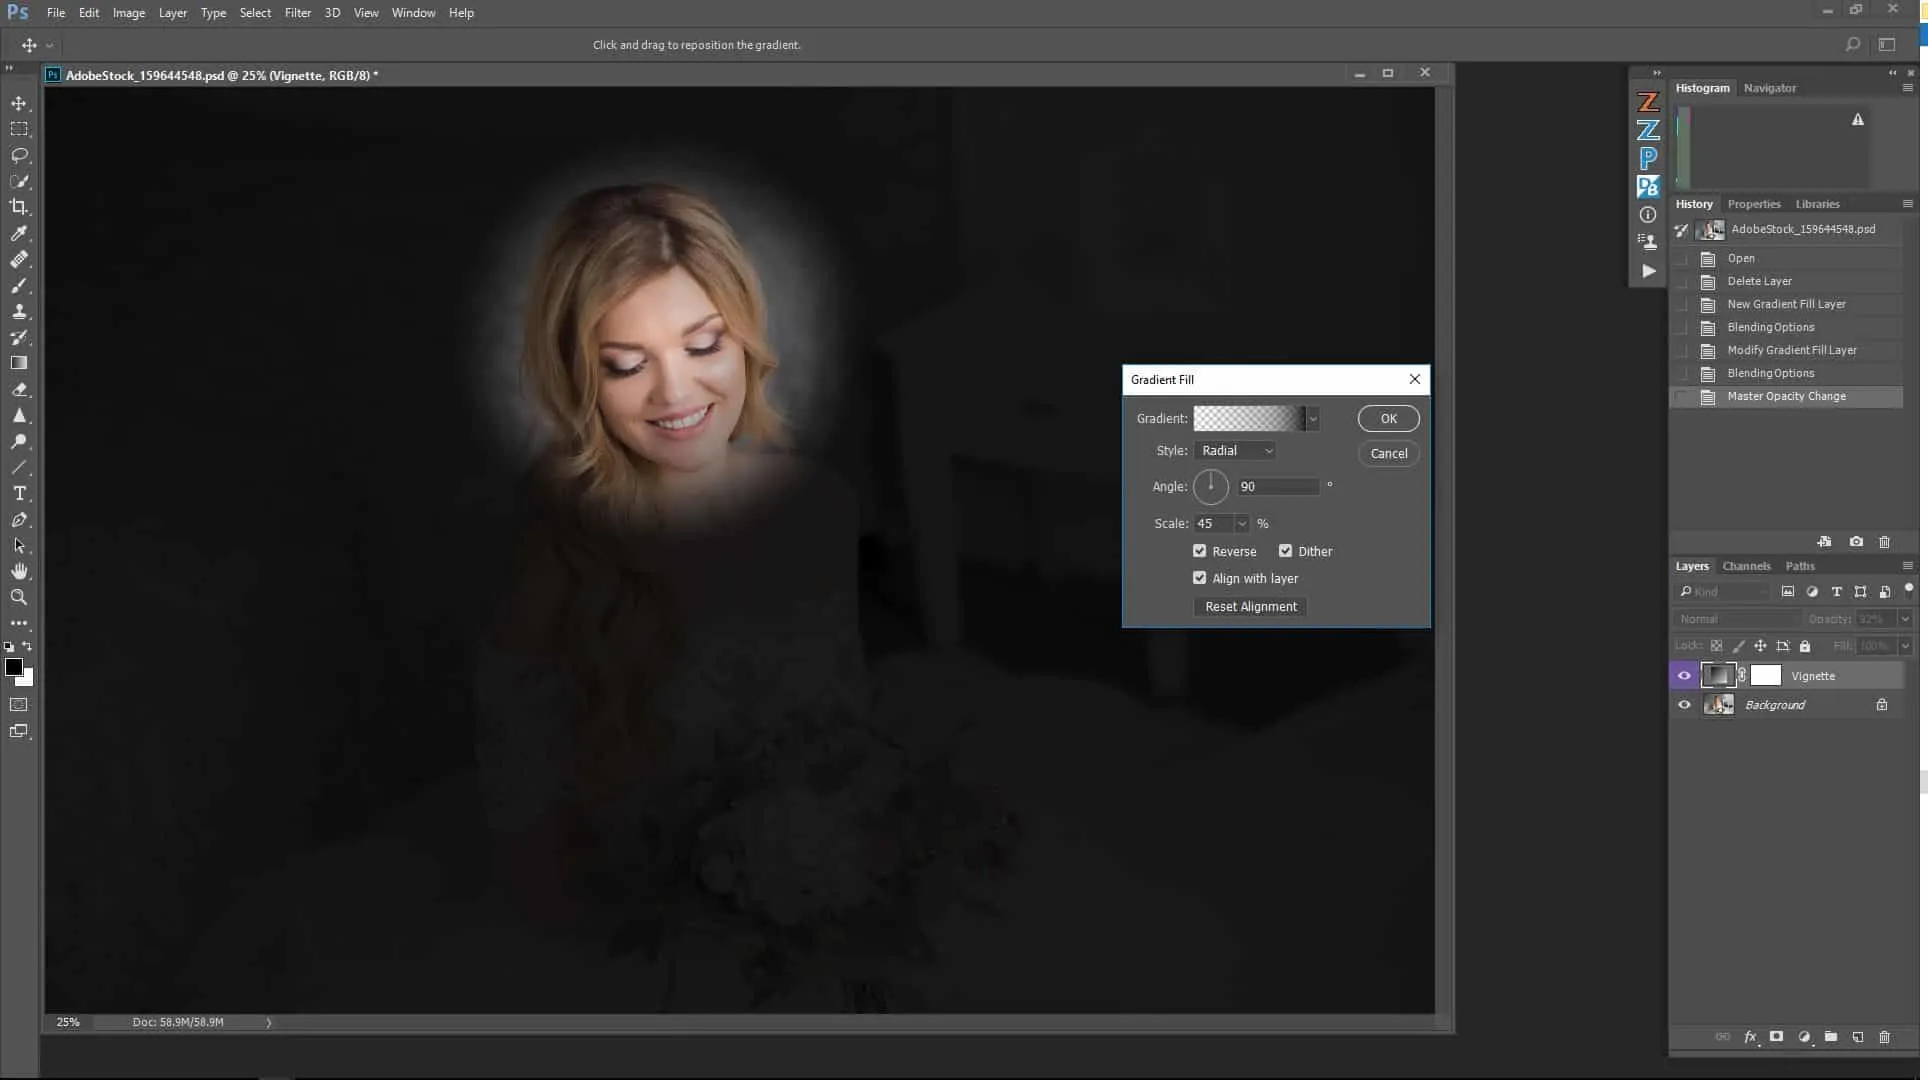
Use a nuanced dark vignette around the edges to focus attention on the glowing subject and enrich depth.
Audit the image, toggle layers on and off, and polish brightness, opacity, and saturation to guarantee a pristine fluoro effect.
In the end, save your final quality in a high-quality format and suitable resolution.
Conclusion
In summary, though fluorescence photography was initially meant for educational and research purposes, its dynamic imagery prevailed as an eminent theme in various design and art-related fields. Various image enhancement tools and techniques, including the one highlighted in the above blog, can help designers, artists, and image editors introduce a striking, high-energy appearance into their compositions. Advanced art approaches overcome challenges like the requirement of specific photographic equipment and settings. Eventually, using the steps provided above, you can smoothly transform your mundane shots into charming and luminous futuristic artworks.
