
How To Create A Fire Glow Effect
Fire is a captivating and dynamic theme in photography that results in magnificent, vibrant shots that capture the fire’s fluttering flames, vivid colours, and complex patterns. Correspondingly, the images captured in an environment that contains fire-emitting sources or identical elements can also acquire a similar fire glow as often seen on objects within real-life settings when there is some fire, either as slight as of candle flame. The fire glow effect is unduly approached as an image enhancement approach, which helps add the characteristics of a real environment as there is a blaze around and creates a radiant warm glow, elevating the visual status of designs, posters, advertisements, artworks, and photos. This blog will particularly focus on the effective tools and steps to add a simulation of a fire glow into photographs, creating a luminous and warm atmosphere. The primary tools and approaches it will cover include the use of selection tools, brush tools, gradient tools, layer masks, layer blending, blur tools, opacity adjustments, eraser tool, adjustments layers and more. The step-by-step process to employ these tools effectively is as follows:
Step 1: Specifying The Region
Determine the regions of your chosen photograph where you would like the fire glow to show up. Consider the zones that are close to light sources, such as flames, candles, or objects that can reflect the fire’s light.
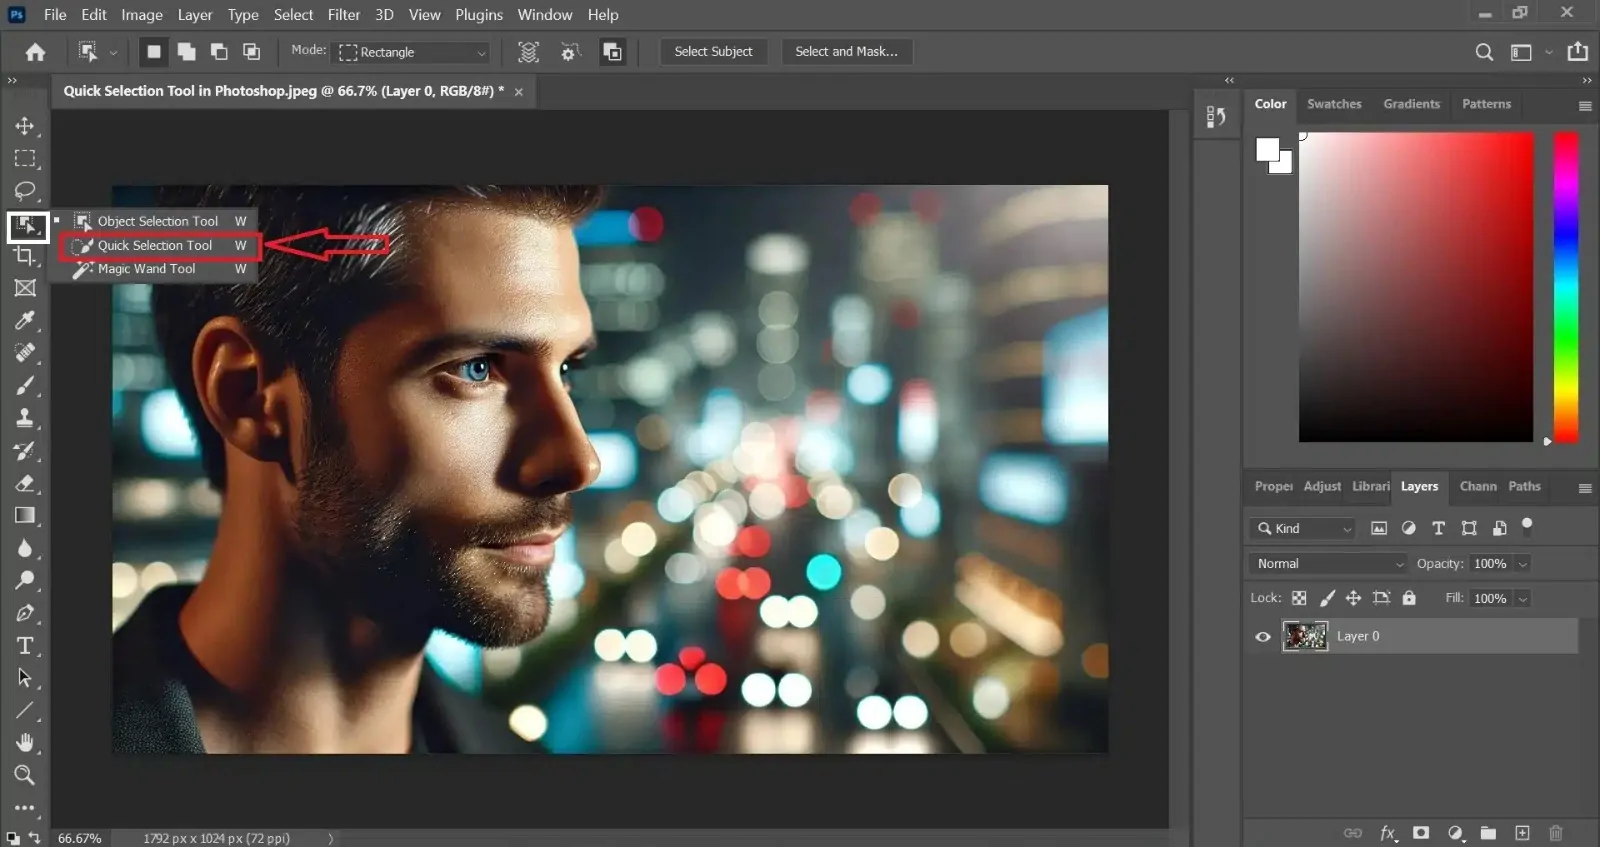
Use tools like the Lasso Tool, Quick Selection Tool, or Brush Tool in a program like Photoshop to confine these regions precisely.
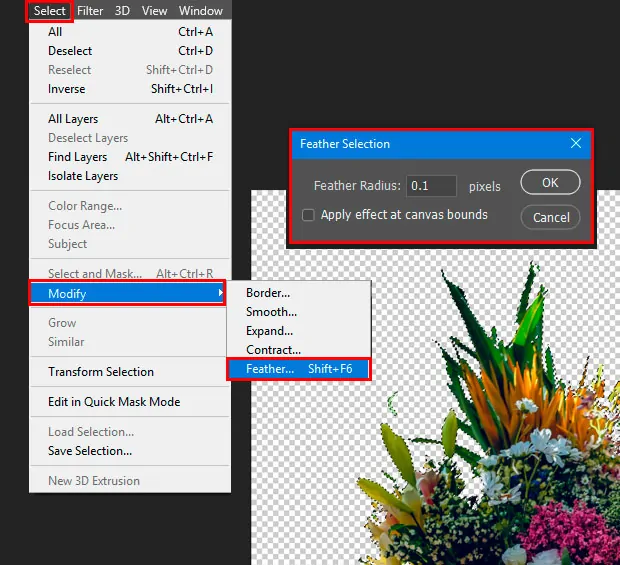
Utilize a feather of around 2 to 10 pixels or, according to your photo’s resolution, soften the edges to ensure that the glow blends consistently into the environment.
Include a new clear layer to work on the glowing impact individually, attaining a non-destructive level of editing.
In case your fire source is symmetrical, offset the selection in like manner to preserve realism.
Work carefully around complicated edges or complex particulars to keep the selection flawless and specific.
If you intend to get back to or refine the glow, save the selection for fast access afterwards.
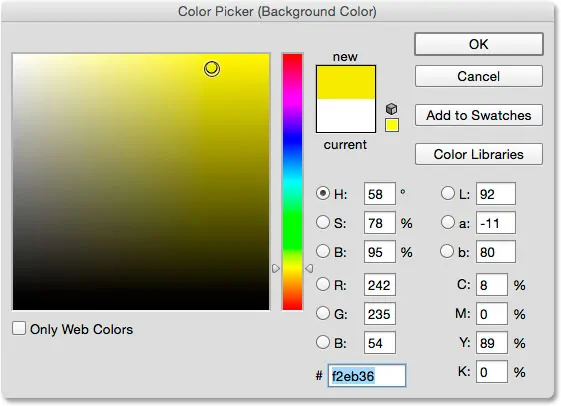
Step 2: Deciding On The Base Color
Pick a warm tint, such as orange or red, as the base colour to portray the essence and intensity of the fire glow.
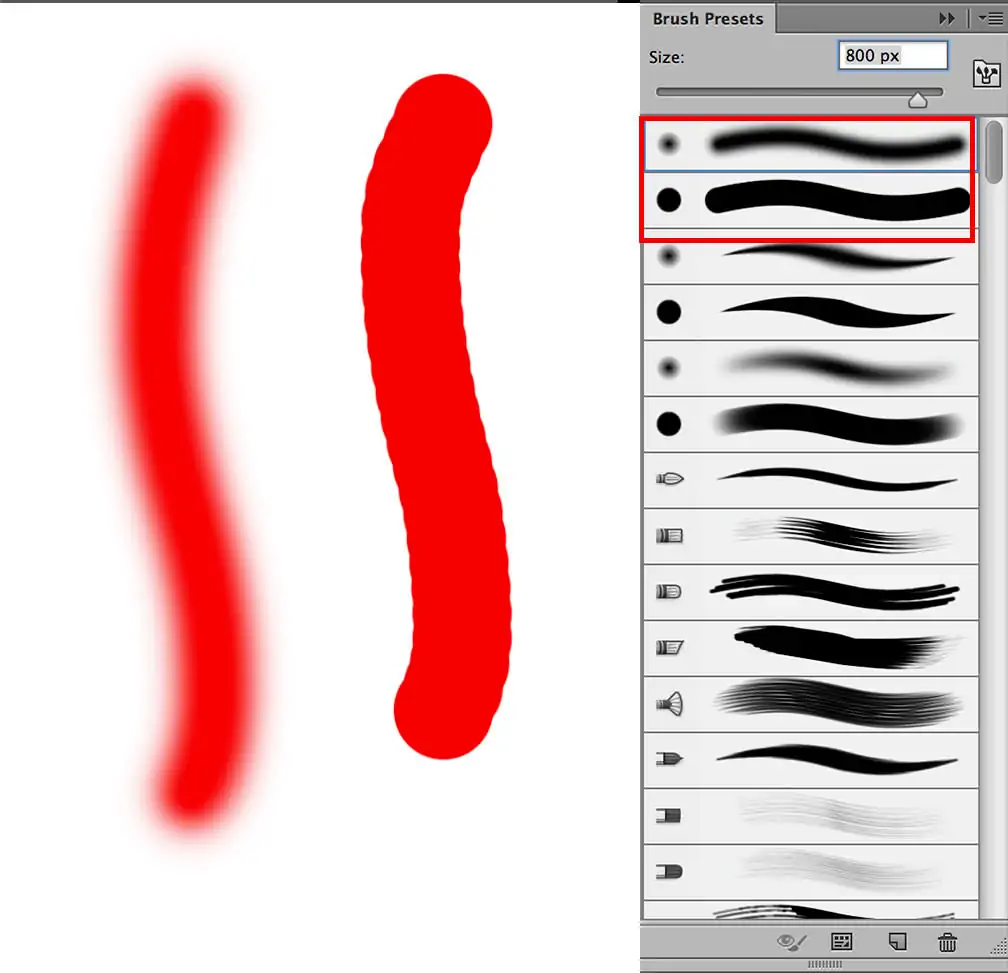
Utilize a soft, round brush with a low hardness to make a smooth and natural colour application.
Modify the brush opacity to a value that is around 30 to 50 per cent and decrease the flow to preserve the continuous and steady application.
Add the base colour to the already chosen regions, making sure to get even coverage and blending inside the selection.
Perform on a partitioned layer to protect flexibility, permitting you to alter or erase without influencing the initial photograph.
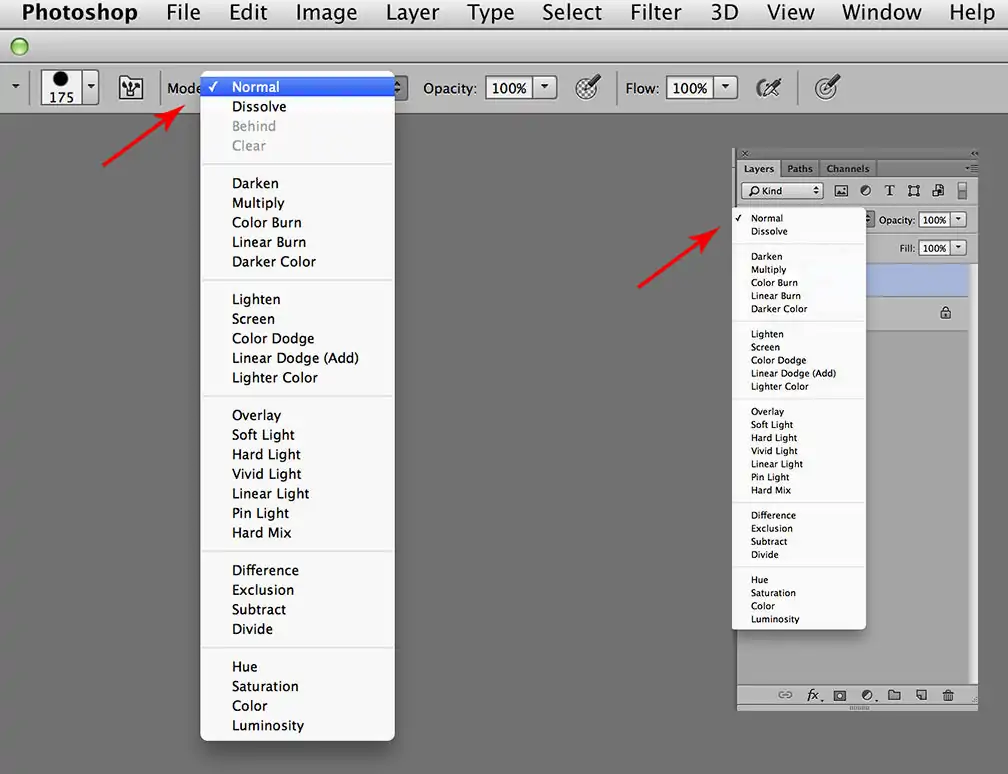
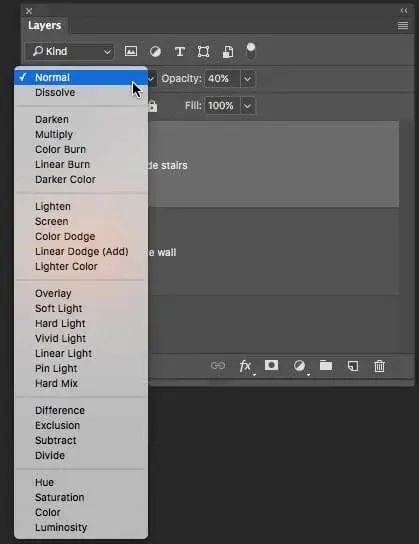
Alter the blending mode of the layer to options like an Overlay or Soft Light for natural fusing of the base colour with the picture.
If you bind any colour bleeds outside the targeted range, utilize an eraser tool with a soft brush to groom up the rims.
Step 3: Utilizing Gradients For Blending
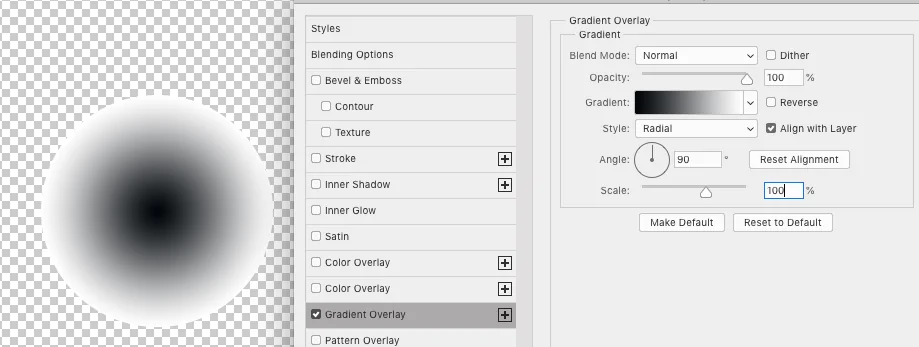
Include a gradient layer over the base colour to attain smooth moves for the fire gleam.
Select colours ranging from deep red in the middle to orange and yellow transmitting the outer side, imitating the raw glow of the fire.
Utilize the Radial Gradient Tool to create a circular glow or the Linear Gradient Tool for extended ranges such as flames.
Haul and set the gradient to adjust with the light source and encompassing components for realistic arrangement.
Specify the gradient layer’s mode to Screen or Soft Light to conform it consistently with the underlying colours.
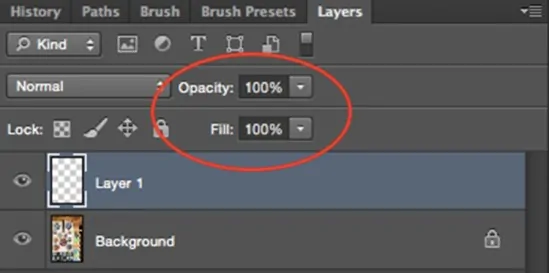
Decrease the layer opacity or scale the gradient dimension for nuance and better management over intensity.

Spread a layer mask and eradicate elements of the gradient that are getting outside the shine region to bring focus to the effect.
Step 4: Adding Soft Light Effects
Make a duplicate of the layer with the base colour to upgrade its effect while keeping control over the glow intensity.
Put the blending mode of the duplicate layer to Soft Light or Overlay. That can highlight the fire’s warmth without overwhelming the picture.
Decrease the layer’s opacity by around 20 to 50 per cent to keep the glow natural and prevent making it oversaturated.
Utilize a soft eraser or layer mask to clear the glow from areas that aren’t supposed to get direct light, confirming that the effect accommodates the fire source.
Create duplicates of and refine additional layers with somewhat brighter or darker tones to make profundity in ranges that are closer to or more distant from the fire source.
Lay a Gaussian Blur to muffle sharp edges and make a smooth, light diffusion around the fire source.
Utilize the Zoom out button to review the whole picture and confirm that the soft light integrates agreeably with the foundation. Make little changes as rudimentary.
Step 5: Applying Soft Blurs
Copy the layer that holds the glow effect to apply the blur non-destructively.
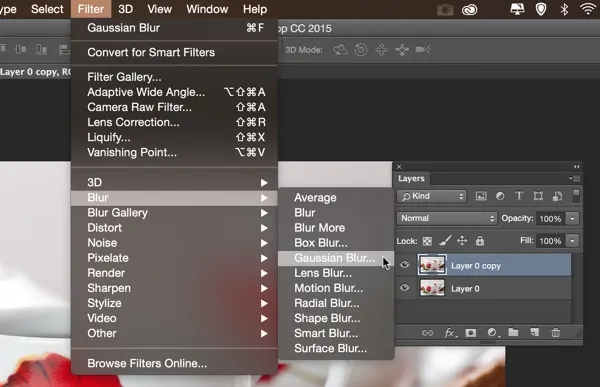
Go to the Filter menu, select Blur, and after that, click on Gaussian Blur to include softness in the glow edges.
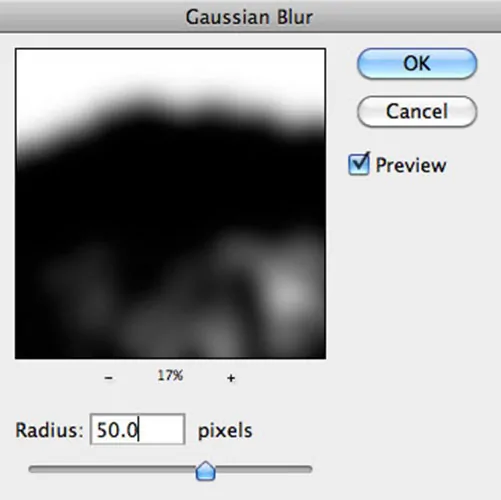
Specify the blur radius to 10 to 50 pixels or more to attain a nuanced, diffused glow that radiates outward.
Be sure that the blur effect makes a natural spread, avoiding excessively sharp or diffused results by refining the radius.
Utilize a layer mask to tenderly erase or decrease the blur where better glow control is required, like close hard edges or small segments.
Alter the opacity of the blurred layer to conform it with other glow elements, assuring that it upgrades instead of overpowers.
Flip the visibility of the blurred layer to review its affirmation of the general impact, making definitive changes for harmony and conformity.
Step 6: Including Soft Highlights

Make a blank layer that will be specific to improving the brightness and intensity at the hub of the glow.
Choose a striking yellow or white colour to depict the flaming and brightest portions of the fire.
Put the brush to a lower hardness and opacity, around 30 to 50 per cent, for smooth and distinctive strokes.
Begin with painting miniature highlights at the centre of the fire or specifically near the light source, where the glow is most drastic.
Shift the blending mode of the layer to Overlay or Screen to integrate the highlights consistently with existing colours.
Revise the layer’s opacity to maintain the highlight resilience, guaranteeing it upgrades the effect without overwhelming it.
Include tiny flecks of brightness to key zones, including flame ends or reflected textures, for a more reasonable and detailed appearance.
Step 7: Fine-Tuning The Image

Use the Zoom out option to see the whole photograph, and be sure that the fire glow effect looks true to life, adapted, and well-blended into the arrangement.
Vary the opacity of individual glow layers, like the base, gradients, and highlights, to avoid oversaturation or over-the-top brightness.
Look into the way the glow communicates with the environment and shift blending modes, guaranteeing agreement with other components.
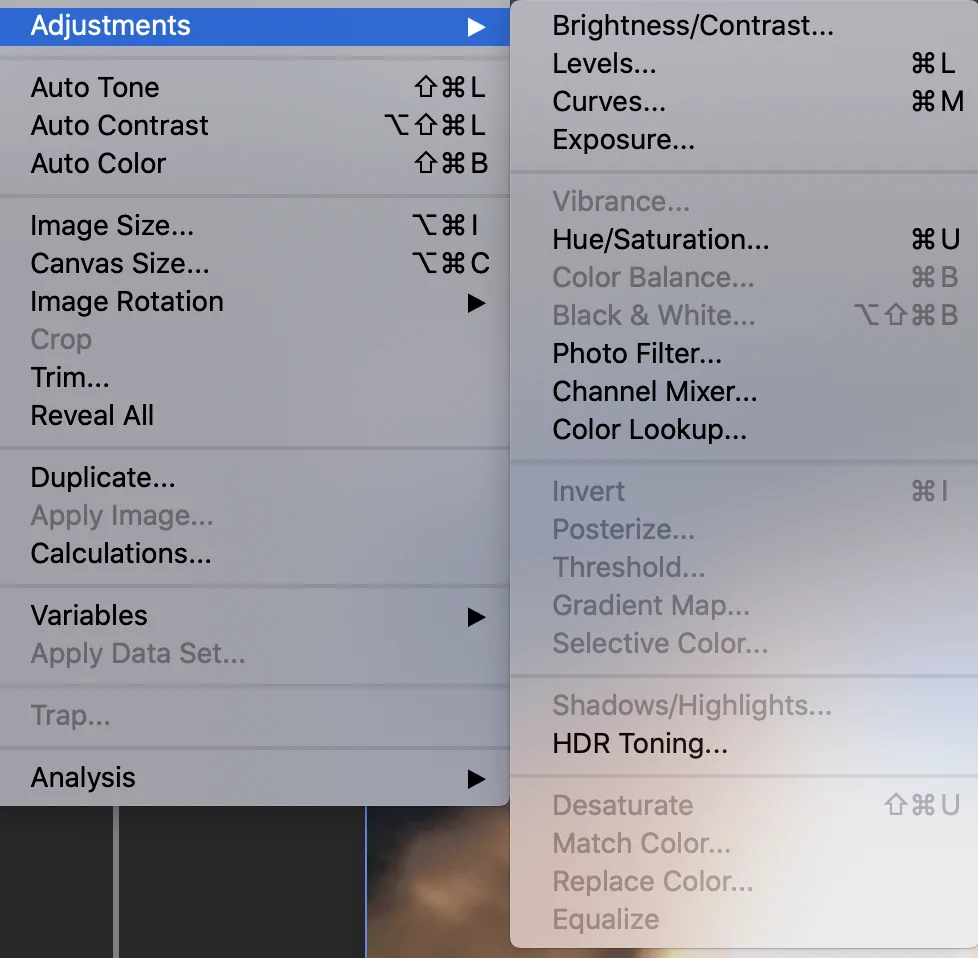
Utilize Hue/Saturation and Brightness/Contrast adjustments to fine-tune the glow’s warmth and intensity.
Seek for unlikely overlaps or sharp edges. Utilize layer masks and delicate brushes to sweep or polish the glow moves.
Include modest reflections or warm tones to adjacent things or surfaces for more realism, mimicking the fire’s illumination.
At last, preserve your work in an editable format like PSD to permit future alterations, and export the final composition in a suitable format.
Conclusion
In summary, a fire glow effect adds a creative and dramatic touch to your photographs that is relaxing and startling simultaneously. Even in practical life, the sensational beauty radiated by fire, though with certain hazards, makes the photographs that are captured in that very scene look like pieces of fantasy art or cast a magical ambience. The image enhancement approaches, on the other hand, hold additional benefits. The eminent ones are that it droops the need to shoot photographs under real conditions, which is a bit unsafe sometimes, as focusing on equipment settings may sometimes cause one to lose focus from the surroundings containing genuine fire. Moreover, it helps add a warm, adorable fire glow, just like the real fire does, to the desired images or zones of various types.
