How To Add A Bioluminescent Effect To Images
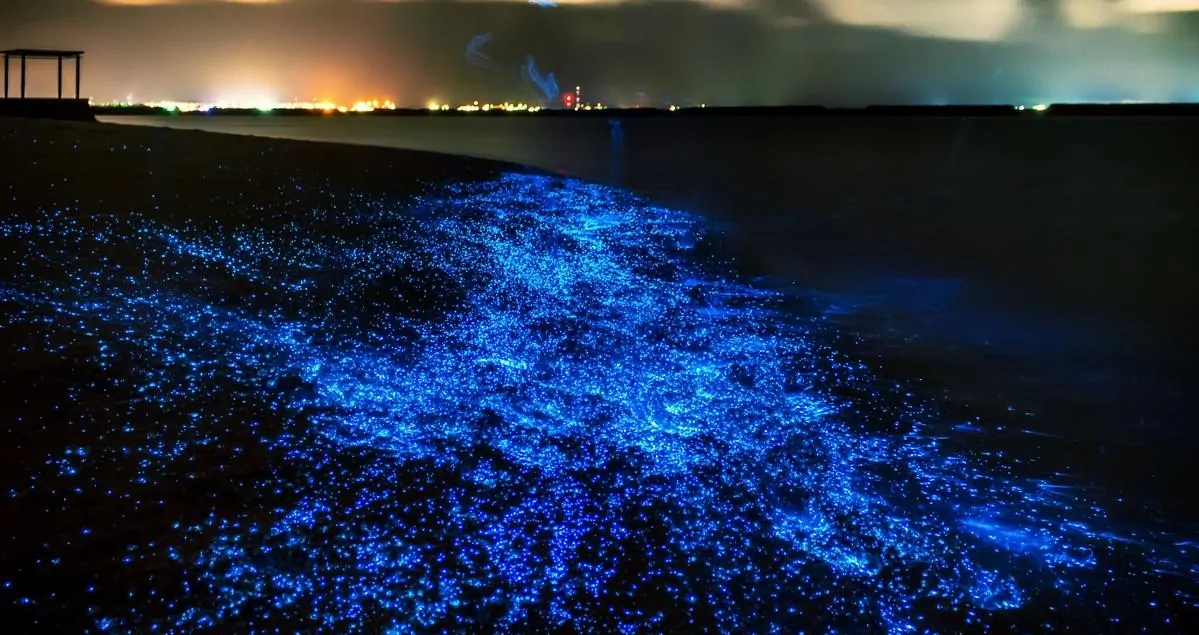
The natural phenomenon called bioluminescence refers to the biological ability of organisms to omit light due to chemical reactions occurring in their bodies. It is commonly seen in sea creatures like jellyfish, in some insects like fireflies and even in fungi and bacteria. The discovery of bioluminescence led to many scientific inventions that helped in the research field and monitoring environment. Additionally, the glowy scene that bioluminescent objects represent inspires artists and editors to ingrain these radiant aesthetics into their artworks and images. The bioluminescent effect approach extends to various fields related to design and creativity to add a radiating futuristic character to compositions. In image enhancement, this technique serves various purposes, including creating glow effects and highlighting the main subject, edges, background or any critical details. Advanced image manipulation tools such as Photoshop or Lightroom offer various capable tools and features, including brushes, layers, blending modes, texture overlays, adjustment layers, transparency enhancement tools and many more to simulate the radiating traits of bioluminescent objects into photographs, which results in vibrant and striking visuals arousing everyone’s interest. The following steps will provide a practical approach to adding this effect to images.
Step 1: Selecting A Suitable Image
The first step of adding a bioluminescent begins with the selection of a suitable photograph that will act as the base for edits.
Usually, images with low light conditions, like nightscapes, underwater photographs, or fantasy compositions, are the most suitable candidates for this effect.
To ensure smooth gradients and details and avoid pixelation on the glow application, consider choosing a photo with high resolution.
Identify the regions of the image that contain highlights so that you can focus on enhancing them in later stages. Alternatively, you can pick your desired zone to create artificial highlights.
Once done with the image assessment, create a duplicate of it so that you can work on the duplicate layer to apply the bioluminescent effect.
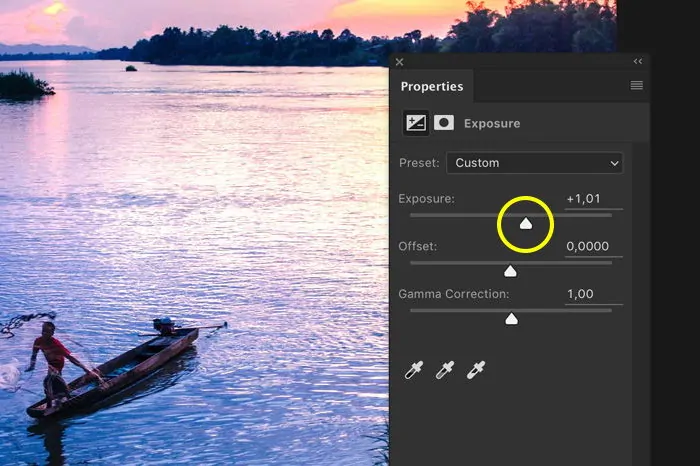
Make the overall exposure darker and enhance the contrast level for finer glow impacts later, emphasizing the light areas.
Revise the colours by turning them to cool tones like cyan, purple or green, closer to the look of bioluminescent aesthetics.
If the image has a dark setting, you should decrease the noise using a noise reduction tool to preserve the quality.
Step 2: Applying Color Grading
To begin with the step of colour grading, you should first make sure that the colour of your image is converted to cooler tones; if it’s not already, you can do it before moving to detailed colour adjustments.
For that, you need to lower the temperature and tint values while shifting toward tones like blue, green or purple.
After finalizing, tones shift toward saturation and vibrance settings; expand the saturation and vibrance steadily to make the glowing colour look prominent without creating an oversaturated impression.
Make the shadow deeper to maximize the contrast and make the glow more eye-catching.
To add to the cohesiveness and enhance the cool tones of the image, employ midtones, shadows and highlights for a harmonious formation.
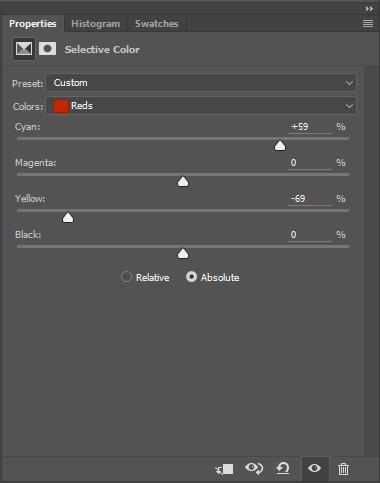
Utilize selective colour modifications by using tools like HSL that help fine-tune the selective tints, making the glowy areas look more vibrant while suppressing the unnecessary warm tones.
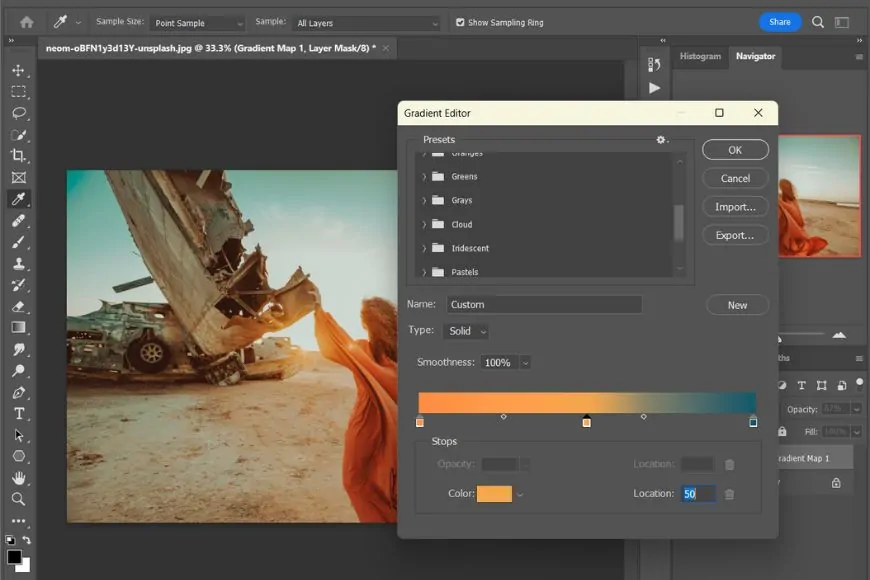
Use gradient maps to enhance the overall colour temperaments; you can use cyan to green or blue to purple gradients with Overlay or Soft Light blending modes.
Keep a snapshot for reference, ensuring a uniform colour grading in the following steps.
Step 3: Creating Glow Effects
To create glow effects and apply them in a non-destructive manner to the image, create a new layer on which you will apply glow.
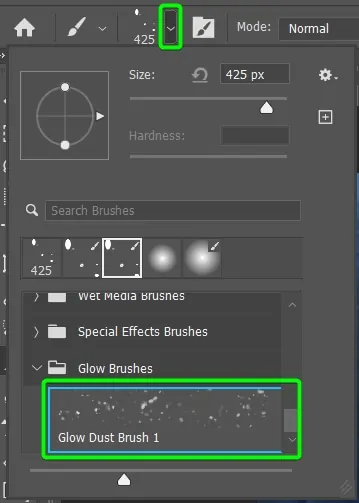
Crete diffused and soft lighting using a brush of 0 to 30 % hardness and in a round and soft shape.
Choose cyan, blue, purple or green as a glow colour that matches the bioluminescent effect’s theme.
Once done with brush and colour selection, you can start painting the glow onto your desired areas like edges, different helmets or any specific zone.
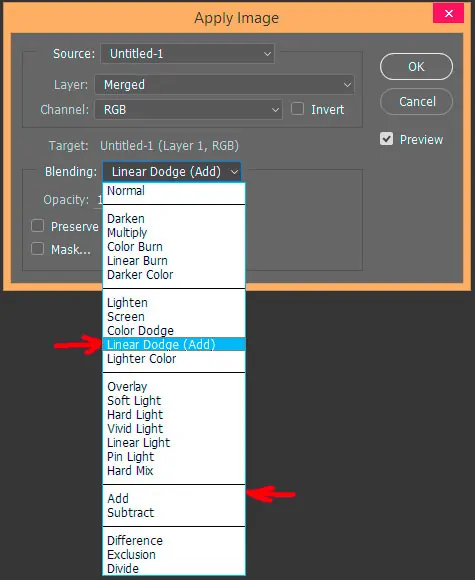
To make the glows look more lifelike and natural, modify the blending mode of your glow layer, choosing from options like Linear Dodge, Screen or Overlay.
If the glow seems too abrupt, you should decrease the opacity value or apply a slight blur for a more natural feel.
Make duplicates of the glow layer to expand brightness and add glows of varying sizes on varying zones of the composition.
Step 4: Improving The Effect Of Light Sources
This step is about improving the effect of light sources, for which you will begin by identifying the regions you want to glow originate from.
After identifying the areas, you will create a new layer above your glow layer to add additional lighting effects without altering previous edits.
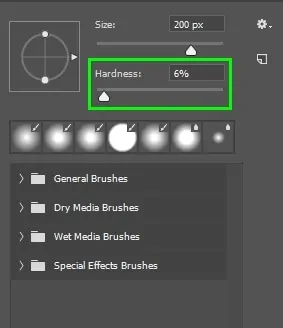
Select a brush with zero per cent hardness and select a colour corresponding to bioluminescent themes like blue, purple, cyan, etc.
After specifying the brush tool’s parameters, you can start painting onto your specified regions with light sources, making them radiate a brighter natural shine.
Set the Outer Glow layer style with a suitable colour and blend mode like Screen or Linear Dodge for smoother integration.

To make the glow more interactive with the environment, add a motion blur effect for realistic dispersion of it.
Assess the edits, and if you find regions containing any unnecessary glow, you can use a layer mask to eliminate or integrate it.
Step 5: Tuning Edges And Details
To fine-tune edges and details, make a new layer to improve these areas without affecting the base photograph.
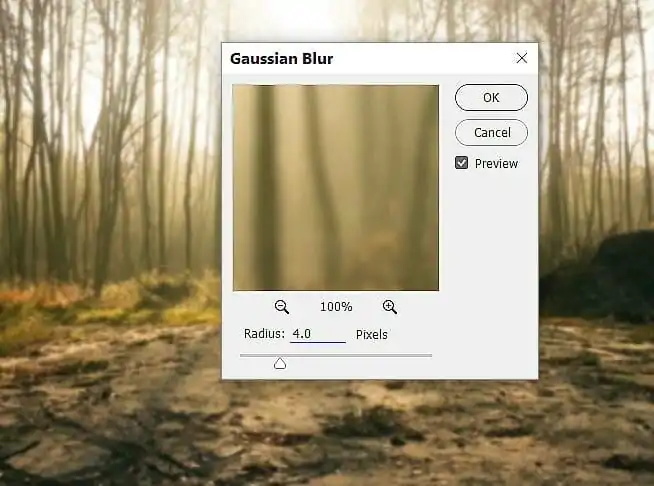
Utilize the Gaussian Blur with a 1 to 5 px radius to ease abrupt edges and infuse a natural diffusion.
Activate the Smudge Tool to lightly smudge the edges of the glow, integrating it smoothly onto its surroundings without showing any sharp moves.
To deblur or hone the critical details other than glow areas, you need to utilize a High Pass Filter onto particular areas without altering the glow effect.
Pick a soft brush with low opacity and manually make the edges brighter where the glow should look more prominent.
Tweak the opacity to control the glow intensity in layers as needed, and also consider using layer masks for this purpose.
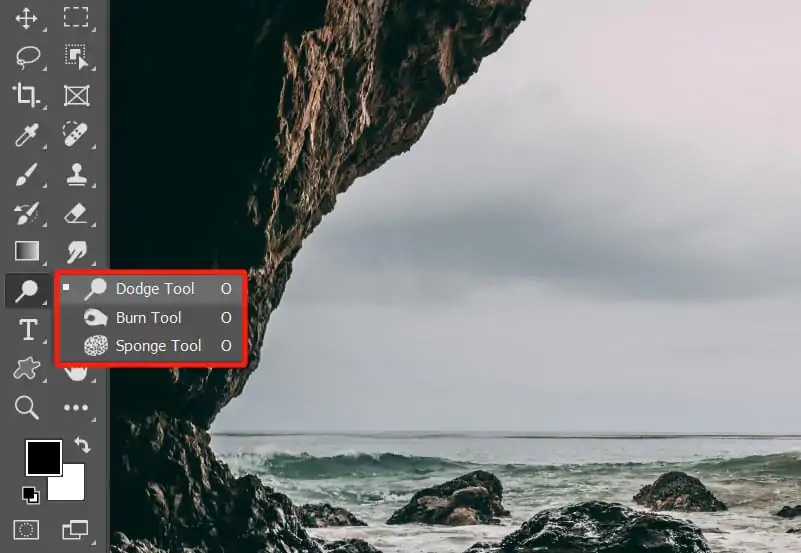
Use the Dodge and Burn tools on the edges, making them brighter and the surrounding areas darker for a natural-looking impact.
Step 6: Enhancing The Background
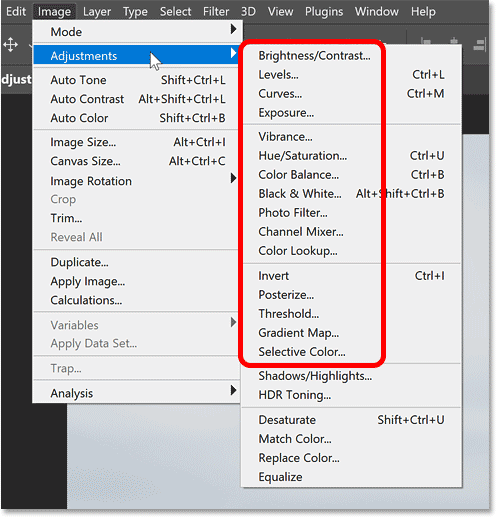
Make the glow more distinctive by using Exposure or Level adjustment layers to darken the background a little more.
Add a subtle gradient onto the background to simulate the scene of a light source’s effect on surrounding zones.
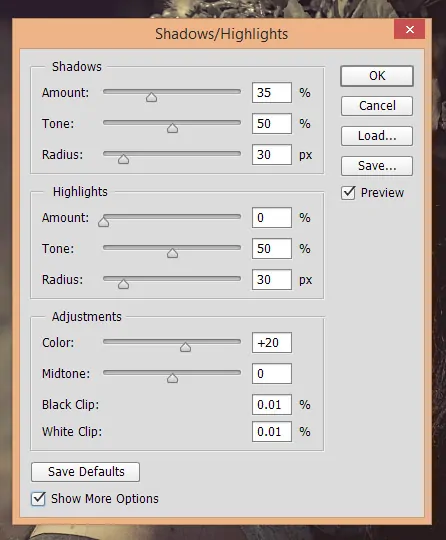
Manipulate the intensity of shadows using the Burn tool or Shadows/Highlights settings to put in more depth and contrast to them.
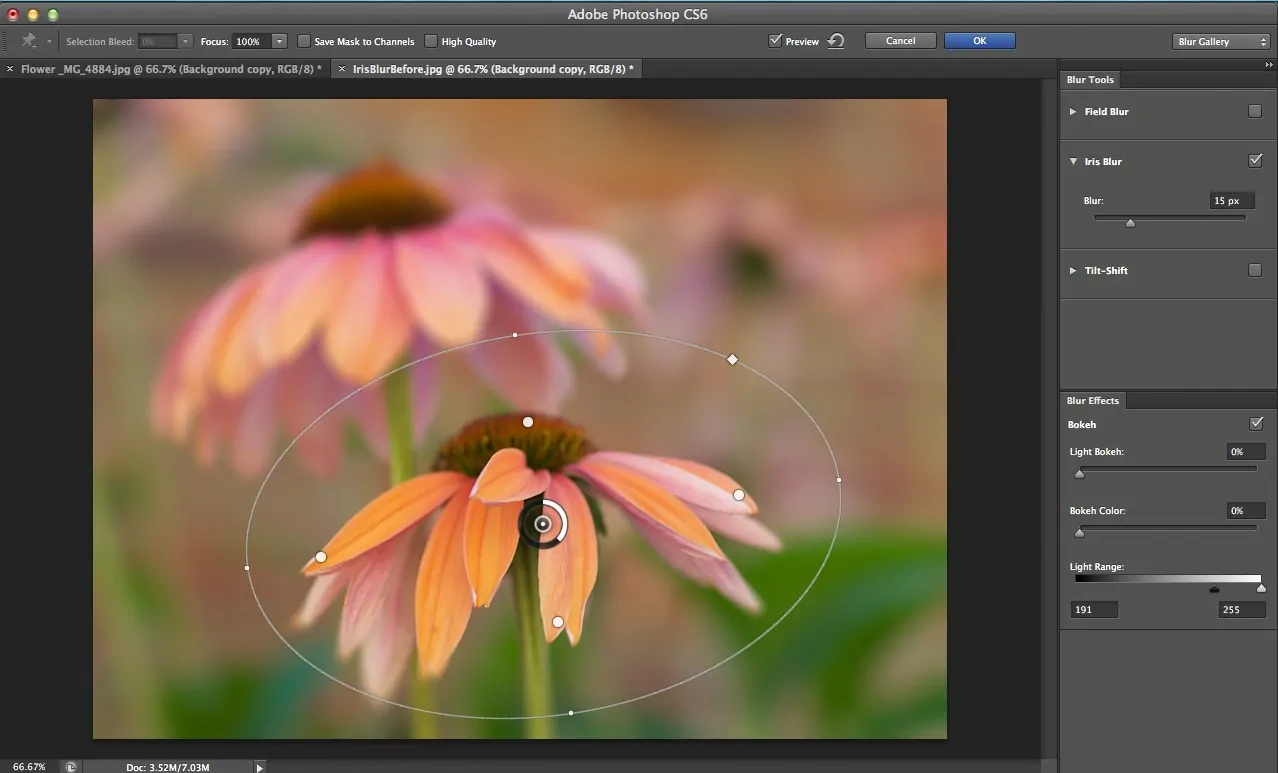
If you find the background too distracting, you can utilize the depth of field technique using a nuanced Gaussian blur to bring more focus to the glowing subject.
Utilize layer masks to control the transition between zones containing light and shadows. Ir ensures harmony between glowing zones and the backdrop.
Provide the image with a more even and harmonious appearance by modifying the opacity of the shadow layer, making it look more natural.
Step 7: Polishing The Effect
Explore the texture layer option offered by your software and add overlays like grain or light leaks to attain a more intricate and interesting arrangement.
Specify the appropriate opacity level of the texture overlays and set its blending modes to options like Overlay or Softlight for subtlety.
Utilize the adjustment layers to set the brightness and contrast of the photograph to keep the initial details vivid with the integration of a natural glow.
Utilize the bokeh effect or light streak strategies on the glowing areas to mirror the light dispersion. For that purpose, you can impost the bokeh overlay or pick a soft brush with suitable opacity and blending mode specifications.
Apply an even colour tone using a gradient map across the whole photograph. It can result in a cohesive colour palette that binds the glow effect with another component of the image symmetrically.
Utilize colour corrections into certain areas to further enrich the coll tones and diminish any remaining touch of warmer ones.
Once again, use a High Pass Filter or Unsharp Mask to make details sharper and boost clarity and intensity.
Once you are all okay with the edits, you can save the final image in a suitable format while ensuring good resolution for high-quality yields.
Conclusion
The endearing aesthetics of the faint natural glow of bioluminescence presented by organisms create magical scenes indicating that some magical creatures have entered the real world. In landscape photography, capturing glowing oceans at night, fireflies in forests or glowing fungi or algae in natural ecosystems provides incredible sights that never make eyes tired of seeing them. Likewise, adding bioluminescent characteristics to images can also somehow help introduce a natural and even a futuristic vibe to them. Following the steps and techniques highlighted in the above blog, you can add lovable, luminous traits to your shots that magnify their visual charm.
