How to use ZBrush for 3D Modeling?
It’s a great deal of fun to create your own 3D models from zero, especially if you enjoy art, animation, or 3D modeling and 3D printing. There are many design platforms available for this purpose, ranging from user-friendly for beginners to more ideal for professionals. Well, in this post, we’ll focus on ZBrush, one of the more advanced choices. So, let’s go and find out all the necessary information for ZBrush below.
What is ZBrush?
ZBrush is undeniably more complicated and has significantly more advanced functionality than 3D modeling software that is more beginner-friendly, such as SketchUp or TinkerCAD. ZBrush is utilized generally by professionals in the disciplines of animation and gaming development.
Moreover, ZBrush’s technique is more similar to freeform, conventional sculpting. This offers more options in terms of textures and shapes. High-resolution models with up to or more than 40 million polygons can also be made with it. The most recent version of ZBrush also provides a connection with Blender, Autodesk Maya, and LightWave 3D, among other 3D design applications.
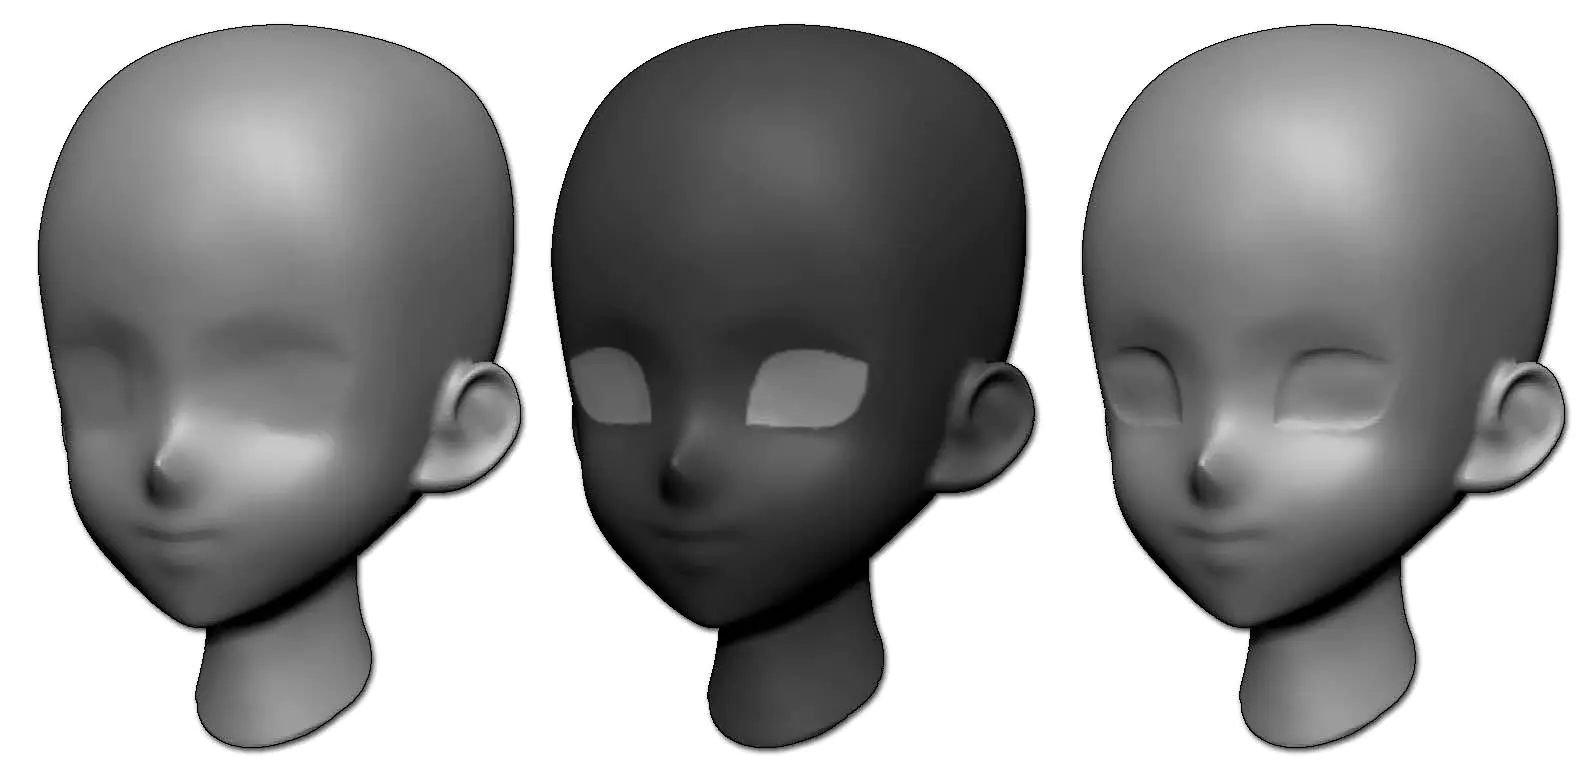
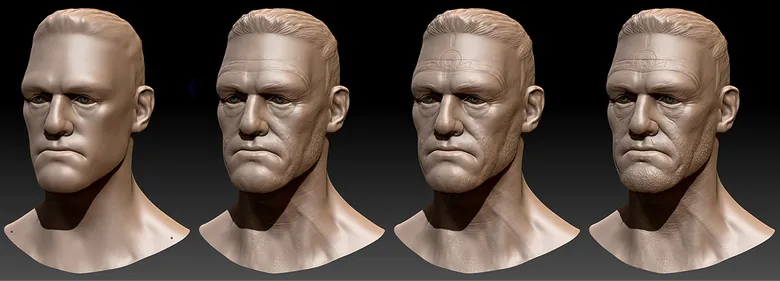
Progressive detailing is the basis of 3D modeling in ZBrush, just like it is in real sculpting. You’ll probably need to start with a simple form that most strongly resembles the look of your ideal model. The next step is to define more fundamental elements, such as arms and legs. Then you proceed to finer elements like facial features, wrinkles, and other textures as the modeling process goes on. It’s a drawn-out procedure that starts out with a rather high learning curve.
Licensing of ZBrush
For both individual users and volume users, ZBrush provides packages. Individual users have the choice of a perpetual license or a subscription plan. Perpetual licenses are required for volume users, and the cost of these licenses depends on how many users will require to use the software.
How to use ZBrush in 3D modeling?
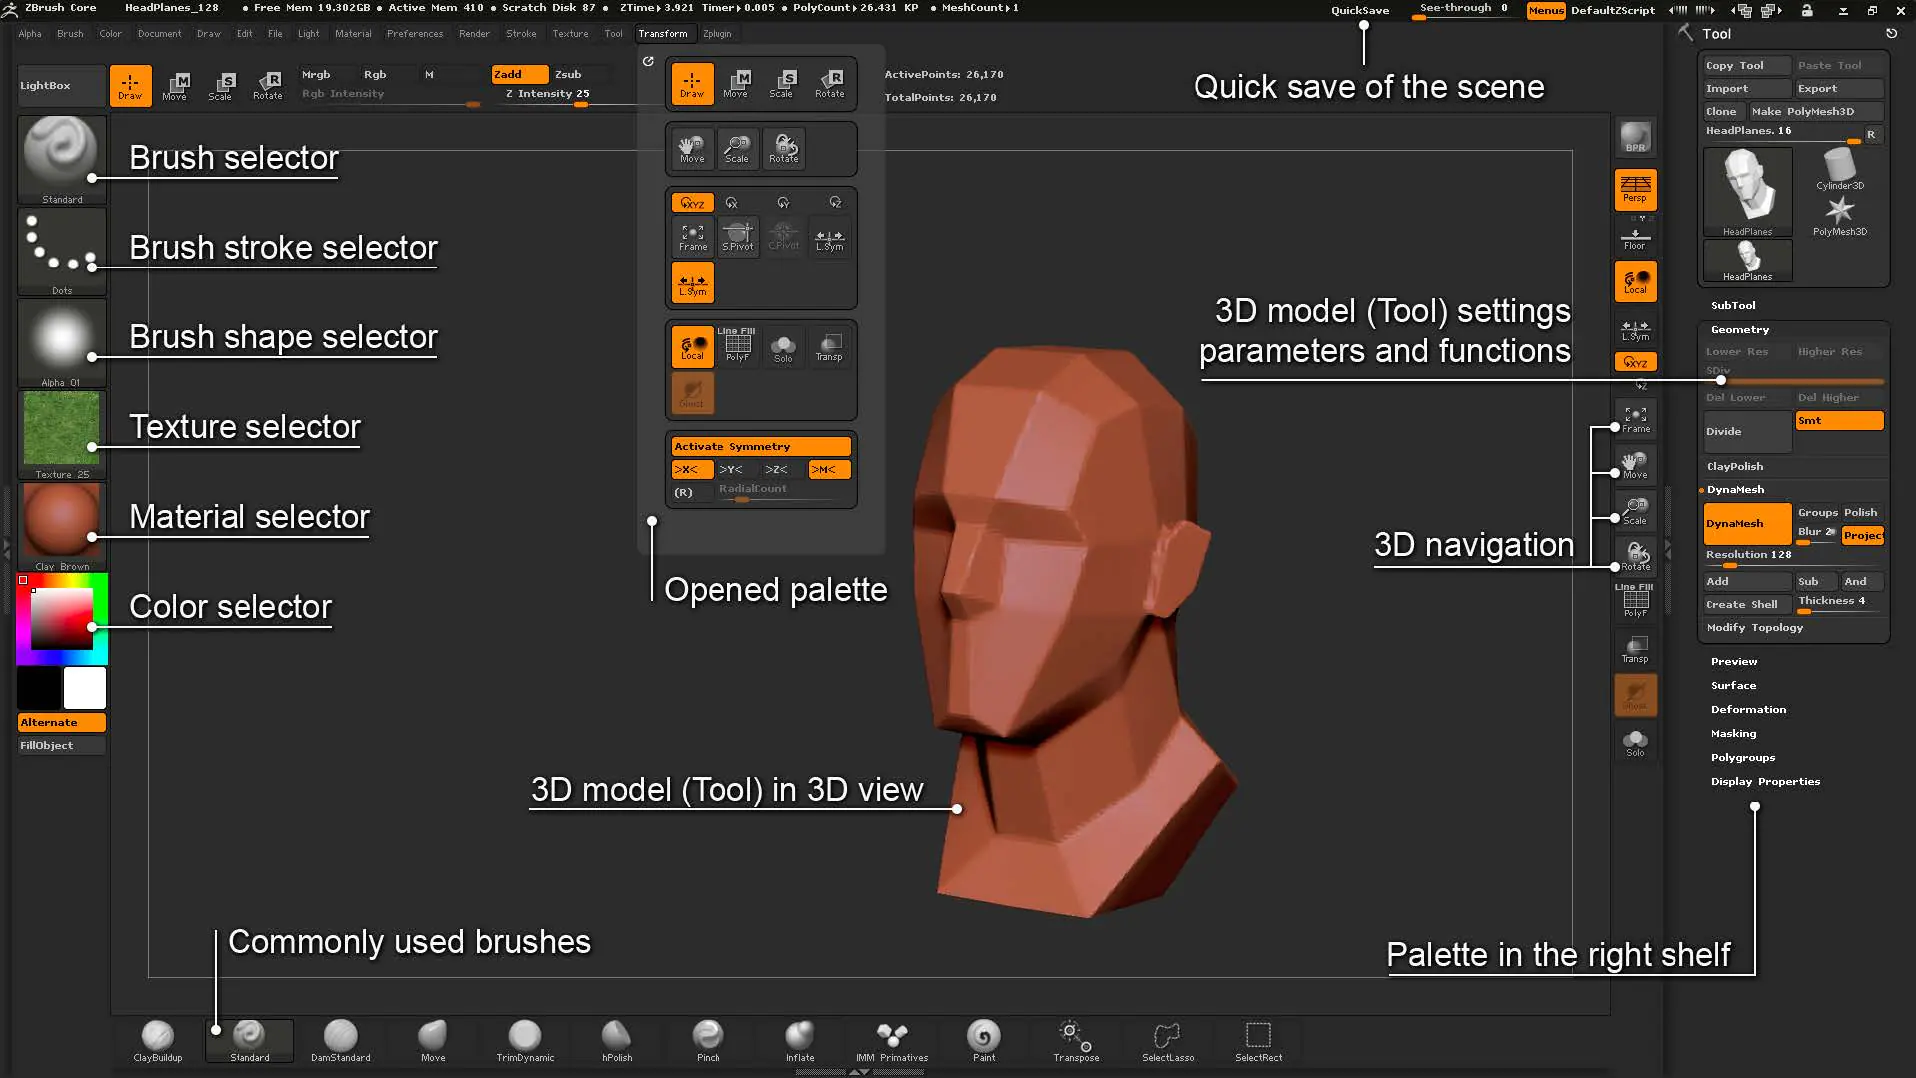
One of ZBrush’s least appreciated features is its user interface. The user interface is rather complicated, and many of the commands are not particularly clear. Let’s start with some of the simpler tools and components to make learning easier. As you’ll discover later, even the most fundamental tools can help you create a 3D model.
Step 1: Understand basic navigation
Using the buttons on the top panel, you may easily switch between the two fundamental modes, Draw and Edit. The Draw mode is used to add new forms to the workspace, whereas the Edit mode is used to modify or change the shapes that are already present.
The workspace can be rotated when in Edit mode by dragging the mouse around the canvas. You can hold down the Alt button to pan around the workspace or release it to scale the model. Although there are dedicated buttons to switch between different navigation techniques, understanding the keyboard shortcuts is ultimately much more effective.
Step 2: Understand how to adjust brush size
There are sliders for adjusting the brush size (Draw Size) and brush intensity in the top panel (Z intensity). The “Total Points” number, which is displayed directly next to the sliders, also serves as a measure of the brush’s intensity. The general rule is that the intensity increases with increasing numbers. After some practice, you will be able to determine the brush’s intensity simply by looking at this number.
Step 3: Understand basic sculpting tools
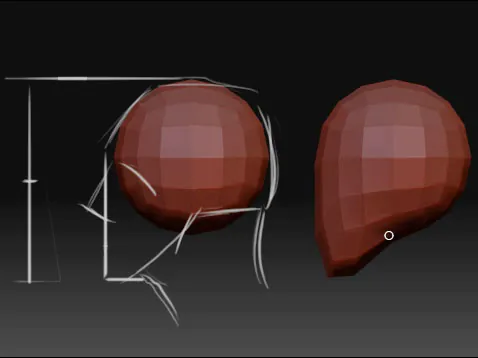
The first step in the sculpting process is to add a simple shape to your canvas. To achieve this, switch to Draw mode, open the Tool panel, and choose a tool. The Tool button will reveal a lengthy menu with numerous brushes and 3D meshes when clicked. You can find a range of fundamental 3D and 2D shapes in the 3D meshes area. Simply click and drag the shape to where you want it to appear on your canvas. The size of the shape can be adjusted by dragging the cursor away from the initial position. The sphere can be made in any size that you find comfortable.
Simply by clicking the “Make Polymesh3D” button in the tool palette, you must convert this shape into Polymesh 3D before you can begin sculpting. With the object now transformed into a mesh—a layer of tessellated shapes—it may be sculptured. Try it out by dragging the mouse while pressing the left mouse button anywhere on the shape. Depending on the size and intensity of your brush, you’ll see that it will drag out different parts of the shape.
The reverse effect, or depressing the shape’s geometry, is achieved by holding down the ALT key while keeping your finger on the left mouse button.
The basic method of 3D sculpting is switching between dragging and depressing. To experience finer control, experiment with various brush sizes and intensities. To restore the sphere to its initial look, simply undo the changes.
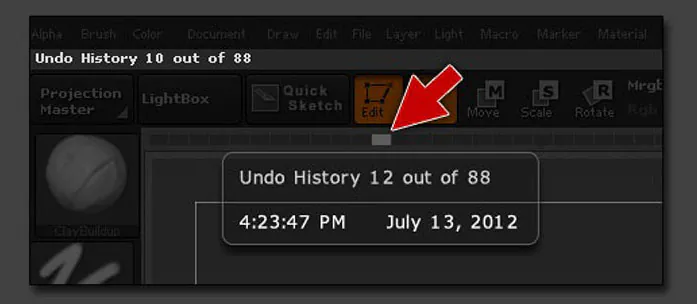
Step 4: Learning about the history slider
You should try out ZBrush’s incredibly helpful Undo feature right now before we go on to the more advanced tools. On the top panel of the window, this is shown as a history slider. You can navigate to any point in your project’s history by moving the selection forward and backwards.
This tool is amazing because it can reportedly preserve up to 10,000 actions. It usually takes a few days to complete a project to the point where you can no longer go back to your starting activities.
Step 5: Choose brush type
You may have observed that you have been changing your shape’s surface in segments that resemble flat shapes at this point. This is due to the fact that you have only used the standard brush type up to this point. Although ZBrush has so much more to offer, the standard brush will still be one of your go-to tools.
Simply select the Brushes button on the panel’s far left to access the different brushes. This will provide a vast menu with numerous brush-type options. Although this selection is fairly extensive, you probably won’t need the majority of these brushes. You should experiment with the Clay Buildup, DamStandard, Trim Dynamic, Pinch, Smooth, and Move brushes in addition to the standard brush.
Step 6: Subdividing the mesh and control resolution
A shape is automatically created when you sketch it using a predetermined number of mesh divisions. This is the number of tessellated flat surfaces your 3D model has to represent its more complicated geometry. These surfaces end up getting bigger as you sculpt the sculpture. You will eventually notice a decrease in the resolution of the sculpted features.
Your model’s resolution can be increased in a number of ways. The simplest method is to select the Divide option under the Geometry subtool in the tool panel. When this option is turned on, clicking anywhere on the model multiplies the mesh by four. This will improve the model’s resolution, sharpen the features, and give you more creative freedom when sculpting.
Step 7: Masking in ZBrush (Subtool)
The Brushes menu on the left side also has the Mask tool. You can paint over any area of the model that you want to keep unmodified when the Mask tool is active. After then, you can freely sculpt every part of the sculpture without changing the Masked area. This is excellent for making very few changes and for fine-tuning very small parts of your model.
Step 8: Play around with layers (Subtool)
Comparing ZBrush layers to Photoshop or Illustrator layers shows how conceptually different ZBrush layers are. Layers in ZBrush are easily reversible or erasable design modifications as opposed to separate design elements. This is excellent if you don’t want to commit to changing your current model significantly just yet or if you want to create numerous variations based on the same base model.
Simply click the Layers sub-menu in the tool panel to enable Layers. The list of numerous untitled layers will then be displayed. To begin creating a layer, simply click the big New Layer icon. After that, you are free to make any modifications to your model, which will be recorded on a timeline, separate from the rest of your project.
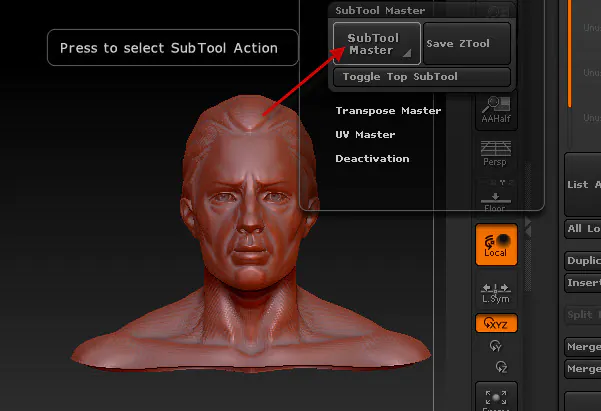
Step 9: Merge subtools
You should combine all of your subtools into a single model if you’re creating a 3D printing model. The tool palette also contains the Merge command, which can be used to do this. By altering each subtool’s visibility and using the Merge Visible command, you may choose precisely which subtools to merge together. You can then export and save your combined model as an OBJ file.
Take away
ZBrush indeed is an advanced 3D modeling software. Many experts have rightfully chosen ZBrush as one of their preferred 3D creation tools. ZBrush is unmatched in its flexibility and power as a 3D sculpting tool.
Moreover, the steps and tools we covered in this tutorial only scratch the surface of what ZBrush is capable of. However, this already offers a solid base for producing your initial sculpture projects. You can eventually try experimenting with some of the more advanced tools and brushes that come included with ZBrush. Additionally, you can add different brushes and meshes to further broaden your toolbox. In the end, the number of tools you use won’t actually affect the quality of your work; instead, it’s more important to have the ability to employ even the most basic sculpting tools in novel ways.
