How to Import CAD Files into 3ds Max Without Losing Geometry
As a 3D modeling, CAD or architectural expert, you may import a CAD file into 3ds Max, and encounter walls that come in all kinds of angles, or geometry that just stops working and you could be losing hours, even client time.This typically occurs when there are mismatches, units are wrong, CAD files are messy, or import settings are incorrect. It can be a problem for professionals in 3D modeling, architectural visualization, or mechanical design, leading to frustration and rework.
If you are an experienced CAD user or an advanced beginner, this guide will present you with a step by step method to help you import CAD files into 3ds Max (including DWG, DXF, STEP and IGES) without losing geometry, streamline your workflow, save time and meet project deadlines efficiently. Following this workflow will help you avoid some of the pitfalls and ensure accuracy every time you use it.
Why Geometry Loss Happens During CAD Import in 3ds Max
One of the most common issues with importing CAD files into 3ds Max is loss of geometry or distortion. This is not a list of typical problems, it is because of specific operations by the user or incorrect settings that can cause your model to break. These actions may result in walls being misaligned, objects or meshes being unusable, depending on how they are used.
Wrong Unit Selection:
When the CAD file and 3ds Max units are not the same (mm, cm or inches), the model’s scale is inaccurate and objects or walls may be misaligned.
Ignoring Import Settings:
Objects and broken meshes can be caused by incorrect settings in the Geometry Panel, import options (including layers, block conversion, mapping materials, etc.).
When importing messily drawn CAD files:
The unnecessary splines and complex objects that are directly imported can confuse 3ds Max. The outcome: crooked surfaces and massive meshes which bring modeling and rendering difficulties.
Object Handling Sequence is Incorrect:
Objects may be exploding and merging in the wrong sequence, or objects are being converted from 2D to 3D without being prepared or re-trimmed, resulting in skewed geometry and loss of hierarchy.
Additional Advanced Issues:
- Unsupported CAD features (custom blocks, parametrics) → missing geometry
- Hierarchy and/or parent-child relationships are misaligned → Incorrect hierarchy or parent-child relationships
- Large assemblies with no splitting being imported → viewport freezes, loss of geometry.
- No preparation, 2D to 3D conversion (distorted extrusion or no surfaces at all)
Step-by-Step Workflow to Import CAD Files into 3ds Max Without Losing Geometry
Step 1: Pre-Import File Cleanup
Before importing your CAD file into 3ds Max, it’s essential to clean the file properly to avoid geometry loss or misalignment. Open your DWG, DXF, STEP, or IGES file in AutoCAD or a CAD program of your choice. To eliminate unwanted layers and any duplication, use the PURGE command (PURGE). To remove layers between objects, use the Overkill command (OVERKILL). Then remove unnecessary information such as annotations, helper lines, and dimensions that do not contribute to the creation of the 3D model.
An important thing is to ensure that all objects lie on the same plane (Z=0) by selecting all of the objects and then using the FLATTEN command. Last but not least, verify Drawing Units (UNITS) to avoid having any size issues, because they should match your 3ds Max System Unit Setup. After the cleaning is complete, make a new copy of the file to keep the original. By following this process, your CAD import into 3ds Max will be accurate, clean and free from broken geometry.
Step 2: Choose the Correct File Format for Import
The first thing to be done before importing a CAD file to 3ds Max is to select the proper file format. Even if the file is clean, using the wrong format can lead to geometry loss, missing parts, or misaligned objects in the file. These are usually DWG, DXF, STEP, IGES, and in some cases, FBX.
First of all, consult your CAD file: if it is mostly a 2D drawing, such as a floor plan or a simple architectural layout, then DWG or DXF is likely the best option as it is fast to import, retains layer information, and keeps the file size light. Always use STEP or IGES for complex 3D objects or mechanical assemblies. These formats help preserve solid parts, hierarchy, and accurate geometry, keeping your model correct in 3ds Max.
After you’ve chosen the format, be sure to save a copy of the file in that format and verify the file for the correct layer organization and the integrity of the objects. This eliminates issues such as missing solids, broken surfaces, and wrongly placed objects. By doing this, when you begin importing the file, the import will be easy and your geometry will be maintained. If you are new to 3ds Max, it’s helpful to start by understanding 3ds Max and its applications to ensure you choose the correct format and follow best practices.
Step 3: Import the CAD File into 3ds Max

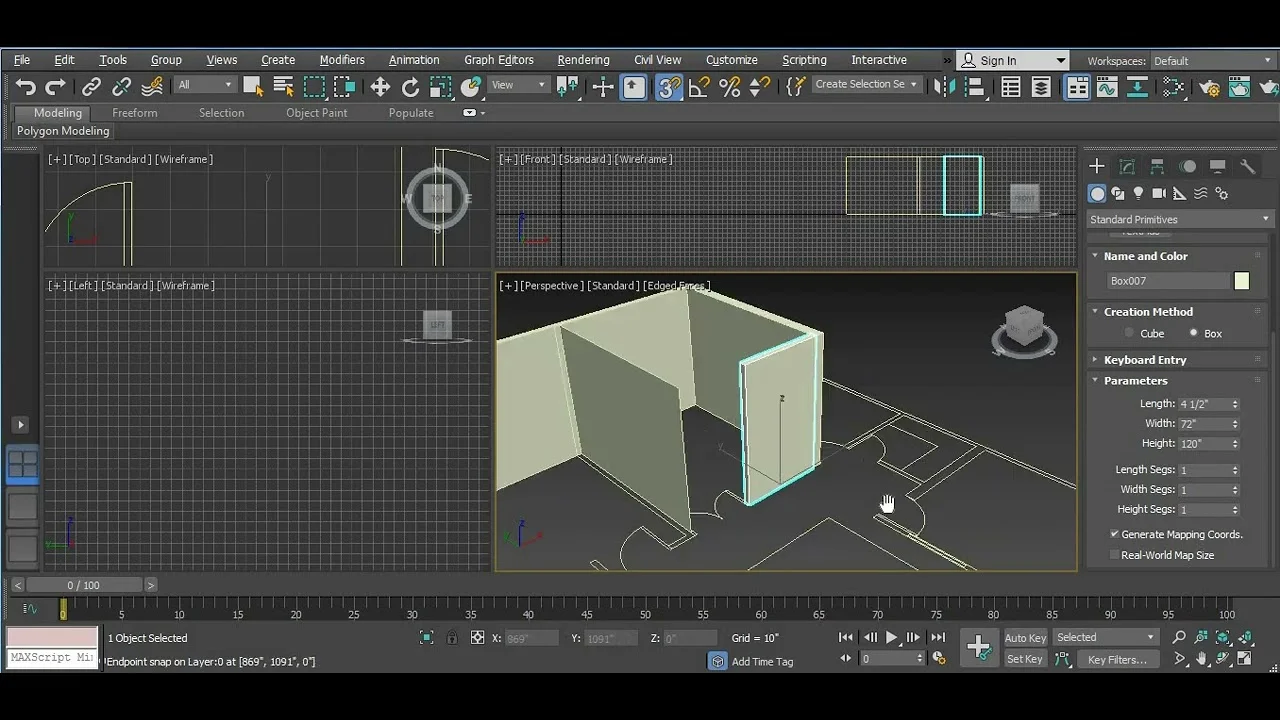
With your clean CAD file and correct file type, open 3ds Max and click File → Import → Import and select your CAD file (DWG, DXF, STEP, or IGES).Upon selection of the file, the Import Options dialog will appear. The key settings to examine here are: Blocks and Layers must be maintained, Units and Scale need to be checked, and whether to convert 2D objects to editable geometry. Do not leave defaults unchecked, these can lose objects or destroy meshes.
Once the settings have been set, click OK to import. After the import is done, rotate, zoom and look at your model to make sure you didn’t lose any geometry and that no pieces are missing. Minor problems that are noticed can be fixed in either Editable Mesh mode or Editable Poly mode.By doing so, you will be able to import your CAD file with the correct geometry, scale, and positioning, which will help you to model, render, or continue working with the 3ds Max file without any issues.
Step 4: Units & Scaling Adjustment
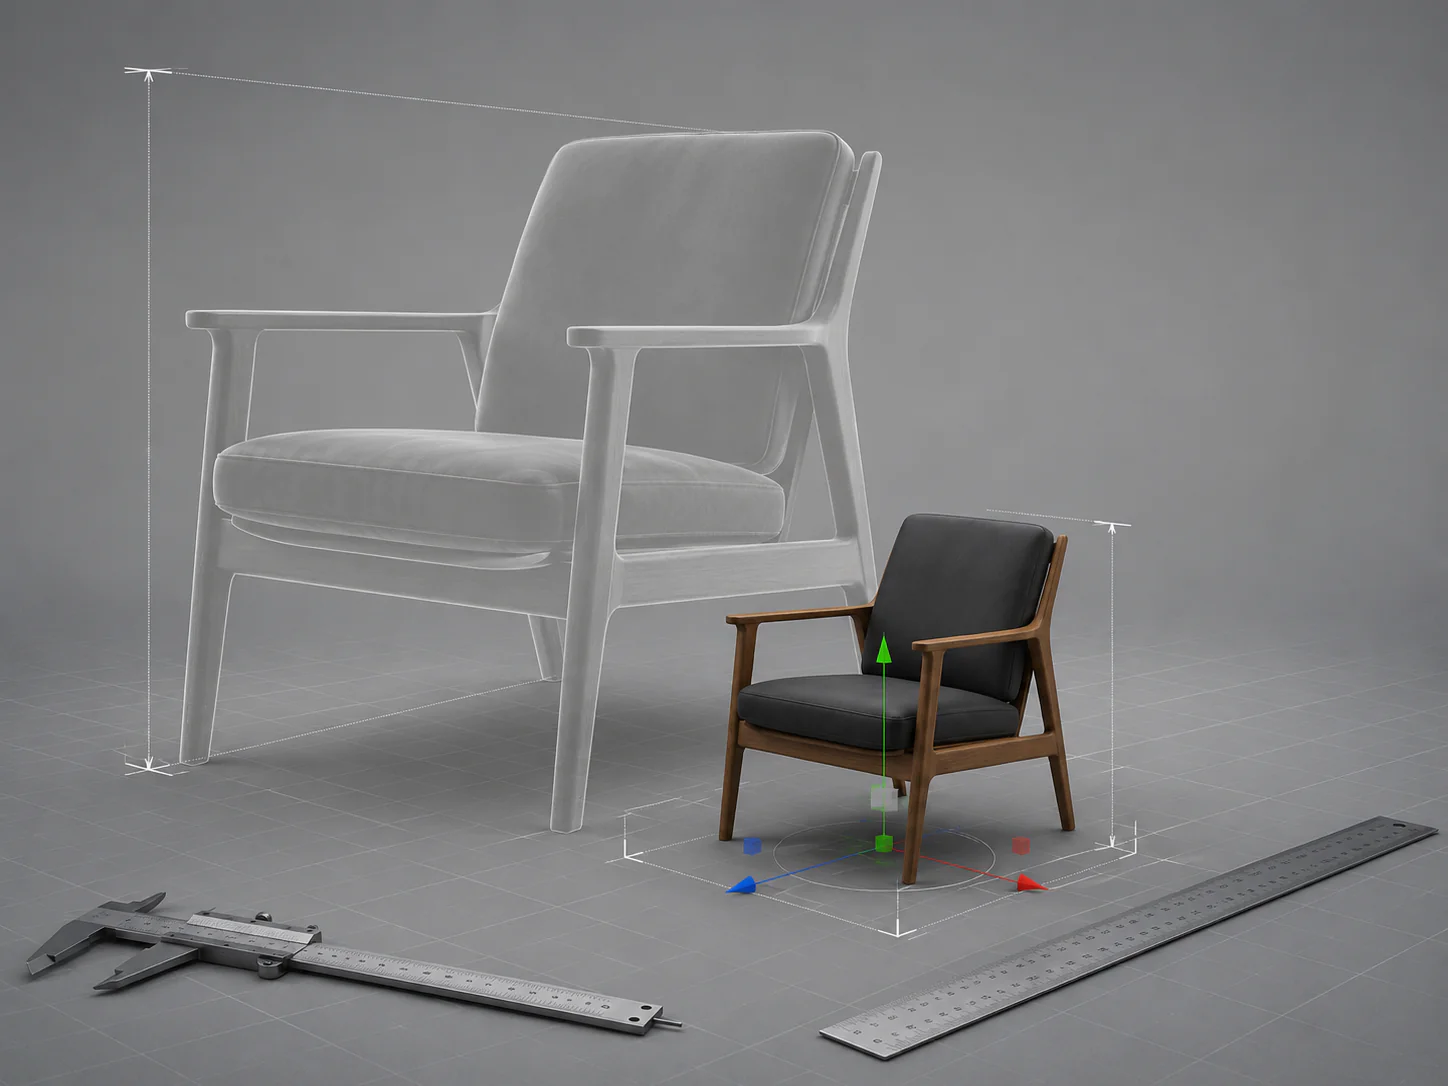
Once you’ve imported your CAD file into 3ds Max, it’s crucial to check and re-adjust the units and scale to ensure that there’s no misalignment or distorted geometry.Even if you clean your file and check the format, walls, objects, or components can still appear too large, too small, or misaligned in the 3D viewport if the units are incorrect.
First, go to Customize → Units Setup in 3ds Max and set the System Units to match the units used in your CAD file (millimeters, centimeters, or inches). If the units are not compatible, make adjustments before moving on. Then check the imported model: Rotate and zoom to ensure that objects are proportionate and aligned.
When objects are too large or too small, use the Rescale and Measure & Scale tools in 3ds Max to make them the correct size. Setting the correct units and scale at this stage prevents distorted geometry, broken meshes, and misaligned components. It ensures a smooth workflow for modeling, texturing, and rendering.
Step 5: Post-Import Cleanup & Optimization
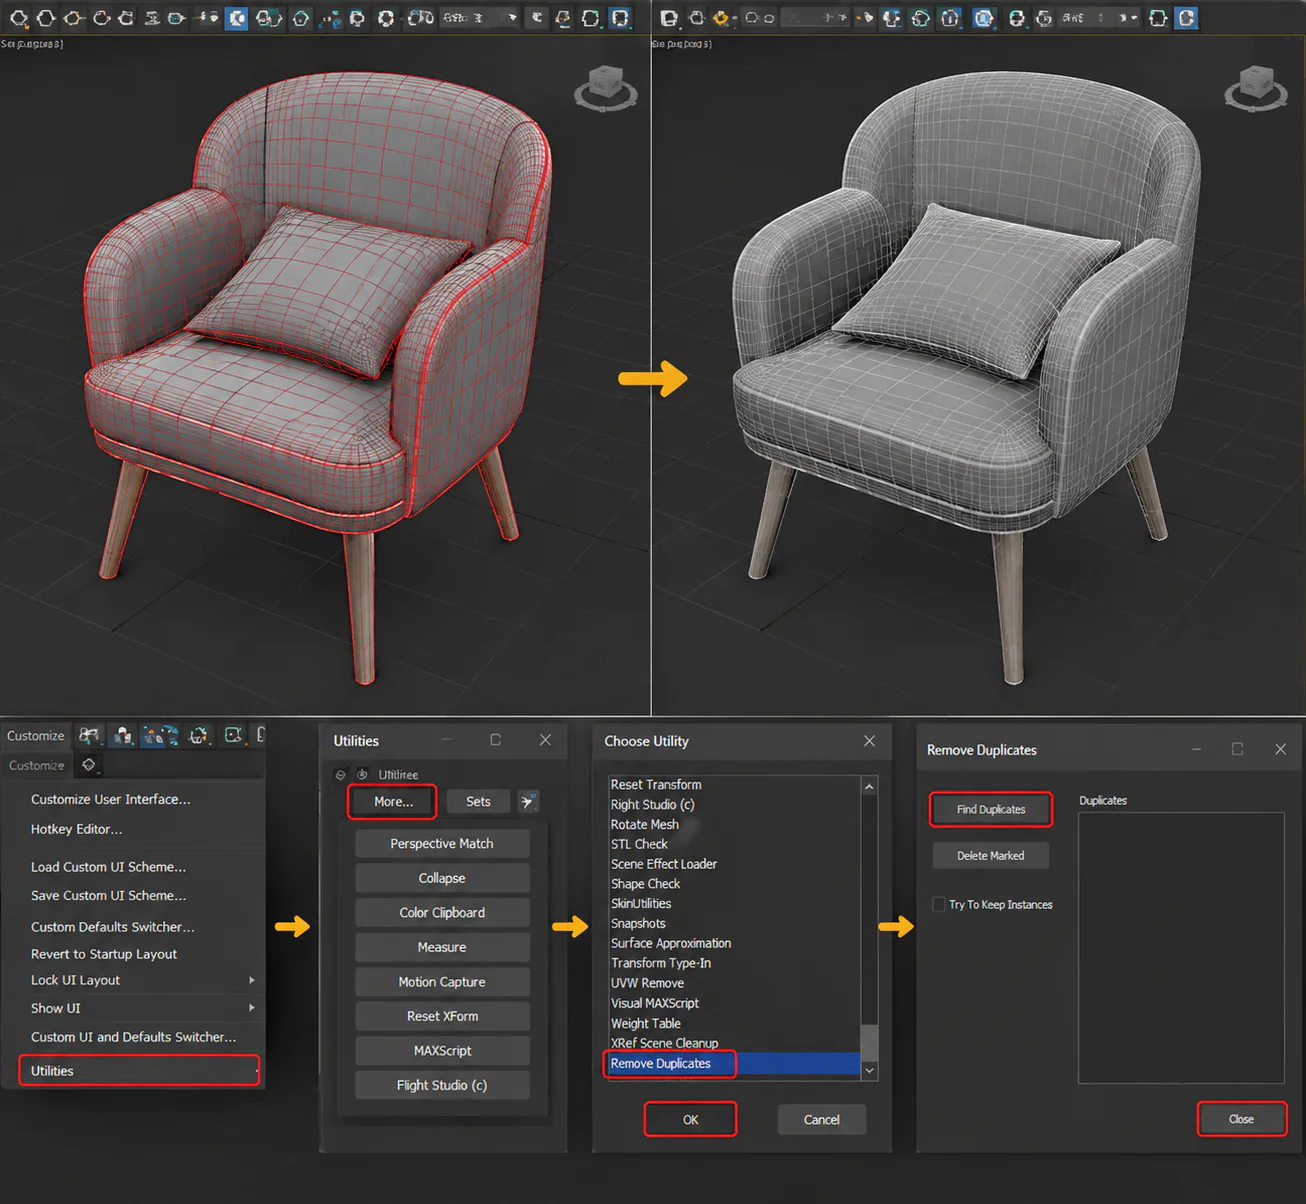
Even a well-imported CAD file can have overlapping vertices, loose edges, or unnecessary splines that complicate modeling and rendering in 3ds Max
First, select all objects and then use Editable Poly or Editable Mesh tools. Look for duplicate vertices and weld them with the Weld command. Normalize vertex normals to make surfaces draw properly. Clear out any floating edges, stray splines, or similar objects that do not belong to the main body and came in during import.
If you wish to extrude or further model spline based geometry, convert them to editable meshes. Once you finish making all changes, rotate and zoom your model to check that the geometry is clean, correctly proportioned, and ready for texturing or rendering.
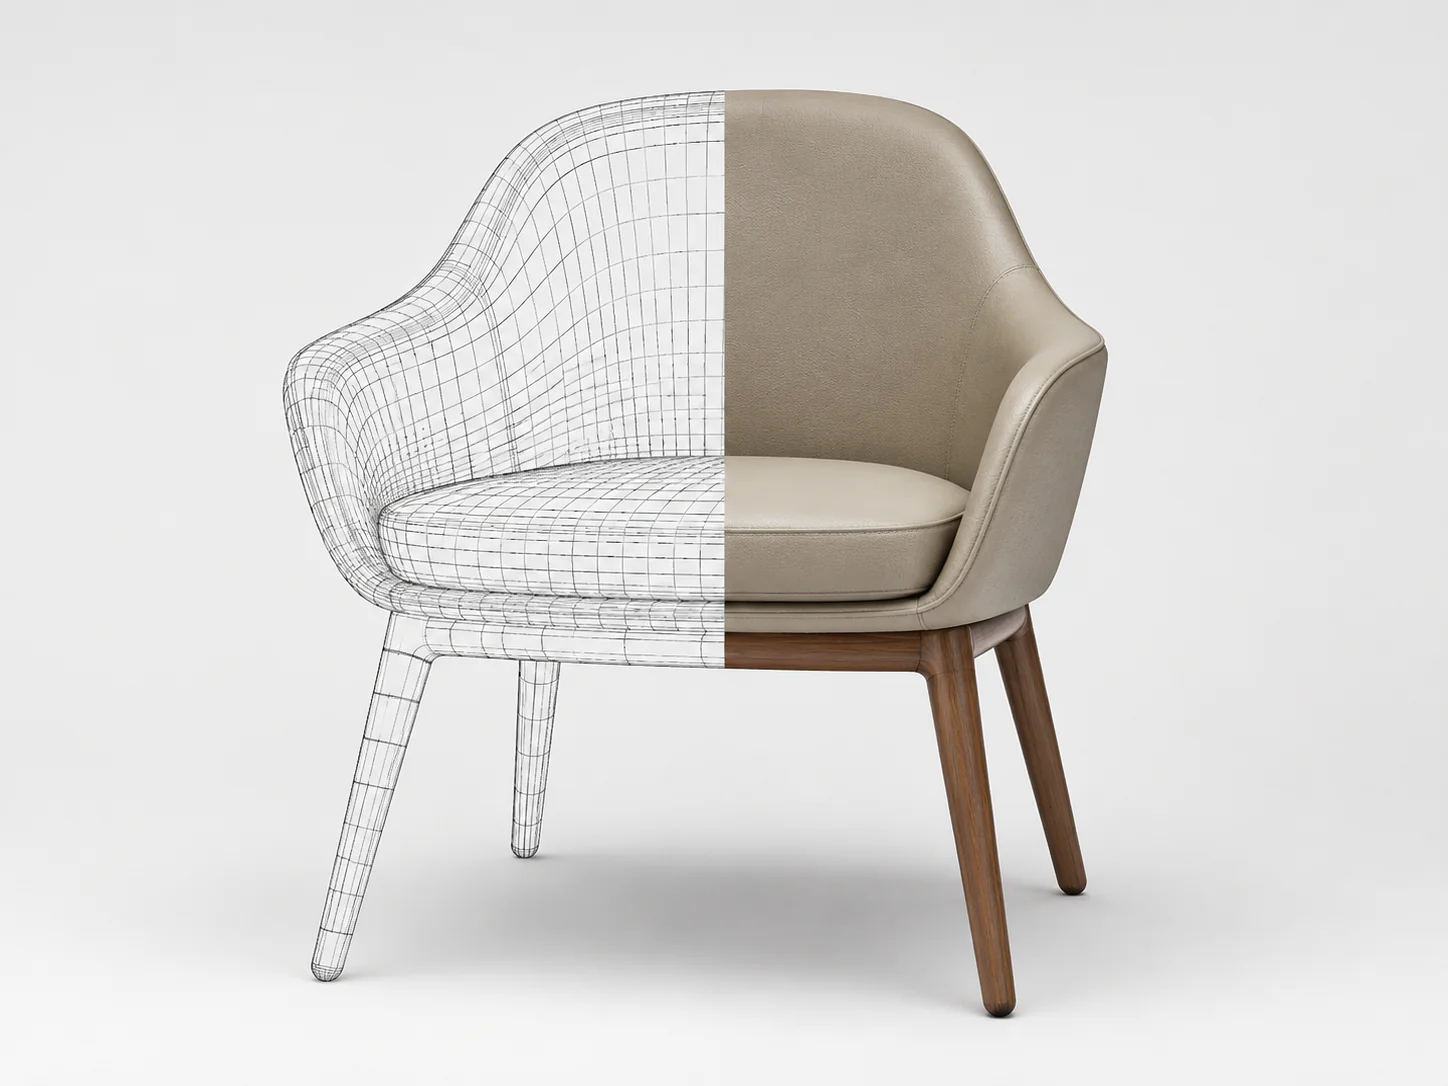
Step 6: Check & Verify Imported Geometry

Once you have cleaned up, scaled and optimized the imported CAD file, one important step is to check the file carefully in 3ds Max before modeling, texturing or rendering. Even if you perform all the previous steps correctly, problems can still occur: you might misalign parts, miss some surfaces, or encounter other issues.
Open the model and rotate and zoom it in the viewport to view all angles and components. Check for broken meshes, overlapping vertices, or splines that fall outside the mesh—these issues can slip through during post-import cleanup. Inspect hidden geometry in Wireframe view and organize all parts so they appear clearly in the Layer Manager
If there are some minor issues, correct them with the Editable Poly / Editable Mesh tools (vertex welding, edge removal and surface repair). If you want to group an object hierarchy, make sure you set it up correctly and place all components in the proper positions within the large assembly.
By following this step, you can verify your imported CAD file, keep it clean, and prepare it for further 3D modeling in 3ds Max. This approach helps you avoid downstream problems from missing or misaligned geometry
Troubleshooting CAD Import Issues to Preserve Geometry in 3ds Max
Even with a clean file and correct workflow, sometimes errors can occur during CAD import into 3ds Max. Understanding how to quickly troubleshoot them can save time and prevent frustration.
If you notice missing solids in your imported model, first check that you are using the correct file format for your project and that all relevant layers are visible and included. For misaligned objects, verify that the units and scale of the imported file match your 3ds Max System Unit Setup, and adjust them if needed.
If you encounter broken meshes, perform a post-import cleanup by welding duplicate vertices, normalizing normals, and removing stray edges or unnecessary helper objects. Finally, if your viewport is slow or lagging due to large assemblies, split the file into smaller parts or temporarily hide unused layers to improve performance.
Best Practices & Pro Tips for CAD Import in 3ds Max
Even after you complete all the import steps, follow these best practices and pro tips to import your CAD files accurately and efficiently into 3ds Max. They help you save time, avoid mistakes, and keep your geometry clean throughout the workflow.
Always Clean Your CAD File.
Be sure to delete duplicate lines, unnecessary layers and extra annotations before you import. The fewer the overlaps of meshes and excessive geometry, the less the 3ds Max slows down, and the cleaner the file, the better.
Choose the Correct File Format for Your Project
Select the Correct File Format for Your Project: Depending on your type of project, you’ll need to choose the file format that corresponds to the type of project you are working on: STEP / IGES for complex 3D mechanical assemblies to maintain solids and hierarchy, DWG / DXF for 2D architectural plans or simpler objects, or FBX (optional) for mesh conversion, with the note that it may lose layers or parametric information.
Carefully Review Import Settings
Check the options on the Geometry Panel when importing. Do not leave the default options unchecked, because they can misplace objects or break meshes. Keep layers and blocks as they are during import. Make sure the units and scale match your 3ds Max System Unit Setup, or you might lose objects or break meshes.
Optimize After Import:
Weld duplicate vertices and normalize normals, delete any stray edges and unneeded helper objects, and convert the splines to Editable Mesh or Editable Poly to continue modeling or extruding.
Handle Large Assemblies Carefully
If a file is too big, break it into manageable chunks, and import the smaller chunks one at a time to keep things running smoothly.
Use Plugins or Scripts (Advanced Tip)
Look at 3ds Max plugins that can handle the cleaning automatically or optimize CAD import: CAD Importer scripts or batch geometry check tools, etc.
Regular Verification:
Rotate, zoom, and examine your model from every angle, view any hidden geometry problems using Wireframe and Shaded views, and check for any problems with your object hierarchy and grouped components for correct assembly structure.
Efficiency Tips
Switch viewport, toggle wireframe and hide/unhide objects using keyboard shortcuts to increase the speed of workflow and geometry inspection.
Conclusion:
Importing CAD files into 3ds Max can be challenging, but by following a step-by-step workflow, you can preserve geometry, maintain accurate scaling, and prevent broken meshes. Start with a clean CAD file, choose the correct format for your project, carefully review import settings, adjust units and scaling, optimize your geometry post-import, verify the model thoroughly, and follow best practices to ensure efficiency and accuracy.
Even after following these steps, it’s important to apply troubleshooting tips for common issues like missing solids, misaligned objects, or slow performance to maintain a smooth workflow. By adhering to this complete process, you can confidently manage your CAD and 3ds Max projects with precision.
