
How To Make Isometric Or Flat Designs
Any creative project must include design; picking the right aesthetic can make all the difference. There are now various design patterns as a result of the evolution of designs over time. Two popular design styles that have gained significant popularity in recent years are isometric and flat designs. Both styles have unique characteristics that can enhance the visual appeal of any project. Isometric design is a style where objects are represented in 3D, with equal height, width, and depth measurements. On the other hand, flat design is a style where objects are represented in 2D, with no shadows, gradients, or other 3D effects. This blog will provide you an insight into how to make an isometric or flat design. Moreover, we will also take a look at the tools you need for making these designs. Eventually, you can create beautiful isometric and flat designs to help your projects stand out.
Tools You Need for Making Isometric or Flat Designs
Adobe Illustrator:
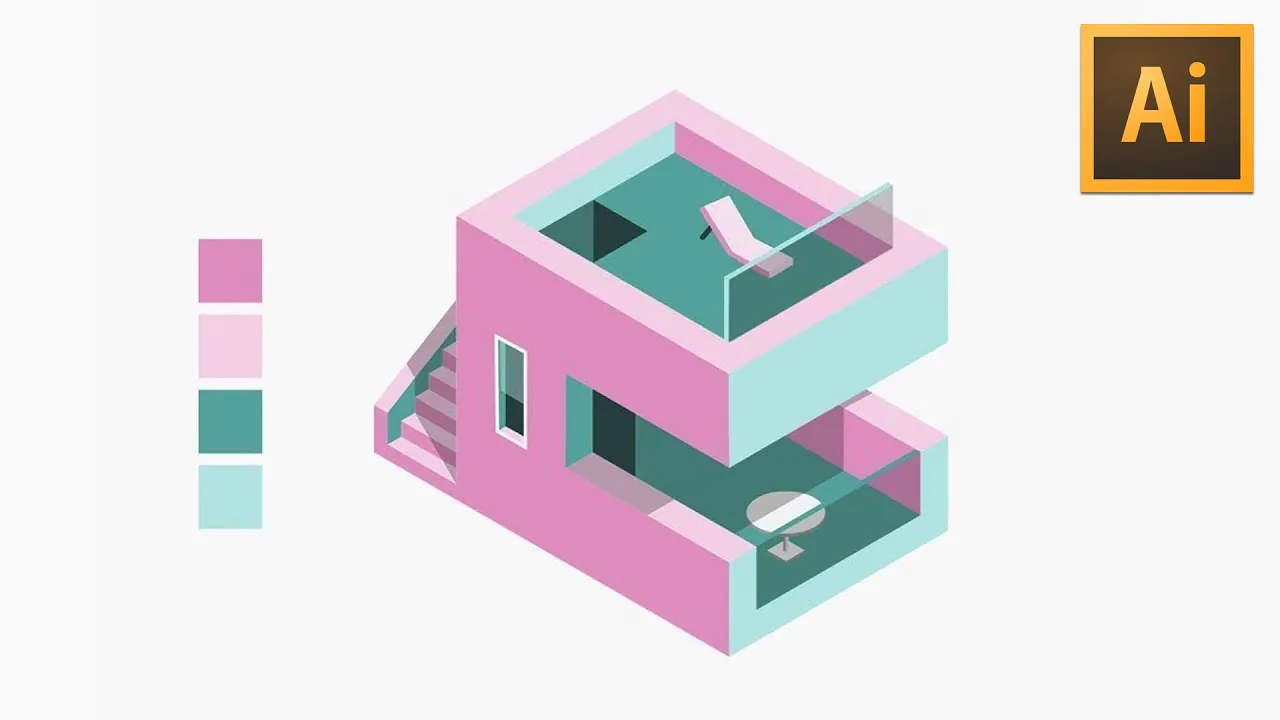
Adobe Illustrator is a vector-based design program that is great for creating isometric and flat designs. It offers a range of tools for drawing shapes, manipulating typography, and applying color.
Sketch:
Sketch is a popular design program known for its ease of use and powerful design tools. It is great for creating flat designs and offers a range of features for drawing shapes, manipulating typography, and applying color.
Figma:
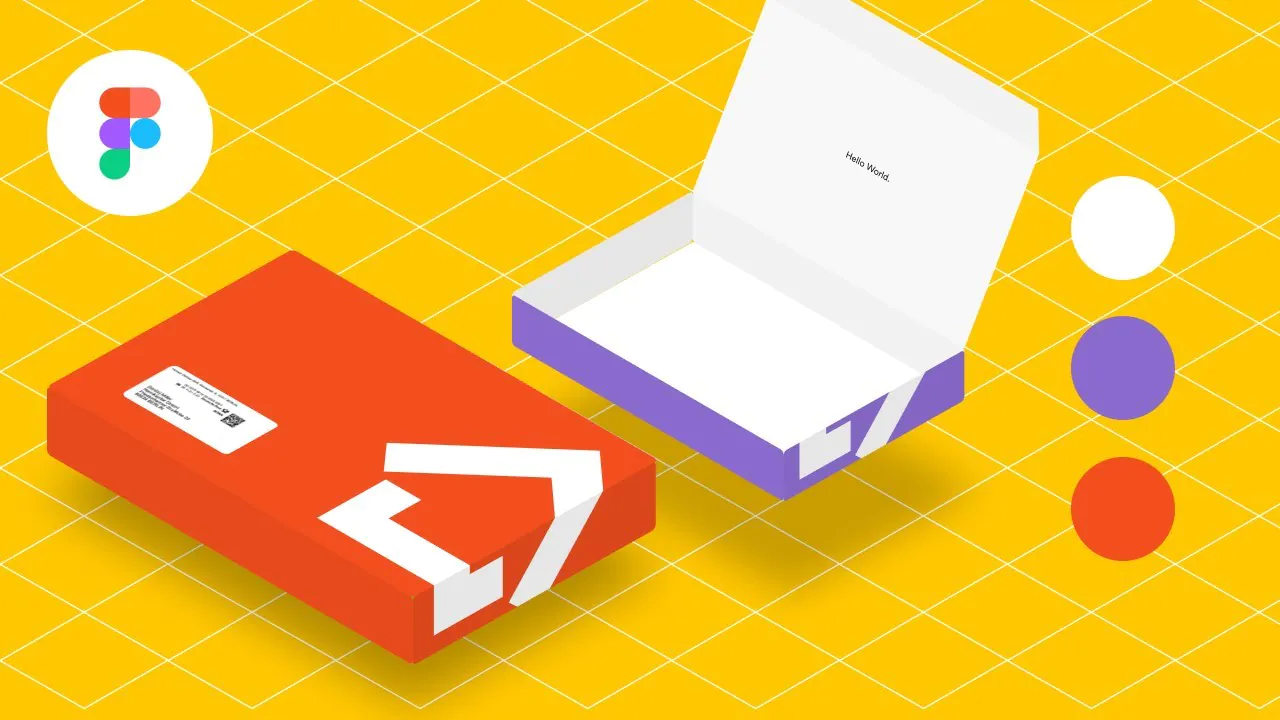
Figma is a collaborative design soft that is great for creating isometric and flat designs. It offers a range of tools for drawing shapes, manipulating typography, and applying color, as well as features for collaboration and sharing.
Canva:
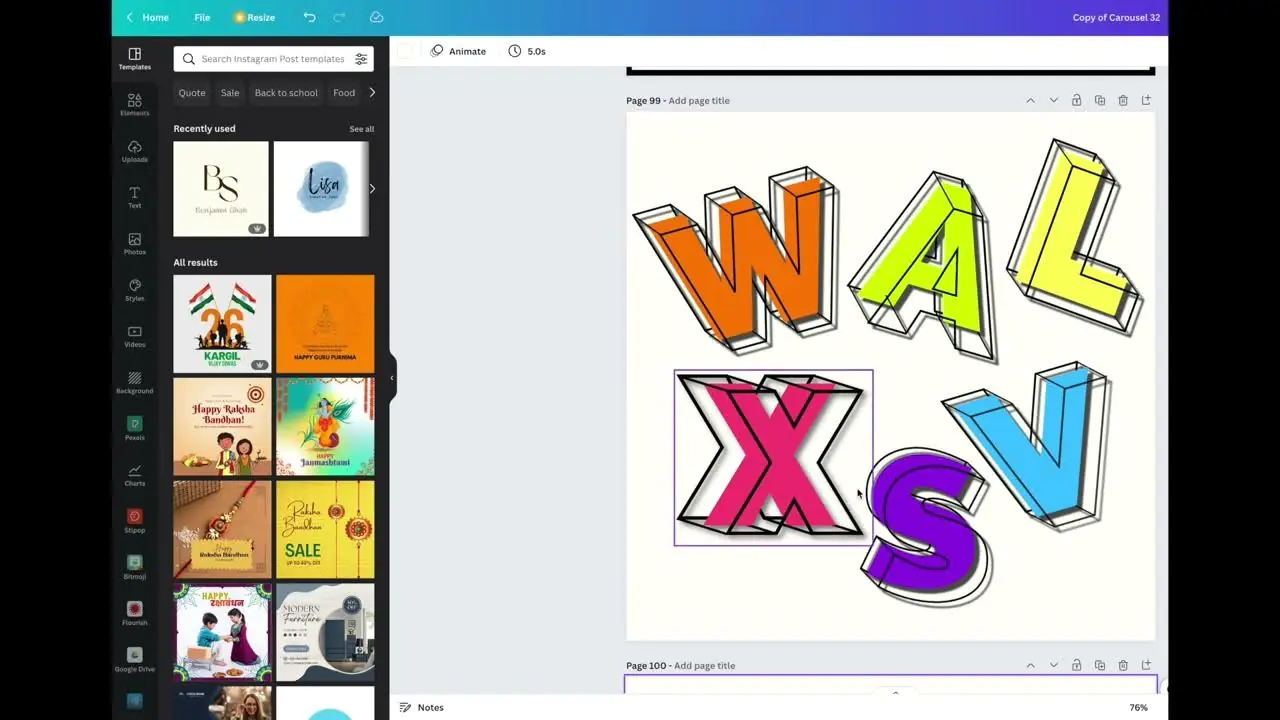
Canva is a web-based design software that is great for creating simple isometric and flat designs. It offers a range of templates and design elements that can be customized to fit your needs.
Procreate:
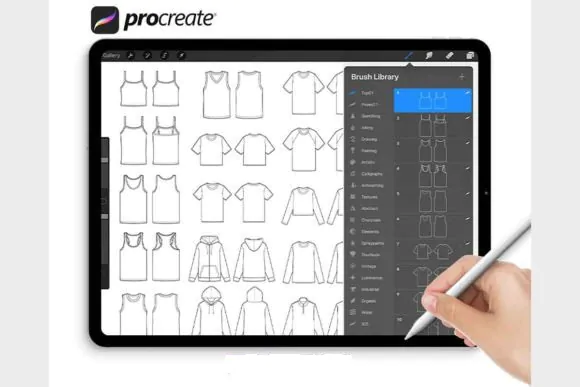
Procreate is a digital drawing app great for creating isometric and flat designs on an iPad. It offers a range of brushes, layers, and tools for drawing shapes, manipulating typography, and applying color.
Affinity Designer:

Affinity Designer is a vector-based design tool that offers a range of features for creating flat and isometric designs. Its powerful tools allow for precise shape creation and manipulation, as well as the ability to add texture and effects.
No matter which tool you choose, ensure it fits your design needs and that you are comfortable using it.
Steps to Make An Isometric design:
Step 1: Choose the right tools
To create an isometric design, you will need a program that supports isometric grids and allows you to draw shapes and lines. Popular design programs like Adobe Illustrator and Sketch have built-in isometric grids that you can use. Still, there are also online tools like IsoFlow and DrawIsometric that you can use.
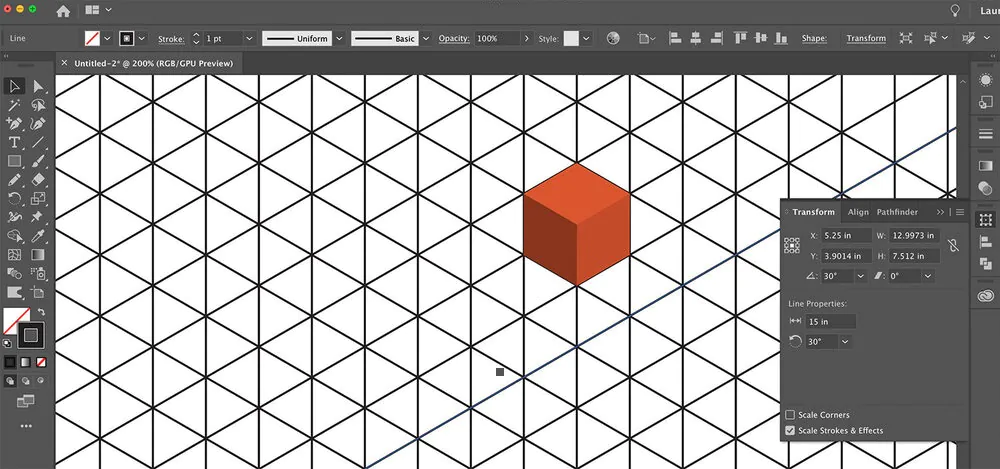
Step 2: Set up the isometric grid
Once you have chosen your design program, you must set up an isometric grid. Follow these steps to set up an isometric grid in Adobe Illustrator:
Go to “File” > “New”.
Choose the document size you want to use.
Set the number of artboards you want to use (if applicable).
Set the “Units” and “Raster Effects” to “Pixels”.
Set the “Orientation” to “Landscape” or “Portrait”.
Set the “Advanced” options to “RGB” and “72 ppi”.
Choose “Custom” under the “Grid” section.
Set the “Gridline every” to the same length as the height of your grid (e.g. if your grid is 50 pixels high, set the gridline every 50 pixels).
Set the “Subdivisions” to 1.
Set the “Angle” to 30 degrees.
Click “OK” to create your isometric grid.
Step 3: Draw the shapes
After setting up the isometric grid, you can start drawing the shapes for your design. Follow these steps to draw the shapes:
Select the “Rectangle” tool from the toolbar.
Draw a rectangle on your isometric grid.
Use the “Direct Selection” tool to select the rectangle.
Use the “Transform” tool to adjust the size and position of the rectangle.
Choose a color from your color palette to apply to the rectangle.
Repeat these steps to draw all the shapes for your design.
Step 4: Add details and text
You can add details and text to make your isometric design more interesting. Follow these steps to add details and text:
Select the “Line” tool from the toolbar.
Draw lines to add details to your shapes (e.g. windows, doors, or buttons).
Select the “Text” tool to add text to your design.
Use the “Transform” tool to adjust the text’s size and position.
Choose a color from your palette to apply to the details and text.
Step 5: Group and align the elements
You must group and align the elements to make your design look cohesive. Follow these steps to group and align the elements:
Select all the elements in your design.
Use the “Group” tool to group the elements.
Use the “Align” tool to align the elements vertically and horizontally.
Step 6: Export your design
Once you have completed your design, you can export it to use in your project. Go to “File” > “Export”.
Choose the file format you want to export to (e.g. PNG, SVG, or PDF).
Choose the export options you want to use (e.g., resolution or size).
Click “Export” to save your design to your computer.
Steps to Make A Flat Design:
Step 1: Choose the right tools
To create a flat design, you need a program that allows you to draw shapes and lines and manipulate typography. Popular design programs like Adobe Illustrator and Sketch are great options for creating flat designs.
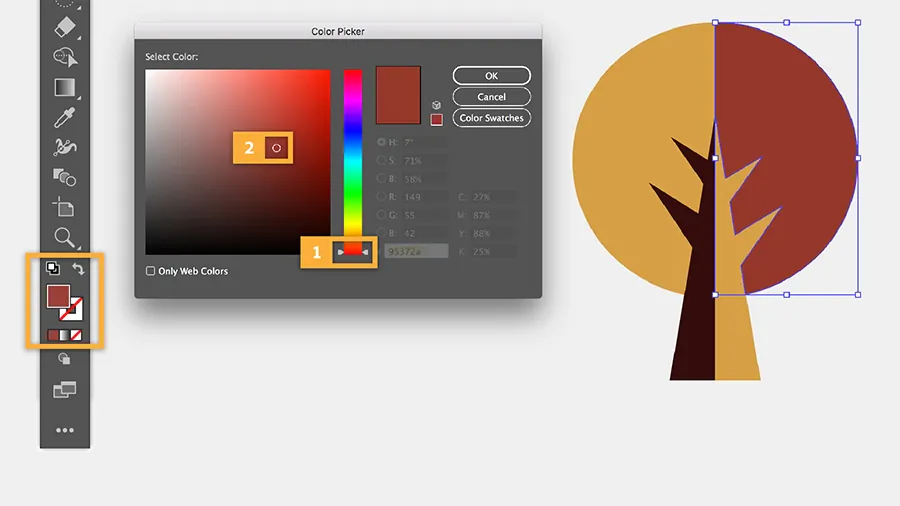
Step 2: Define the color palette
Flat designs typically use a limited color palette, so the first step is to define the colors you will use. Choose colors that complement each other and reflect the tone and mood of your design. You can use tools like Adobe Color to help you choose a color palette.
Step 3: Draw the shapes
Once you have defined your color palette, you can start drawing the shapes for your design. Follow these steps to draw the shapes:
Select the “Rectangle” tool from the toolbar.
Draw a rectangle on your canvas.
Use the “Direct Selection” tool to select the rectangle.
Use the “Transform” tool to adjust the size and position of the rectangle.
Choose a color from your color palette to apply to the rectangle.
Repeat these steps to draw all the shapes for your design.
Step 4: Add details and text
You can add details and text to make your flat design more interesting. Follow these steps to add details and text:
Select the “Line” tool from the toolbar.
Draw lines to add details to your shapes (e.g., borders, icons, or illustrations).
Select the “Text” tool to add text to your design.
Use the “Transform” tool to adjust the text’s size and position.
Choose a color from your palette to apply to the details and text.
Step 5: Use typography
Flat designs often use typography as a key element in the design. Use typography to highlight important information, create a hierarchy, and add visual interest. Follow these steps to use typography:
Choose a font that reflects the tone and mood of your design.
Select different font sizes and weights to create a hierarchy.
Use color to highlight important information.
Step 6: Group and align the elements
You must group and align the elements to make your design look cohesive. Follow these steps to group and align the elements:
Select all the elements in your design.
Use the “Group” tool to group the elements.
Use the “Align” tool to align the elements vertically and horizontally.
Step 7: Export your design
Once you have completed your design, you can export it to use in your project. Follow these steps to export your design:
Go to “File” > “Export”.
Choose the file format you want to export to (e.g. PNG, SVG, or PDF).
Choose the export options you want to use (e.g., resolution or size).
Click “Export” to save your design to your computer.
Tips for Creating Both Designs
Isometric designs:
Use a grid to ensure accurate proportions and angles.
Use consistent lighting and shading to create depth and dimensionality.
Use a limited color palette to keep the design simple and uncluttered.
To add interest, try out different perspectives and angles.
Avoid overlapping elements, as it can be confusing to the viewer.
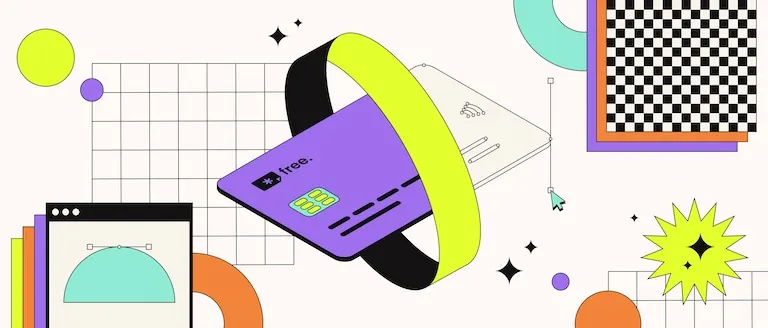
Flat designs:
Use bold, simple shapes and colors to create a minimalist look.
Avoid gradients and shadows to keep the design flat.
Use a consistent color palette to tie the design together.
Use typography and iconography to add interest and communicate information.
Ensure that the design is easily scalable for different sizes and mediums.
Conclusion
To sum up, creating isometric or flat designs can be fun and rewarding, enabling you to bring your creative concepts to life. Adopting the steps described in this manual can help you to create visually appealing graphics that effectively communicate your message. Additionally, software tools such as Adobe Illustrator or Sketch can make the process more efficient and allow for greater precision in your designs. With some practice and experimentation, you can become proficient in creating isometric or flat designs and bring your artistic vision to reality.
