How To Do Digital Painting For 2D Models
The exhilarating and dynamic field of digital painting has recently transformed the art world. Digital media can now produce beautiful and intricate artwork thanks to the development of strong software tools and drawing tablets. Digital painting has become increasingly popular in recent years, with many artists turning to this medium to create stunning works of art. Unlike traditional painting, digital painting allows artists to work with various colors, textures, and effects without the mess and expense of traditional materials. One area of digital painting that has gained particular interest is creating 2D models. Whether you’re creating characters for a video game, illustrations for a book, or simply exploring your artistic abilities, digital painting for 2D models can be an exciting and rewarding experience. However, getting started with digital painting for 2D models can be intimidating, especially if you’re new to digital art. In this blog guide, we’ll take you through the process step-by-step, from setting up your workspace to selecting the right tools and techniques for your project. We’ll also share tips and key considerations to help you create realistic and dynamic 2D models that impress you. Whether you’re a seasoned artist looking to explore a new medium or a beginner just starting, this guide will provide the knowledge and skills you need to create beautiful and engaging 2D models with digital painting.
Step 1: Choose Your Software and Equipment
The first step in digital painting is to choose the right software and equipment. Many options are available, from free software like Krita to professional-grade programs like Adobe Photoshop. Some popular options for digital painting include:
Adobe Photoshop
Corel Painter
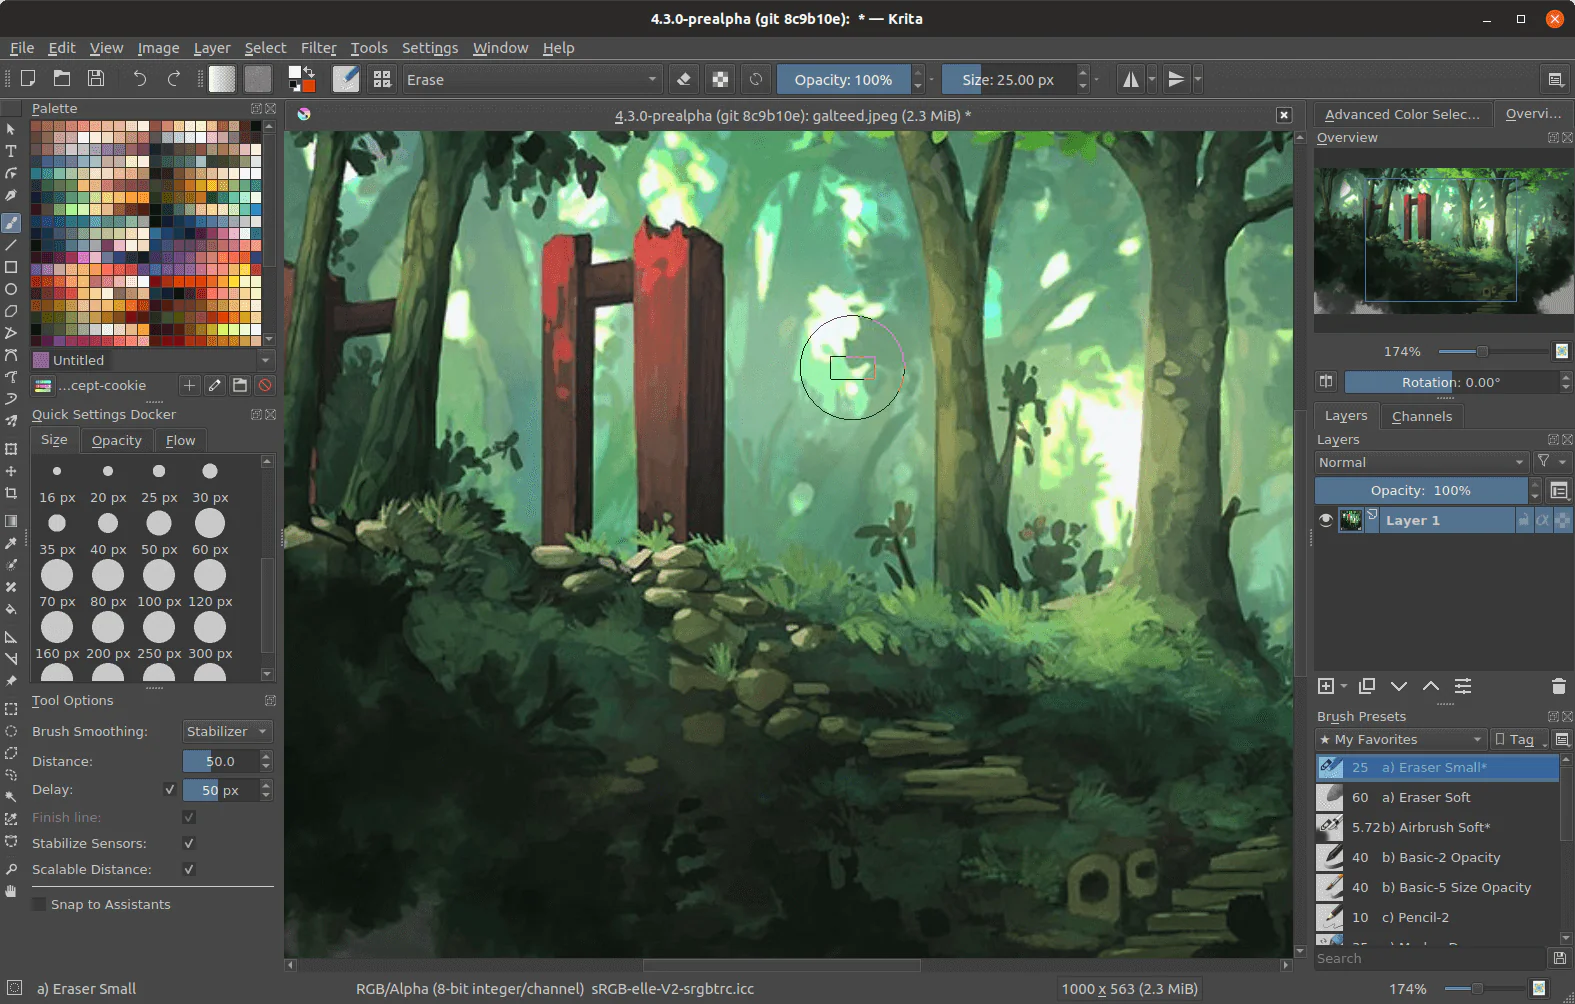
Krita
Procreate (for iPad users)
Clip Studio Paint
In addition to software, you’ll also need a graphics tablet or pen display to create your digital paintings. These devices allow you to draw directly on the screen and provide a more natural feel than a mouse. Some popular options for graphics tablets and pen displays include:
Wacom Intuos
Huion Kamvas
XP-Pen Artist
Apple iPad Pro (with Apple Pencil)
When choosing your software and equipment, consider your budget and skill level. There are options available for all budgets and skill levels, so don’t be afraid to start small and upgrade as your skills improve.
Step 2: Choose Your Canvas Size and Resolution
Once you’ve chosen your software and equipment, it’s time to set up your canvas. The canvas is the digital space where you’ll be creating your painting. You’ll need to choose the size and resolution of your canvas before you begin painting.
The size of your canvas will depend on your intended use for the painting. If you’re creating a painting for print, you’ll want to choose a high resolution and a size that matches the dimensions of the print. If you’re creating a painting for social media or online use, a smaller canvas size and lower resolution may be sufficient.
When choosing your canvas size and resolution, remember that larger canvases with higher resolutions require more processing power and may slow down your computer or tablet. Be sure that your device can handle the size and resolution you choose.
Step 3: Choose Your Colors and Brushes
Before you begin painting, you must choose your colors and brushes. Digital painting software typically comes with various pre-set brushes and color palettes, but you can also create custom brushes and palettes.
Consider the atmosphere you want to create when choosing your colors. Bright, bold colors can create a sense of energy and excitement, while muted colors can create a more subdued and contemplative atmosphere. You can experiment with different color palettes to find the perfect match for your painting.
When choosing your brushes, consider the texture and effect you want to achieve. Soft brushes can create a smooth, blended effect, while textured brushes can create a more rough and organic look. You can also experiment with different brush sizes and shapes to create various effects.
Step 4: Sketch Your Design
Once you’ve set up your canvas and chosen your colors and brushes, it’s time to start sketching your design. Sketching is an important part of the digital painting process because it allows you to plan out your composition and ensure everything is in the right place.
You can sketch your design directly on the canvas using your graphics tablet or pen display. Alternatively, you can sketch on paper and scan your sketch into your digital painting software. Ensure your sketch is clear and detailed enough to guide you as you begin painting.
Step 5: Block In Your Colors
After you’ve sketched your design, it’s time to block in your colors. Blocking in involves using large brushes to fill in your design’s basic shapes and colors. It is a rough stage where you’re not worrying about details or shading; instead, you focus on getting the overall colors and shapes in place.
You can start by using a large brush to fill in the main colors of your design, working from the background to the foreground. Once you’ve blocked in the basic colors, you can refine the shapes and adjust the colors as needed.
Step 6: Add Details and Shading
Once you’ve blocked in your colors, it’s time to start adding details and shading. That is where your painting will start to come to life and take on a more realistic and three-dimensional appearance.
Start by adding shadows and highlights to your design, using a smaller brush, and paying attention to the light source and the direction of the shadows. You can add texture and details to your design, such as hair, fur, or clothing.
Step 7: Refine and Polish Your Painting
After you’ve added all the details and shading to your painting, it’s time to refine and polish your work. That involves making final adjustments and tweaks to your design to make it as polished and finished as possible.
You can adjust the colors and contrast, smooth out rough edges, and add final touches to bring your painting to life. That is where you can make your painting shine and showcase your skills as a digital artist.
Some Popular Software Tools Used for Digital Painting:
Here we review some popular software tools you can use to do the digital painting for 2D models:
Adobe Photoshop:

Adobe Photoshop is a popular and versatile software for the tasks like digital painting, photo editing, and graphic design tasks. It has a wide range of brushes, tools, and filters that can be used for painting, blending, and adding effects to your artwork.
Corel Painter:
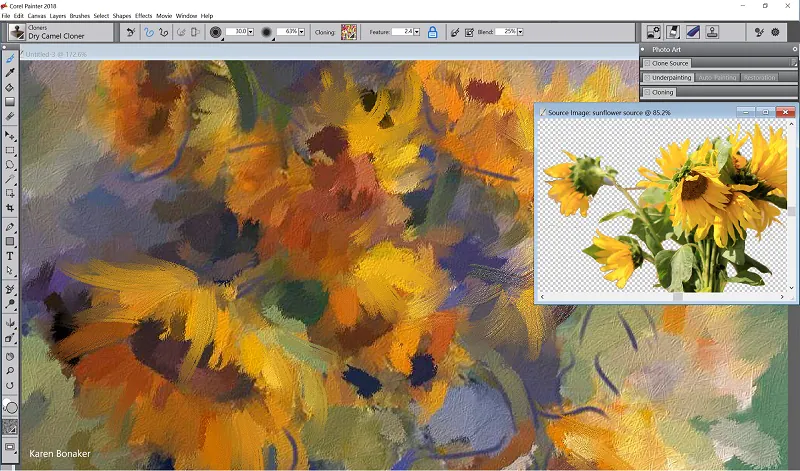
Corel Painter is another popular software tool for digital painting, particularly for those who prefer a more traditional painting style. It offers a wide range of brushes and tools that mimic the look and feel of traditional media, such as oil paints, watercolors, and charcoal.
Procreate:

Procreate is a powerful and popular app for digital painting on the iPad. It offers a streamlined interface and a wide range of brushes and tools to paint, sketch, and add effects to your artwork.
Clip Studio Paint:
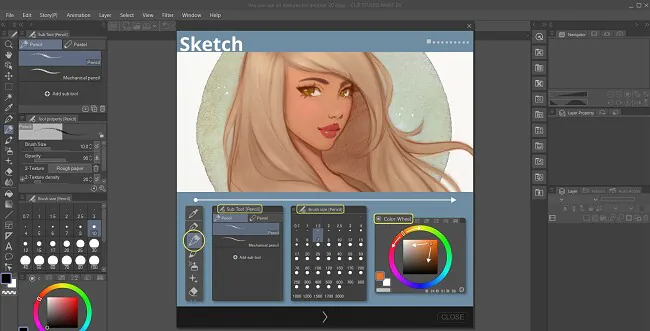
Clip Studio Paint is a popular digital painting and comic creation software tool. It has many brushes, tools, and features designed specifically for creating comic-style artwork, such as ink brushes, speech bubbles, and panel tools.
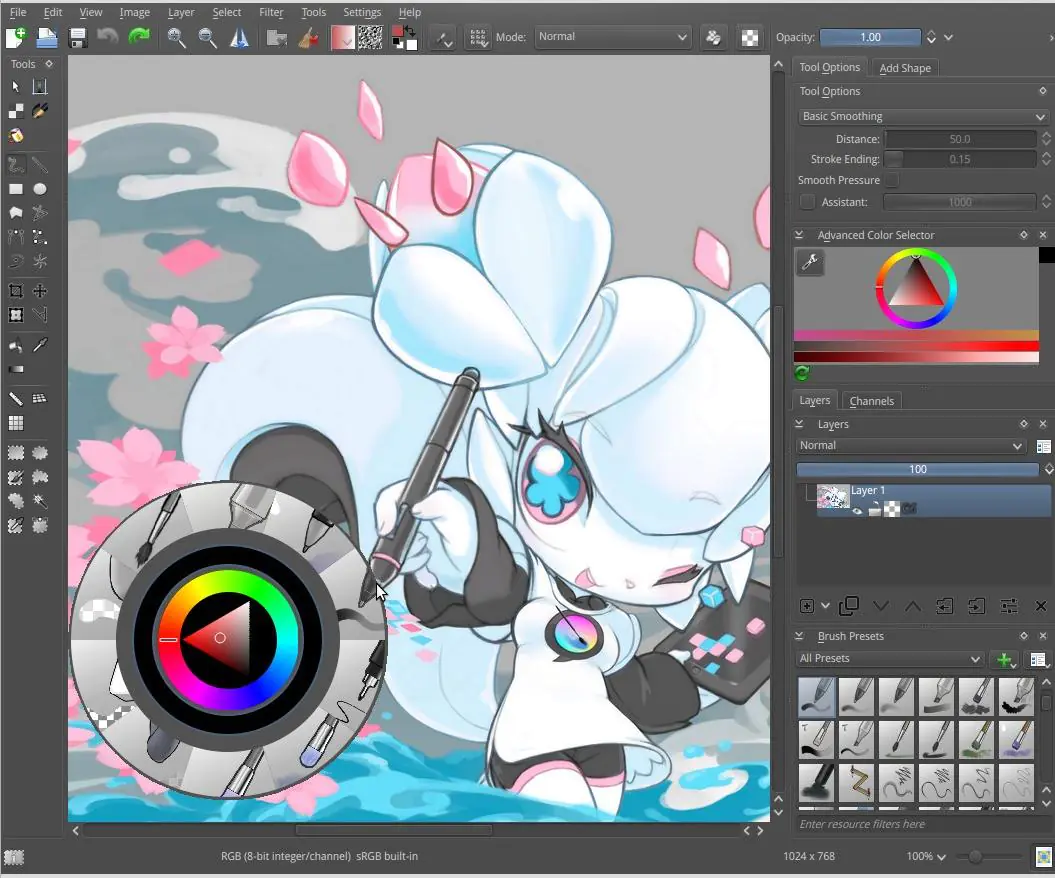
Krita:
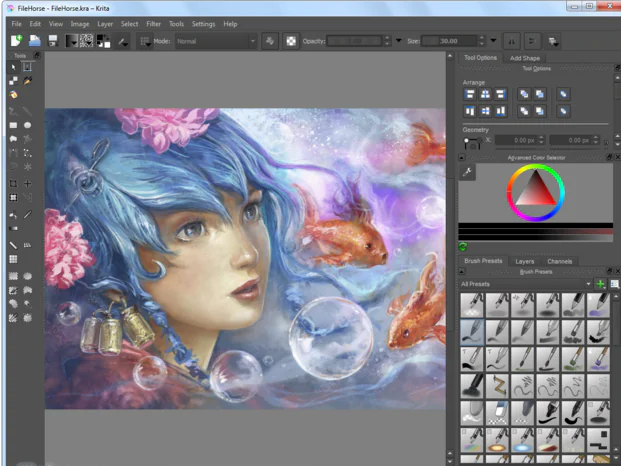
Krita is a free and open-source software tool for digital painting and animation. It offers a wide range of brushes, tools, and features that can be used for painting, sketching, and animating your artwork.
These are just a few software tools available for digital painting. Each tool has unique features and strengths, so experimenting with different programs is worthwhile to find what works best for you. Tips for Digital Painting for 2D Models.
Practice, practice, practice! Digital painting is a skill that takes time and practice to master. Feel free to make mistakes and experiment with different techniques and styles.
Use reference images for inspiration and guidance. Look at photos or other artworks for color, composition, and technique ideas.
Start with simple designs and work your way up to more complex ones. Don’t try to create a masterpiece right away – start with simple designs and build up your skills and confidence.
Experiment with different brushes and techniques to find what works best for you. Everyone has unique styles and preferences, so try new things and find what works best for you.
Take breaks and give your eyes a rest. Digital painting can tire the eyes and the body, so take breaks and stretch regularly to avoid strain or injury.
Be bold and ask for feedback and critiques. Join online communities or forums for digital artists and ask for feedback on your work. That can help you improve and learn from other artists.
Conclusion
Digital painting for 2D models is a rewarding way to express your creativity and create stunning works of art. With the right software, equipment, and techniques, anyone can learn how to do digital painting and produce high-quality paintings. Follow these steps and tips to start your digital painting journey, and don’t be afraid to experiment, practice, and refine your skills.
