How to Make a 3D Model of a Product?
A 3D model is a clear virtual artifact that displays your company product to its full potential and gives the customer an interesting perspective of what you sell. To create a 3D model of any of your products, you need to consider certain important guidelines and standards. These compulsory checkpoints render your product model perfect in terms of virtual reality, augmented reality, and marketing standards. If you avoid such steps, the merchant is likely to move on to buy another product from your competitor in the field. I bet you don’t want this to happen, simply follow the below guidelines to create an enticing 3D Product Model.
Starting from Scratch
The product model is built into three dimensions (X, Y, Z), the procedure involves the utilization of intense software packages such as Blender, Maya, Cinema 4D, Houdini, and much more. For many years, CAD has been more popularly used to render models realistic. It proves beneficial to improve your product quality and design at the same instance without much effort and expense.
3D Scanning
3D Scanning involves the rendition of a real product. The effect of the real object is captured in its natural state. This process is done via hardware or software to collect unique data about the product shape, size, color, and other features. Scanning techniques for different products relatively differ from each other. However, experimentation with different techniques can discover better results for your product model quality before completion.
Photogrammetry
A method to capture any object within its real state within space is done by employing Photogrammetry. The safe procedure involves digital photographs of different aspects, sides, or corners of the product under consideration. Afterward, which is to be set into a single 3D asset, the method has become largely common among professional modelers. The main advantage attached with the process is that the photographs can be taken with the help of a simple Smartphone. Whether, you need to model apparel, artwork, shoes, or sculptors, Photogrammetry can create the most unique representation of your real-life projects with shiny, transparent, or metallic surfaces.
Structuring
The structuring of the models is done with the careful assistance of the synchronized cameras. This process is mostly adopted in reverse engineering and more complex jobs. Various patterns of the light on the object are projected to capture precise aspects. The subjects of the models can be food items, artifacts, or even individuals.
Laser
LiDAR is an important 3D Scanning Technique, it involves bombardment of laser beams on the product, which bounces back giving an inside reflection of the product. This helps to render the product model perfect and inaccurate shape. These measurements are known as the “Point Cloud”. Such a technique is useful when applied towards abstract art, landscapes, creating mechanical and architectural product models, etc.
The Process
Step One: Take Photos and Measurements
The first step involves taking pictures from every side and corner of your product. These images are going to act as referential images at the time of modeling. A few tips to make sure while shooting product images are:
- Focal length should be kept longer. For this purpose, a long FL camera can be used. This is significant because if the pictures are taken with lower focal length, they will appear skewed and will look so near. Such type of a product image might deceive customers in terms of product size.
- Mostly, the back, front, bottom, and right to left sides are nearly enough to render an accurate 3D model of a less complex product.
The pictures of the product are imported to the “Maya Scene” for further referencing. The aim is to render an accurate descriptive product model that can easily attract and educate the client as well as suit his needs. If there happens to occur any kind of mismatch between the original product and the model then your brand reputation hangs in the middle. However, with even greater AR Representation you can make sure that the height, length, and width of each portion of the product is well defined. It is best to draw visual diagrams of complex products before starting, to understand the complexities of the project.
Step Two: To Model
After setting up the basic file including all important aspects regarding the product measurement and scaling, it is time, to begin with, primitive shaping. This helps in locating and understanding the mesh nature and trigger points. After modeling the product, the files are exported in two folders. One with the low-profile mesh and the other with the high-density mesh. These are then imported to the substance painter. Here, vibrant colors and textures are added.
Step Three: Enhancing Textures
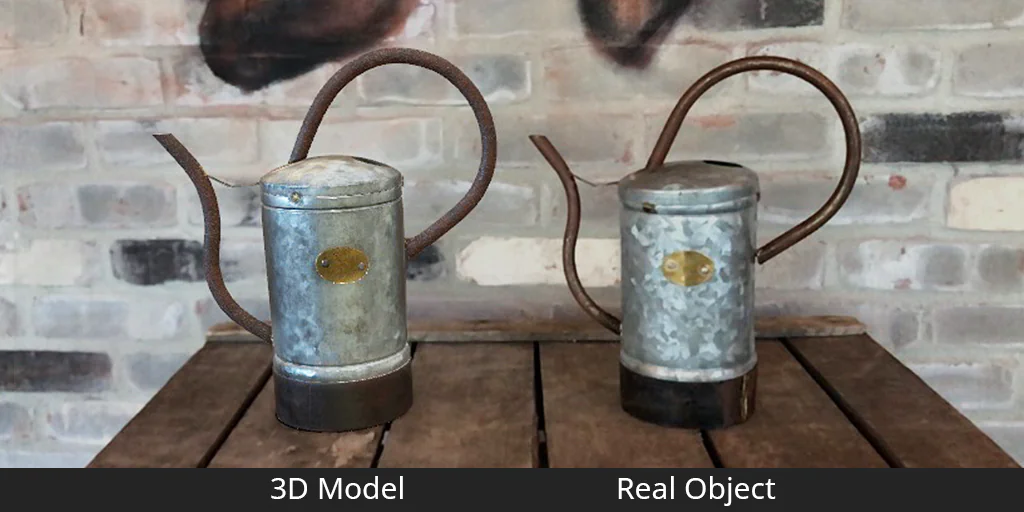
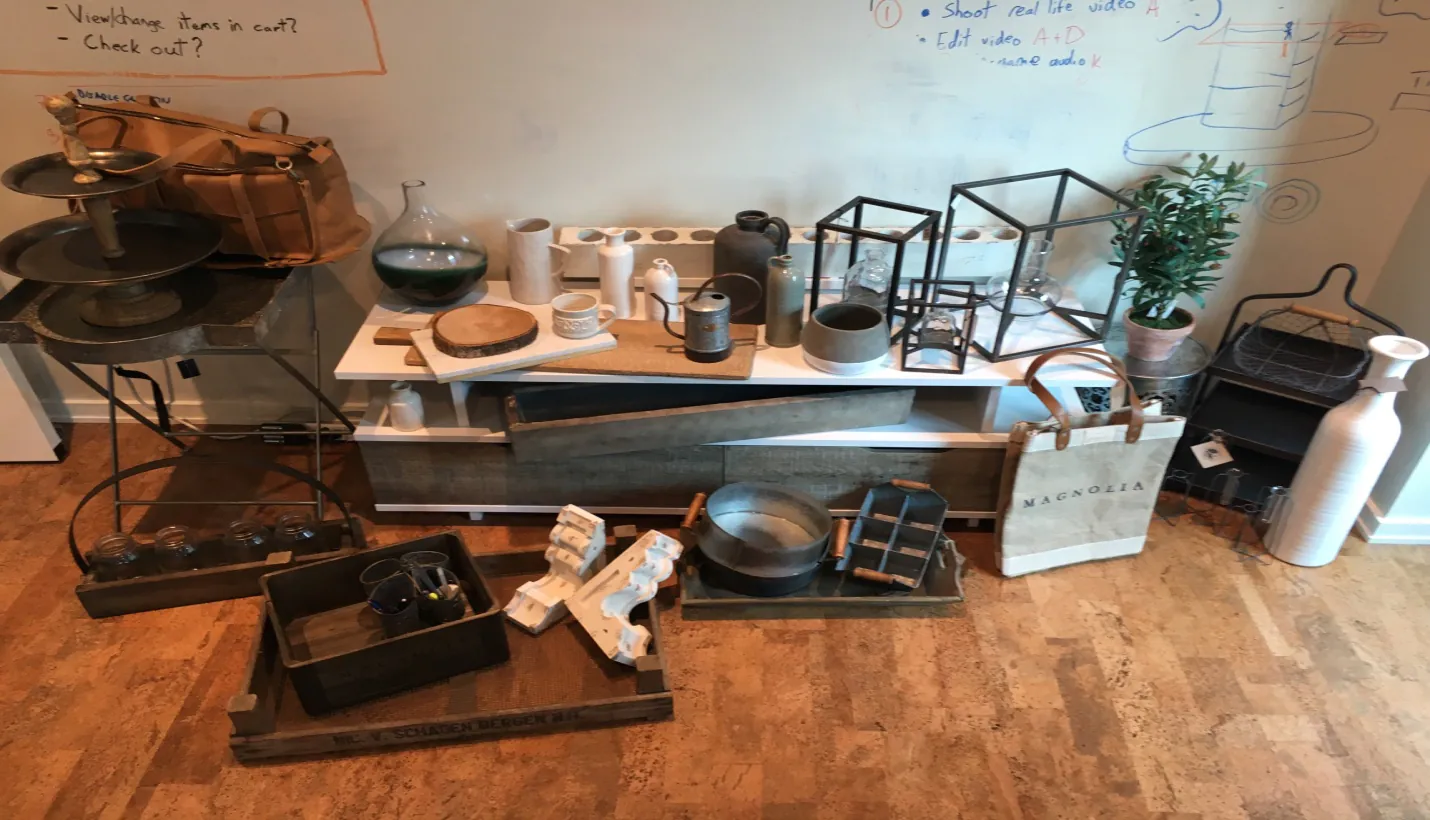
Textures generate smoothness in your product surface, this appearance in return makes your product look more natural-toned. The Substance painter has many textural maps for rendering various natural effects such as for adding scratches and edgy or weary look. 360° photo of the office is used to add details, colors, and textures to enhance all the imperfections and adjustments made at different points. It is just like Photoshop, where you can easily shift between different functions and add multiple layers of adjustment. The multiple damage results like scratches, chipped paint and fingerprints can ruin your product’s artistry and visual appearance. In return can turn off excitement mode for the customer. But is also true that nothing in this world is real or reflects perfection. Some products are originally antique and give out special rustic sense like Magnolia products. Capturing that relative visual feeling becomes a challenge for 3D modelers.
Modeling for AR
Before the model can be utilized for promotional incentives, these must be exported into an accessible format of your desired 3D engine. Collada (DAE) format is most probably employed for building an accessible app via XCode. The textures are separately exported in JPEGs. An additional texture can improve the overall shadow contact of the product. Without the shadowy effect, the product might seem like it is afloat in thin air and will look very unnatural for commercial purposes. Shadows are rendered in Maya and ultimately stored as textures underneath the product mesh display. The last part is to get the environmental texture straighten out. With plastics and metals, it would become lifelike and interesting for the client.
A good and workable workflow for rendering 3D models of products is the most time consuming and is done not completely but in fragments by hand. The challenge is to scale the products efficiently and render the models 3D, portraying all special and unique features of the products to entice new customers and generate more leads.
How ITS Can Help You With 3D Modeling Services?
Information Transformation Service (ITS) provides a wide variety of services relating to efficient Product Modeling and Designing services. Our organized and well-managed ITS Team specializes in 3D modeling utilizing the latest software and expert recommendations. From blow-up to explosive views of any mechanical parts ITS Team professionally handles all mechanical projects in the fastest turnaround time to help your business expand exponentially. If you are interested in ITS 3D Product Modeling Services, you can ask for a free quote!
