
How To Create A Turbulence Effect
Turbulence is a common phenomenon in photographs that occurs in the form of distortions or irregularities due to dynamic interferences of air, water, or any moveable substance. The resulting images often show shimmering, blurring, or wave-like patterns, with a loss of sharpness and contrast in certain zones. A turbulence effect is generally considered an imperfection in photographs that needs to be gotten rid of to get polished and high-contrast final shots. However, the random and wavelike nature of turbulence is often approached as a unique image manipulation approach that involves turning still and all-set images into a turbulent and chaotic visual setting. Moreover, simulating turbulence effects are also common in digital artworks, games, and graphics to create distinctive aesthetics, making viewers contemplate more till getting the theme behind the presented visual narrative. Simulating a turbulence effect in images presents an atmosphere of drama, motion, and swiftness, which are all the distinctive traits of contemporary life, thus making photographs look as real as life. This blog will further elaborate on the image manipulation tools and techniques required to create a turbulence effect through a step-by-step process.
Step 1: Prepare The Base Image
Begin by initiating your preferred image editing program, like Adobe Photoshop. Make sure that the software version supports advanced filters such as displacement maps and distortion options.
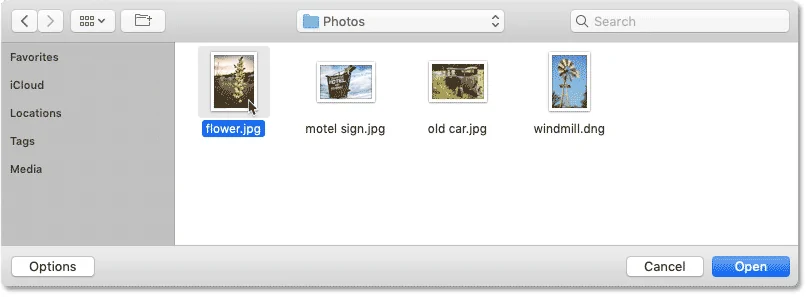
Move to File > Open and choose the image file from your PC that you need to edit. Select a photograph with a satisfactory resolution to guarantee the turbulence effect appears realistic and detailed.
Study the composition and choose which zones of the image will help most from the turbulence effect. Concentrate on regions like the background, water texture, or heat-sensitive ranges if you’re aiming for authenticity.
Make a duplicate of the initial layer by pressing Ctrl + J. That step helps preserve the initial photo as a backup in case alterations are required later or if you need to compare the altered version with the original.
Make ready your workspace by setting up guide layers, grids, or reference components in case the effect requires a specific setup with particular components within the composition.
Step 2: Design A Displacement Map
Initiate a new blank file in your editing software and adjust the dimensions to fit or slightly surpass your primary image. Select grayscale mode, as displacement maps perform excellently in black and white.
Utilize tools such as Paint Bucket or Fill to fill the canvas with a neutral grey foundation (#808080). it will act as the base for including variations.
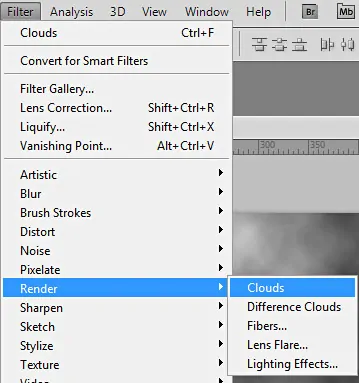
Add a filter to generate texture. Head to Filter > Noise > Add Noise or Filter > Render > Clouds. It will result in arbitrary designs that simulate natural turbulence.
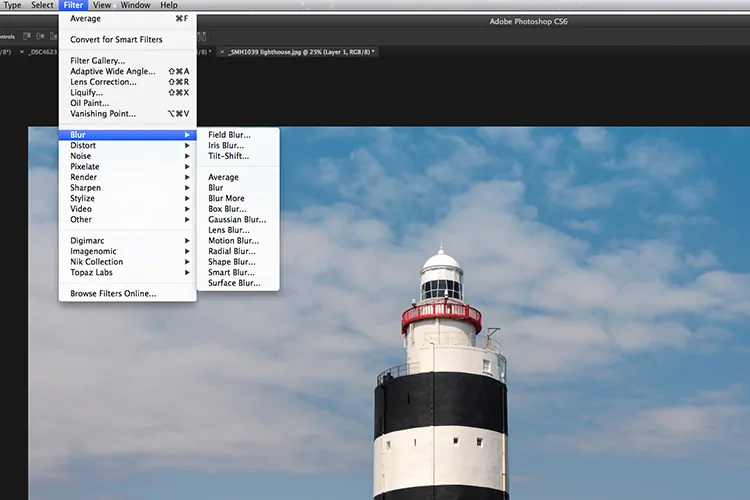
Make the texture smooth slightly by using a Gaussian Blur filter by clicking Filter > Blur > Gaussian Blur. Alter the blur radius to expel harsh edges while retaining a natural impression.
Save the file as a Photoshop Document with a significant title, like Turbulence Displacement Map. Make sure it is within the same folder as your primary photo for easy access.
Shut the displacement map file since it has now been prepared for application.
Step 3: Utilize The Map
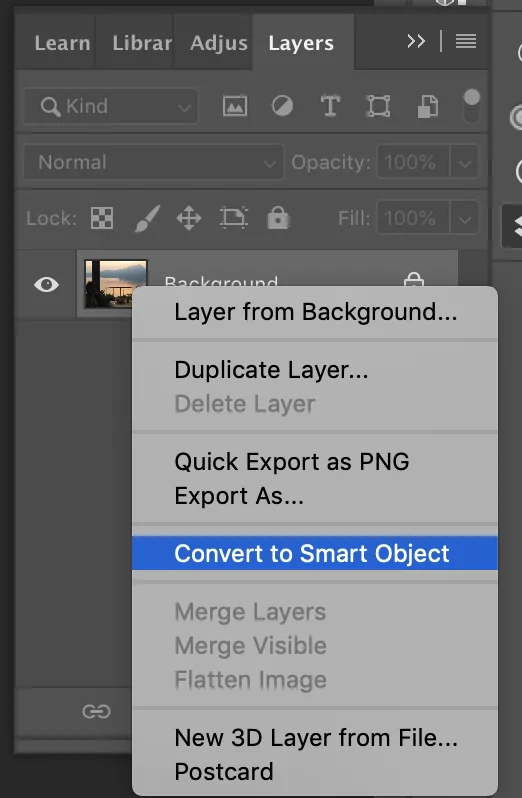
Get back to your primary photograph using the editing software and make sure the photograph layer you need to distort is active. Change this layer into a Smart Object by right-clicking it and selecting Convert to Smart Object. This stage permits for non-destructive editing.
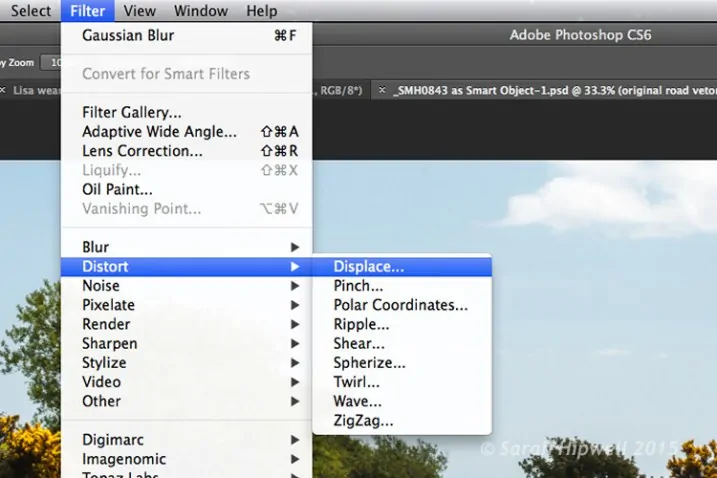
Go to the menu and utilize Filter > Distort > Displace. That filter allows you to apply the displacement map to form the turbulence effect.
Within the Displace filter dialog box, place the horizontal and vertical scale values. Begin with small numbers like 10 to 20 to present subtle distortions, and alter as required according to your wanted effect. Leave Stretch to Fit and Repeat Edge Pixels options selected.
Press Ok to apply the displacement settings. A file browser will seem to prompt you to choose the previously made displacement map file.
Affirm your selection, and the filter will execute distortions of your photo according to the displacement map. Survey the effect and alter further as required by reapplying the filter with modified settings.
Step 4: Apply A Wave Filter
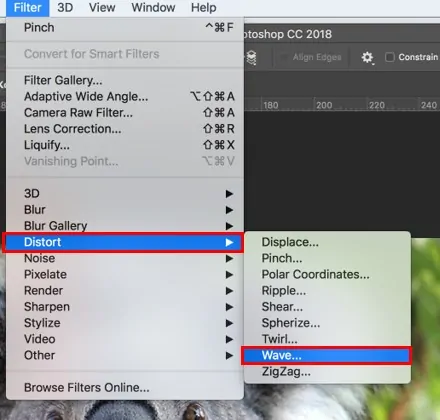
After the displacement map is applied, click on the picture layer to start presenting additional distortions. Go to the menu and proceed to Filter > Distort > Wave. That filter will simulate waves, including dynamic distortions comparative to those made by turbulence.
Within the Wave filter dialog box, you will discover several parameters to control the effect. Alter the Number of Generators to control the amount of wave distortion. More down values make more subtle impacts. Likewise, the higher values strengthen the turbulence.
Fix the Wavelength range. The values speak to the measurement of the wave, so you can adjust them according to your preference for longer or shorter waves. A smaller range provides finer waves, whereas a larger range results in broader, sweeping motions.
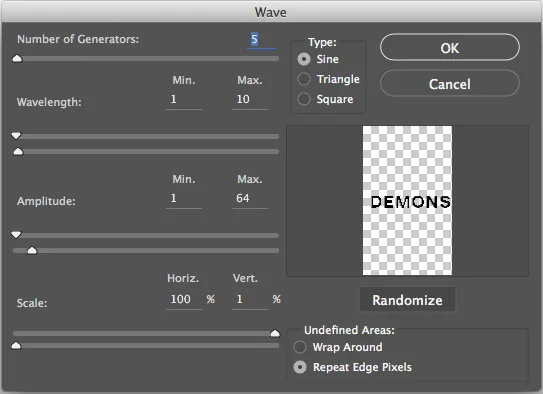
Alter the Amplitude to adjust the wave altitude. More elevated amplitudes make more overstated distortions, which can help upgrade the turbulence formation.
After being satisfied with the adjustments, tap Ok to apply the wave effect. Return to and tune the settings as required.
Step 5: Utilize The Liquify Tool
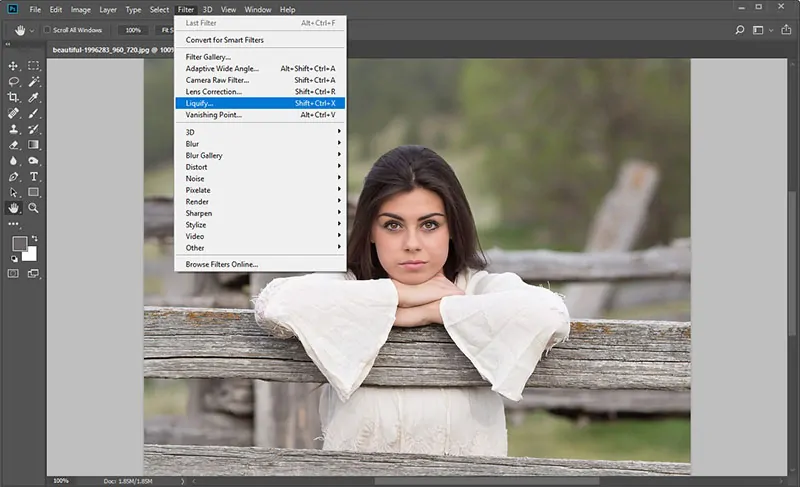
Once you are done with the wave filter application, refine the turbulence with the Liquify tool for more control over the distortions. Choose your photo layer and move to Filter > Liquify. That tool will open a new window with multiple brushes and tools to oversee the image further.
Utilize the Forward Warp Tool to push and stretch regions of the image within the direction you need the turbulence to flow. That tool is excellent for making localized effects, such as swirling motion or bending objects.
Alter the brush size to control the zone of distortion. A bigger brush will influence a more extensive range, while a smaller one can make more detailed distortions.
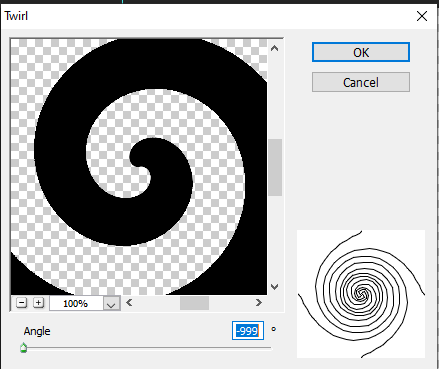
Utilize the Twirl Clockwise tool to make rotational turbulence, which can mimic the spinning effect seen in real-world turbulent environments. Set the intensity based on how evident you need the motion to look.
After you are satisfied with the refinements, press Ok to apply the changes. As required, repeat this process to include further intricacies to the turbulence, improving its depth and realism.
Step 6: Select A Blending Mode
Once your turbulence effect is in place, duplicate the picture layer using Ctrl + J to permit you to control the intensity and blending of the impact.
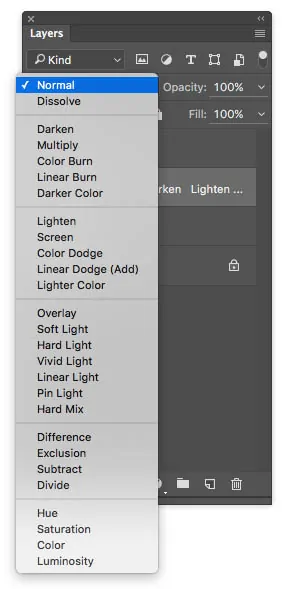
Activate the new duplicate layer and alter its blending mode to upgrade the effect interaction with the initial image. Play with modes such as Overlay, Soft Light, or Multiply to get the specified visual impact. Each mode influences the bleeding of the turbulence in the initial layer, from subtle to sensational.
Decrease the opacity of the duplicate layer in case the effect seems too strong. Decreasing opacity lets the turbulence blend more smoothly with the underlying image, offering a more natural look.
If the turbulence is too harsh in particular ranges, utilize a soft brush with a low opacity to mask those zones, leaving the effect intact only where required. That localized application makes the effect more realistic.
At long last, refine the layer blending till you can witness the turbulence effect enhancing the picture without overpowering the overall composition, confirming that it conforms with the visual narrative.
Step 7: Finalize The Image
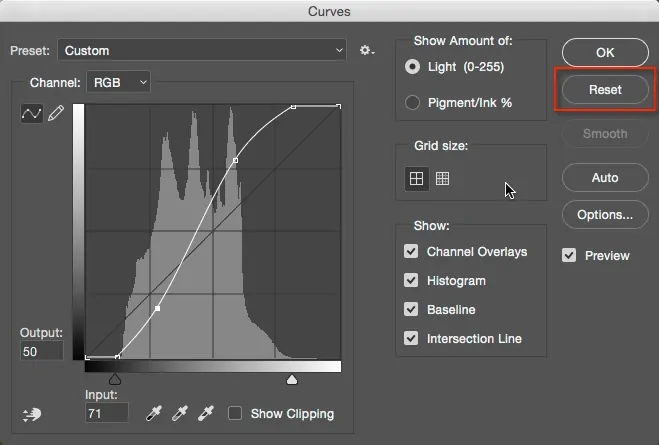
The final step involves performing conclusive adjustments to incorporate the effect consistently into your photograph. Start by applying colour grading to conform to the general tone. Utilize adjustment layers like Hue/Saturation, Levels, or Curves to alter the contrast, brightness, and colour balance, making sure that the turbulence effect fits the temperament of the composition.
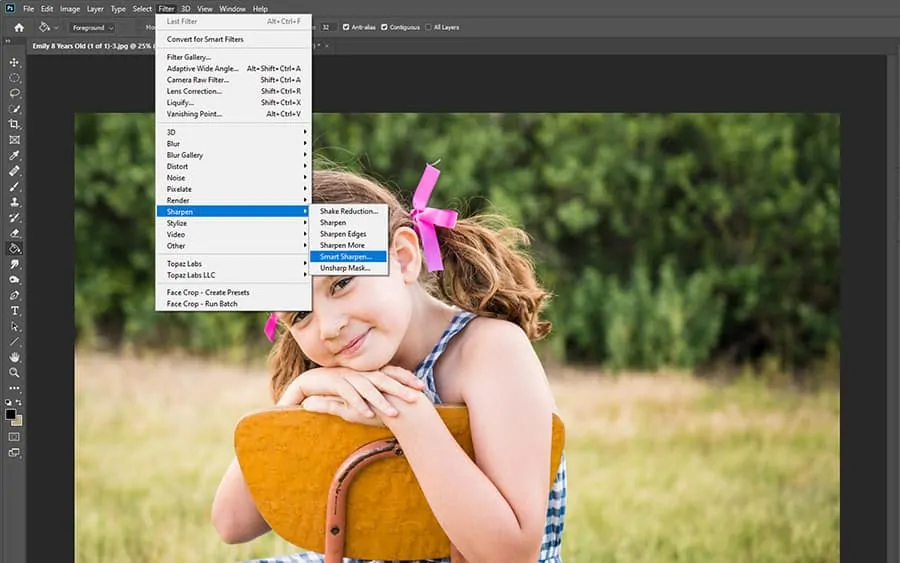
Improve the details by sharpening specific zones to preserve focus while keeping the affected parts smooth. Proceed to Filter > Sharpen and use a slight sharpening to regions that are not part of the turbulence distortion.
To make the turbulence look more natural within the setting of the scene, include selective motion blur. That could mimic the speed of the effect, like in wind or water. Utilize the Motion Blur filter with a controlled distance for natural outcomes.
Monitor the image one final time to check if any zones require further refinement. Modify the opacity, masks, or blending modes to polish the turbulence integration.
Save your final image within the desired file format, ensuring that it meets the quality essentials of your project.
Conclusion
To sum up, applying a turbulence effect to an image is, though a kind of deviation from prevailing art aesthetics that emphasize clarity and perfection, is still liked by a number of artists and viewers as a novice approach. Distortions and imperfections are common incidents in photography, as in life. Likewise, employing such approaches in artworks and images highlights the periodically chaotic aspect of nature around us. Finally, by creating turbulence in images, you can render an air of activity and hustle, making your perfect images a little imperfect, though more dimensional and organic.
