
Textures Vs Materials In 3D graphics
In 3D graphics, Textures and Materials are important elements to shape an object mode accurately. It is because of textures and materials that the object model is not just a collection of dark elements. In simple words, 3D graphics help paint the surface of the object model. However, the painting process of a product model is not as simple as it appears to a layman. Many times these two terms are used interchangeably and confuse people who do not professionally deal in 3D graphics. Therefore, this blog presents a clear difference between these two elements and explains how these elements affect the price of product visualization. Certain objects in the real world have uniform surfaces, while most objects have color variations and patterns, for example, the brick feeling on a wall or the rings in the wood. This is all achievable in the virtual world thanks to variations and textures. The whole visualization looks realistic and natural. A 3D graphic designer uses different ways to create exciting textures and styles to make 3D product visualization possible. So let’s take a closer look at them.
What are the Materials?
Materials can be applied to any model to create a significant impact on the final 3D rendered model. Materials range widely depending upon object properties. By combining all elements you can better define the visual appearance of the model surface giving it a realistic touch. Materials consist of many features such as;
Color– The primary color of the given object’s surface.
Transparency– this material feature allows light to pass through reflection making it visible and enabling you to look behind the object. For example glass elements that include high transparency parameters.
Refraction– the refractive index is a child parameter for transparency and color. Due to this feature objects are seen distorted to give an appearance of actual reality.
Gloss– This feature helps give a glossy appearance to the object’s 3D model. For example, wooden and stone elements.
All these aforementioned features help create smooth model surfaces to which textures can be applied later on to get the desired final look. It is essential to add the right elements at the right time for enticing product visualization.
What are the Textures?
Textures are usually images that are used to layer 3D object surfaces. The texture images can be used in conventional formats such as PNG, JPEG, TIFF files. Professional 3D graphic designers decide to create textures on their own, for example, a stone or brick wall image can add a realistic brick look to the object model. Some objects require complex textures. For instance, inexperienced gamer-level video games terrain might contain road, rock, or grass texture.
The texture is applied to the product model with the selected material wrapped around the 3D model using special mapping tools. The surface is set in such a way to not override other material settings but rather operate in sync with the existing material settings for a uniform appearance. It is noteworthy that you can not apply a texture on the object’s surface that does not have any material. The main component is the material that supports the object to which the texture image is applied. Combining textures can be a lot of fun and yield many unique effects. The step requires expertise and grip on 3D graphics.
An object without cardboard & material.
Object with a suitable material.
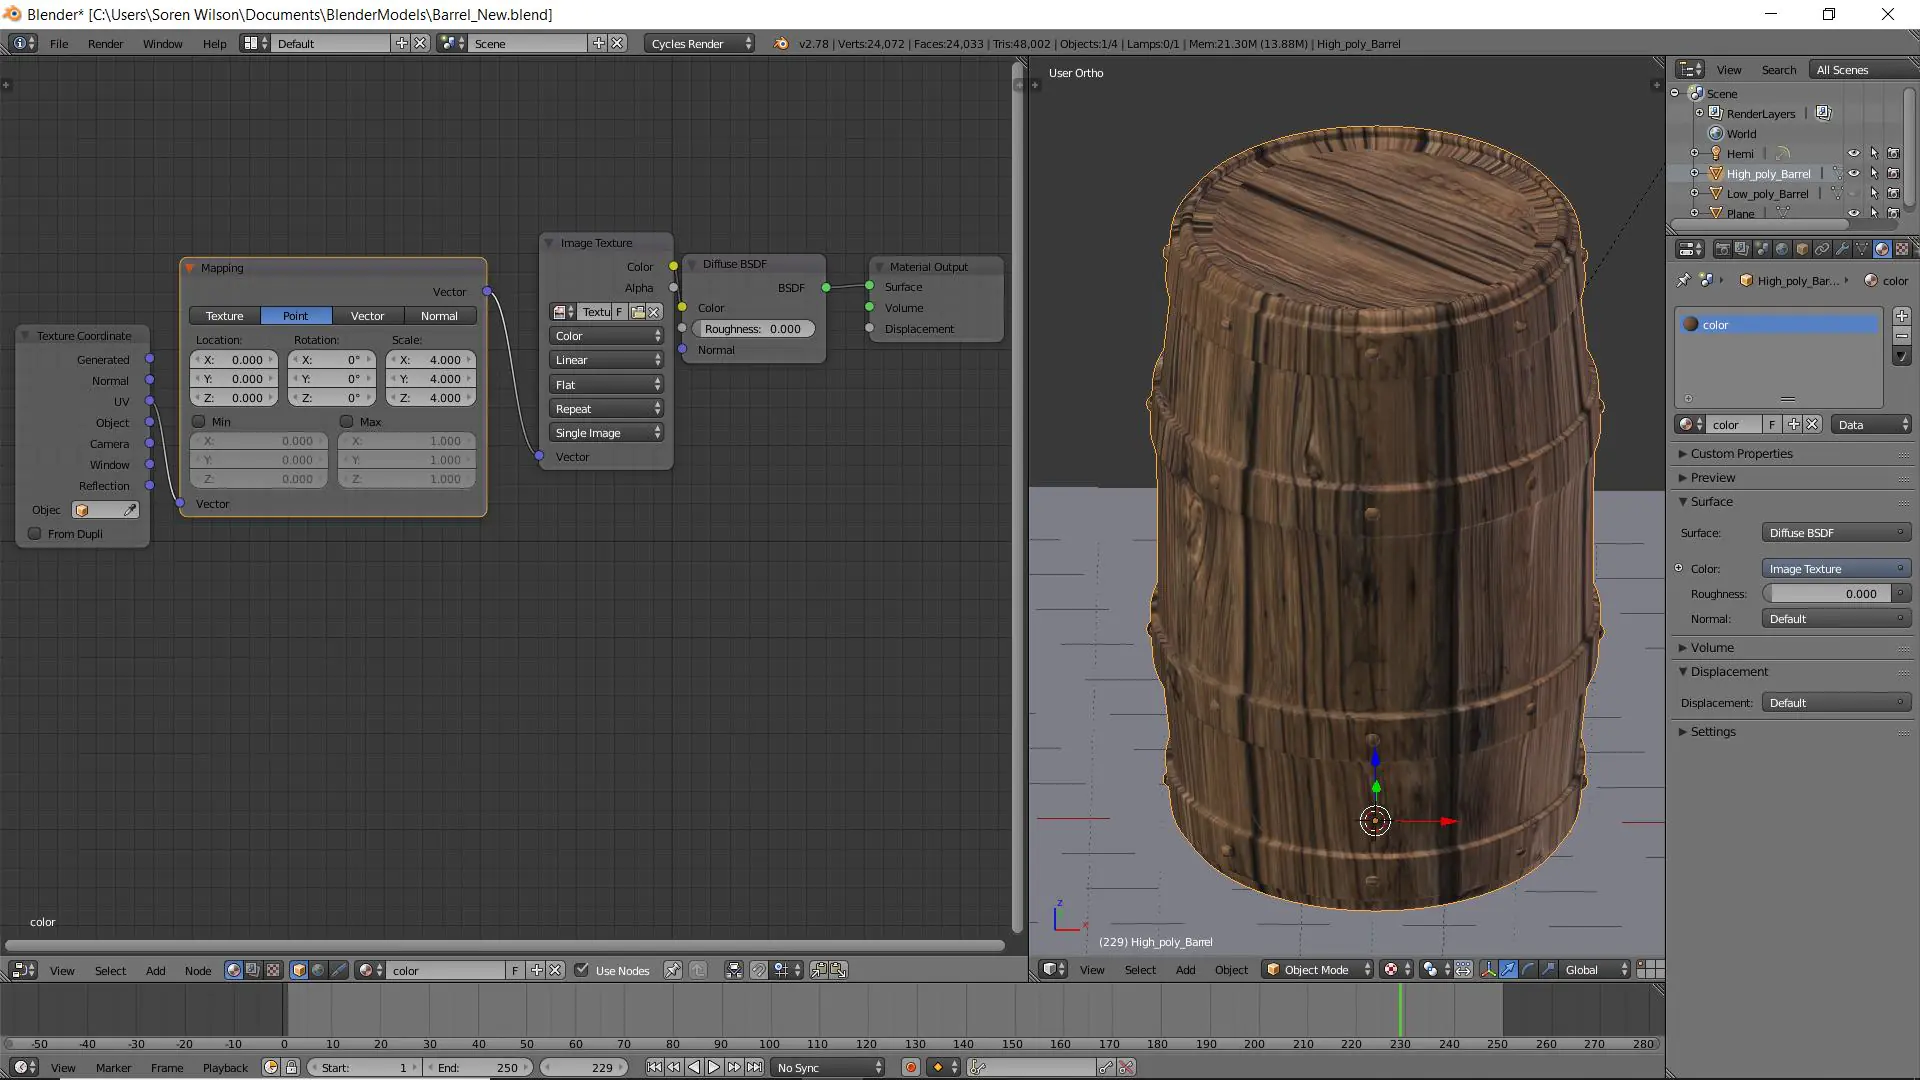
Object with applicable texture & material.
How do Textures & Materials affect the price of Product Visualization?
In many cases, 3D graphic designers begin their work by carefully identifying the right textures for realistic visualization of the object. The object surface must match the intended material to specify a certain element of choice. There are tons of paid and accessible online platforms to get your hands on rich texture resources. In a situation, where visualization relies on premade textures, a 3D graphic artist makes the process more simplified by using ready-made object surfaces by making slight alterations according to project demand. However, if the visualized object has individual properties then it becomes important to construct a unique texture from scratch.
Creating dedicated Textures for the Object
Textures are created using software programs like Affinity Photo, Photoshop, and other free Gimp programs that can help you achieve the purpose. A 3D graphic artist can even scan the texture image or manually paint the surface texture to achieve that much required realistic touch. For example, for a real estate wall texture, a high-resolution brick image can do the trick. The process is called the manual creation of textures.
The other way of creating textures is known as procedural. In this method, programs like Substance Painter are employed to develop 3D surfaces. The surfaces created using computer algorithms have a higher accuracy level. Some 3D graphic designers combine procedural and manual techniques to get the flawless finish that your client expects from you.
Resolution is Important
A texture is a pixel image that is layered on the finished product model. This is essentially the last step in the modeling process but is certainly the most crucial part. After a texture is created in the graphic program you can add different features like reflection parameter, refraction parameter, and color. At this stage, you must be more specific about what you want your model to look like. You can make your texture appear realistic by adding all these features in the right amount. However, it is important to include appropriate resolution to make up the texture surface quality better. You can make or break your texture surface quality by determining the number of pixels and texels. Applying a low resolution will result in a blurry subject. Hence, the use of proper resolution is vital to create appreciable product visualizations.
Impact on the Lead Time
As it is evident from a situation where an object consists of non-standard properties, surface, and shape appearance. Working with textures and materials requires relevant experience on the part of the professional artist. In this case, the time duration required to create a remarkable visualization is prolonged. At the same time, the need for procedural or manual methods of textures increases the cost of 3D graphics services. However, 3D visualization is highly effective and realistic!
How ITS Can Help You With Photorealistic Rendering Service?
Information Transformation Service (ITS) offers economical and reliable solutions to suit your artistic taste. Our professional artists provide customized packages to ensure smooth project execution and results within the estimated time duration. There are numerous photorealistic rendering services that you can select to fulfill your project requirements n the best manner. With over 30 years of Excellence, we can assist your company with faster and more reliable service which is 100% likely to increase your market value and your business product/service reputation among existing and new clients. If you are interested in ITS Photorealistic Rendering Service, You can ask for a free quote!
