How To Work With Photoshop Luminosity Masks
The luminosity masks in Photoshop work as selective editing tools that fine tunes an image’s tonal balance and can improve the details in different areas of the image. Their editing potentials include mixing exposures, dodge and burn, selective color corrections, focus stacking, noise reduction, and sharpening. Using luminosity masks, you effortlessly blend numerous exposures, boost certain tone ranges, harmonize colors, obtain more depth of focus, and apply noise reduction or sharpening selectively. These masks enable focused alterations, ensuring changes are made only where needed. The specific tonal ranges help you apply alteration to only the desired areas, leaving the remaining areas unaffected. Luminosity masks can also benefit you in sharpening processes by inhibiting the chance of aberrations or letting the rest of the image remain unimpacted. After applying all tonal-related settings, your images appear more aesthetically welcoming through a balanced spread of brightness levels. Ultimately luminosity masks’ selective edits can thoroughly improve the visual impression of your photograph while maintaining composure and cohesion.
Step 1: Open your image and access the Layers panel in Photoshop.
To create luminosity masks in Photoshop, start by opening the image you want to work with. Make sure the Layers panel is visible in your workspace. The Layers panel lets you organize and manipulate your image’s layers independently.
If the Layers panel is not visible, you can display it by going to the “Window” menu at the top of the Photoshop interface and selecting “Layers.” That will open the Layers panel and make it accessible for the following steps.
Accessing the Layers panel allows you to create luminosity masks in Photoshop.
Step 2: Create a new Curves Adjustment Layer.
After opening your image and accessing the Layers panel, it’s time to create a new Curves Adjustment Layer. This adjustment layer will allow you to make targeted adjustments to the luminosity values of your image.
To create a new Curves Adjustment Layer, navigate to the bottom of the Layers panel and locate the “Create new fill or adjustment layer” button. It looks like a half-black, half-white circle. Click on this button to see a dropdown menu will appear.
From the dropdown menu, select “Curves.” This action will generate a new adjustment layer above your image layer in the Layers panel.
By creating a Curves Adjustment Layer, you establish a non-destructive editing workflow. That means you can modify or remove the adjustments made to the image later without damaging the original data. The Curves Adjustment Layer will be the foundation for creating luminosity masks and applying targeted adjustments in subsequent steps.
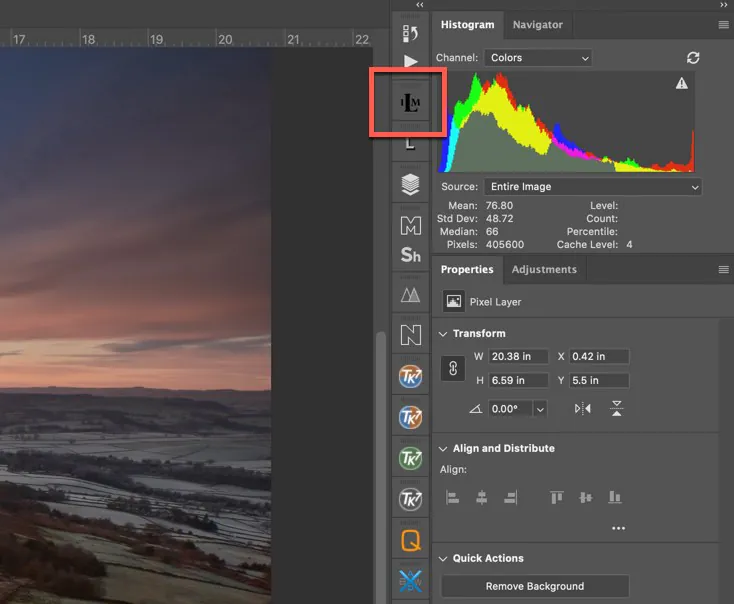
Step 3: Set the adjustment layer to affect luminosity.
With the Curves Adjustment Layer created, it’s important to configure it to affect the luminosity values of the image specifically.
In the Properties panel, which should automatically appear when the Curves Adjustment Layer is created, you’ll see a dropdown menu labeled “RGB” by default. Click on the dropdown menu for options.
From the list, select “Luminosity.” This adjustment ensures that any changes made to the curve will solely impact the image’s luminance values, leaving the color information unaffected.
By setting the adjustment layer to target luminosity, you gain precise control over the brightness and contrast of different tonal ranges in the image.
With this step completed, you have configured the Curves Adjustment Layer to affect the luminosity values of the image. The subsequent steps will involve adjusting the curve and utilizing the luminosity masks to apply selective edits based on the image’s brightness values.
Step 4: Adjust the curve to modify brightness and contrast.
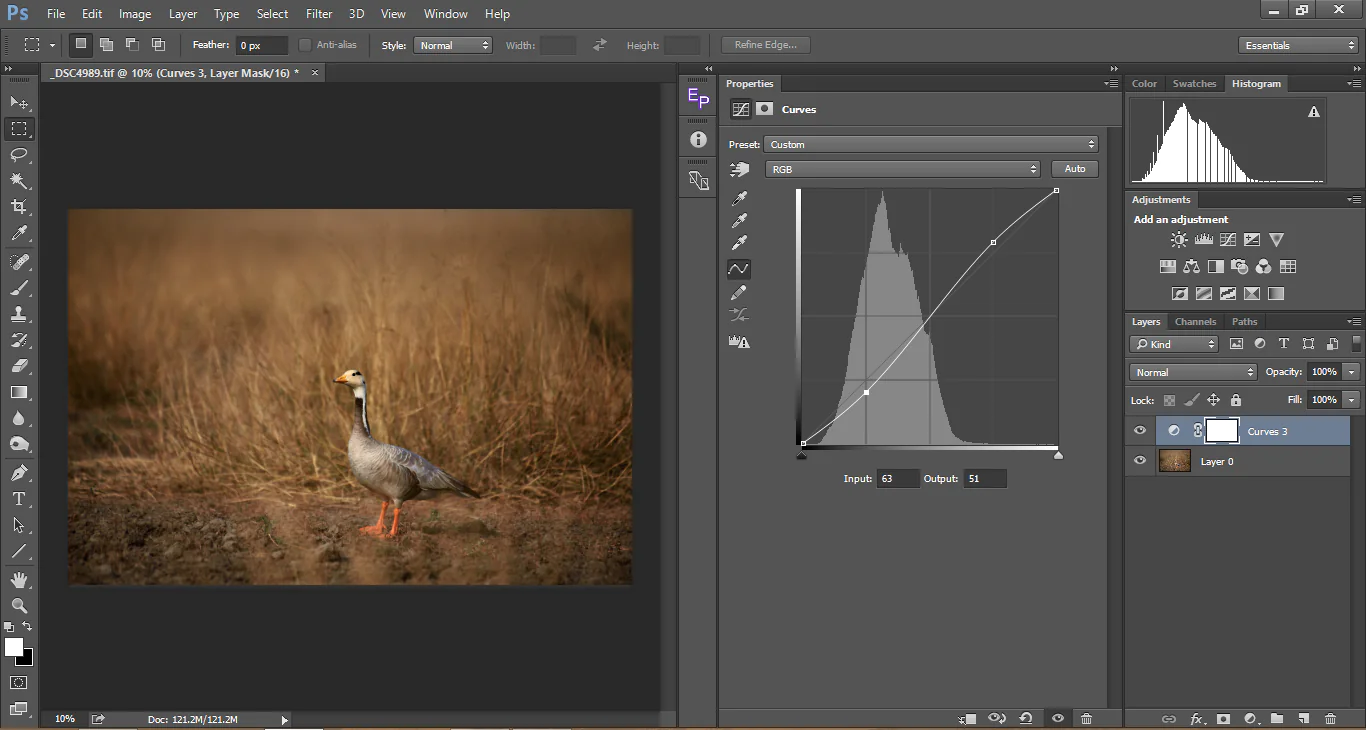
Now that you have set the Curves Adjustment Layer to affect luminosity, you can adjust the curve. The curve allows you to modify the brightness and contrast of specific tonal ranges in the image.
In the Properties panel of the Curves Adjustment Layer, you will see a graph with a diagonal line representing the tonal range from shadows to highlights. Click and drag on the curve to adjust its shape.
Darkening the curve will decrease the brightness of the corresponding tonal range while brightening it will increase the brightness. You can also create anchor points on the curve and manipulate them individually for precise adjustments.
By modifying the curve, you can fine-tune the overall tonal balance of the image and enhance specific areas based on their luminosity.
Next, you will learn how to create luminosity masks based on the adjustments made to the curve and apply targeted edits to different tonal ranges of the image.
Step 5: Create a luminosity mask based on the adjustments.
To create a luminosity mask based on the adjustments you made to the curve, you need to load a selection corresponding to specific luminosity values in the image.
Press the Ctrl key (Windows) or Command key (Mac), then click on the thumbnail image of the Curves Adjustment Layer in the Layers panel. This action will load a selection based on the luminosity values determined by the adjustments made to the curve.
The loaded selection will represent the areas of the image that fall within the targeted luminosity range. This selection can now apply adjustments exclusively to those areas, providing precise control over your edits.
Luminosity masks enable you to selectively enhance or modify specific tonal ranges without affecting the rest of the image. They are a powerful tool for fine-tuning your photos’ balance and contrast.
Step 6: Apply adjustments using the luminosity mask.
With the luminosity mask created, you can now adjust the selected areas of the image that fall within the targeted luminosity range.
To make adjustments, create a new adjustment layer such as Levels, Hue/Saturation, or Curves by choosing the “Create new fill or adjustment layer” option at the bottom of the Layers panel and selecting the desired adjustment.
The adjustment layer will automatically be clipped to the luminosity mask, which will only affect the selected areas based on their luminosity values.
Make the desired adjustments within the adjustment layer’s Properties panel to refine the tonal values, color, or any other aspect you want to modify within the selected areas.
By using luminosity masks, you have precise control over where the adjustments are applied, allowing you to enhance specific tonal ranges, bring out details, or create targeted artistic effects in your image.
Continue to create additional luminosity masks or modify the existing ones to apply further adjustments as needed.
Step 7: Repeat the process for additional luminosity masks.
To further refine your adjustments and target different tonal ranges in the image, you can create additional luminosity masks and apply specific adjustments to each mask.
Return to the Curves Adjustment Layer to create another luminosity mask and modify the curve to target a different tonal range. Then, press the Ctrl key (Windows) or Command key (Mac) and click on the thumbnail image of the Curves Adjustment Layer to load the new selection.
With the selection loaded, create a new adjustment layer and make adjustments within its Properties panel. The adjustments will now affect only the selected areas based on the new luminosity mask.
Repeat this process as needed, creating multiple luminosity masks and adjusting each to target different tonal ranges. That lets you have precise control over various aspects of the image and make specific adjustments where necessary.
Multiple luminosity masks can effectively enhance different parts of the image while maintaining a non-destructive editing workflow.
Step 8: Refine and fine-tune the luminosity masks.
After creating multiple luminosity masks, you can refine and fine-tune them to achieve more precise and nuanced adjustments in different tonal ranges.
Select the corresponding adjustment layer in the Layers panel to refine a luminosity mask. Then, go to the Properties panel and adjust the curve of the luminosity mask by clicking and dragging on it.
Refining the luminosity mask’s curve allows you to control the specific tonal values included in the mask. Make it more or less inclusive by adjusting the curve’s shape, targeting different shades of brightness more accurately.
Experiment with different adjustments to achieve the desired effect. You can also use other adjustment layers, such as Dodge and Burn or Selective Color, in combination with the luminosity masks for more advanced editing.
By fine-tuning the luminosity masks, you can achieve even greater control over the adjustments, ensuring that they are precisely applied to the intended tonal ranges of your image.
Remember that luminosity masks are a powerful tool for selective editing, allowing you to adjust specific tonal ranges in your images while maintaining control and flexibility. You can continue exploring and experimenting with luminosity masks to enhance your editing workflow and achieve the desired results in your photographs.
Conclusion
Luminosity masks in Photoshop are diverse tools that authorize for exact monitoring and selective manipulation of selective image areas without interfering with the remainder of the image. Using luminosity masks, you can effortlessly blend multiple exposures, boost certain tone ranges, unify colors, obtain more depth of focus, and apply noise reduction or sharpening selectively. These masks enable focused revisions, ensuring that changes are made only where they are needed, resulting in a more polished and visually attractive image directed toward accuracy and innovation.
