How To Work With A Greenscreen Effect
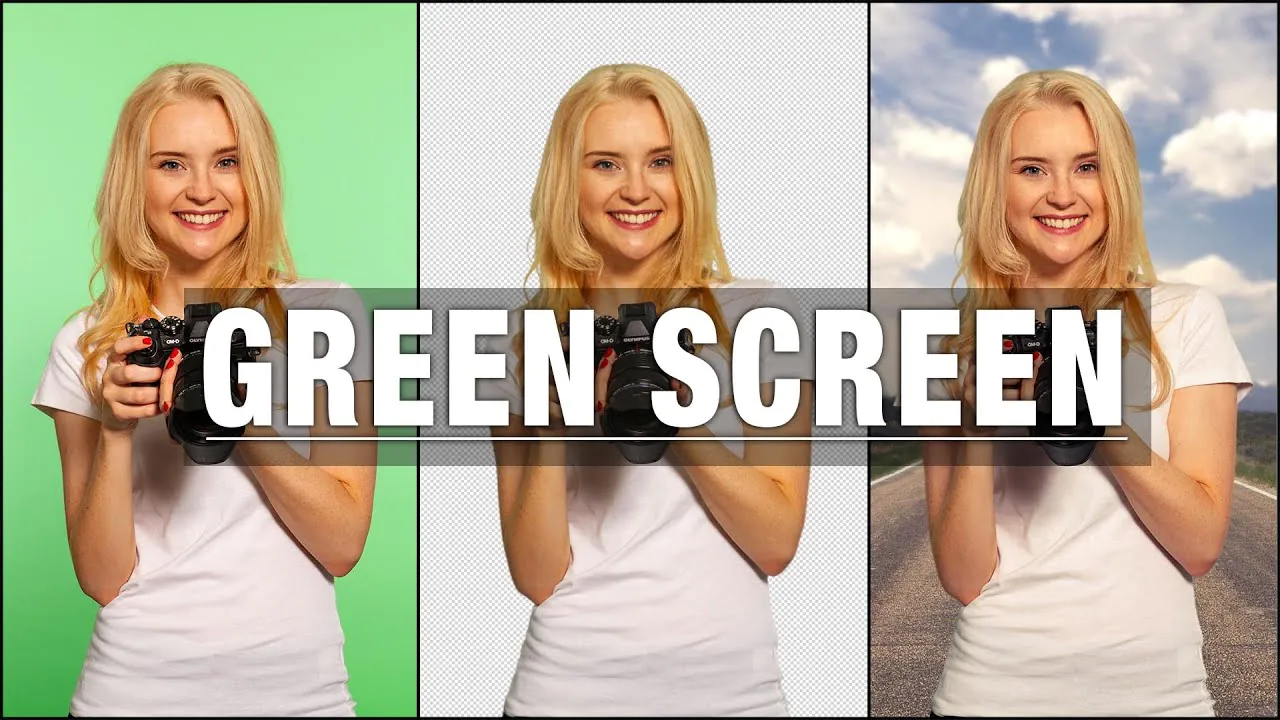
The greenscreen effect or chroma keying works on the images shooted with green or blue background and replaces the background or subject with another. After removing the green or blue colour of the background, the greenscreen effect lets you add a creative background where the subject appears to have really gone to that specific location. Your images, shot in any of the typical backgrounds, can also get help from chroma keying to remove the background or add up other creative adjustments. You just need to select a competitive software that resonates with the greenscreen effect and lets you promisingly isolate the subject from that old background. Later, after making your image go through the effect and other adjustments, you can add the subject to your preferred background and settings. Greenscreen gives you a greater grasp of the composition and opens up additional possibilities for image modification, making them look more vital and inventive. Consider the following steps in this blog post to work with a greenscreen effect on your images.
Step 1: Choose the Right Software
Selecting suitable image editing software that supports greenscreen or chroma keying is crucial for effective image modification. Opt for well-established programs like Adobe Photoshop, GIMP, or specialized greenscreen tools, which offer robust capabilities. The chosen software should allow for precise subject isolation from green or blue backgrounds and provide seamless removal of the selected colour. Opting for competitive software ensures promising results regarding greenscreen effect application and overall image enhancement. Carefully research available options, comparing features, user reviews, and ease of use to find the most suitable tool that resonates with your creative vision and ensures a smooth and rewarding greenscreen editing experience.
Step 2: Open the Image
Once you have chosen the appropriate image editing software, launch the application and open the image you wish to modify with the greenscreen effect. Locate the “File” menu and select “Open” to browse your computer’s folders and select the desired image file. Alternatively, the drag-and-drop feature can directly import the image into the software’s workspace. Ensure the image is of sufficient resolution and quality to retain details during editing. By opening the image within the software, you gain access to various tools and features necessary for the greenscreen effect application. This step lays the foundation for subsequent actions, allowing you to progress smoothly towards precise subject selection and background removal, creating vibrant and inventive compositions.
Step 3: Select the Subject
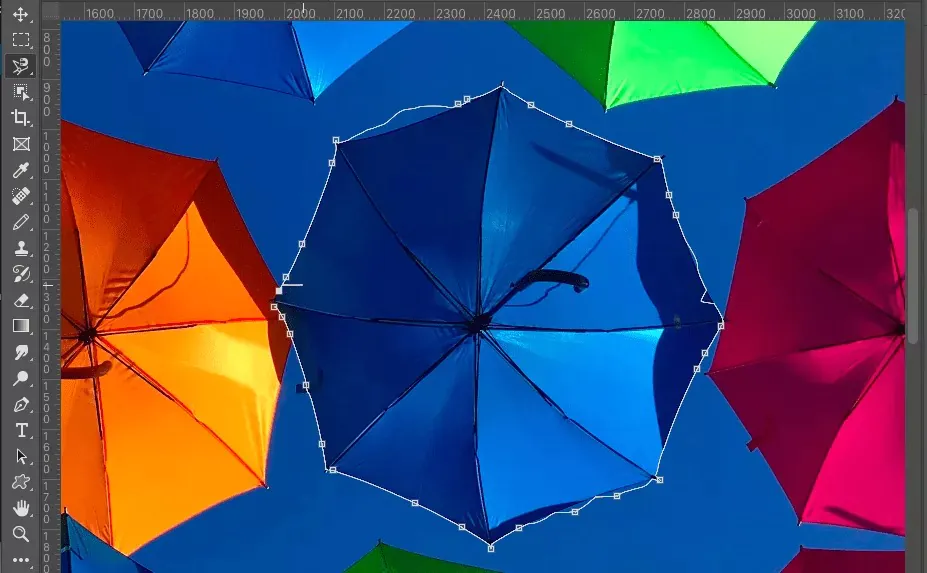
With the image loaded in the editing software, it’s time to isolate the subject from the green or blue background carefully. Utilize the software’s selection tools, such as the Magic Wand, Lasso, or Pen Tool, to create a precise selection around the subject. Ensure that the selection accurately encompasses the subject’s edges while excluding any unwanted background areas. Take time to refine the selection, using Zoom and other features to achieve optimal accuracy. Depending on the complexity of the subject and background, you may need to use a combination of selection tools to achieve the best results. A well-defined selection is critical for a successful greenscreen effect application, as it determines how seamlessly the subject integrates into the new background. By skillfully selecting the subject, you set the stage for a visually captivating and convincing composition in the subsequent steps.
Step 4: Remove the Background
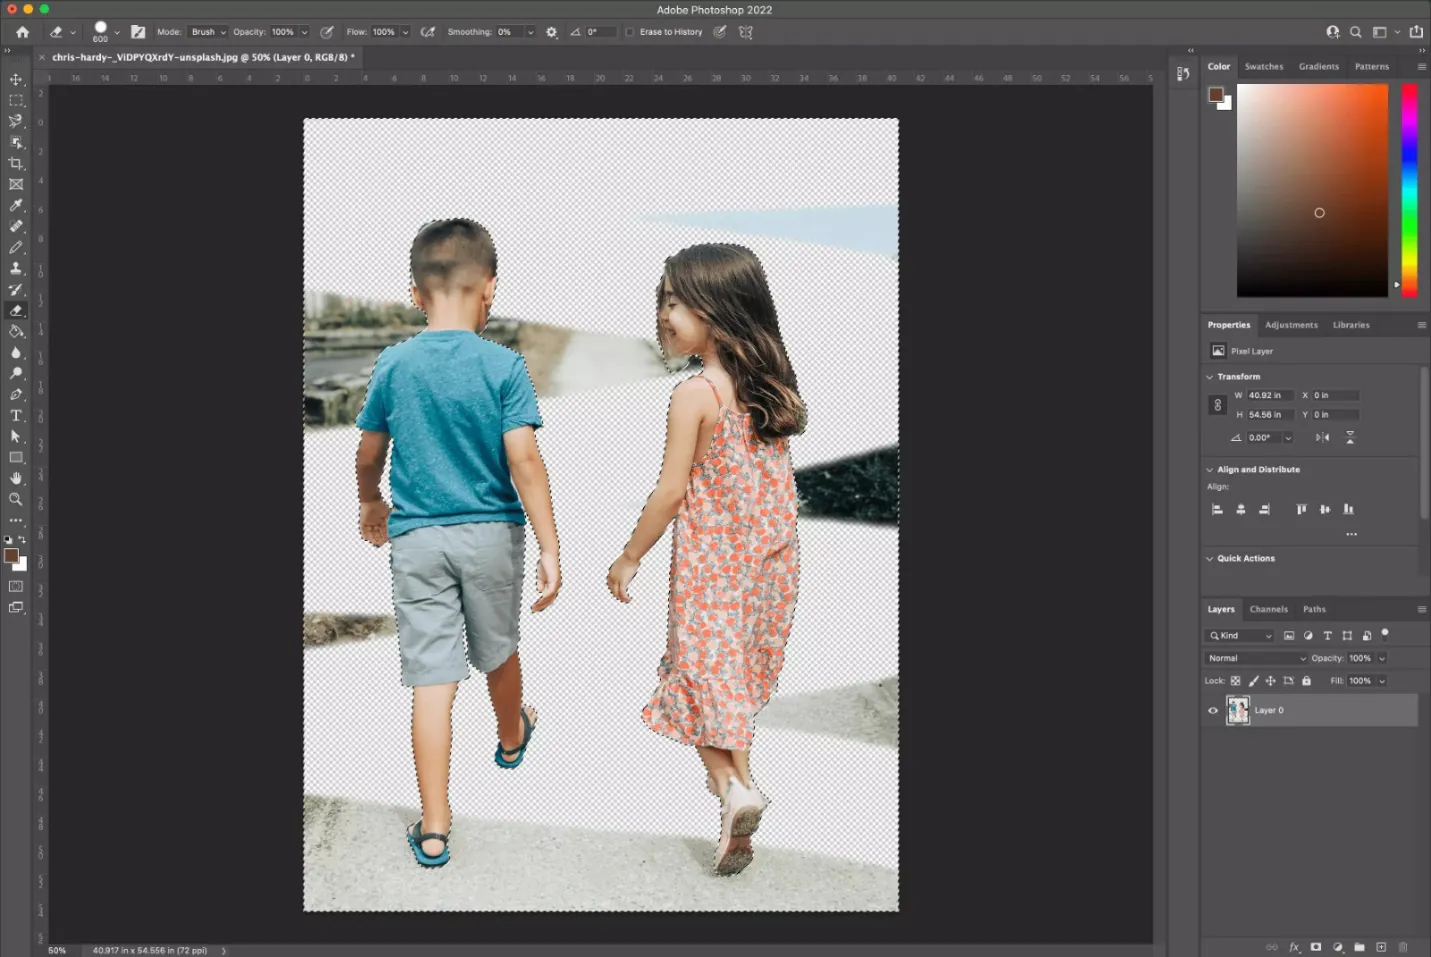
With the subject accurately selected, it’s time to apply the green screen or chroma key effect to remove the green or blue colour from the background. Activate the layer mask feature in the image editing software, and the selected subject will be isolated while the background becomes transparent. Adjust the mask as needed to ensure clean edges and eliminate any remnants of the original background. This process is pivotal for a successful greenscreen effect, as it seamlessly allows the subject to blend with the new background in the subsequent steps. Take care to maintain the subject’s natural appearance during background removal, avoiding harsh transitions or artefacts. By skillfully removing the background, you create a foundation for the upcoming creative steps where the subject will be placed in captivating and imaginative settings, enhancing the overall impact of the image modification.
Step 5: Choose a Creative Background
With the subject now isolated on a transparent background, the stage is set for selecting or creating a new background that complements the subject and enhances the overall composition. Choose a background that aligns with your creative vision, considering the subject’s context and desired visual impact. That could be a photograph of a scenic location, a digitally created environment, or any image that suits the narrative you wish to convey. Ensure the new background harmonizes with the subject in terms of lighting, perspective, and overall atmosphere for a convincing result. Experiment with different options to find the perfect match that breathes life into your image. By selecting a captivating and imaginative background, you set the scene for a visually compelling and enchanting final composition, elevating the impact of the greenscreen effect and image modification.
Step 6: Position and Blend the Subject
With the creative background in place, it’s time to position the subject in the new setting to achieve seamless integration. Carefully drag and place the subject layer over the chosen background, ensuring it fits naturally into the desired location and perspective. Adjust the subject’s size and orientation as needed to match the overall composition. Pay close attention to lighting, shadows, and reflections, making necessary adjustments to ensure the subject appears realistically placed in the new environment. Utilize blending modes and opacity adjustments to harmonize the subject with the background, avoiding harsh edges and unnatural effects. Use tools like layer masks and erasers to fine-tune any remaining imperfections, ensuring a convincing and visually cohesive composition. By skillfully positioning and blending the subject, you breathe life into the image, enhancing the overall impact of the greenscreen effect and creating a captivating and imaginative visual narrative.
Step 7: Fine-Tune the Composition
Review the overall composition at this stage to ensure all elements blend seamlessly and create a compelling visual narrative. Pay attention to lighting, colour balance, and contrast to achieve a harmonious and polished result. Fine-tune the subject’s position and proportions if necessary, making subtle adjustments to enhance the realism of the image. Additional editing tools, such as levels, curves, and saturation, refine the colours and tonal range. Consider adding creative effects or filters to enhance the mood or atmosphere and add a unique composition touch. Continuously compare the modified image with your creative vision, making any necessary adjustments until you are satisfied with the final result. By carefully fine-tuning the composition, you ensure that the greenscreen effect effectively captivates viewers and leaves a lasting impression of ingenuity and artistic finesse.
Step 8: Add Other Creative Adjustments
In this optional step, you can further elevate the visual impact of your greenscreen image by incorporating additional creative adjustments and effects. Explore various artistic filters, overlays, or textures to add a unique and artistic flair to the composition. Experiment with colour grading to set the desired mood and ambience, making the image visually captivating. Consider applying special effects or digital manipulations to create a sense of wonder or surrealism. Utilize adjustment layers to fine-tune the overall colour balance, contrast, and brightness to achieve a cohesive and polished look. Remember to balance creativity and subtlety, ensuring that the adjustments enhance the image without overpowering the subject or the background. This step allows you to truly personalize the greenscreen image, making it a standout and remarkable piece of visual art.
Step 9: Save the Modified Image
Once you are satisfied with the final greenscreen composition and creative adjustments, preserving your hard work is essential to saving the modified image. Select a file format that supports transparency, such as PNG, to maintain the greenscreen effect and ensure the subject remains isolated from the background. Additionally, consider saving a high-resolution version of the image to retain its quality for various purposes, such as printing or sharing on different platforms. To prevent accidental loss of your work, create a duplicate of the modified image and save it with a different name, preserving the original unmodified version. By diligently saving the greenscreen image, you safeguard your creative effort and ensure its accessibility for future use or further modifications. Share your masterpiece proudly with the world, showcasing the fascinating potential of the greenscreen effect in creating dynamic and imaginative compositions.
Following these steps, you can effectively apply the greenscreen effect to your images, creating visually stunning and inventive compositions that leave a lasting impression on viewers.
Conclusion
In conclusion, the greenscreen effect is a creative image modification option that helps you digitally carve your photographs into new background settings so that the subject complements the newly added background and other perspectives. It is not only confined to photography and also contributes to many other digital disciplines like AR, VR, film production or video editing. By trying different tools and playing with various aesthetic options, you can create rare greenscreen compositions and ferry your subjects to entrancing and imaginative worlds that hand on a lasting stamp.
