How to use ZBrsuh, Blender and Substance Painter to create stylized girl and sci-fi spaceship?
3D modeling allows you to see the object from various angles, saving you the expense, time, and energy. Numerous 3D modeling tools are available. However, in this article, we’re going to go over how to create the Space Pirates 3D illustration, beginning with the idea, creating the sculpt in ZBrush and modeling using Blender, UVs, and retopology in Maya, as well as making use of Substance Painter to create the texture. The lighting and rendering were created in Blender then the post-production was done using Photoshop.
Step 1: Selecting the idea
The image is an inspiration by the legendary Samuel Smith, who is an illustrator as well as a Visual Development Artist.
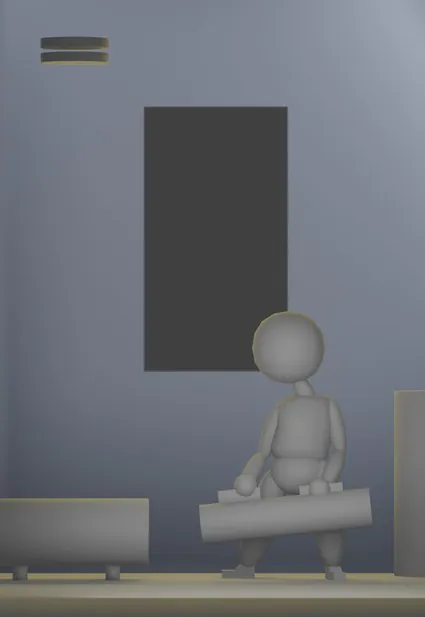
Step 2: Block out and camera angle
Then, in Blender, move the camera and create the idea as a background picture, modify the resolution if needed, and then use primary forms (mostly primitives) to begin the block-out. This is crucial since you have to arrange volumes and position the objects so that they be in the center of the image. In addition, in the camera settings, you can adjust the focal length and depth of field to the idea.
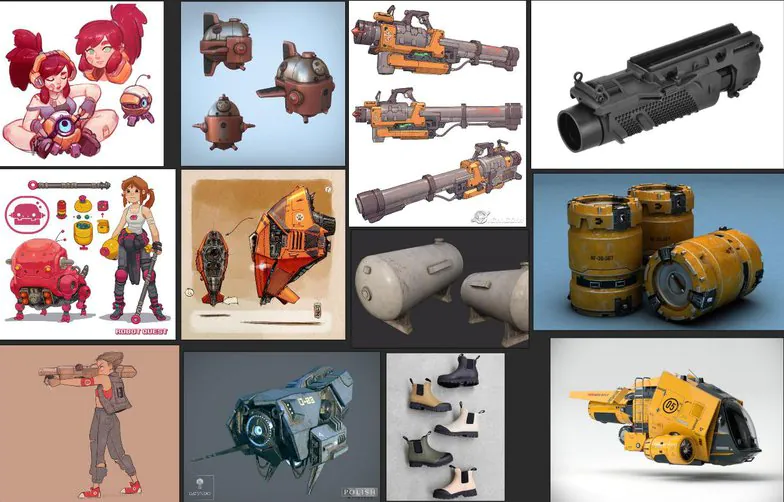
Step 3: References
We look for objects or characters that can aid us in determining the shape of the object, its materials, and its textures. It can help give insight into how to transform the concept into a realistic and realistic image. In this instance, references to the spaceship, the gun, and the hair’s design are essential.
4. Modeling and sculpture
For this project, we created the objects using Blender apart from the Girl character we created in ZBrush.We spent some time creating an orderly topology and good loops, as they will alter the appearance of the geometry and can also help your work later when you start using Unwrap. Unwrap Process. In this process, I suggest starting with a uniform outline and basic shapes and ensuring that your proportions are accurate before beginning to work on the finer details.
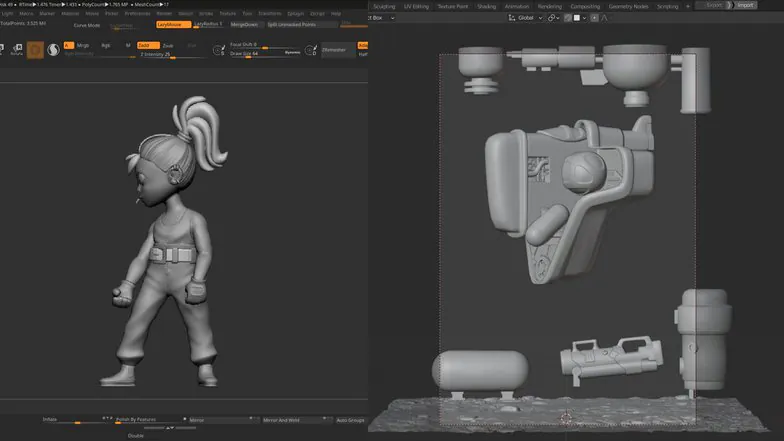
Step 5: Particle Hair System
One of the biggest challenges for us during this project was the hair. We studied a variety of reference materials from incredible 3D artists to better understand the process of hair and the process they used to create it. In this project, we chose to use Blender’s particle system with a range of options, where you can change the size, size, length, radious, Kink type, and many other characteristics.

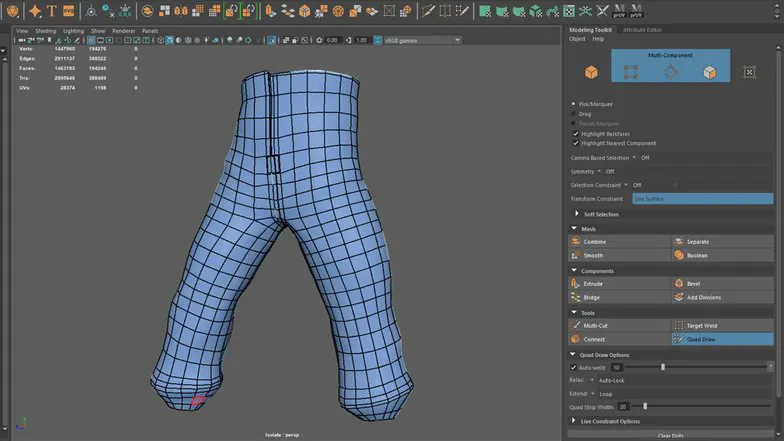
Step 6: Retopology
Our main 3D application for modeling is Blender. However, in this particular portion of the process, we decided to use Maya since we are more comfortable using The Modeling Toolkit Panel, which has fantastic tools such as “Quad Draw” that allows us to work more efficiently and, so far, it’s the most straightforward method we’ve found to accomplish it. In this instance, we used the manual retopology for only the girl character.
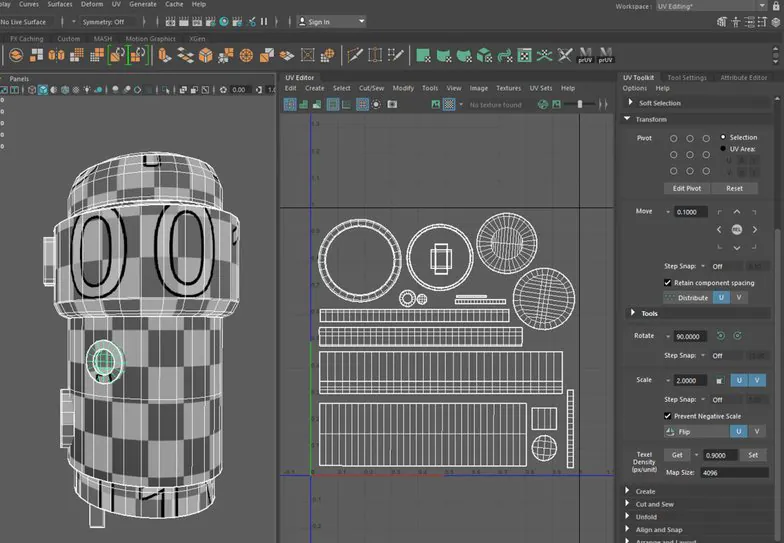
Step 7: Texel Density & UVs
Similar to the first step, we also used Maya to make UVs. Before removing the meshes, apply to the Checker Map (you can locate it at the upper right corner of UV Editor) to ensure that the UVs are accurate and have the same orientation as the texture. In the UV Toolkit Panel, we use the Texel Density Property to apply the identical density to three distinct mesh groups.
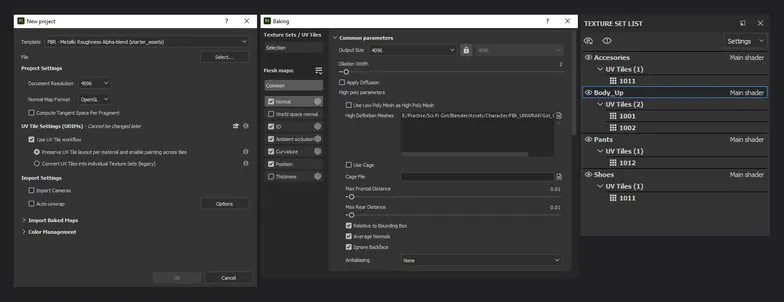
8. UDIMs and Textures by using Substance Painter
We used UDIMs for a more robust and higher quality final render, using 4K tilesets. The project was split into three parts to facilitate the texturing process. The girl, the spaceship, and the remaining assets prevent any delays (it is also dependent on your graphics card) and boost the speed. Make sure you use the PBR to Metallic Roughness template and OpenGL when you load the mesh. The initial step involves baking your textures and checking 4096 to determine the resolution according to the tileset. Investing all the time you’ll need to build an excellent collection of textures is crucial. Always follow your sources.
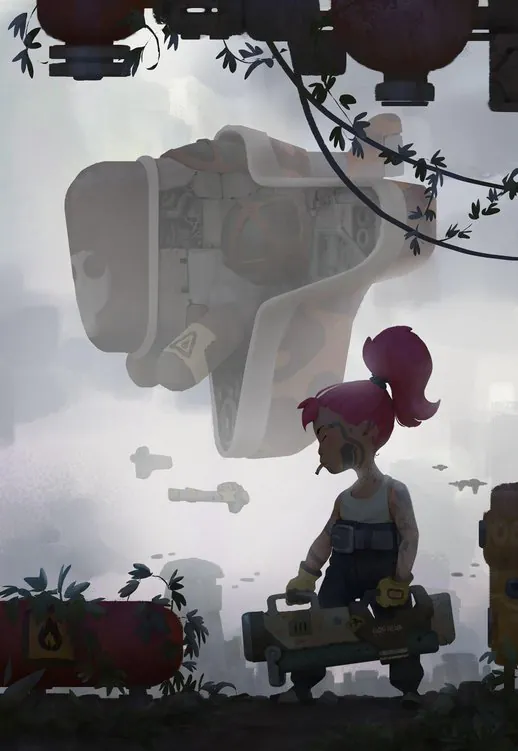
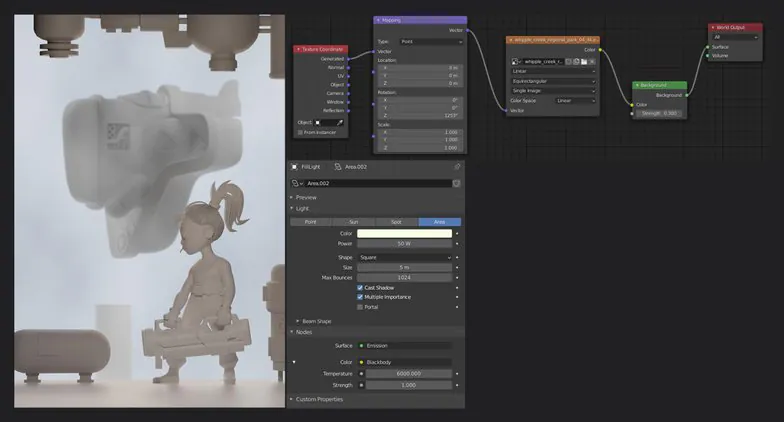
Step 9: Lighting
We first created an HDRI node connection to create the general atmosphere. And after that, we added the Key light, the Fill light, and the Rim light that focuses on the character. The lights have applied the temperature by using BlackBody Node in search of the best solution that matches the image we envisioned.
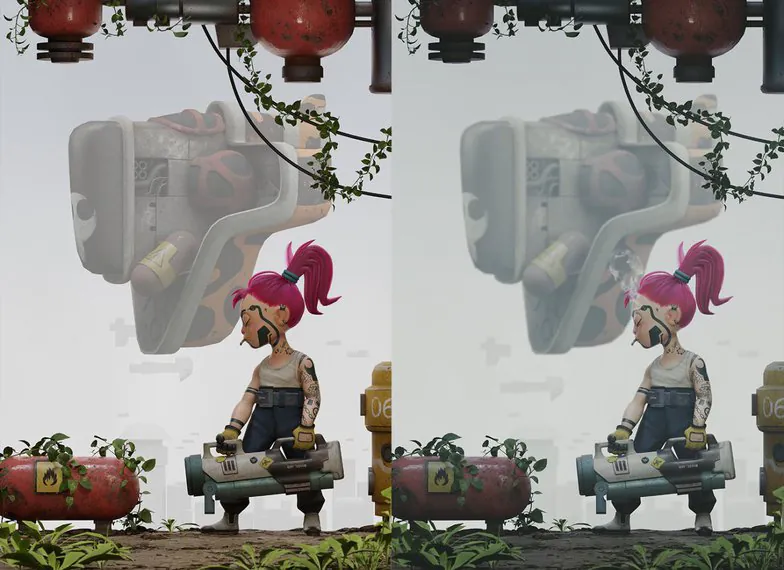
Step 10: Render & post-production
To render the final image, we utilized Cycles Render with 1000 samples and 300 percent resolution, Adaptive Sampling, and rendered separately for every object group using the option to make it transparently visible on the Render Properties. We then created the entire image using Photoshop. We made a color adjustment and added the smoke of a cigarette.

Tip: Be respectful of your procedure
It is essential to continue working and learning with each project, acknowledging your limits and working on your weaknesses. Therefore, you must be mindful of your work and not compare yourself to others.
Final words
In this article, you’ve learned how to create Space Pirates 3D illustrations with various 3D modeling tools. We hope that this guide has been beneficial to you. Now you can create your 3D image.
