How to use 3D Coat for 3D Modeling?
Nowadays, viewers can easily interact with the environment and get a glimpse of how the product will appear because of 3D modeling and 3D printing. The use of 3D technology is currently prevalent in numerous industries. It is used by designers, engineers, construction managers, builders, building owners, and many more to market their services and products. It is generally accepted that 3D modeling is a great tool that can be useful for all kinds of organizations and businesses. But here, one question arises? How can one improve their 3D printing or modeling capabilities? The answer is straightforward with 3D software. There is a variety of software to assist with this process. In this article, we will talk about 3D Coat.
What is 3D Modeling?
The method for creating 3D images of spaces or objects made by computer software is referred as 3D modeling. The object is created through 3D creators manipulating vertices or points in an imaginary environment to create a mesh.
Visions can be achieved more quickly thanks to 3D modeling, allowing teams to design any shape they want while preserving the production capabilities. Modern 3D modeling tools offer greater control over the specifics and gives you an astonishing amount of design detail that is impossible to achieve with 2D sketching or sketches. Engineers can explore the physical components of a design without having to be limited by design constraints.
What is a 3D Coat?
3DCoatis a Retopology software that includes all the latest technologies to create a high-quality topology. Retopology can be used for various reasons and purposes. The features and tools it provides can speed up your work significantly.
3DCoat is among the most advanced 3D modeling. The program is accessible in over 70 languages.
While other software applications in this sector tend to focus on a particular task, like Digital Sculpting or Texture Painting, 3DCoat provides High-End capability with a single pipeline for creating assets and 3D visualizations, such as still images.
How to use 3D Coat for 3D Modeling?
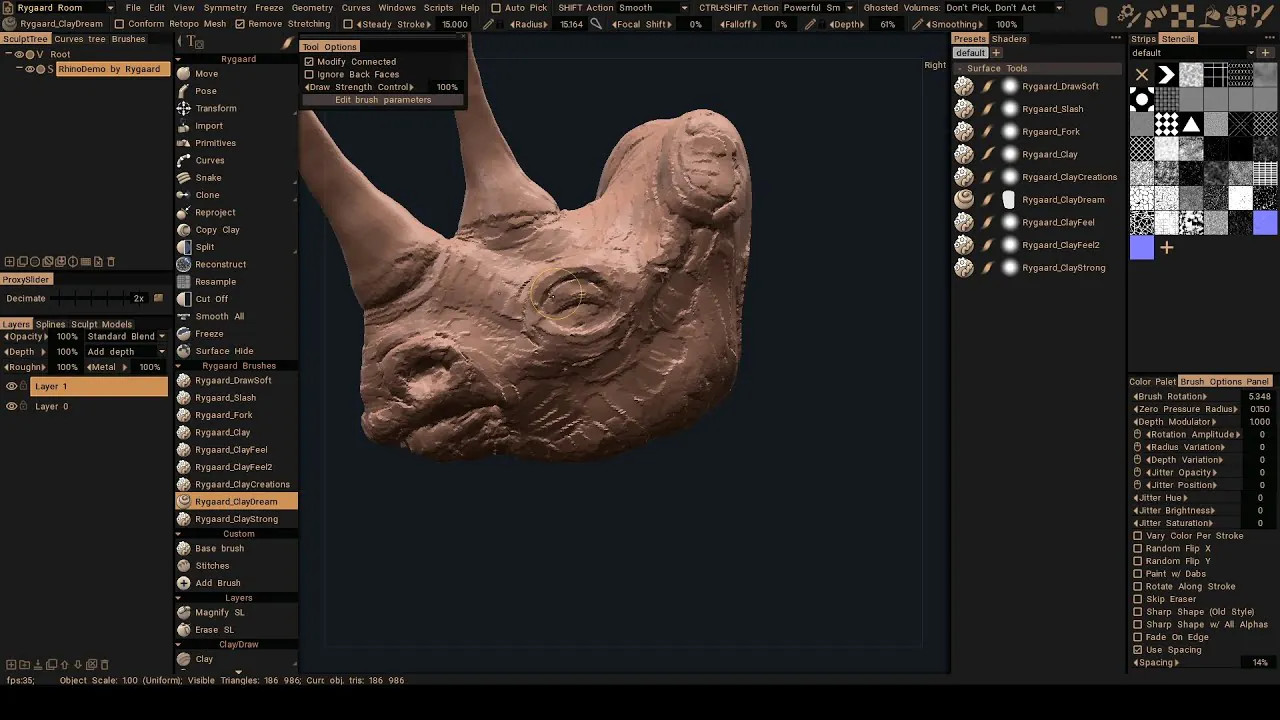
Learning The Interface
The main issue for uninitiated novices is not the program’s features. However, it is its interface. This software lets you modify the interface, such as changing the size of panels or even cutting off panels to create floating panels, which is helpful for those with multiple monitors. User interfaces are constantly evolving, so you’ll have different panels and tools for every room switch.

Importing Objects for Painting
3D Coat offers several importing options to perform specific tasks, such as painting or retopology.
In this instance, you’ll be dealing with the latter. Although importing is a simple process, the import dialog box is quite burdensome for those new to the program. It is possible to alter essential parameters, such as changing the name of UV sets, including an external map, or adjusting the size of the map. There are also tips for using the paint tools too.

Hardsurface Design
The first step is importing a block-out model into Maya. Alternatively, you can design the block in 3D Coat with basic tools (if you know how to do it). Most of the time, you’ll make details with Voxel modeling.
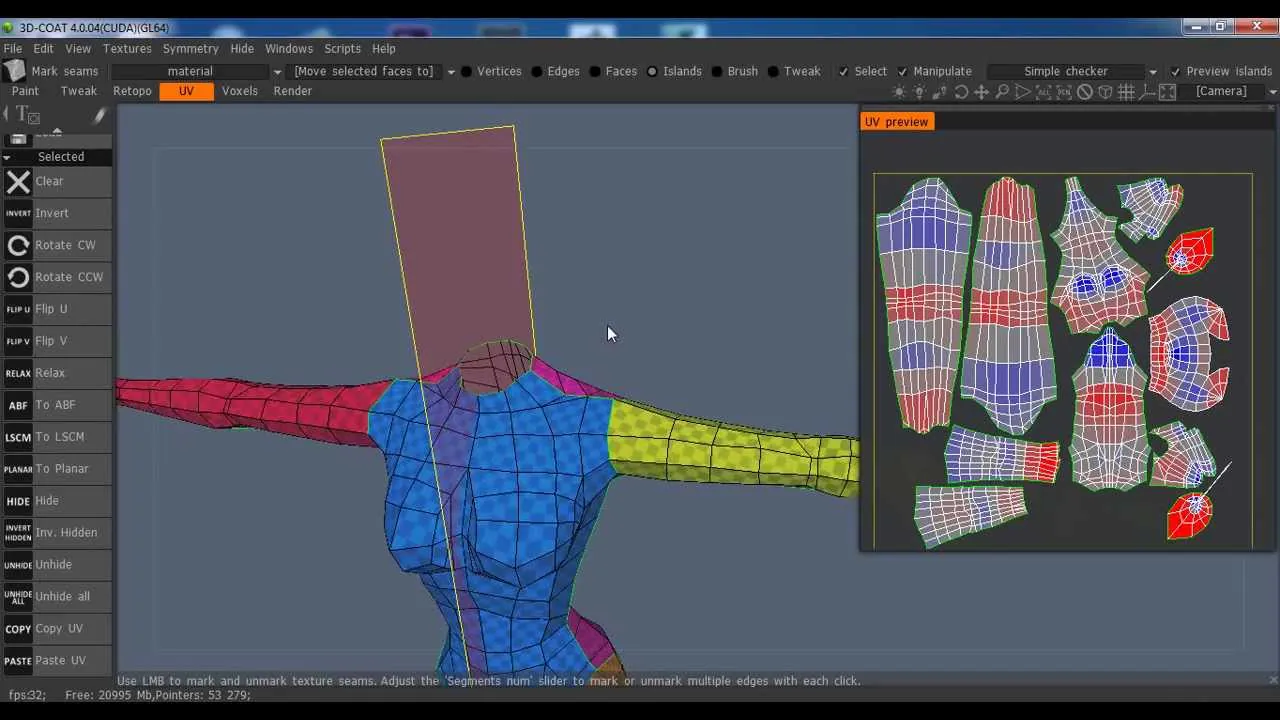
UV Mapping
In general, UV Mapping is a tedious procedure. It’s that time when you wear your headphones and work until you get to the close. It isn’t exciting.
However, it doesn’t have to be. UV Mapping within 3D Coat is surprisingly fun and engaging.
If you draw seams when you create a seam, the UV editor will automatically update both for the 3D and 2D viewer. It also colorizes automatically within the specified sections.
Additionally, you’ll have packing options that allow you to store UV Islands efficiently.
Another helpful feature that’s not in any other programs is When you are running loop seams, it will know the moment to stop it when it is in contact with another seam. This is a huge time saver!
Even if you bought the software solely to use it for UV Mapping, it would still be worth the cost.
Unwrapping and Texturing
The process here is easy since symmetry is also used in wrapping and unwrapping. Most of the time, you’ll be able to experience texturing hands-on. There are various types of texturing 3D Coat offers, such as per-pixel painting, micro vertex painting, and vertex painting.
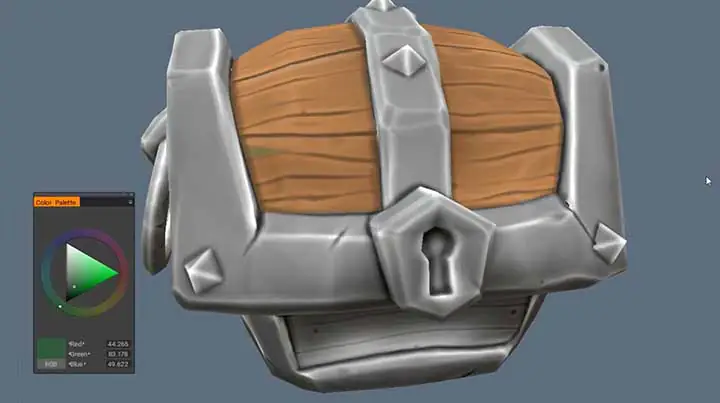
PBR Texturing
In recent times Physically Based Rendering (PBR) has been the norm for making materials.
It was initially popularized for games and is now used in every type of production. Luckily, 3D Coat is prepared with an instrument specifically designed to meet your PBR requirements.
For the practice of your PBR practice, in this video, you’ll be textured and screwed.
Indeed, it could be more fascinating. However, the methods are.
Check your UV map first by using the checkerboard. Then, you’ll use the base metal layer and an additional layer to hold the paint. The pattern is broken down with a range of brushes, and then create procedural maps like curvature maps, and ambient occlusion maps are.
Since you’re working in the PBR setting, you can experience the results in real time and quickly learn.

Add Your Smart Materials
To meet deadlines, you’ll usually utilize presets that can be customized for your specific workflow.
That’s where smart materials are available. This is technically called a material prefix however more effective since it creates procedural mapping in a way that is automatic. For instance, you could create dirt in crevices that are present in any model.
3D Coat ships with useful intelligent materials, but the program offers the option to design your own. It’s also possible to utilize Photoshop to help create materials.
Baking Models for Painting
It’s a high-poly mesh. However, you cannot utilize it in a production environment due to its large footprint. The most common method is to collect those high-poly images and then transfer them all to low-poly. This process is referred to by the term baking and is very useful.
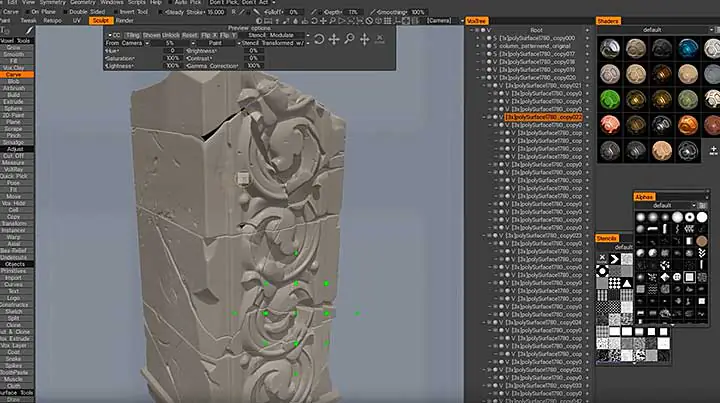
Column Destruction Sculpting
It’s more complex than it appears. It doesn’t require any explosives. Your mesh will be converted to Voxels, and then slowly chip the edges using the extrude tool, using a variety of noises and alphas.
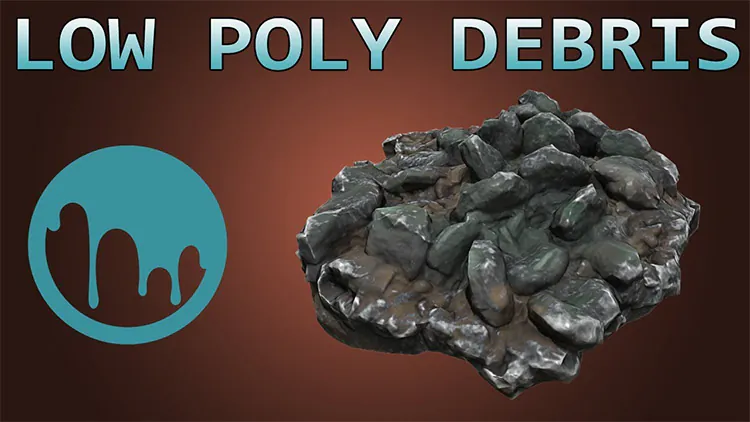
Low Poly Debris Pile
These kinds of assets are crucial for dressing your surroundings. Start by making a base from which you’ll disperse your junk. You’ll use an object import tool to create your base.
This tool is helpful because it’s like painting with the base; instead of using color, you’re painting using things. This technique could be utilized to create a rock pile resembling letters or a logo. Then, at the end of the process, you’ll do retopology to export.
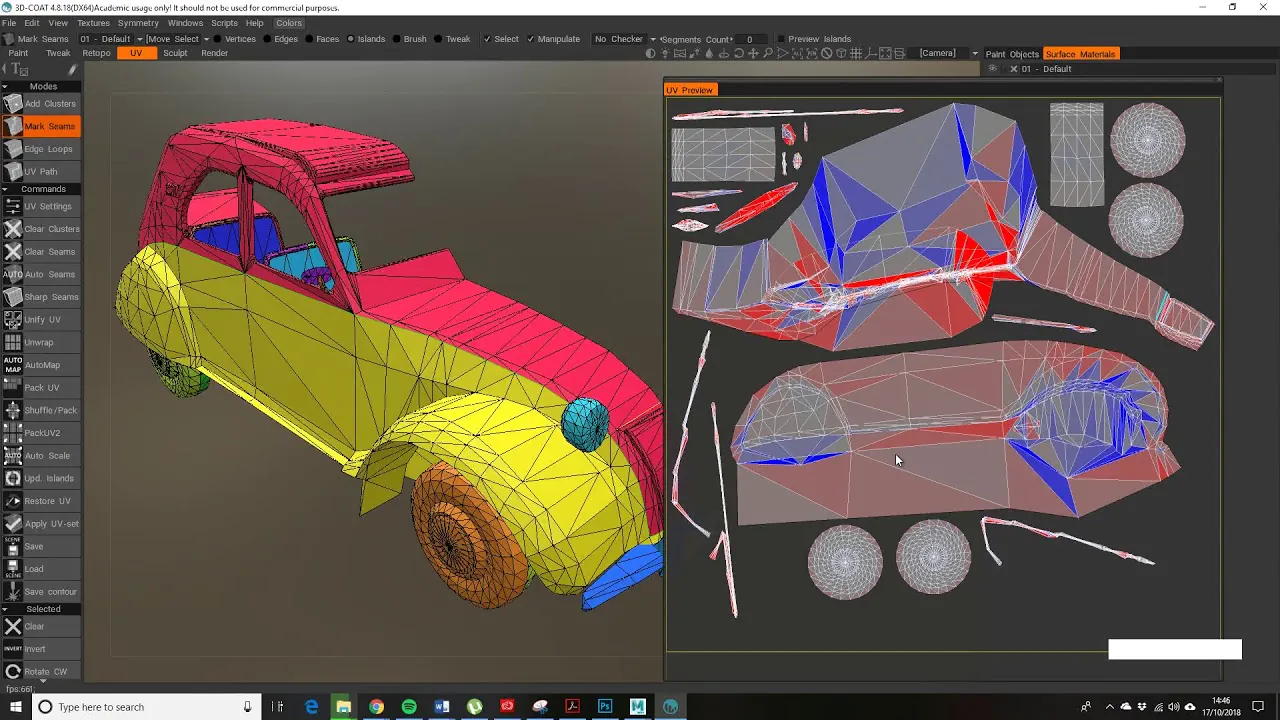
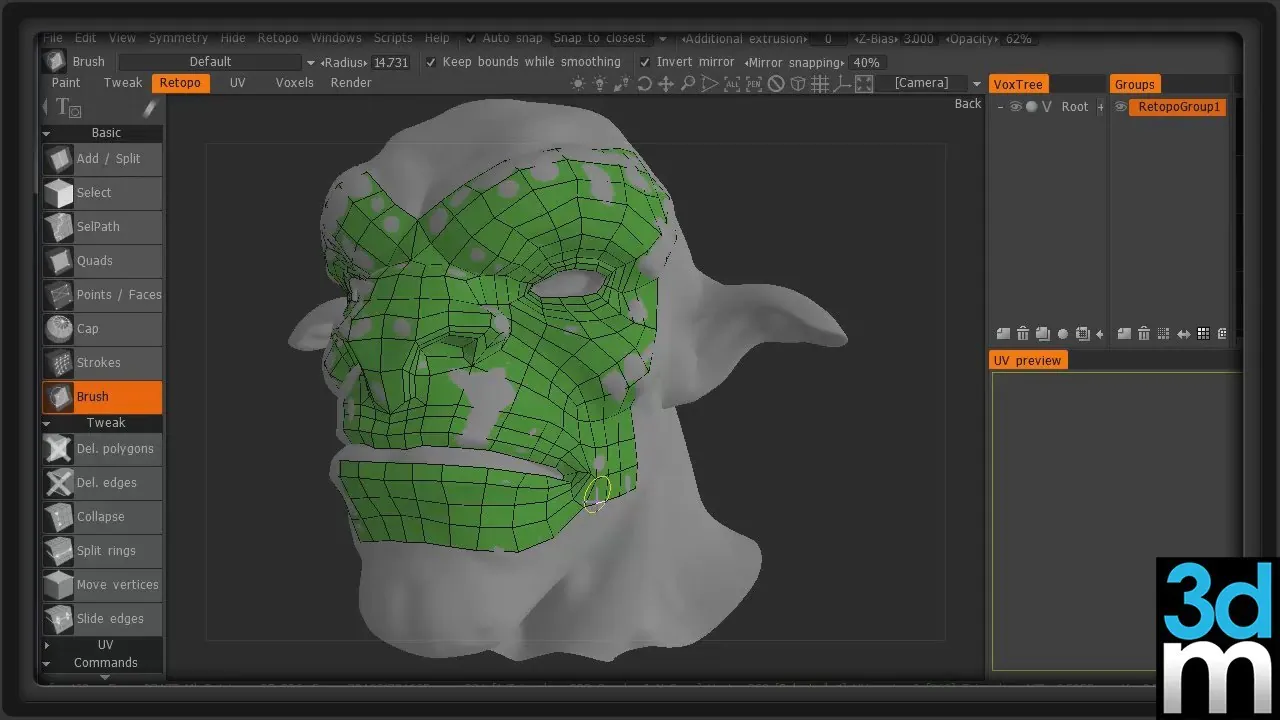
Retopology using 3D Coat
Retopology is the most important way to convert high-poly objects(either from the process of sculpting or photogrammetry) to low-poly objects that can manipulate the scene.
Similar to UV Mapping, retopology is an uninteresting and tedious procedure.
Fortunately, 3D Coat offers several tools to help you run a smooth workflow.
Additionally, you can use symmetry to make the process faster. With the brush tool, you can troubleshoot situations where you’ll need to manually modify edges or points in cases where 3D Coat’s algorithm can’t identify the faces of polygons.
3D Coat also offers a relaxation function that allows you to alter the polygon faces, resulting in uniform size. Another helpful technique is to use strokes that create loops on cylindrical objects like human arms.
Sculpting a Rocky Floor
Another fantastic tutorial on the environment to keep you engaged. Here you’ll create an edgy floor. Although the asset is straightforward rock, they are common worldwide, meaning it can vary quite a bit.
Learn a variety of commands including jitter and merge. It is also possible to create a simple workflow by following a flowchart using a build brush and using a scraping brush with an alpha.
It will conclude using Retopology, UV mapping, and projection painting.

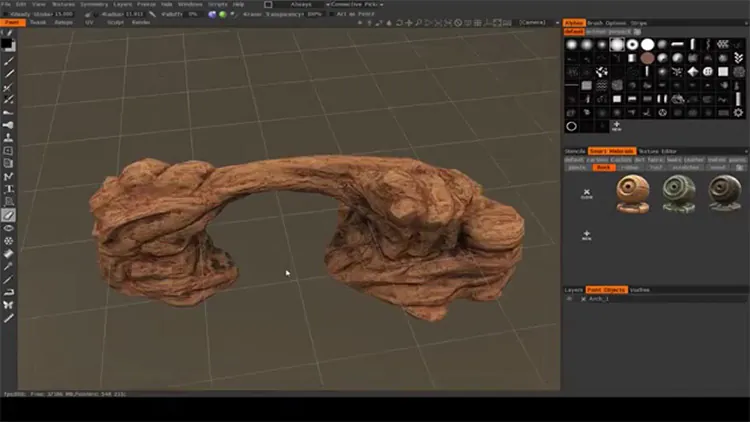
Arid Arch
Start by building the block using built-in primitives, such as cubes, spheres, and cubes. After that, you’ll convert the primitives into Voxels.
Using the scrape tool, you’ll be able to make the arch to a point close to complete. In the process, you’ll use it to fill in and position, as the scraping tool, can’t operate on concave surfaces.
Final Thoughts
Indeed, the advantages that come from 3D modeling are many. But, reducing the number of intermediate prototypes and simplifying the entire process is among the most popular benefits you can enjoy with 3D modeling to design products. Manufacturers also need to identify the flaws in their designs as soon as possible since this allows them to complete the product’s design before production starts.
3DCoat is an application specifically designed for creators and 3D developers that offers an array of options for 3D production. Additionally, it provides an easy retopology tool, which includes an auto-retopology feature that is a leader in the market.
3DCoat is available as a trial version for free. Its full-featured version of the software is available for 30 days, after which specific export formats are eliminated. If you’re looking to create high-quality 3D models, you must test 3DCoat!
