How to Use Unity for 3D modeling?
Whether you are looking for 3D modeling software or a way to build your games with Unity, there are many options. Unity is a great tool, and in this post, we will learn the different features of Unity for 3D modeling.
What is Unity 3D software?
Unity is, in a nutshell, it is the most popular game engine. It packs an array of features and can build nearly any game. Unity is popular with hobbyists and AAA studios with its unrivaled cross-platform features. It has been used to develop games such as Pokemon Go, Heathstone, Rimworld, Cuphead, and many more.
Although 3D is the title, Unity 3D also packs tools to aid in 2D gaming development. The programmers love it due to its C# scripting API and integrated Visual Studio integration. Unity also comes with JavaScript as a scripting language and MonoDevelop as an integrated IDE for people who need an alternative to Visual Studio.
What are the benefits of using Unity?
Whether you are creating 3D games, architectural visualization, or virtual reality, Unity is a great engine. It allows you to create realistic scenes and add real-time lighting. You can also use Unity’s post-effect stack to create high-end camera effects.
The engine supports textures, advanced lighting, and shadows. It’s a good choice for both architects and engineers. It also offers many pre-ready materials and libraries. In addition, it includes a physics engine for generating collision meshes. Its ProBuilder tool is helpful for prototyping.
It’s easy to learn and has a user-friendly interface. You can export your models in various file formats, including STL, VRML, and FBX.
It’s also free and includes a lot of extra features. For example, you can set up an animation tablet to quickly modify your scene. Its powerful UV mapping system lets you change the colors and blend light and dark areas. Plus, it’s also possible to export your model in chunks. This gives you more flexibility when you are developing it. The installer is about one MB and supports the FBX file type. It also includes a test scene with a few material samples.
It’s also essential to use the correct material conversion. The best way to do this is to preserve the UV texture coordinates of your model. This is something that’s common knowledge among game designers and visualization artists. It’s also possible to hide the back faces of geometry for performance reasons.
How to use Unity for 3D modeling?
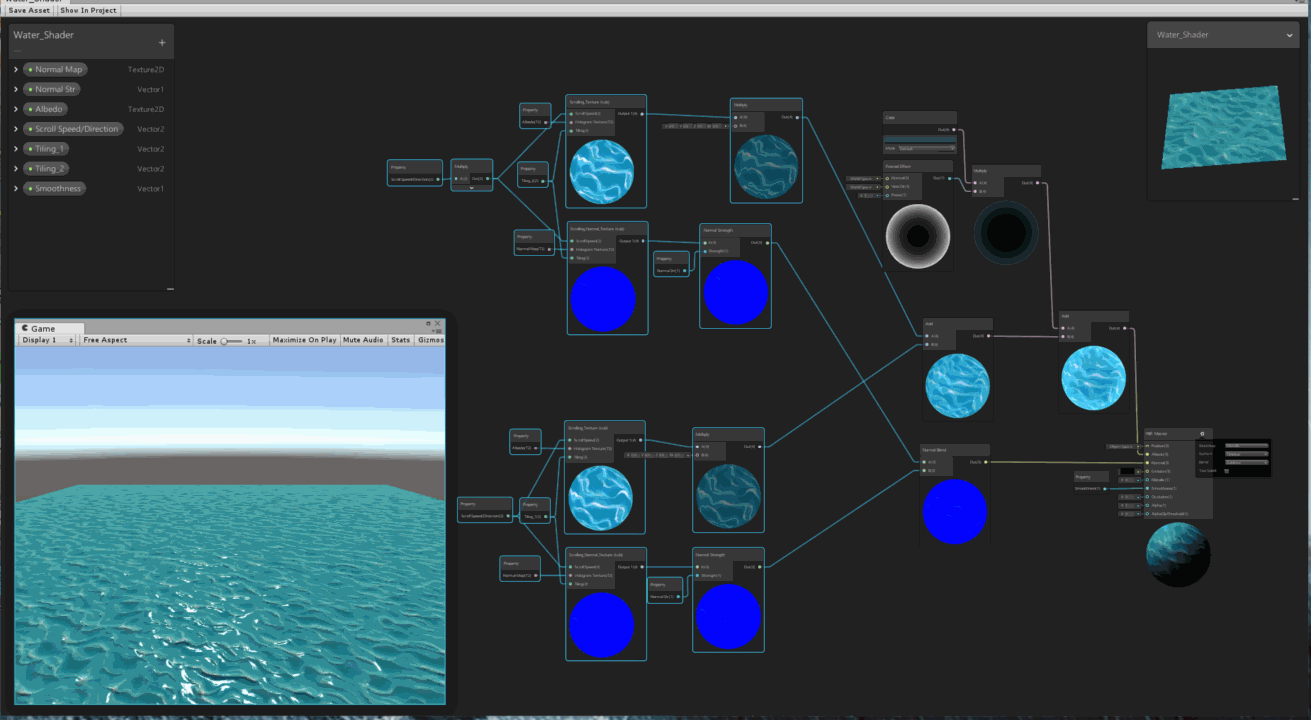
Shader Graph
Using the Shader Graph in Unity is one way to change the color of an object. It is also great for making UVs and using effects like noise maps. During the tutorial, you will learn about Unity’s different types of shaders and how to use them. The tutorial will show you how to create your custom effects.
Almost every node has a built-in preview. Some nodes are more valuable than others. A node can hold an input, operation, or output. In addition, it has edges that connect the node to other nodes. These are shown as small circles in the preview.
Adding nodes to your graph is as easy as right-clicking and selecting the Create Node dropdown. You can also add blocks by hovering over a gap and clicking. If your graph type does not support the kind of block you are trying to add; the block will be grayed out.
A node can also be removed from the graph by right-clicking. In Graph Inspector, you can also switch between various graph types. This is important if you want to change your graph type.
You can also create your custom function. This allows you to write HLSL code. You can also access arrays through the HLSL code. You can also access loops. This is also possible through the Unity Standard Shader. You can also change the precision of a floating point value, which is a single component or half. Moreover, you can use the Graph Inspector to see how the different Float precisions work.
Retopology
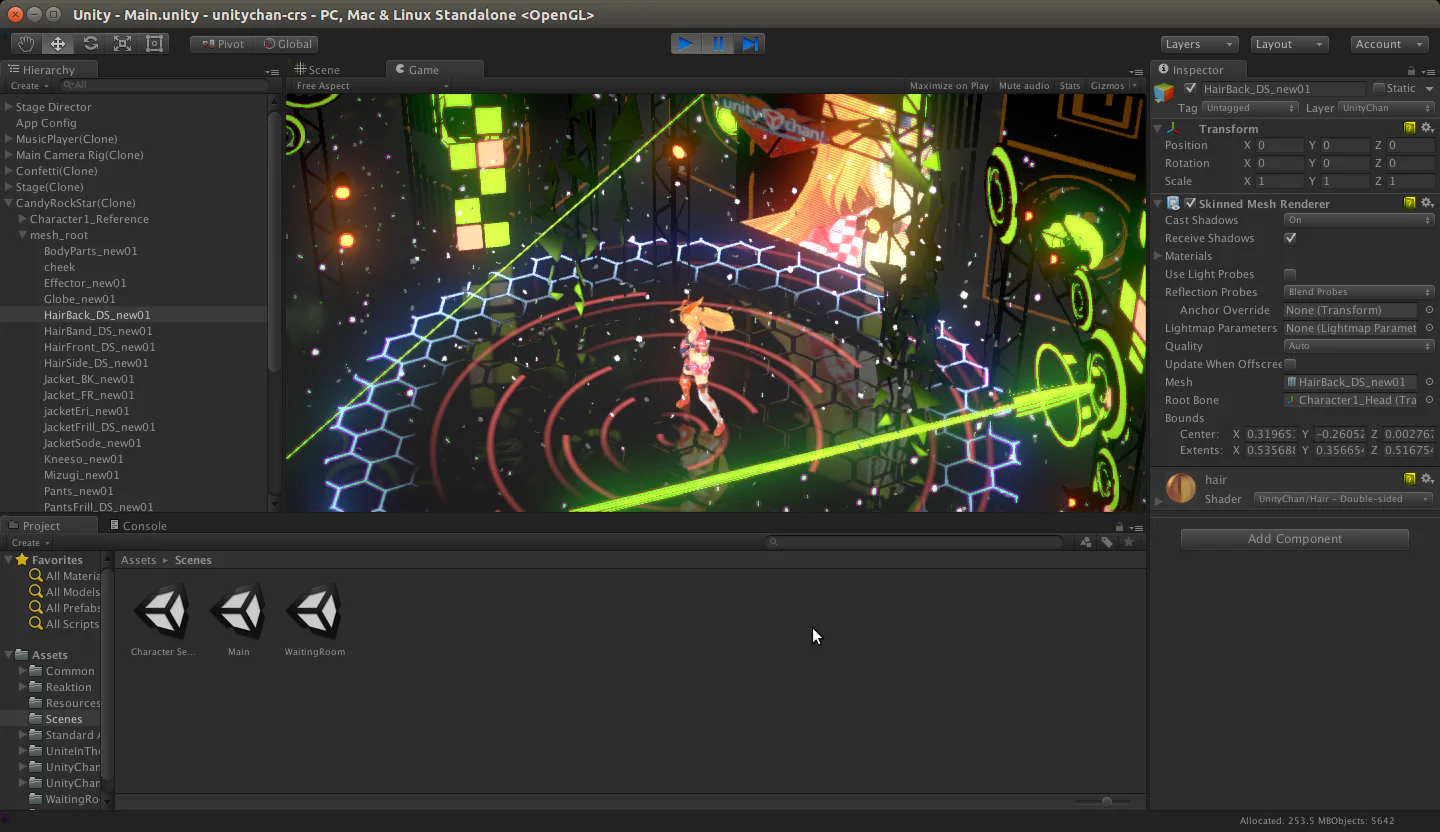
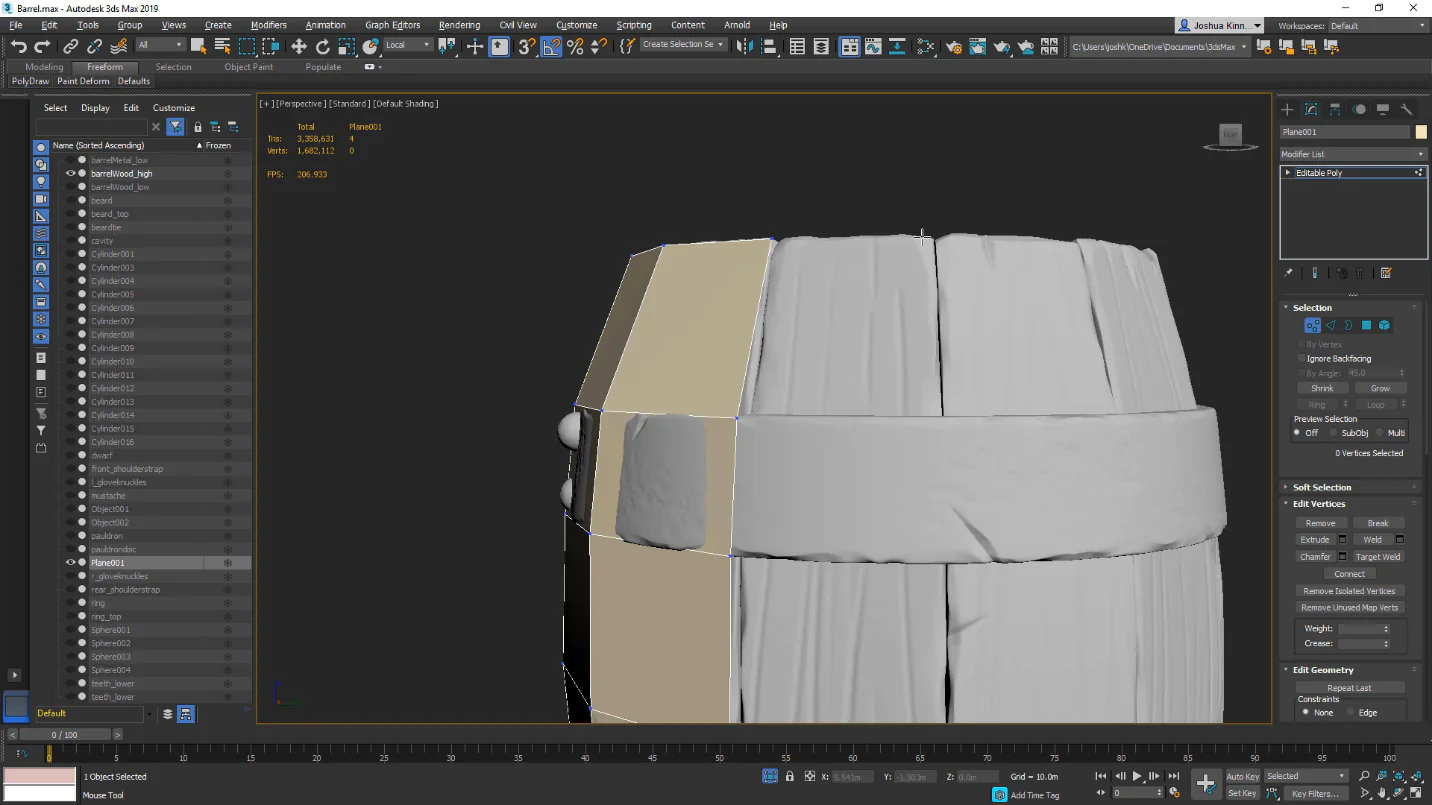
Using Unity for 3D modeling requires you to retopology your models. Retopology reduces the number of polygons in your model to create a smaller, more uniform mesh. It reduces the file size and helps to produce smoother motion in your model. Retopology also makes it easier to animate character models.
Sculpted meshes are usually messy and can make it difficult to animate. You may need to retopologize your model before you can animate it. This process can also be used on 3D scans. It can be done with a variety of tools.
The first step in retopology is to edit the planes in your 3D model. You can start by putting larger strokes across your model. This will make a more substantial base. You can also use guide curves to control the flow of your mesh.
You can also retopologize high-res models by using an automatic tool. The tool works by locking onto specific edges on your mesh. You can choose the shape of the surface to be retopologized and set the number of polygons to be used. The tool will then produce a new mesh. It will also set the merge distance when you merge seam vertices.
You can choose whether to retopologize your model in manual or semi-automatic mode. Those with more experience prefer to use a semi-automatic retopo tool. However, you can customize your tool’s settings to get the most precise results.
Real-time editing
Whether you are a first-time or experienced 3D modeler, plenty of tools help you make the most out of your work. One of these is the collaborative real-time editor. It’s designed to allow you to edit digital documents and cloud-stored data while other users are online. Rather than relying on a server, the collaborative real-time editor automatically merges all your edits into a single document.
Another is retopology. This is a process that converts high-poly models to low-poly models. This allows you to create more manageable and recognizable models that are easy to work with in Unity.
This is an essential part of the post-modeling process. There are a variety of tools for retopology, including ZBrush and Maya. The most important thing is that retopology optimizes your model for mobile games, AR/VR apps, and PC games.
Aside from retopology, there are several other essential components of the real-time editing process. These include the mesh filter, which copies the mesh object to a closed mesh and updates the local variables.
The Mesh Renderer combines the mesh data with materials to create objects. This process can take a long time. That’s why most renderers plug into a modeling package.
To get started, you’ll need a basic understanding of the editor. The editor is highly customizable. You can add your custom editors to the system, and you can also rewire the pipeline in a variety of ways.
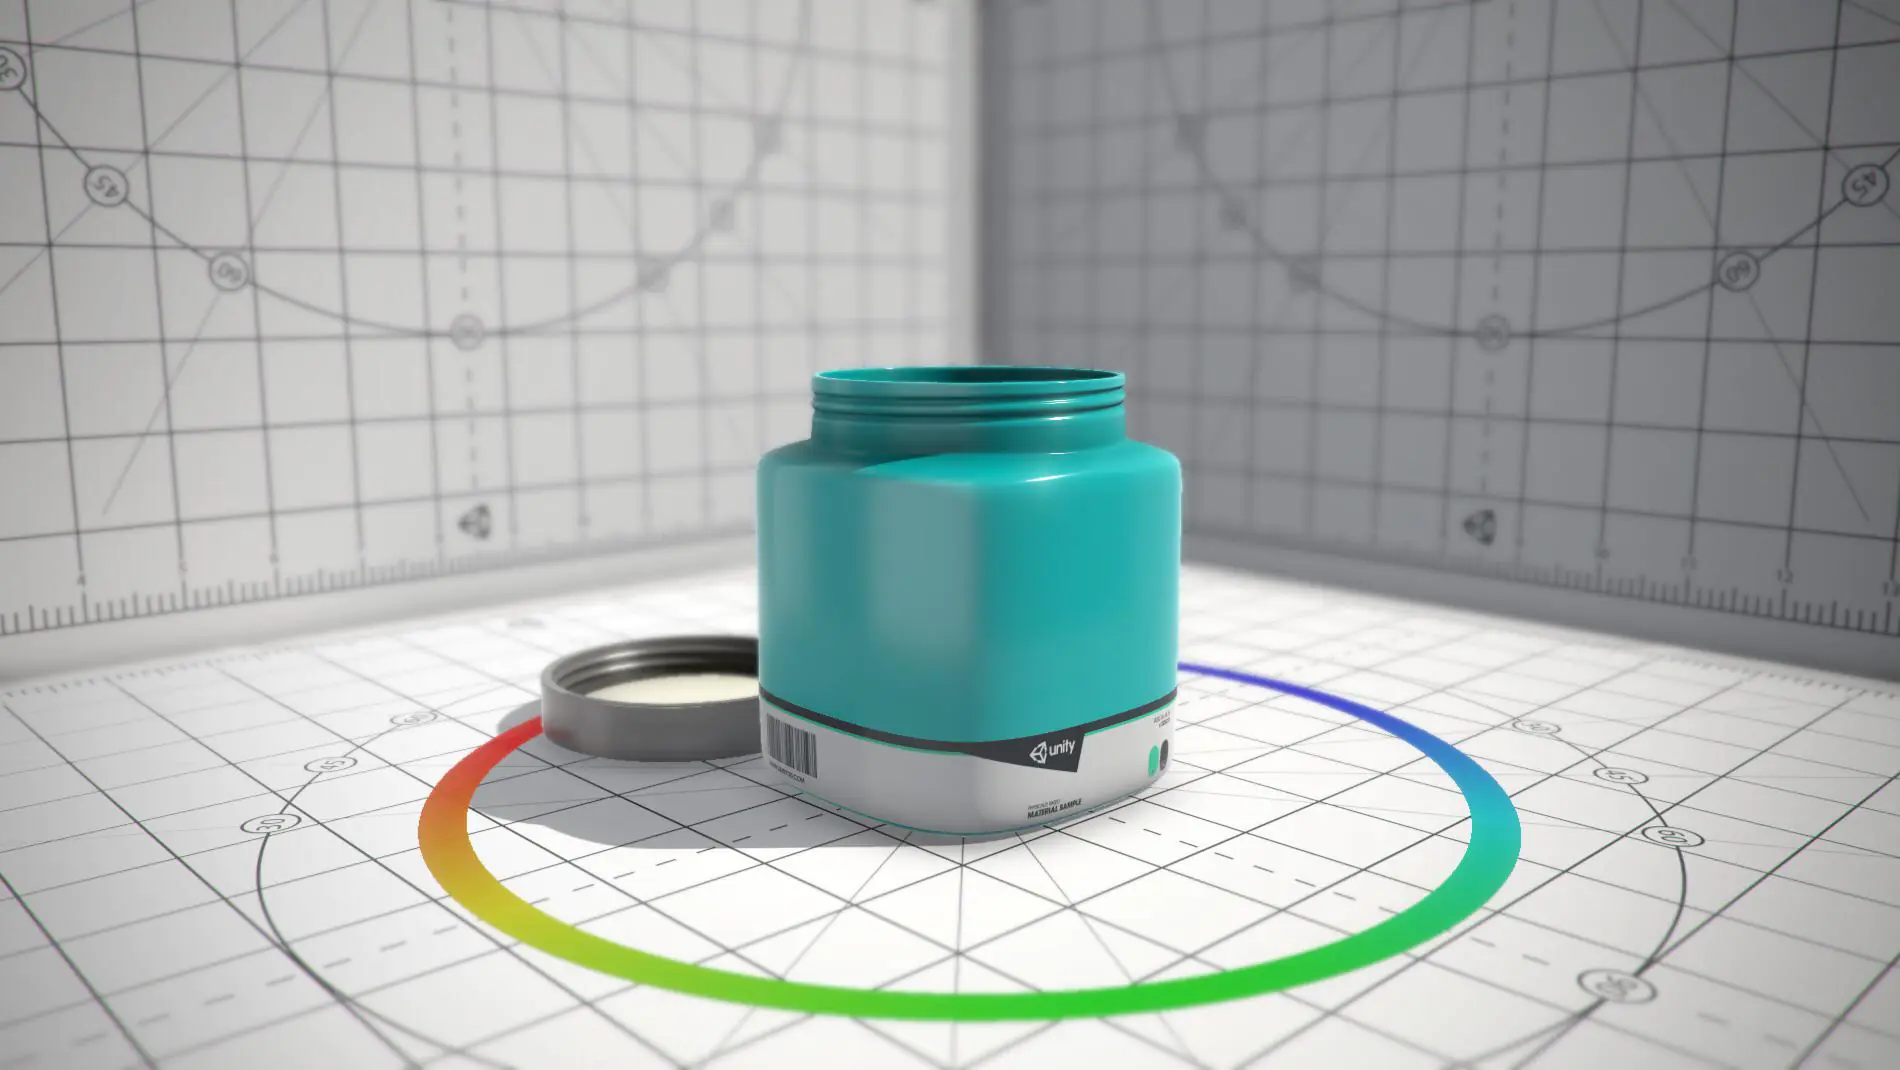
Shader calibration scene
Using a shader calibration scene in Unity is a great way to make your assets look great. The test scene included with the Unity 3D modelling package consists of a material sample and engine-specific shader calibration charts. This guide will show you how to get started.
The most basic way to use a shader is to define its parameters. You can do this in the editor. Once you’ve defined your parameters, you can add your shader to the object. You can then change the shader in the Inspector.
For example, add a gradient to your shader. This is a good idea because it adds a color ramp to the shader. When you create an angle, you can use the same Color window that you’re used to in Unity.
The light mapping process in Unity is straightforward. You can choose how many texels are needed per object and the scale of the lightmap texture. It would help if you kept in mind that the more texels per unit, the more work it will take to render.
During the light mapping process, Unity generates UVs automatically. However, you can also generate them manually. You can use this feature to add special effects to your models. You can also create your custom shaders by downloading codes from the web.
You can also download a free model from the Asset Store. This can be done by clicking the Asset Store button in the search filter section. This is a great way to find pre-made models that you can use in your projects.
Final words
Unity 3D comes loaded with an array of professional tools, both for artists and programmers. Unity offers a user-friendly workspace that is a blend of artist-friendly tools and components-driven design, which allows the development of games to be relatively straightforward. The combination of 2D and 3D effects is possible with Unity, and it comes with 2D Physics handled by the well-known Box2D engine.
Furthermore, it utilizes a component-based game development method based on the concept of prefabs. With prefabs, game developers can create environments and objects more quicker and efficiently.
With its powerful shaders, physics-based materials post-processing, and high-resolution light system, Unity can deliver impressive graphics across the spectrum.
The platform itself: Unity was built in C++ and optimized over time for speed. Premium users can access Unity’s source code, giving them more chances. Cross-platform development is a huge advantage for today’s developers, and Unity excels. It supports all major consoles, and OS Games developed with Unity can be ported to any platform.
