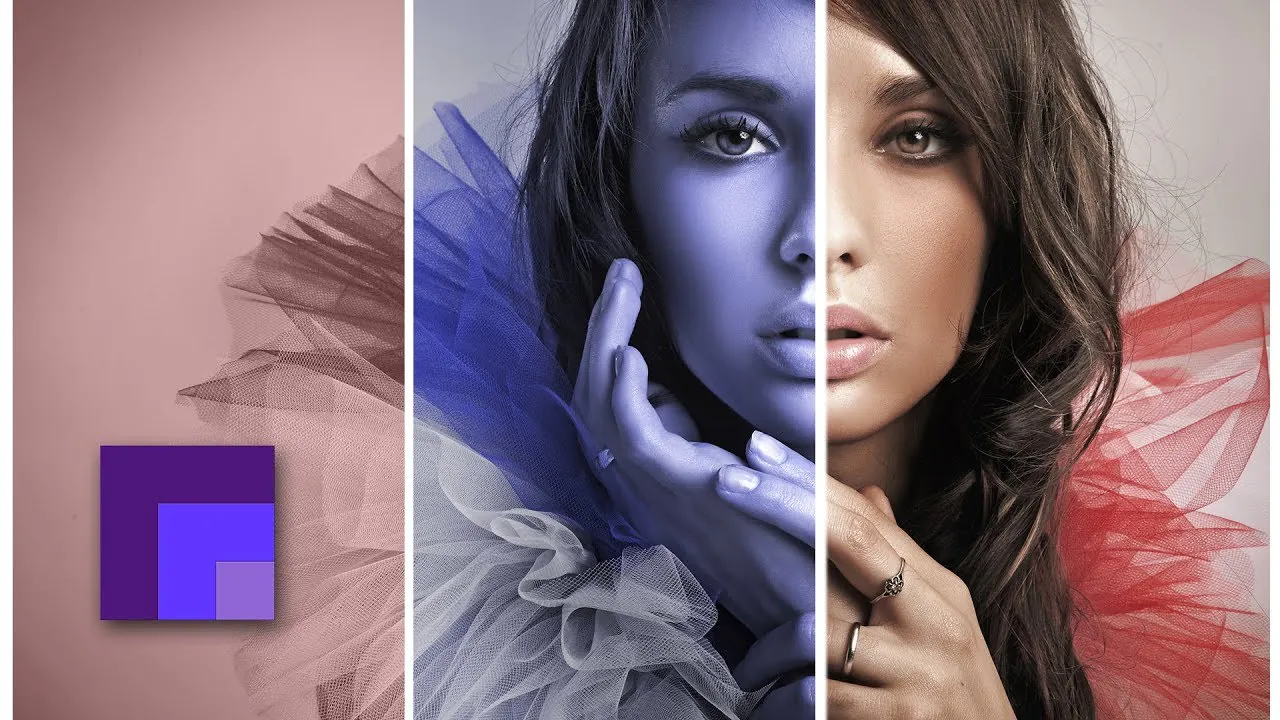
How To Use Tint Effect
The tint effect is influential really in developing a specific color tone to stylize your images colorfully. Unlike other color editing techniques like saturation or color balancing, the tint effect introduces a new color overlay that masks the content and maximizes its visual vibrance rather than modifying the original color within an image. Changing the tint layer color and opacity settings can boost mood and tenor, rectify color imbalances, develop a consistent visual style, and add aesthetic impacts to an assortment of optical outputs. The tint color is vital since it gets customized to compliment the content, provoke certain emotions, or connect nicely with an ideal creative vision. Moreover, the tint effect can also work well in image imperfections caused due to imbalanced light conditions. It can neutralize color disharmony and restores a more natural color representation. The tint color selection is vital because it gets customized to compliment the content, provoke certain emotions, or connect nicely with an ideal creative vision. You can consider the following steps and techniques to use the tint effect successfully in your images.
Step 1: Initiate
Open Adobe Photoshop on your computer by locating and launching the application icon. Adobe Photoshop is a professional-grade software used for image editing and manipulation. It provides many powerful tools and features to enhance and modify images. Once the software is launched, you will be greeted with the Photoshop workspace, which consists of various panels, menus, and a canvas for your image editing activities. Navigate to the “File” menu at the screen’s top-left corner and click on it. From the dropdown menu, select the “Open” option. That will prompt a file explorer window to appear. Use the file explorer window to locate and select the image file you wish to work on. Once you’ve chosen the file, click the “Open” button to import the image into Adobe Photoshop, making it ready for further editing.
Step 2: Replicate
You can move to the next step after successfully opening Adobe Photoshop and importing your image. Look for the “Layers” panel on the right side of the Photoshop workspace. This panel allows you to manage and organize different layers of your image. Find the background layer in the Layers panel representing the original image. Right-click on the background layer to select the “Duplicate Layer” from the context menu that appears. By duplicating the layer, you create a copy of the original image layer, ensuring that any changes made won’t affect the original image directly. This duplication provides a non-destructive editing approach, enabling you to revert to the original image quickly. You can apply the tint effect with the duplicate layer created and enhance your image further.
Step 3: Modify
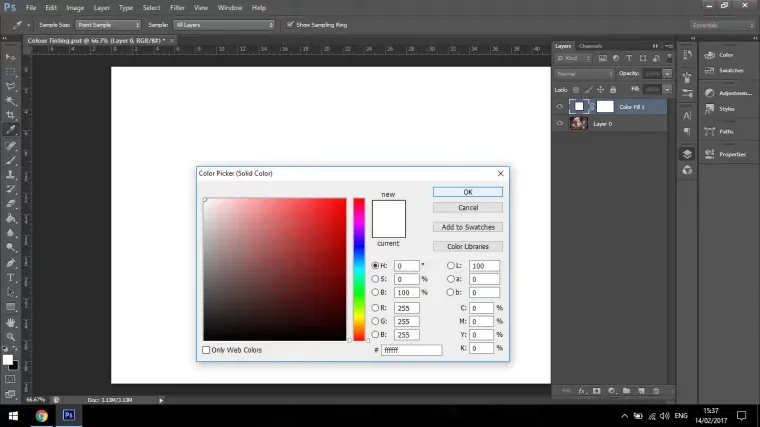
In this step, you’ll add an adjustment layer to your duplicated image layer to apply the tint effect. Locate the “Create new fill or adjustment layer” button below the Layers panel. It looks like a half-filled circle. Click on it to see a dropdown menu. From the dropdown menu, choose the option “Solid Color.” That will create a new adjustment layer above your duplicated image layer. A Color Picker window will open, allowing you to select the desired color for the tint effect. You can choose the color you want using the spectrum option or entering specific color values. Once you’ve chosen your color, click “OK.” The adjustment layer will now appear in the Layers panel, and the color you selected will be applied as the tint effect to the image. You’re ready to move on to the next step and refine the desired tint effect.
Step 4: Integrate
In this step, you will adjust the adjustment layer’s blending mode to ensure the tint effect blends seamlessly with the underlying image. After the adjustment layer is selected in the Layers panel, locate the blending mode dropdown menu, which is set to “Normal” by default. Click the blending mode dropdown and select “Color” from the list. Changing the blending mode to “Color” will preserve the luminosity and tonal values of the original image while applying the selected tint color. This blending mode ensures that the tint effect does not overpower or alter the underlying details of the picture. Additionally, you can fine-tune the intensity of the tint effect by adjusting the adjustment layer’s opacity. To do this, locate the opacity slider in the Layers panel and adapt it to your preferred level. Lower opacity values will result in a more subtle tint effect, while higher values will make it more pronounced. Continue to the next step to further refine the tint effect if needed.
Step 5: Personalize
You can further refine and customize the tint effect in this step to achieve the desired visual outcome. With the adjustment layer still selected in the Layers panel, you can tweak the tint effect parameters with several options.
Firstly, you can experiment with adjusting the opacity of the adjustment layer to fine-tune the intensity of the tint. Applying the opacity slider in the Layers panel can increase or decrease the transparency of the tint layer, allowing more or less of the original image to show through.
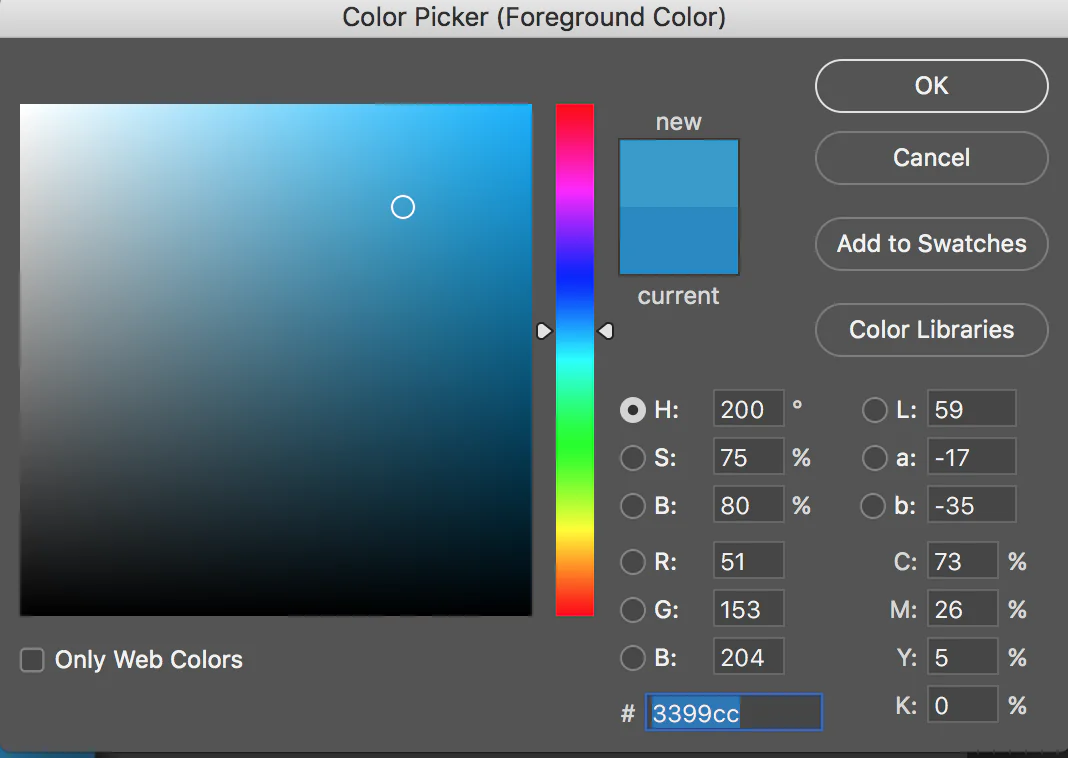
Additionally, you can modify the color of the tint effect itself. Double-click the adjustment layer thumbnail in the Layers panel, and the Color Picker window will reappear. Select a different color or adjust the hue, saturation, and brightness values to create the desired tint shade.
Furthermore, you can explore different blending modes for the adjustment layer. Experiment with blending modes like Overlay, Soft Light, or Multiply to see how they interact with the image and tint effect. Each blending mode produces a unique visual effect, so choose the one that complements your creative vision.
Step 6: Evaluate
After applying and refining the tint effect, previewing the final result and saving your edited image is essential. To preview the image with the tint effect, zoom in or out on the canvas using the zoom tool or adjust the zoom percentage at the bottom of the Photoshop window. That allows you to closely examine the details and overall impact of the tint effect on the image.
If you’re satisfied with the result, it’s time to save your edited image. Go to the “File” menu at the top of the Photoshop window and select “Save As” or “Export” to save the file in your preferred format, such as JPEG or PNG. Select a location on your device to save the picture, then give it a meaningful filename.
Before saving, consider saving a separate copy of the original image if you want to make further changes later. This way, you preserve the flexibility of editing without affecting the original file.
Once you’ve saved the image, you can share it online, print it, or continue working on it in Photoshop or other software if desired.
Step 7: Preserve
In this final step, you should evaluate your edited image with the tint effect. Open the saved image file using an image viewer or preview it within Adobe Photoshop. Pay close attention to the overall composition, color balance, and the desired impact of the tint effect on the image.
Suppose you feel that further adjustments are needed, such as tweaking the tint color, adjusting the opacity, or experimenting with different blending modes. In that case, you can reopen the project in Adobe Photoshop and make the necessary changes. Remember to work on a duplicate layer or use adjustment layers to maintain the flexibility of your original image.
Additionally, consider seeking feedback from others or comparing the edited image with the original to ensure that the tint effect enhances the overall aesthetic and communicates your intended artistic vision.
Once completely satisfied with the edited image and the applied tint effect, you can confidently share, display, or publish the image, appreciating the artistic transformation you have accomplished.
Some Additional Tips:
Explore a myriad of colors: Instead of limiting yourself to a single color, venture into various hues and shades to discover the ideal tint that harmonizes with your image and achieves the desired visual impact.
Embrace complementary colors: For an aesthetically pleasing outcome, consider selecting a tint color that complements the dominant colors within your image. Complementary colors, found opposite each other on the color wheel, can yield visually striking effects.
Exercise subtle opacity adjustments: Delicate adjustments to the opacity of the adjustment layer can significantly impact the intensity of the tint effect. Strive for nuanced alterations to strike a balance that allows the original image details to shine through.
Employ layer masks for selective tinting: If you wish to apply the tint effect exclusively to specific image regions, employ layer masks. This technique permits the painting of the adjustment layer mask, selectively revealing or concealing the tint effect.
Combine with other adjustments: To enhance the tint effect, consider combining it with additional adjustments and filters available in your editing software. Experiment with contrast, saturation, or other creative filters to achieve a distinctive and captivating final result.
Conclusion
The tint effect makes images more enrapturing and more of a kind by dramatically improving the visual value of photos. Its dramatic color overlays can elegantly express emotions and define coherence in your photos. This approach is substantial for photography, graphic design, and social media content production. You can use the tint effect with other editing techniques to create a pleasing mix of effects. Though the tint effect is handy for various purposes, it must be used with prudence, so tackle it with a willingness to learn and a creative sensibility.
