How To Use The Perlin Noise Effect In Images
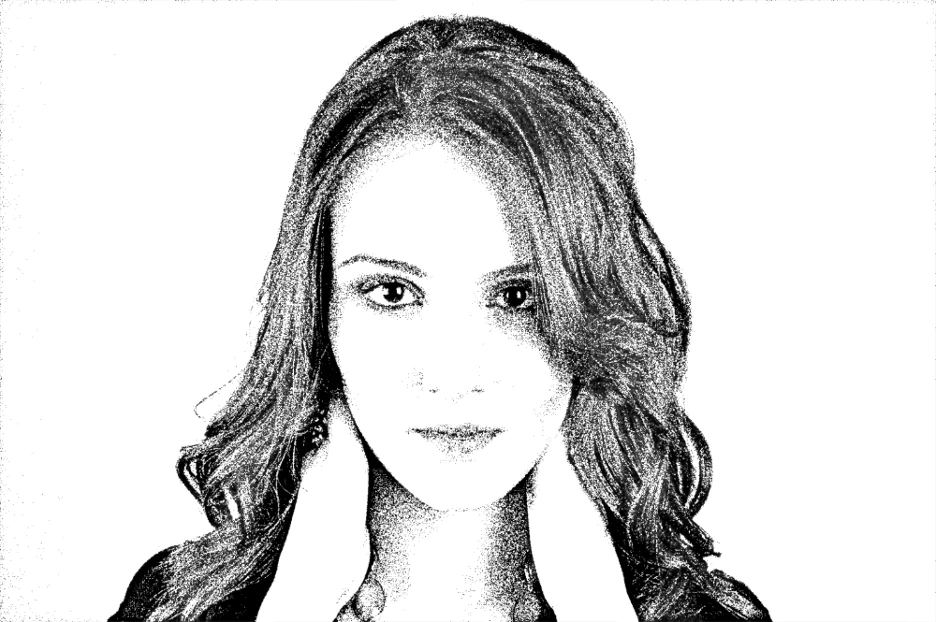
Perlin noise is a commonly deployed technique for modifying digital graphics and images to create lifelike textures and patterns. The noise shifts include an organic feel of chaos, which can simulate various effects of clouds, vegetation, and unique surfaces in images, especially landscapes. The grainy nature of Perlin noise also operates as a retro vibe inclusion in typical camera-captured shots, thus contributing to the antiquity and aesthetic allure. Perlin noise filters and parameter adjustments intensify the appeal of your photographs, infusing them with a custom artistic tinge. This image manipulation approach works in both ways, creating imperfections in a muted image or diminishing spots from a distorted or spotty one. No matter to what extent you integrate the Perlin noise effect, the results are always unique and distinctive, recasting the atmosphere of the original image. Perlin noise can be creatively integrated into photographs during the editing phases of an image. This tutorial blog is about using Perlin noise in a step-based process to add exhilarating effects to your photographic works.
Step 1: Selecting and evaluating the source image
Start your editing task by carefully selecting an image from your photograph collection; that shot should adapt to your imaginative vision.
Assess the composition of the chosen picture, focusing on components like subject matter, surroundings, and general visual symmetry.
Contemplate the temperament and tone you must express and confirm that the chosen picture meets the required visual quality and emotional effect.
Distinguish particular regions within the photo that may gain from integrating Perlin noise. Seek out areas where surface or subtle arbitrariness can maximize visual appeal.
Keep up a harmony between the existing make-up of the image and the expected effect of the Perlin noise impact. Ensure that the noise will contribute absolutely to the overall look.
Whatever it’s—a scene, a portrait, or any other shot—evaluate how the chosen image’s subject matter corresponds with the planned alterations.
Eventually, the picture you select sets the foundation for the altering process. It is the canvas on which the Perlin noise effect will be implemented.
Step 2: Loading the image file and practicing initial alterations
In this step, you must bring your selected photo into an image editing software workspace, which will be the platform for applying Perlin noise and refining the picture to get the specified visual effect.
While importing your image, get the know-how for the interface of the chosen editing software. That consists of comprehending where basic features are found, such as layers, filters, and blending modes. Recognition of these components, in the beginning, trims the editing and saves time.
Before moving on to the significant modifications, consider performing fundamental alterations such as exposure rectification and color adjustment. These alterations constitute a strong baseline for the consequent application of Perlin noise, guaranteeing that the base picture is well-optimized.
Finally, assess the software’s capabilities for non-destructive editing so that you can play with different settings without spoiling the initial image. That also lets you repeat and refine the modifications without compromising the soundness of the original photograph.
Step 3: Creating a new layer dedicated to the Perlin noise effect
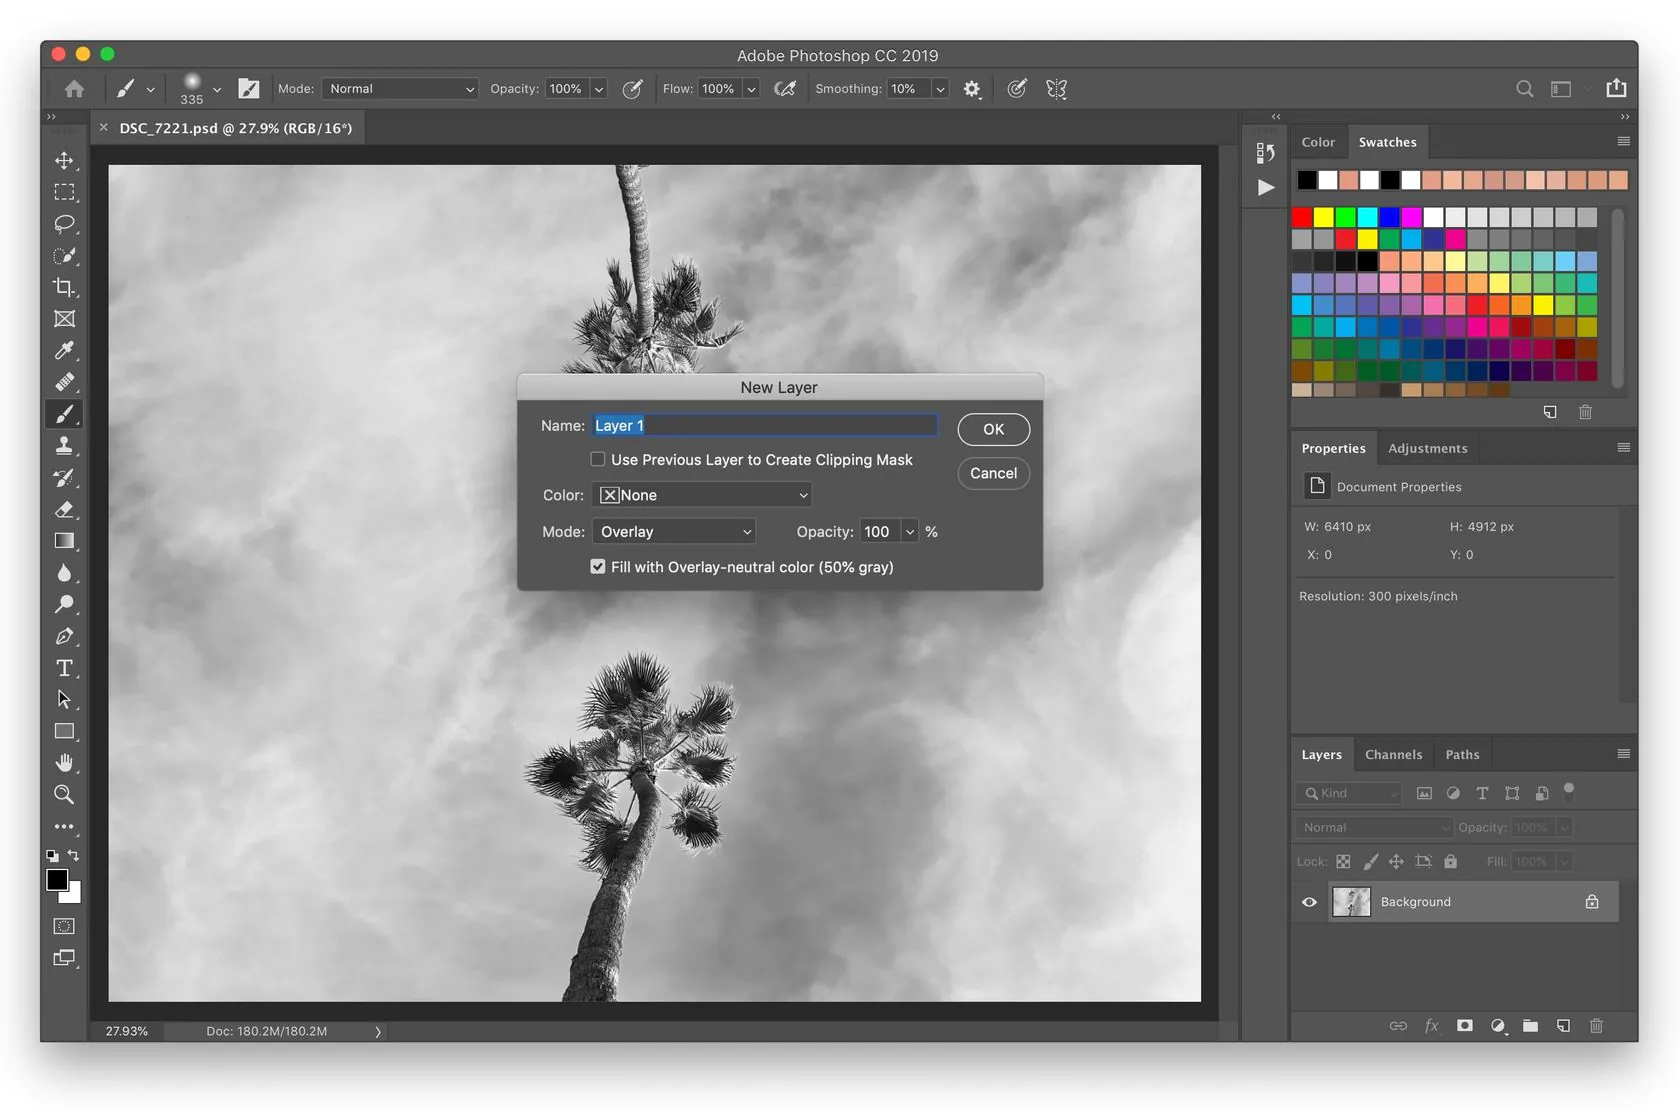
After importing your image and making initial improvements, you should create a copy layer dedicated to the Perlin noise manipulations. You can confidently experiment with the duplicate layer, knowing your original file remains untouched.
Create a duplicate of the base image by utilizing your software’s layer options. As a result, you will have a similar layer, exactly like the base, acting as a canvas for the Perlin noise effect. This preparatory initiative helps you compare the altered composition with the original picture and makes it simple to backtrack as required.
After creation, make sure the duplicate layer is selected to start working on creating a Perlin noise effect. Explore the noise generation tools or plugins offered by your software that encourage the creation of controlled and stylishly pleasing randomness.
Find the options related to parameters like scale, amplitude, and persistence and play with settings to comprehend them. That will help you regulate the intensity and appearance of the Perlin noise in the later steps according to your preference.
Making a separate layer for Perlin noise not only protects the initial image but also offers adaptability in adjusting the strength of the impact.
Step 4: Accessing the noise filters and effects options
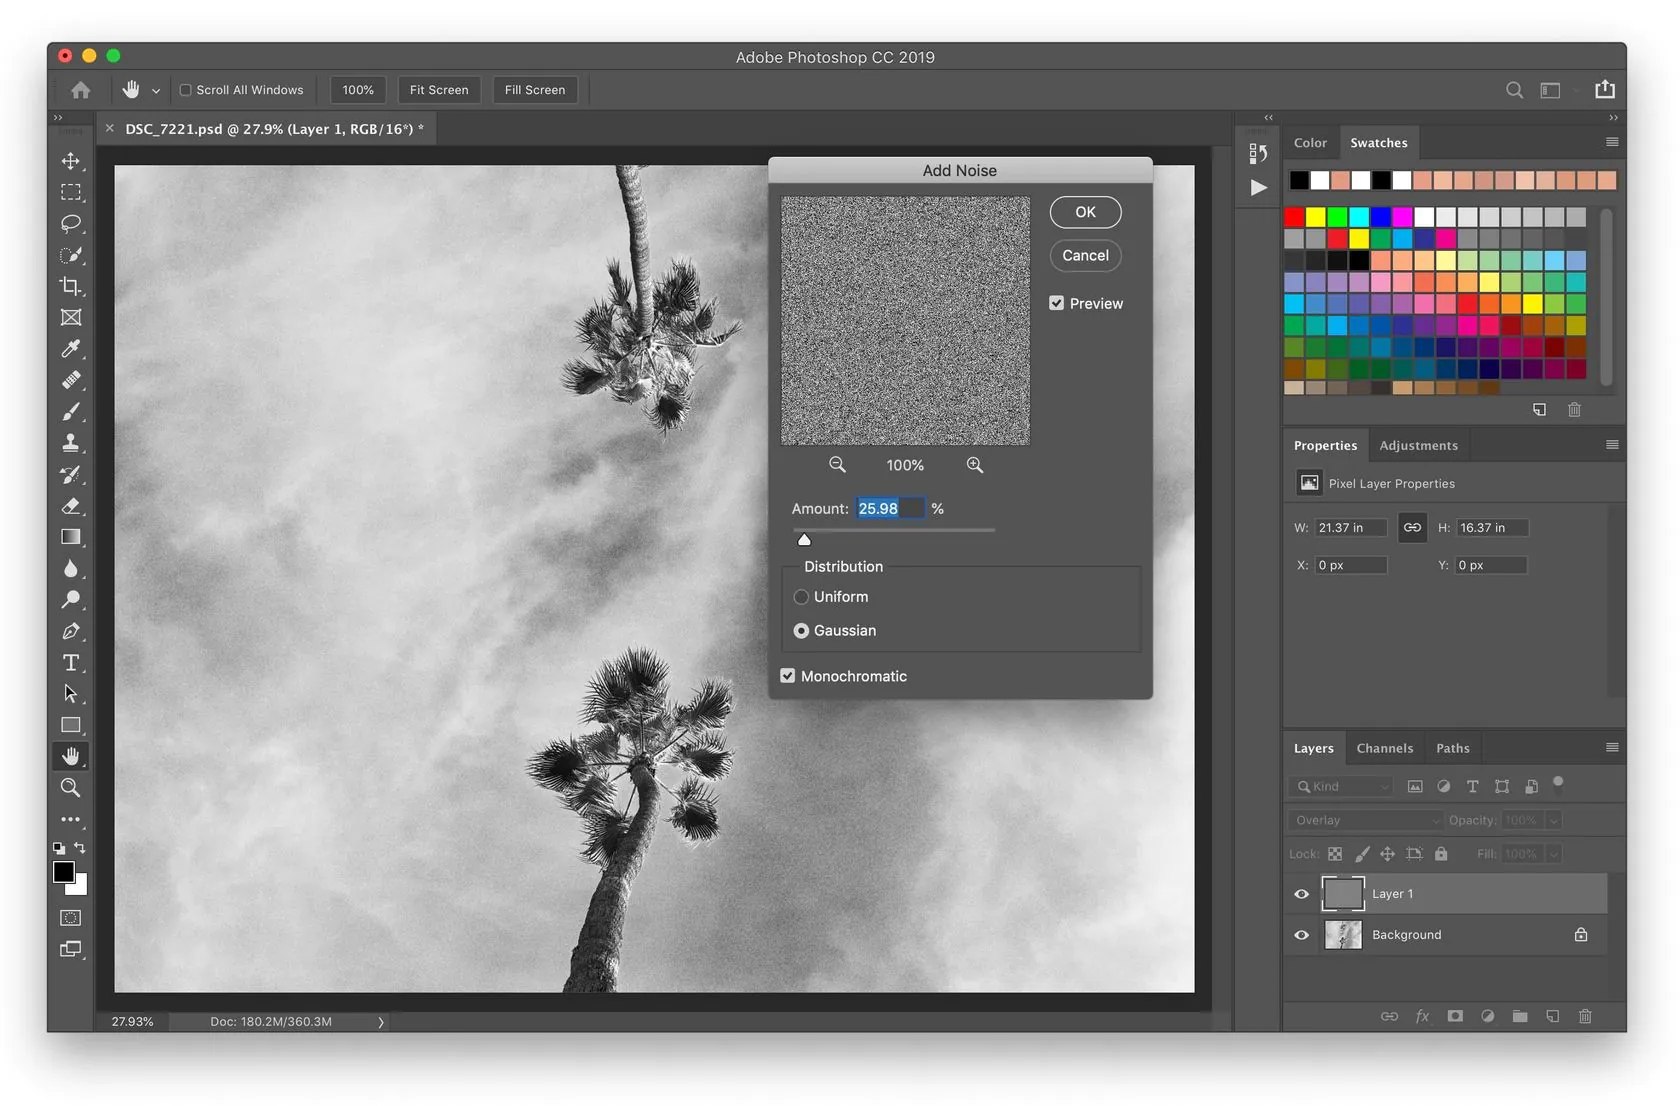
Access the noise application tools or filters provided by your photo editing program. For applications like Adobe Photoshop, GIMP, and Lightroom, you can find noise generation options in the “Filter” or “Effects” menu.
Search for settings related to noise, grain, or texture. Here, you’ll discover tools particularly outlined for including and editing noise.
Alter the parameters to regulate the Perlin noise to your choice. First, control the “Scale” to identify the measure of the noise components. A bigger scale produces more unmistakable, broader details; likewise, a smaller scale has mild textures.
Tune the “Amplitude” to control the strength of the noise. Maximizing the amplitude upgrades the visibility of the noise, whereas lessening it makes a subtler impact. Also, try the “Persistence” parameter to influence the way the noise values alter over space. Higher perseverance builds a smoother design, whereas lower values produce a more sporadic appearance.
Use the real-time option of your software to examine the changes if your software provides a preview option. In this interacting process, you can gradually adjust the preferences until you get the intended Perlin noise appearance.
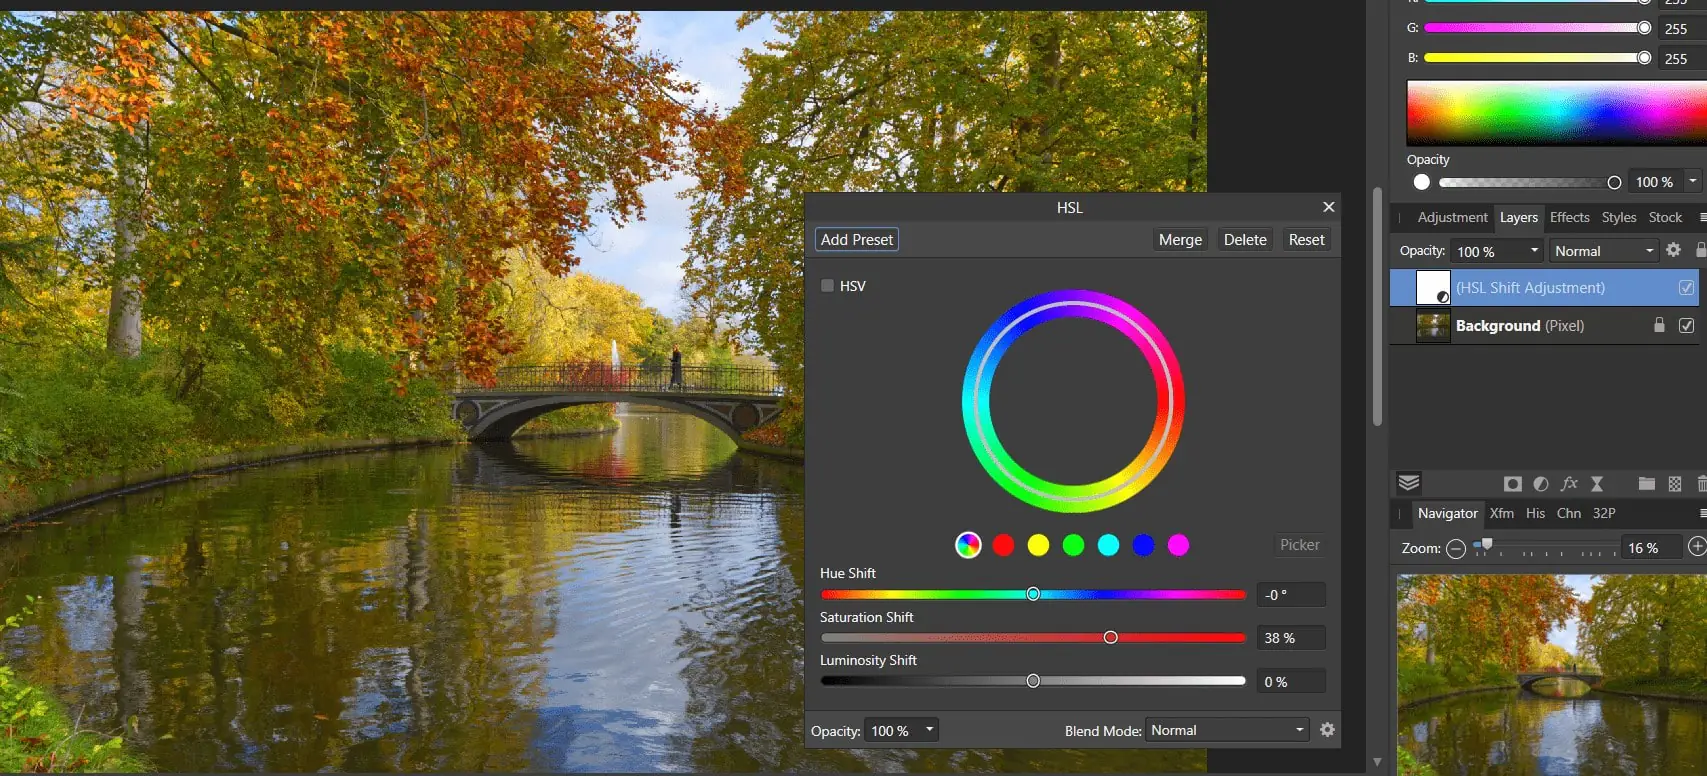
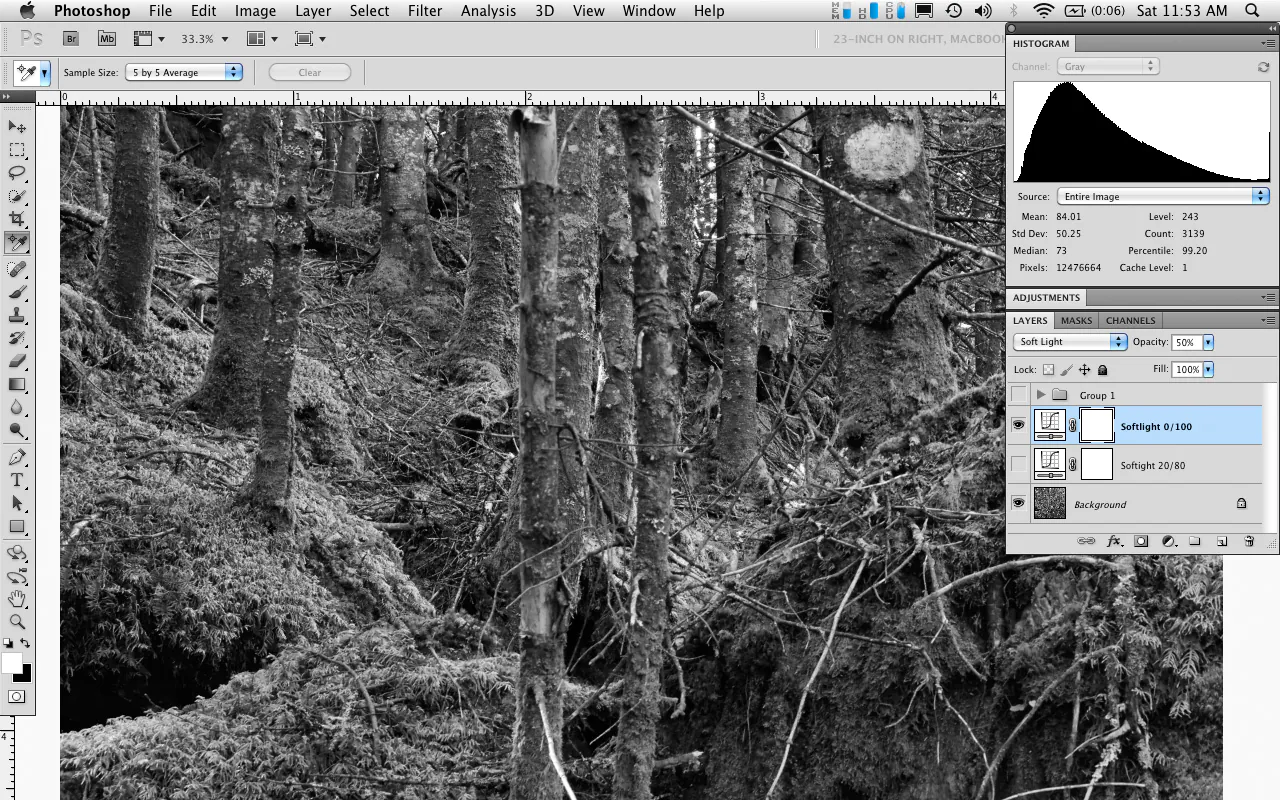
Step 5: Integrating the noise using blending options
After you are satisfied with the Perlin noise effect on the duplicate layer, the next vital step includes blending this noise consistently with the base layer to attain a concordant visual enrichment.
Head to the blending options or modes in your photo editing program, which can be seen within the “Layers” or “Blend” menu.
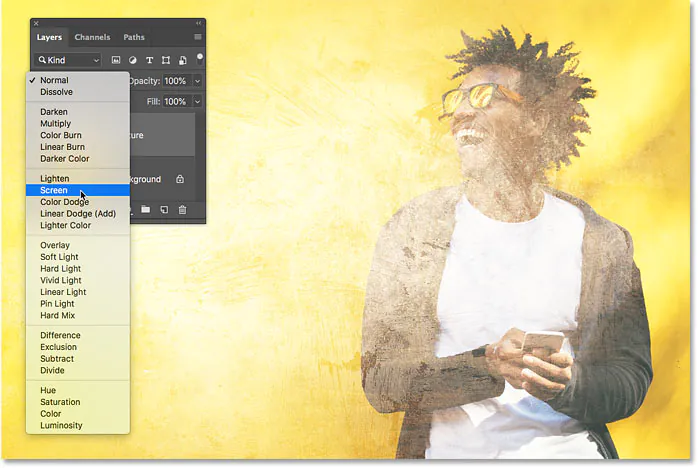
Play with various blending modes or consider the most significant ones, including Overlay, Soft Light, or Screen. These blending modes connect with the underlying layers and define Perlin noise coordination with the base image. Each blending mode confers an engaging visual impact, so select the one that reforms your picture while protecting its originality.
Calibrate the overall effect by setting the opacity of the duplicate layer. This setting directs the transparency of the Perlin noise layer so that you can strike a balance between the modified texture and the source image. Minimizing the opacity delicately merges the noise, whereas more significant opacity stresses its visibility.
Here again, have a real-time preview of your composition as you make these alterations to confirm the effectiveness of the Perlin noise with the base image.
This blending step is essential for accomplishing a natural-looking appearance where the modified elements are consistently coordinated with the initial photo.
Step 6: Trying different adjustments for innovative outcomes
After you are happy with the blending results of the Perlin noise with the base image, it’s time to polish the overall effect and make any fundamental alterations.
Consider accessing the masking options offered by your editing software to choosily apply the Perlin noise to particular zones of the photograph. That creates a more refined and managed improvement.
Assess the composition as a whole and inspect any zones where the noise can be extra-articulated or less noticeable. Alter the mask to selectively uncover or hide the noise and boost the image without dominating key components.
Conduct any further enhancements, such as tweaking contrast, brightness, or colors, to attain the required result. Take a final preview of the image and reassess that the Perlin noise profits the overall appearance without diverting from the image’s true nature.
Once you feel accomplished, save or export the manipulated photo in the required format for your aiming application, like for print, web, or social media.
Step 7: Preserving your creative efforts
After your Perlin noise composition is polished and has attained the needed compelling look, it’s time to save and share your enhanced creation.
Save the final work in a format reasonable for your planning usage, whether it’s JPEG, PNG, or any other format. You can specify a high-resolution adaptation for printing or a web-optimized form for online platforms.
Reconfirm that you have preserved the initial image file and the edited one, retaining a non-destructive workflow. It additionally helps you with future revisions or assessments.
If you want to share the image online, leverage the edited image to flaunt your inventive aptitudes. Whether on social media, photography stages, or individual portfolios, let your group of onlookers acknowledge the impressive improvements produced through the sophisticated application of the Perlin noise effect.
Conclusion
In brief, Perlin noise can exalt images by raising their natural appeal through monitored imperfections. For the visuals, when perfection and accuracy become a bit boring and monotonous, this novice addition strengthens the emotional impact and fascinates the eyes. Nevertheless, not all aberrations or flaws are as eye-catching as the Perlin noise effect. Perlin noise filters work as rectifiers for those distorted images and induce artistic distortion to cover those flaws and create a well-balanced composition. Moreover, it is also a versatile technique in computer graphics and gaming, creating natural effects of clouds, greenery, and mountain-like intricate patterns that make it an enduring tool in almost all digital fields.
