How To Create Impressive Visual Effects Using Global Illumination
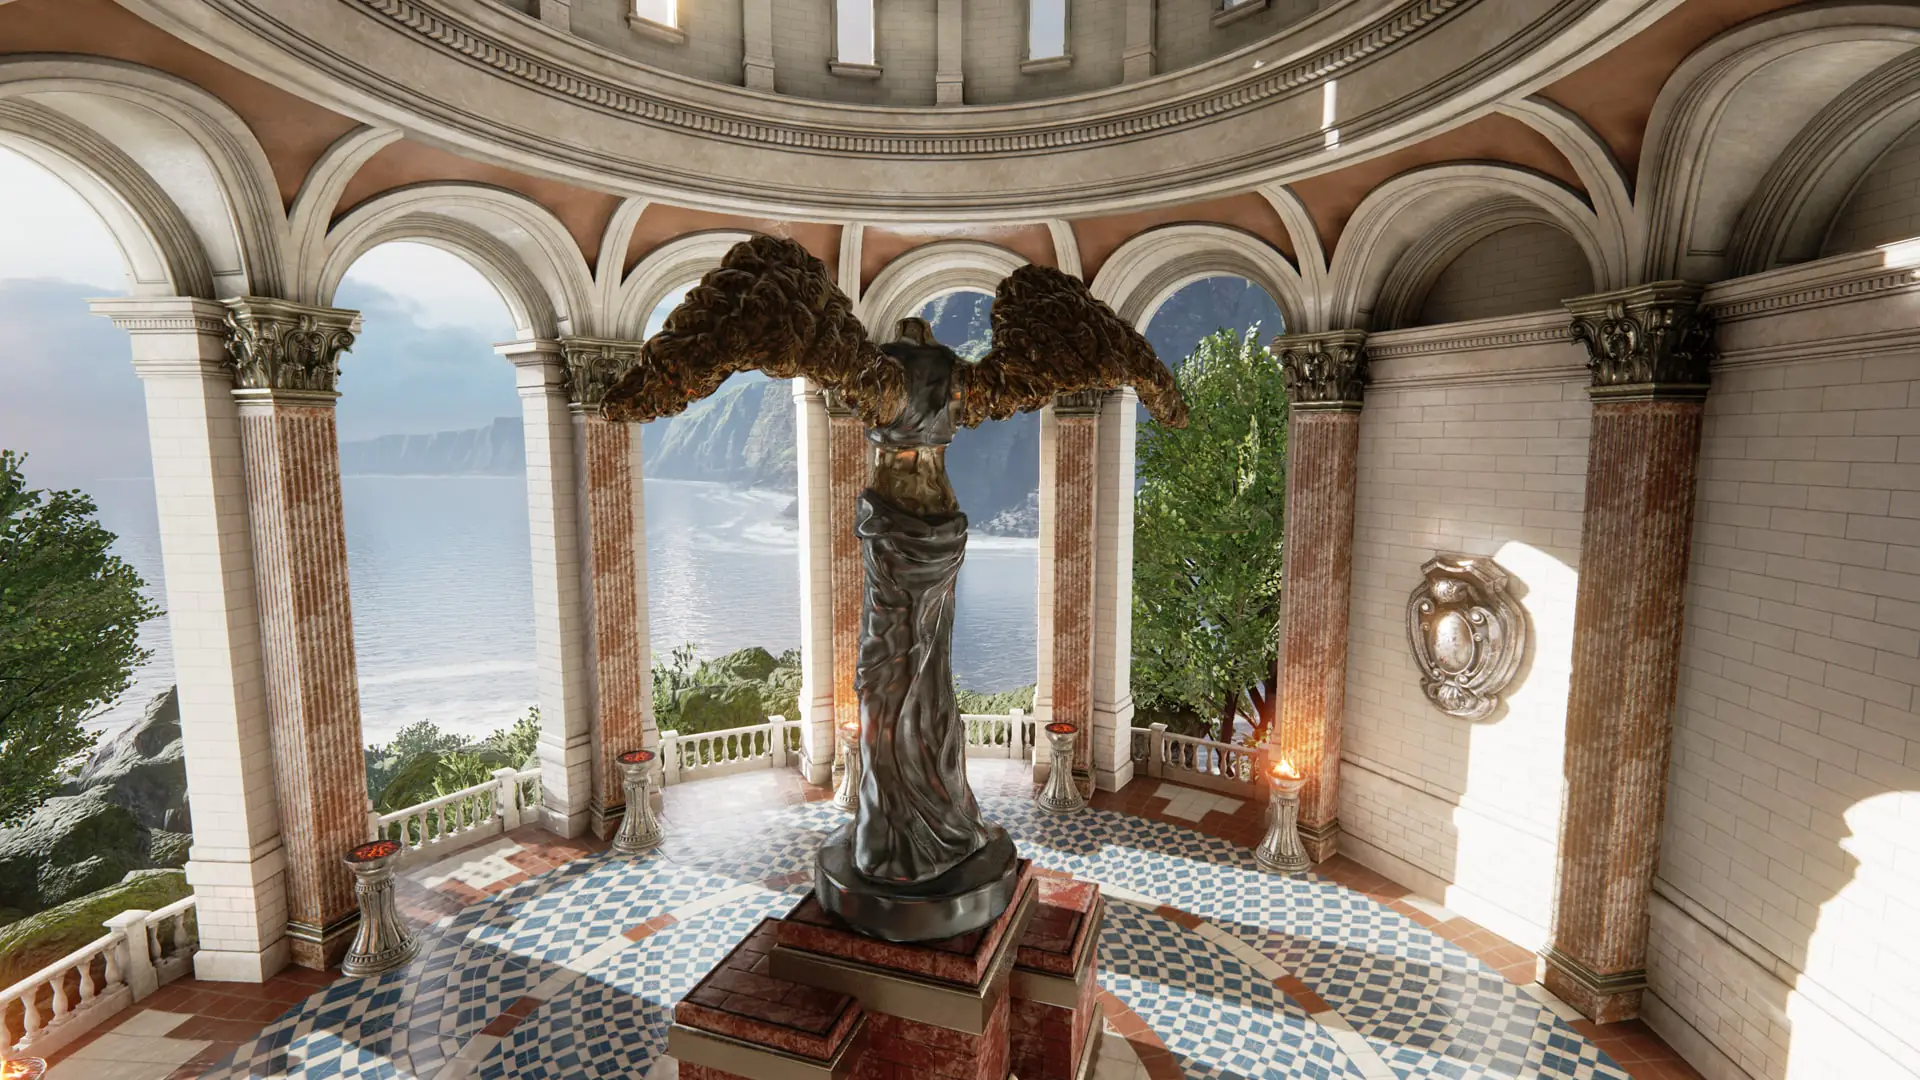
The concept of global illumination has broad spectrum applications in various areas of 3D scenery, computer graphics, and digital images, where it imparts photos with natural lighting effects in the exact way that natural lighting actually affects the objects. In contrast to the surface-level lighting effect, which is an apparent adjustment of shadows and highlights, global illumination serves as a virtual photographer. It possesses the power to create organic, soft shadows and reflections, replicating the effect of an actual sunny day. The edited visual exhibits various effects like realistic shadows, reflections, and delicate color variations, resembling the interactions of natural sunlight with a scene. This technique offers you the capacity to create your parameters of light and its attributes, giving the images you edit a compelling and authentic look while simultaneously expanding their visual persona. To integrate these detailed lighting manipulations into images, you need capable image editing software like Photoshop, or you can also look into 3D modeling applications like Blender or 3D Maya. This blog post will provide a brief outline of how to work on global illumination to create a bright and visually impressive scene that astounds the audience with an acute, genuine vibe.
Step 1: Source File Identification And Software Selection
Select the appropriate editing application to work on global illumination settings. Begin the process in view of your project, like contemplating whether your source materials are 2D pictures or 3D scenes.
For 2D images, Adobe Photoshop could be an omnipresent choice, known for its flexibility and broad set of features. On the other hand, for 3D scenes, consider a program like Blender, which offers a comprehensive suite of adjustments for 3D modeling and rendering.
Play with different tools and options within the software to increase familiarity with the chosen software and enjoy a smooth workflow later when you come to the main editing phases.
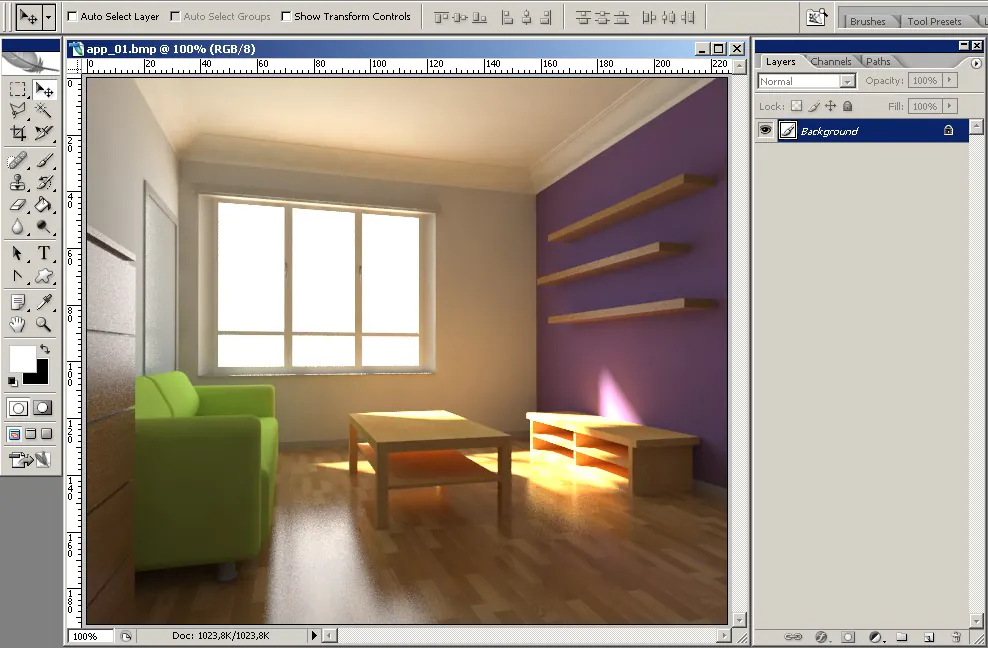
After deciding and getting familiar with the software, you can now import your source image into the canvas.
Proceed to the File menu option and click Open or Import to browse your image on your PC. Be careful about the image preferences corresponding to your project requirements, like size, resolution, and color mode.
Once you have the software set up and your image loaded, you can start your quest for natural lighting and the richness that global illumination will bring.
Step 2: Duplicating The Original Image
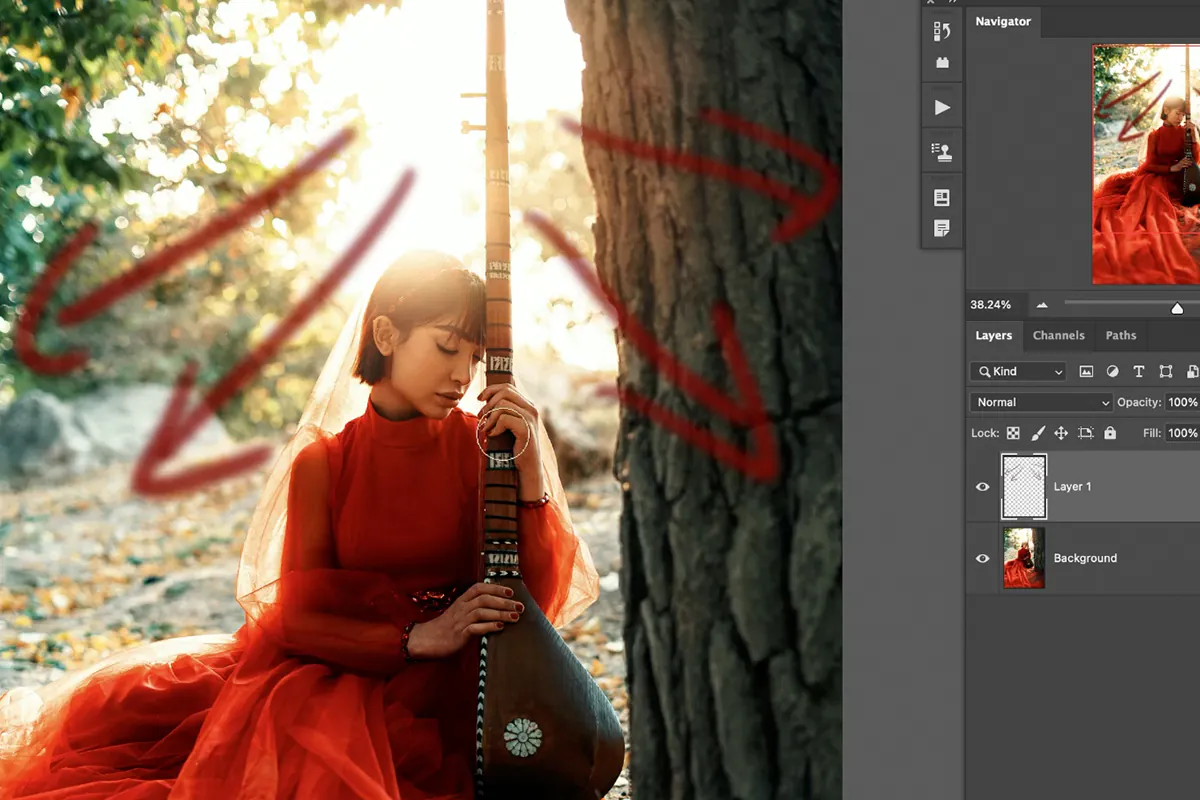
The copied layer of your original image will be the place where you can work on your image enhancements without affecting the original, using it later for comparing before and after image appearance.
Navigate to the image you’ve loaded and locate the original layer. This layer represents your base image, which contains the fundamental details.
Next, make a copy of the base image layer. Many programs contain quick options to do this. If you are using Adobe Photoshop, for instance, right-click on the original image in the Layers menu and tap on Duplicate Layer. Consider designating a distinct title to your duplicate layer to approach it later instantly.
You’ll employ this duplicate layer for all your modifications related to global illumination effects. It is a backup of your original image. If, at any point, you need to resume or want new adjustments, your source image is still there for a fresh start.
Step 3: Readjusting The Light Source Settings
Assess the existing lighting conditions of your image by examining the light sources, including the natural sunlight, fancy lamps, or any other glowing stuff within the photograph.
Get to the lighting tools and adjustments to your software. Typically, lighting options vary in different applications, but the most common names are directional lights, point lights, area lights, or physically-based lighting models.
It would help if you considered the atmosphere you want to create and choose the lighting option accordingly.
Apply the selected light sources to suitable regions of the duplicate image. Tune the light source until you get the perfect lighting effect. For instance, if you want to simulate a sunny scene, position a directional light source on your image while modifying its brightness as required.
Next, focus on the color and temperature of the lighting effect. Different light sources radiate light with specific shades and warmth. So, you must focus on this aspect to create a realistic impression.
Experience multiple lighting conditions and tweaks to explore the most fitting kind of light for your composition. It may lead you to bring innovative effects to the image.
You can also choose multiple kinds of light for the same composition and build elaborate lighting outcomes for tricky settings. Also, play with shadows, highlights, and color hues to enhance the uniqueness and beauty of your light image.
Step 4: Reflection And Shadow Manipulations
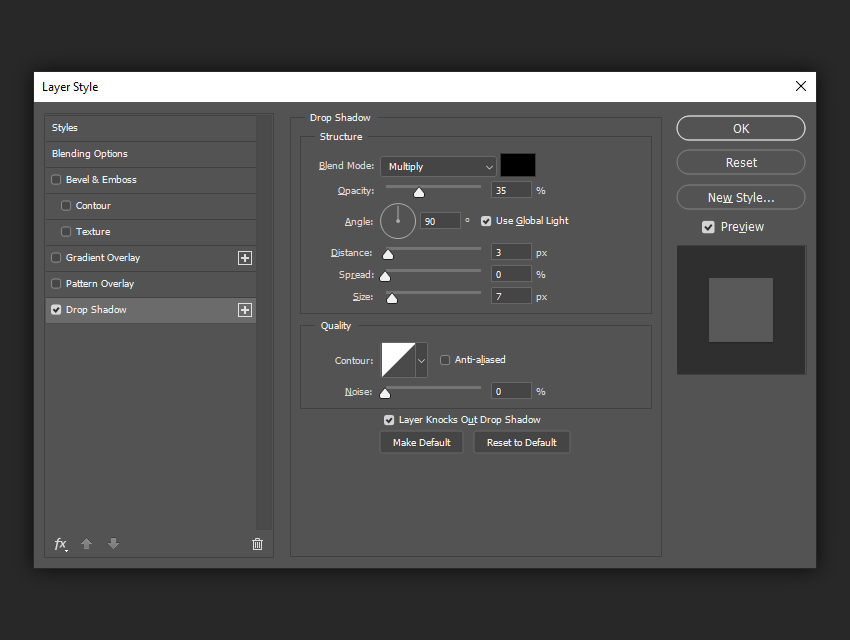
After you’ve configured your lighting sources and adjusted hues and temperatures, continue with modifying shadows and reflections. To obtain impressive effects, make use of the shadow and reflection tools included in your chosen editing software.
Begin by thoughtfully checking out your scene to see whether objects cast shadows and how their surfaces transmit light. Use tools like the shadow and reflection adjustment layers or filters made available to fine-tune these aspects. Control the intensity and softness of shadows with soft brushes or gradients to make sure that they balance the lighting sources precisely.
To simulate reflections, analyze the objects’ surfaces that make up your image. Different surfaces refract light slightly differently. Try out manipulation with the reflection settings, including specular and reflection maps, to resemble these material traits minutely.
Elevate the realism by altering the reflection level using advanced techniques such as ray tracing or environment mapping.
Step 5: Augmenting Shadows With Ambient Occlusion

Advance your global illumination composition and improve its integrity by integrating ambient occlusion into it.
Using the ambient occlusion shading approach, you can recreate the natural phenomenon of light blocking by translucent objects. It will lead to the casting of soft shadows on the edges and gaps.
To apply this effect, explore the Ambient Occlusion Pass or AO Map options in your software. Such functions enable you to regulate the intensity and spread of ambient occlusion, creating a perfect harmony of lights and shadows.
Adapt the radius and quality extent of the ambient occlusion to correspond to your scene’s illumination and environment. You can also manually apply ambient occlusion to your preferred spots.
Try multiple ambient occlusion features and choices to produce the supreme level of realistic feel for your creation. Once done correctly, ambient occlusion will include a sense of naturalism that makes your image sound more organic and striking.
Step 6: Refining Global Illumination Composition
Improve your global illumination task competency by addressing different post-processing techniques. The significant prospects are as follows:
Light Bloom: Bloom replicates the effect of the dispersion of light in a camera lens, resulting in a gentle and shining effect around vibrant regions in your image.
Lens Flares: Lens flares mimic the optical distortions that happen when light traverses a camera lens. To raise the profundity, play around with varying kinds and magnitudes of lens flare effects.
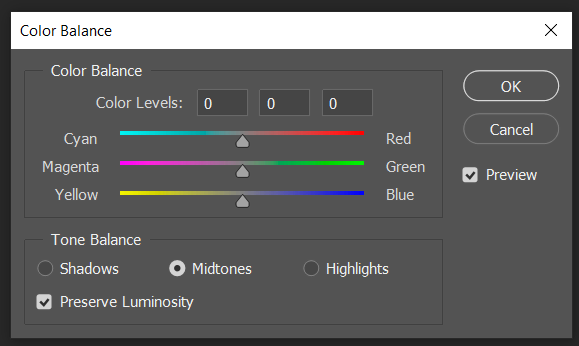
Color Grading: Color grading manipulates the colors and saturation in your image to create a specific state or environment. Apply color grading tools to polish the general color harmony, contrast, and saturation of your photograph.
Stick to moderation when applying these post-processing techniques, and you will make your global illumination effect more elegant and competent, which can draw in your viewers.
Step 7: Final Examination And Tweaks
In the final step, you have to evaluate your image, focusing on every major or minor detail.
Stick around, tuning the intensity and properties of all the light sources in your panorama. Regulate the brightness, color, and temperature of each light for a persuasive effect and customized composition.
Life-like scenes are prone to glitches such as lens distortions, dust specks, or mild anomalies. Implement these faults deliberately to increase the realism of your image. You can use brushes or filters offered by your software.
Tune up the overall temperament of your scene. Modify the backdrop aspects, such as the sky or surrounding objects, to suit the lighting and hour of day you’ve chosen. It will contribute to the overall harmoniousness.
After incorporating these exemplary details and refining your image to perfection, your final image is all set for exporting and sharing on various social platforms.
Conclusion
In conclusion, global illumination techniques can assess and lift the lighting conditions of scenes. It can magnificently induce the natural attributes of light, like casting shadows, dispersions of rays, and reflections, creating a remarkably genuine feel. Likewise, due to its prime potential for simulating natural sunshine and artificial lights, it serves various applications, specifically in product presentation and advertising. Global illumination is an indispensable resource for upgrading the realism and integrity of 3D scenes and digital images. It provides astounding visual effects that challenge viewers for their proximity to real-world lighting effects.
