
How To Use The Minimalism Approach In Images
Besides lifestyles, interiors, and architecture, the minimalism approach prevailing in several disciplines relevant to art and design also takes its scope in image enhancement for its simplified aesthetic charm. Including limited color palettes, tidied backdrops, clear lines, and patterns, minimal art manifests a feel of proportion and parallelism, which is quite soothing to the eyes. The planned scaling down of extra elements inspires viewers to cut down on material possessions and discover contentment in a life of clarity and simplicity. The essential parameters for editing images with a minimalist approach include negative space, selective focus, high contrast levels, minimal backgrounds, selective focus, cropping tools, and resizing choices. The editors can manipulate these crucial aspects and introduce a magnificent minimal atmosphere to their photographs that greets eyes with breathtaking sights of purity and naturalness. This blog will address how to work on the said editing strategies for the fruitful process of applying minimalism and modifying images into minimalist artworks.
Step 1: The Subject Choice
Spot the subject or primary focus of your photograph. You can go for an object, an individual, a scene, or any component you like.
Verify that the subject is distinct and effortlessly recognizable. Abstain from cluttering the image with numerous competing components.
Select a subject that passes on simplicity and transparency. Seek for objects with clean lines, eminent shapes, and negligible diversions.
Consider the general message or temperament you need to communicate through the subject. Picking a clear subject helps to set up a central point and direct the viewer’s consideration.
Survey the foundation and environment of the subject. Make sure the foundation complements the subject and does not brush aside from its importance.
Try discrete angles and viewpoints to discover the most effective way to capture the subject’s pith.
Reflect that the subject doesn’t need to be excessively complex to be visually mesmeric. So, simplicity is the key.
Step 2: Removing Extra Components
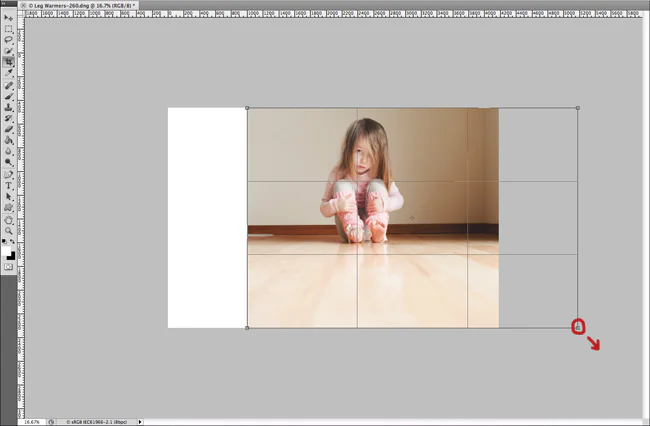
Utilize cropping tools to expel diverting components from the edges of the picture.
Utilize the clone stamp tool to evacuate undesirable objects or flaws from the image consistently.
Play with the healing brush feature to dispose of flaws while protecting the general surface and detail.
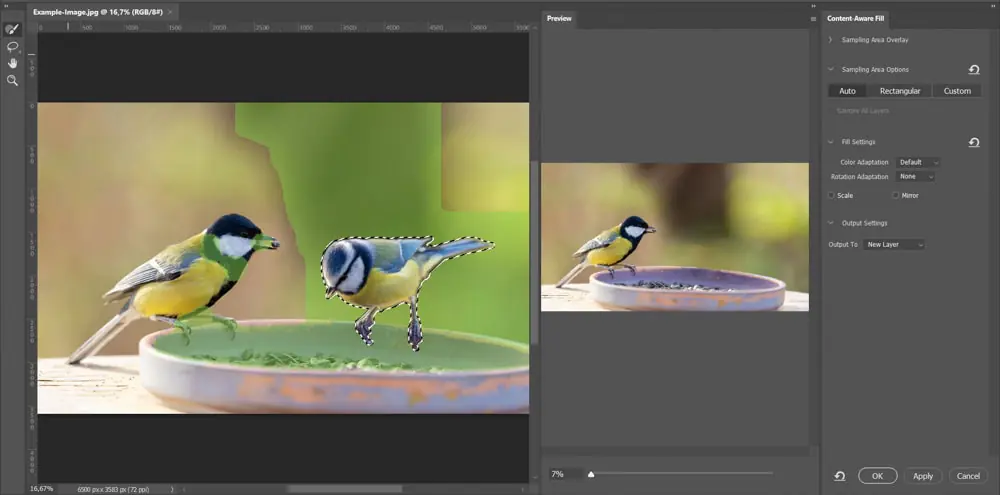
Utilize the content-aware fill to fill in ranges where components have been expelled, keeping up visual progression.
Look at adapting the composition by moving components inside the frame to form a cleaner and more adjusted setup.
Utilize layer masking strategies to hide or reveal parts of the photo, assuming the fundamental components.
View the image’s general visual flux and evacuate any components that disturb the viewer’s gaze or belittle the subject.
Regularly zoom in and assess the image at different levels of detail to distinguish and dispense with any neglected hindrances.
Step 3: Including Negative Spaces
Utilize negative space deliberately to form breathing room around the most subject, letting it stand out more noticeably.
Access the rule of thirds or other compositional recommendations to decide the subject’s situation inside the negative space.
Try using multiple proportions of negative space to the subject, keeping a balance that improves the overall composition.
Employ minimalistic backgrounds or plain surfaces with negative space and draw consideration to the subject.
Avoid cluttering the negative space with excessive components that seem to deflect from the central pivot of the picture.
Check out how negative space can contribute to the spirit you need to inspire within the image.
Consider the shapes and forms made by the negative space, as they can forge interest and acuity in the composition.
Keep in mind that negative space doesn’t have to be thoroughly desolate; it can moreover comprise inconspicuous textures, gradients, or designs that harmonize with the subject.
Step 4: Limitizing The Colors
Evaluate the colors displayed in your shot and distinguish the prevailing tints.
Adopt a constrained set of colors that synchronize well with each other and contribute to the specified disposition or aesthetic.
Tap into a monochromatic or closely resembling color scenario to make a cohesive and gratifying palette.
Utilize color alteration tools to desaturate or dampen certain tones, lessening the overall convolution of the color palette.
Play with sole colors’ brightness, contrast, and saturation settings to attain the required effect.
Pay heed to various colors’ enthusiastic affiliations and social implications, checking that they conform to the image’s message.
Assess the part of color that directs the viewer’s focus and emphasizes vital components inside the composition.
Be after simplicity and limitation in your color choices, desisting from unnecessary variation or complexity that might underrate the overall effect of the artwork.
Limiting your color palette lets you create cohesive, agreeable, and striking pictures while underpinning the moderate style.
Step 5: Introducing Simple Patterns
Point out the essential lines and shapes existing in your image, covering straight lines, bends, circles, squares, and triangles.
Harp on clean, well-defined lines and shapes that accord to the composition’s uniformity, simplicity, and clarity.
Deploy composition strategies like leading lines to direct the viewer’s eye toward the photo’s most noteworthy subject or foremost point.
Attend to the parity and proportion of lines and shapes inside the frame, ensuring they proceed instead of competing with each other.
Rearrange complex shapes by breaking them into their fundamental geometric components, working on clarity and straightforwardness.
Try out framing and cropping techniques to highlight exciting patterns and shapes inside the image.
Consider the application of negative space to improve the perceiveability and effect of clean lines and shapes, permitting them to stand out more conspicuously.
Try getting the accuracy of details within the execution of clean lines and shapes, utilizing editing tools and procedures to refine and upgrade their appearance.
Step 6: Harmonizing Overall Composition
Assess the course of action of components inside your photo to have a sense of harmony and concordance.
Look for symmetrical or stabilized compositions where visual weight is conveyed equitably over the frame.
Exercise the rule of thirds or other compositional rules to partition the image into areas and put key components deliberately.
Examine objects’ size, shape, and arrangement inside the outline to preserve visual stability.
Check out mirroring or reflection alternatives to form symmetrical designs and compositions.
Test with varying viewpoints and angles to attain symmetry from different perspectives.
Be sure that you are not packing one zone of the image while leaving other zones inadequate; aspire for a balanced dispersion of visual components.
Keep in mind that balance and symmetry can likewise be accomplished through off-balance compositions, where visual weight is conveyed in a way that feels deliberate yet agreeable.
Step 7: Uncluttering the Backdrop
Survey the general composition of your photograph and check for any components that will play down from the acute point or message.
Evacuate pointless diversions or clutter that contradict the tale’s purpose or aesthetics.
Streamline complex scenes by highlighting the essential components that convey the main message or feeling.
Include negative space deliberately to form breathing room and accentuate the subject or central point.
Apply minimalistic backgrounds or settings to improve the clarity and effect of your composition.
Try varying framing and cropping techniques to confine key components and dispose of unessential points of interest.
Keep a clear visual progression inside the composition so that the foremost critical components are emphasized and effectively identifiable.
Look for grace and restriction in your composition, permitting the viewer to lock in with the composition without feeling overpowered by needless complexity.
Step 8: Employing Minimalist Signature Strategies
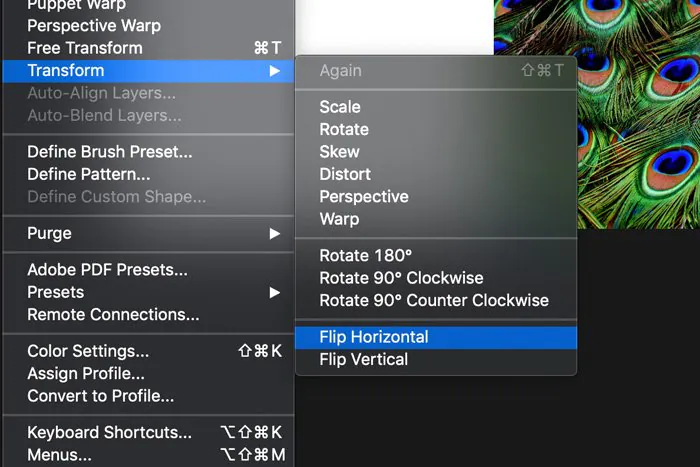
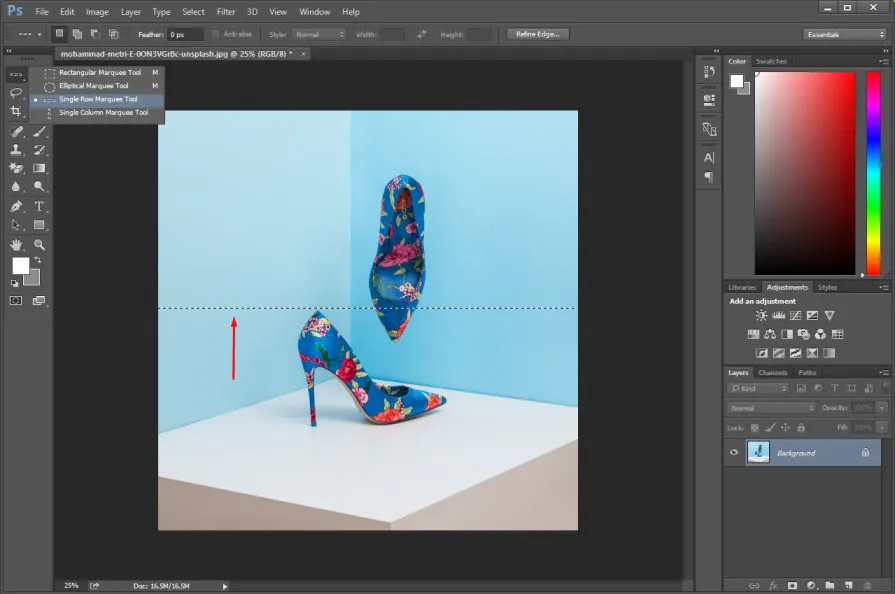
Look out for different minimalist strategies such as negative space, high contrast, and selective focus, which are accessible in software like Adobe Photoshop or GIMP.
Practice with different editing tools and alterations inside these programs to polish the composition and improve the minimalist elegance.
Utilize highlights like adjustment layers, curves, and levels to tune your work’s contrast, brightness, and color parity.
Avail of plugins or presets planned mainly for minimalist photography to simplify editing and accomplish reliability.
Experiment with blur effects, gradients, and overlays to make mild shifts and include profundity in your compositions.
Test with cropping and resizing features to discover distinctive compositions and central focuses inside your images.
Employ the histogram tool to analyze the tonal range and conveyance of light and shadow inside your images, assisting you in achieving the required harmony and contrast.
Take advantage of online instructional exercises and assets to acquire new strategies and develop your minimalist editing aptitudes.
Conclusion
In summary, the implication of vibrancy and colorfulness in visual art is, though undeniable, that photos comprising minimalism still carry their significance. Likewise, with the existence and evolution of art and design varieties, human nature and perception of magnificence and aesthetics also range. Moreover, minimalist art is a form of art that everyone appreciates, irrespective of age, perceptivity level, or attraction to bright hues, as it always eases eyes with its relaxed shades and patterns. No matter how much sensation you have about kaleidoscopic and vibrant designs, with the inclusion of minimalist art in your images, the outcomes will never stop fascinating and astounding you.
