How To Make A Photo A Chalkboard Artwork
A chalkboard artwork indicated by an orthodox technique and substantial appearance induces a sensation of sentimentality and wistfulness. By introducing this art to your photographs, you can reinvent them in an innovative way, which is contrary to many other editing effects yet acts as dominating and cherished enhancements. The raw and organic texture used as background in creating chalkboard art arouses familiarity and genuineness that pulsate the audience to attract more profoundly and get charmed. Besides creating a chalkboad look of your image subject, you can also include dazzling typographic elements like quotes and messages with varying fronts styles, thus promoting the narrative attributes of the image. The significant adjustments in modifying a photo into a chalkboard look include contrast settings, level adjustment, texture overlays, shading effects, and other enhancing filters and effects. This blog article will resume the discussion on creating a chalkboard artwork composition, exploring the detailed steps, tools, and integral modifications involved.
Step 1: Choose the base photo
Select the photo that will serve as the base for your chalkboard artwork. Prefer high-resolution pictures with sharp details and adequate contrast. Search for images highlighting particular subjects or adorable compositions, as these components will adapt successfully into chalkboard art. Think about your artwork’s goal subject or message when selecting the photo.
Attend to the components such as lighting, composition, and the whole feel conveyed by the picture. Confirm that the chosen photo accommodates your inventive vision for the ultimate artwork. High-quality photos give a strong starting point for the enhancement, enabling superior clarity and detail within the last chalkboard-inspired piece.
At last, the selected photo will be the kernel of your artistry, directing later editing choices and inventive improvements. Choosing a compelling picture that resounds along with your creative vision sets the stage for an effective transformation into charming chalkboard-style art.
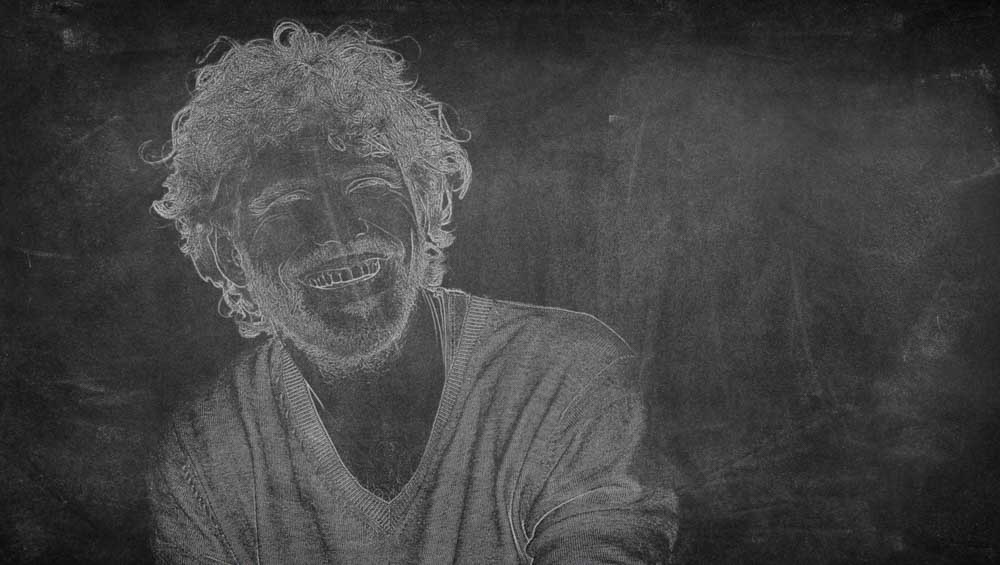
Step 2: Turn the image into black and white

This step involves to change over your chosen photograph to black and white using a photo editing program such as Adobe Photoshop or GIMP. This change is the foundation of the chalkboard effect and fixes the contrast between light and dark zones.
Alongside changing over to black and white, consider utilizing tools for contrast modification and levels adjustment to reform the picture. These features offer assistance in guaranteeing that the photo has unique highlights and shadows, which are fundamental for recreating the finished surface of a chalkboard.
Access your software’s selection tools to confine particular zones of the photo for more focus on adjustments. For instance, consider the lasso tool to choose individual components or the brush tool to refine zones with finer details.
Test with differing settings and alterations to attain your chalkboard composition’s specified appearance and vibe.
Step 3: Control contrast and level settings
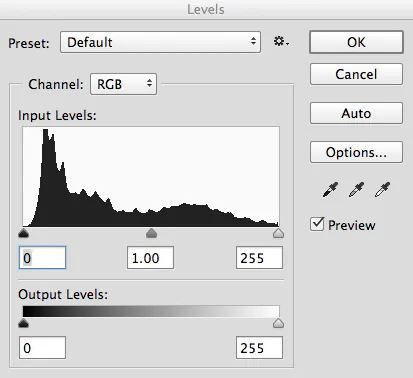
After changing over to dark and white, move on to altering the contrast and levels of your photo to heighten its visual effect. Utilize the contrast setting options to open up the contrast between light and dark regions, making a more energetic and winsome composition. This step is significant for recreating the finished surface of a chalkboard and including profundity in the artwork.
Besides contrast, utilize the levels modification tool to elevate the broad tonal range of the picture. Altering the levels facilitates so that the photo holds clarity and detail while accomplishing the required adjustments between highlights, midtones, and shadows.
Play with distinctive settings and adjustments to get ideal outcomes. Be considerate of the ranges of the photo that will require additional contrast or brightness modifications to touch up their perceptibility and effect.
Check out masking techniques to add alterations to particular image ranges and for more exact control over the ultimate appearance.
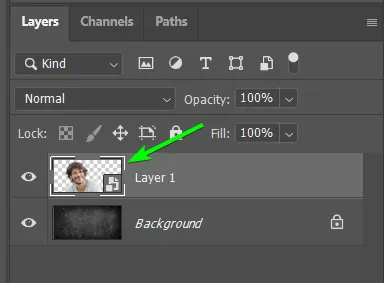
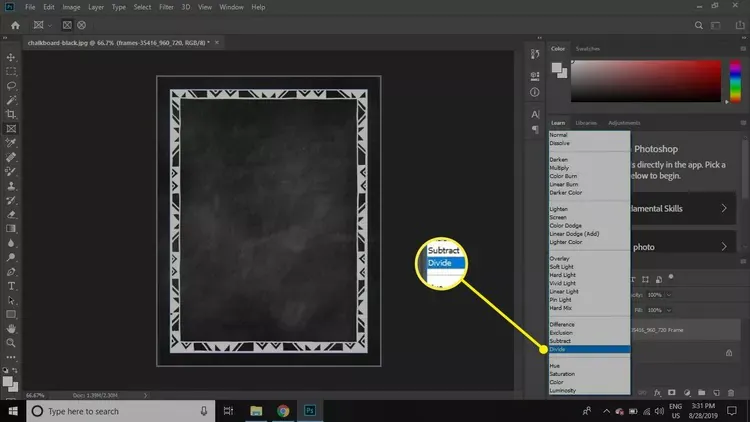
Step 4: Add textures resembling chalkboard surface
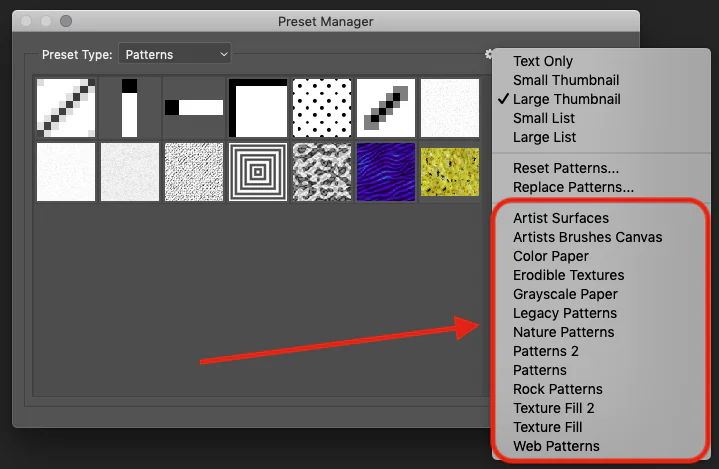
Select an appropriate chalkboard texture that complements the layout and disposition of your work of art. You can discover chalkboard textures online or make your personal utilizing digital drawing programs.
Add the chosen chalkboard texture onto the photo with the help of your software’s layering feature. Alter the opacity and blending mode of the texture layer to coordinate it with the primary picture consistently. Look for a characteristic and natural appearance that mirrors the texture of a genuine chalkboard.
Seek out zones of the photograph where the chalkboard surface may have to be intensified or repressed to preserve visual coherence. Utilize masking and blending strategies to refine the texture’s show and ensure it fits the general scheme of the composition.
Regularly evaluate the link between the photo and the chalkboard surface, making amendments to attain a pleasing harmony.
Step 5: Add hand-drawn effects
Next to the chalkboard texture being successfully combined, you can optionally include hand-drawn components and typography to reinforce the chalkboard artwork. Utilize digital drawing brushes or alternatives within your chosen program to draw these components.
Reflect on the subject and temperament of your artwork when including hand-drawn features. Consider incorporating borders, frames, twirls, or other embellishing highlights usually seen in chalkboard art. Try multiple designs and shapes to attain the required look.
Consolidate typography to communicate messages, quotations, or captions inside the artwork. Select textual styles that complement the overall fashion and meaningfulness of the chalkboard plan. Check out lettering styles such as cursive, serif, or sans-serif to include visual enthrall.
Reconfirm that hand-drawn components and typography are deliberately set to magnify the composition and stream of the artwork. Assess spacing, arrangement, and progression to form a cohesive and satisfying plan.
Persistently refine and emphasize the arrangement and appearance of hand-drawn components and typography until you accomplish the specified appearance.
Step 6: Emphasize chalk outlines using brushes
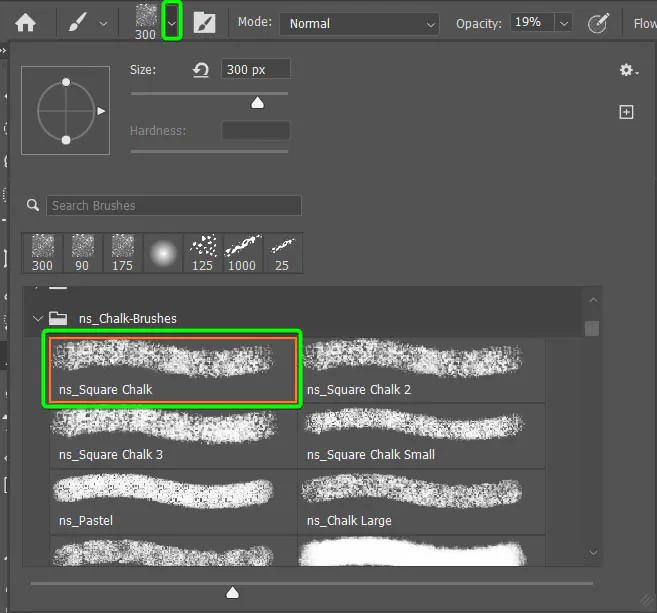
Try the brushes or drawing tools your editing application offers to form chalk-like strokes and surfaces. Play with shifting brush sizes, opacities, and surfaces to attain raw chalk impacts. Mirror the typical irregularities and defects of hand-drawn chalk lines to include realness to the work of art.
Be considerate of aspects like highlights, shading, and texture settings to deliver the artwork’s profundity and character. Employ lighter tones to reenact chalk highlights and darker tones for shading and richness.
Observe the arrangement and central projections of the compositions when applying chalk effects. Improve critical components or significant points with extra specifying to draw the viewer’s focus and make a visual enticement.
Persistently adjust and revamp the chalk effects and alter them as required to achieve the specified level of authenticity. Step back intermittently to evaluate the whole composition and make essential alterations for symmetry and interrelatedness.
Step 7: Experiment with typography parameters
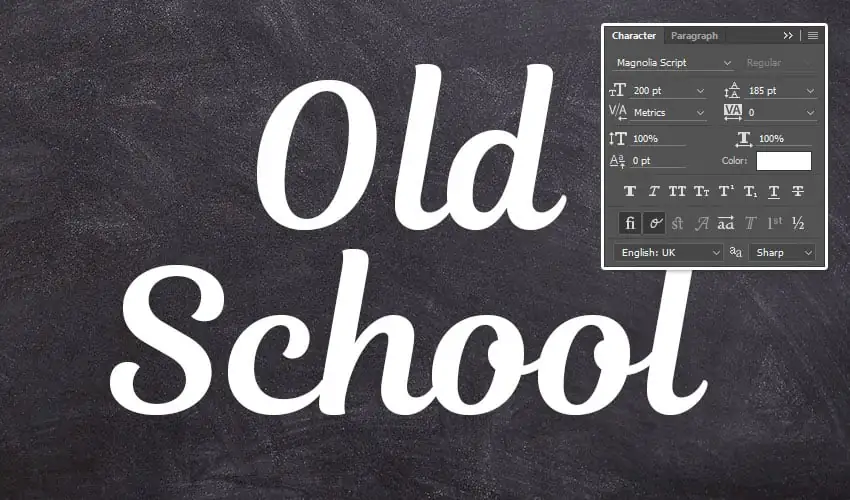
Try out multiple fonts, sizes, and styles to accelerate the visual charm of the typography. Look into the overall essence and temperament of the artwork when selecting textual styles, checking that they comply with the specified aesthetic.
Alter letter spacing and line stature to attain ideal coherence and proportion.
Include details such as embellishing motifs, designs, or topical components that complement the plan. These details can improve the uniqueness of the work of art and add to its visual abundance.
Take note of the situation of typography and subtle elements inside the composition. Confirm that they harmonize with the hand-drawn components and chalk effects, making a cohesive and harmonious visual story.
Persistently refine and underscore the typography and details, looking for an agreeable integration inside the chalkboard artwork. Consider the general rhythm of the composition and make alterations to improve the narrating or thematic dimensions.
Step 8: Survey the compositions and save the final results
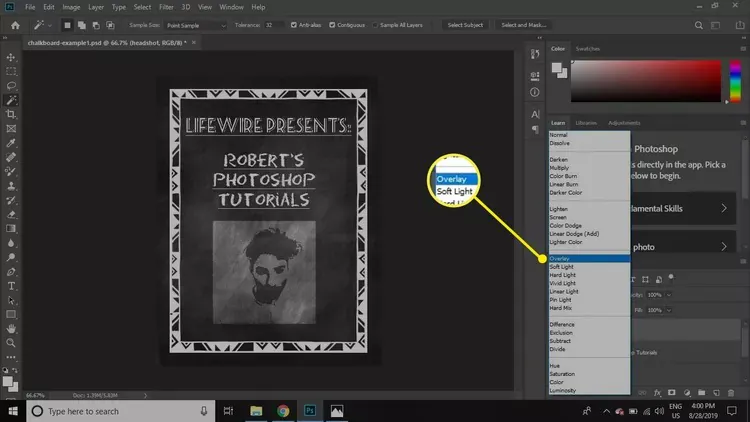
Analyze the composition, addressing specifics including parity, arrangement, and, in general, visual pecking order. Make alterations as required to upgrade the organization and coherence of the artwork.
Assess the color palette and tonal dispersion, ensuring that colors are cohesive and complement each other, chipping into the aspired mood.
Direct each component, including typography, textural details, and chalk effects. Closely assess the consistency and meaningfulness, making essential alterations to increase clarity and visual development.
Assess the thorough presentation and expected setting for the artwork. Plan the ultimate form for display or sharing to optimize for the desired medium and format.
Look for input from other artists to pick up new viewpoints, recognize ranges for enhancement, and perform further refinements.
After going through the wrapping-up phases and reforming your chalkboard artwork with consideration to detail, your mesmeric piece is ready to dazzle viewers and convey your aesthetic mindwork.
Conclusion:
In summary, a chalkboard artwork, though seemingly withstanding colors and vibrancy, has individual recognition. The classic look is suggestive of old school times with time-honored education resources, flaunting nostalgia that takes the spectators into golden childhood memories. The approach at the core can surpass merely recasting photos into chalkboard illustrations and is more than an inventive experience; it’s a celebration of creativity, legacy, and community. The chalkboard artworks greet us to rediscover the sorcery of high-quality art in a world driven by fiction. It also prompts us to discover the rule of imagination to motivate and boost the spirit.
