How To Use Realism Art In A Photograph
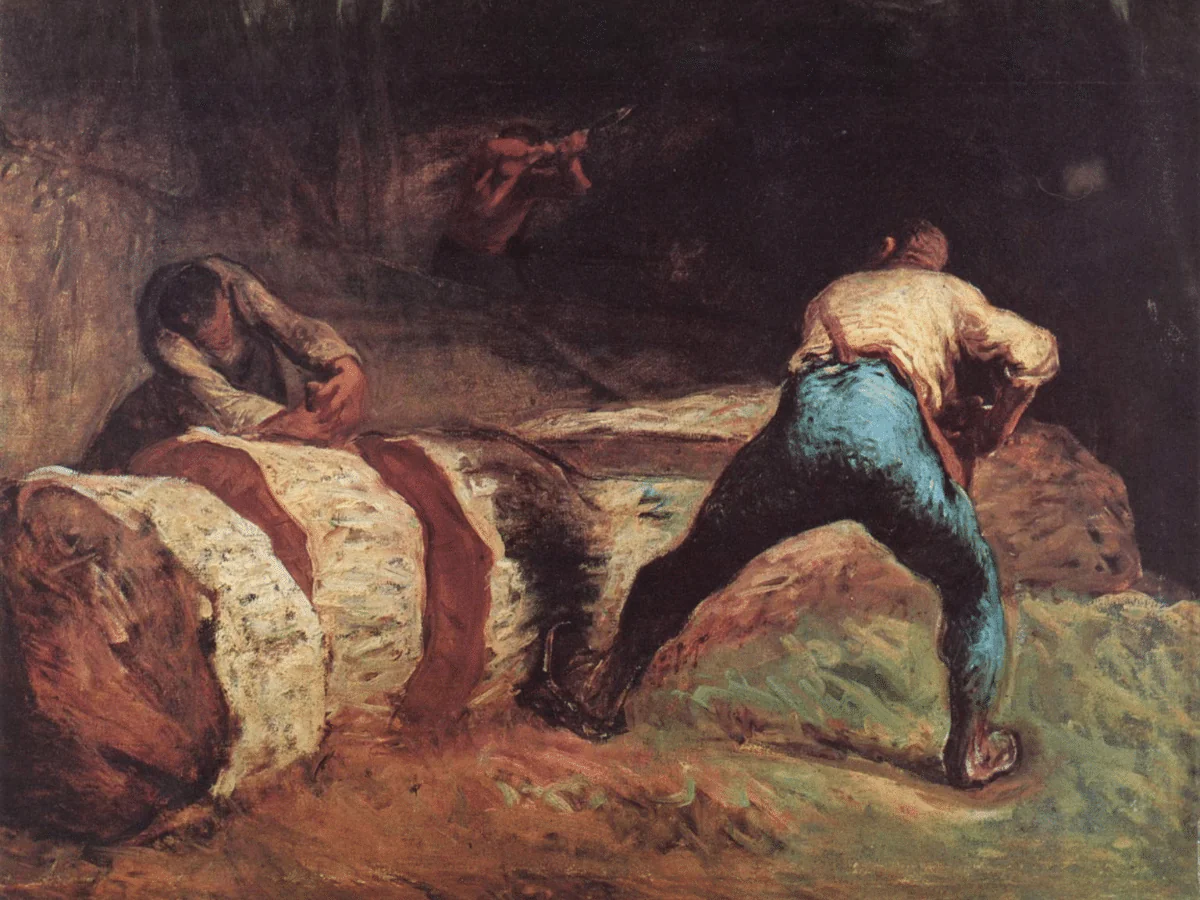
Realism art, a significant art movement of the late 19th century, gained a lot of recognition at the time because of its unique breakaway from typical idealistic portrayals of a scene that prevailed at the time. In a contradiction of fantasy and romanticism, realist artworks of the bygone times emphasized the raw depiction of a scene in a very realistic way without introducing extra fancy and embellishing components. Artists who favoured this genuine art technique strived to picture the everyday life of ordinary people with a high level of honesty and moderation. In the modern era of extensive digital artworks realism art approach is still adored in the creation of designs, illustrations and images. Artists and image editors aim to present the natural and organic content appreciated and valued by contemporary audiences. This genuine art effect is also introduced to photographs using adjustments like colour balance, contrast, brightness, noise control, sharpness, and minimal retouching. The practical steps to include realism, art elements, and setting in an image are as follows:
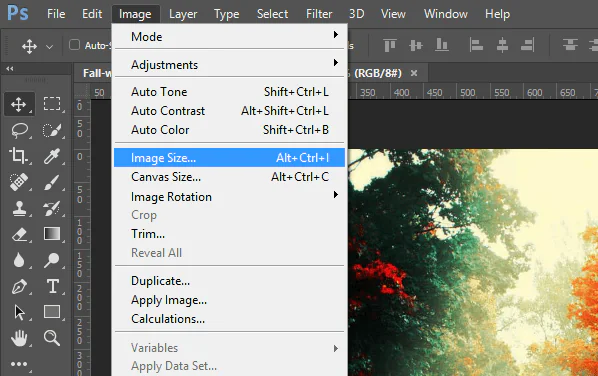
Step 1: The Initial Tweaks
Select a photograph with a compelling composition. Prefer clear subject matter, harmonious components, and an appealing setting.
Evaluate how the primary subject and supporting components are surrounded within the photo. Confirm that the situation contributes to the general aesthetic and genuineness.
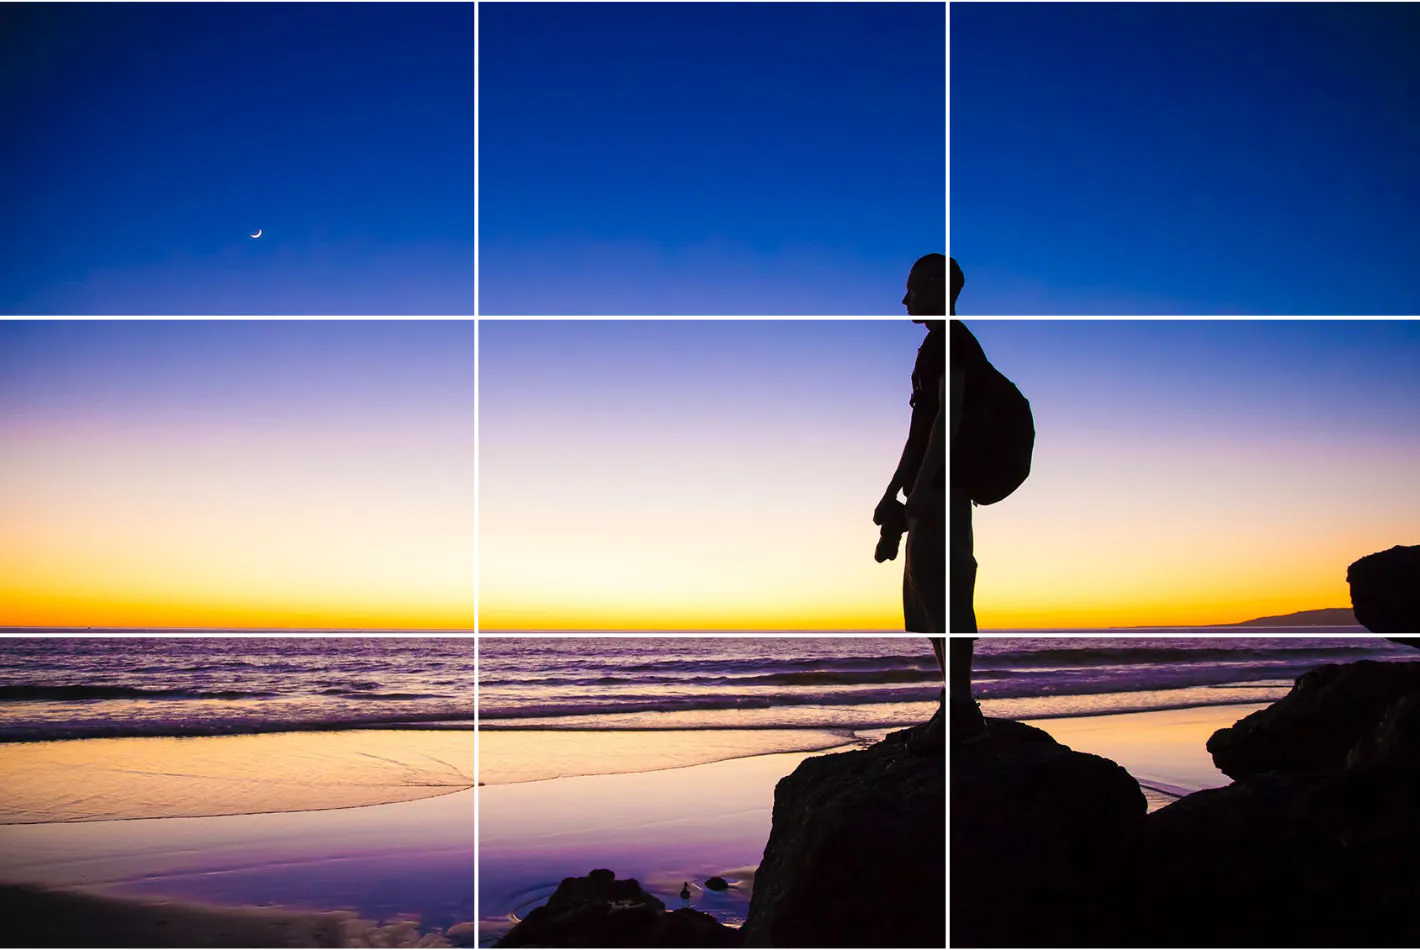
Employ composition rules like the rule of thirds, leading lines, or framing to direct the viewer’s eye. These features can improve the visual appeal and narrative aspect of the photo.
Navigate diverse angles and perspectives captured within the photo. Select a perspective that appears natural and includes profundity in the composition.
Utilize cropping tools and options to eliminate any distracting or unnecessary components within the frame. That helps keep up the focus on the main subject and improves overall clarity.
Guarantee a balanced conveyance of visual weight all through the photo. Utilize tools to set the situation of components, making an agreeable composition.
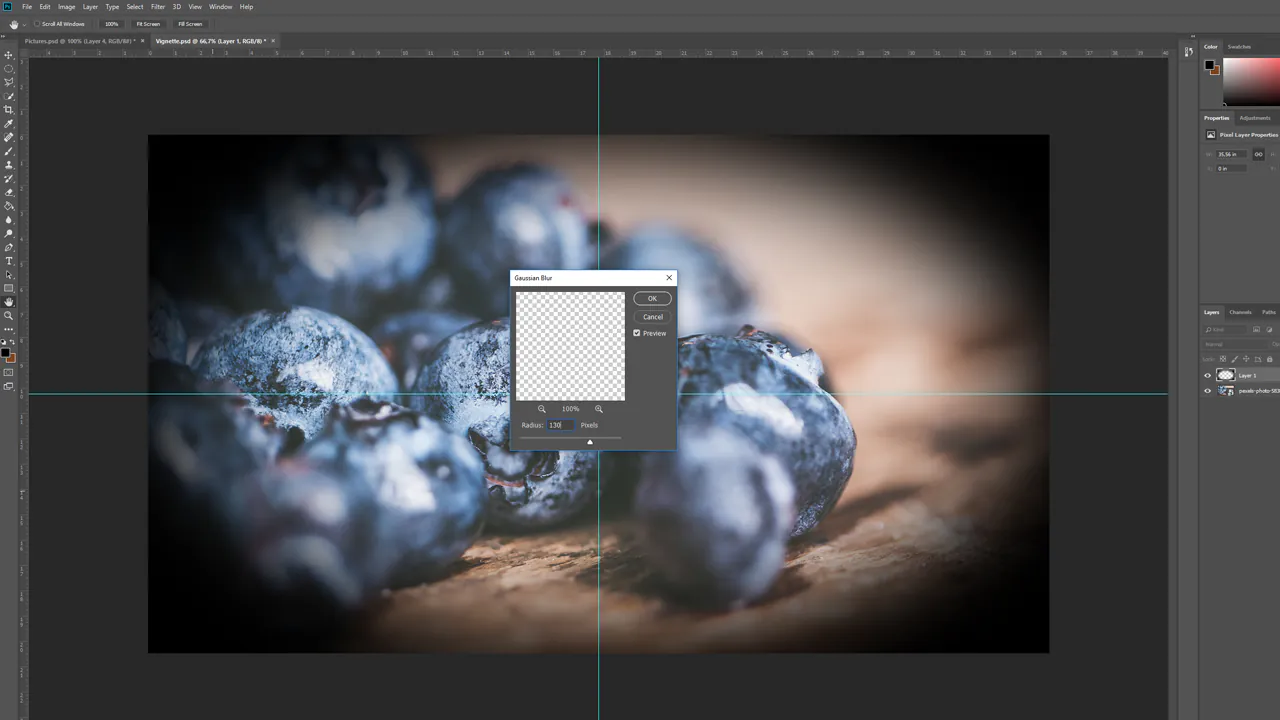
Emphasize the most subject utilizing tools like selective focus or vignetting. These choices draw viewers to specific regions, strengthening the image’s narrative.
Survey the lighting conditions within the photo. Alter exposure settings or utilize tools for improving natural light and shadows to preserve a realistic representation.
Step 2: Shadow And Highlight Evaluation
Confirm that the chosen photo was captured in normal light or lighting conditions that imitate natural daylight. That lets you avoid counterfeit or harsh lighting impacts that can degrade the authenticity.
Evaluate the shadows and highlights displayed within the photo. Alter these components to show a veritable play of light, dodging extremes that might make an unrealistic or excessively dramatic appearance.
Utilize exposure adjustment options to adjust the general brightness of the photo. Pay attention to ranges that will be overexposed or underexposed, endeavouring for a well-distributed and natural tonal range.
Abstain from extensive artificial lighting effects or filters that vividly change the initial lighting conditions. Instead, try to boost the existing natural light for a more accurate representation.
Consider the heading of light within the photo. Alter shadows to correlate with the light source, keeping up consistency and strengthening the three-dimensional aspect of the scene.
If necessary, utilize tools for colour correction to guarantee that the lighting conditions don’t distort the colours within the photo. Aim for colour precision that conveys the genuine tones of the initial scene.
Step 3: Editing With Minimalism
Embrace a minimalistic approach to post-processing, working on basic adjustments that optimize the photo without relinquishing its realness.
Dodge overwhelming filters, drastic manipulations, or artificial effects that can deviate from the naturalism of the photo. The objective is to hold the genuine qualities of the picture.
Resist overediting to protect the original imperfections and subtle elements that contribute to the authenticity of the scene, allowing viewers to put through with the realness of the moment.
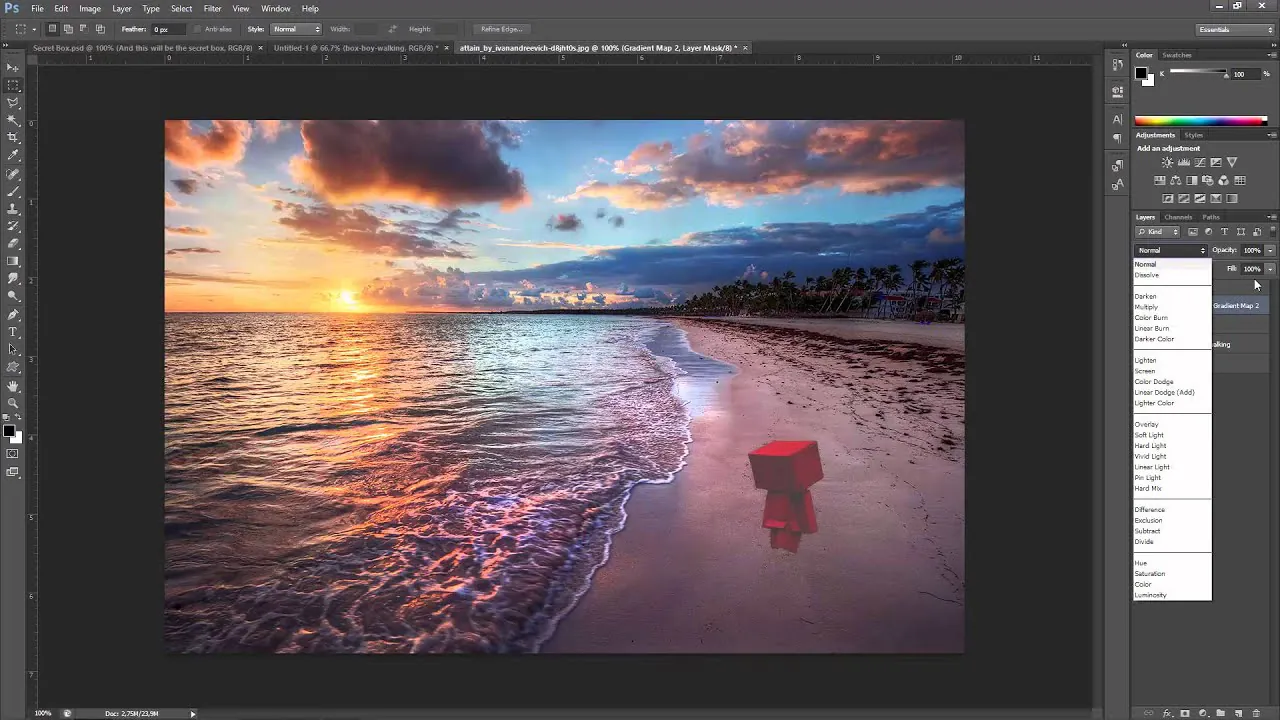
Utilize fundamental editing tools, including exposure, contrast, and saturation cautiously. Make mild adjustments to polish the overall appearance of the composition.
Consider whether extra editing is required if the chosen photo already has a genuine and unembellished quality. Sometimes, a light touch is all that’s needed to improve the authenticity.
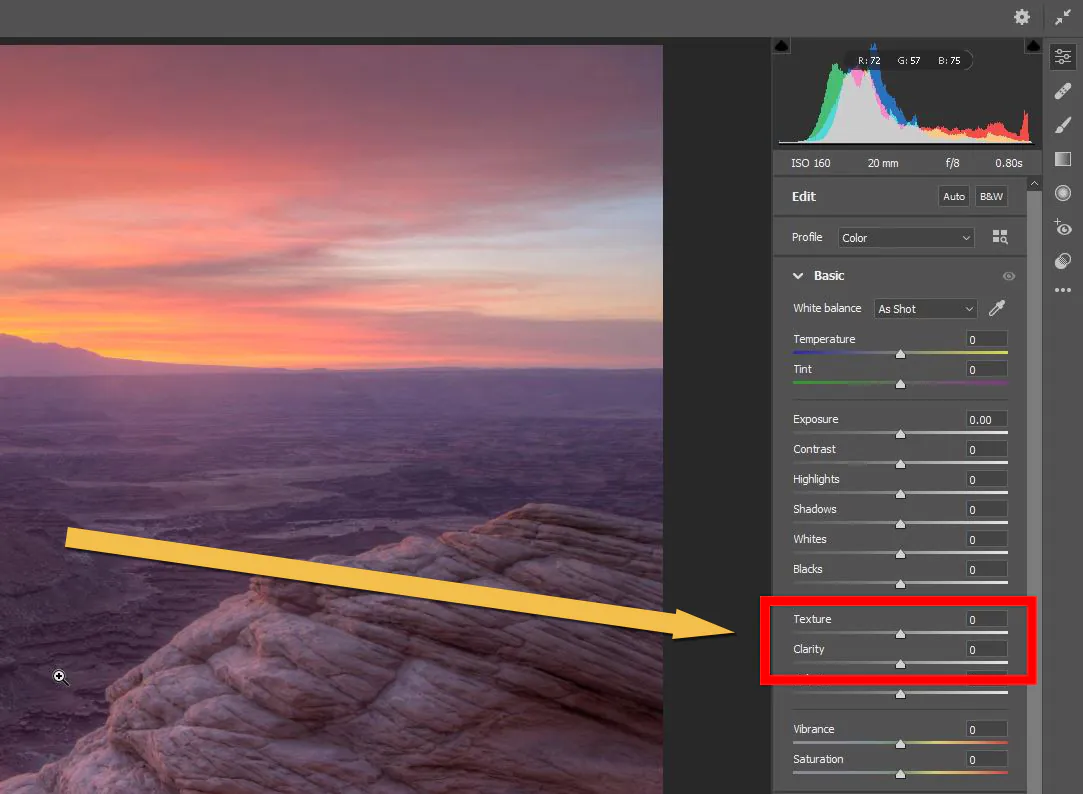
Support the preservation of natural textures, whether in landscapes, objects, or individuals. Don’t apply excessive smoothing or blurring that might compromise the genuineness of the photo.
Remain genuine to the initial colours of the scene without including artificial hues and saturation.
Step 4: Color Enhancements

Work on accomplishing precise colour representation in your photo. Tune the colour balance to represent the genuine tones of the scene, preventing oversaturation or artificial colour grading. Attain colours that genuinely reflect the initial environment and bring out a sense of realism.
At the same time, improve the details inside the image. Apply unpretentious sharpening to bring out the clarity of surfaces, emphasizing the natural components within the scene. Be mindful not to over-sharpen, as this might lead to a fake appearance. Attain a concordant arrangement that keeps the genuine feel and mild details, which can improve the authenticity of the depiction.
Concentrating on colour exactness and detail enhancement ensures that it reliably represents the first scene and resounds with viewers.
Step 5: Working On Narration
Highlight the critical elements of the artwork that bring up its storytelling dimensions. Capture raw and candid moments, permitting viewers to associate candidly with the scene. Focus on the expressions, activities, or details that tell a story behind the subjects or the environment.
Observe the composition’s capacity to communicate a message or inspire a feeling. Access framing, angles, and focal points are tweaked to direct the viewer’s eye through the story, making a visual story that feels true and relatable.
Point for natural, unplanned moments that embody the soul of the scene instead of fabricated or organized setups. Whether highlighting individuals, objects, or scenes, try to uncover the natural magnificence and centrality of the subject matter.
Narrating adds profundity and meaning to the photo, improving its effect and making it more enduring.
Step 6: Filters And Effects Aesthetics
If you prefer utilizing filters in your photo, choose those that enrich the picture and keep up a realistic feel. Don’t employ filters that drastically modify the temperament or colour palette, as the goal is to protect the original environment.
Include filters sparingly and keenly, guaranteeing they contribute absolutely to the overall aesthetics without overshadowing the characteristic qualities of the scene. Opt for minimal alteration and realistic representation.
Play with subtle settings such as slight vignetting or gentle colour upgrades to complement the photograph. The deliberate goal is to refine the picture instead of forcing artificial components that seem to compromise its realness.
Frequently review the outcome of the filters on the photo and make adjustments appropriately. Try getting an agreeable mix between any connected filters and the inherent qualities of the initial scene.
Step 7: The Ultimate Highlights
Survey the lighting conditions of the artwork and make ultimate tweaks to attain a realistic representation. Affirm that exposure, shadows, and highlights are well-settled for an even tonal range. Utilize colour alteration highlights to regulate the colour balance, keeping up accuracy that complies with the initial temperament. Consider the heading and quality of light, making subtle modifications to reinforce the three-dimensional viewpoints of the scene.
At the same time, recheck that the modifications made through this audit stage maximize the quality of the photograph’s authenticity. After you’re done with the all-around outcomes, proceed to save the realism art photo. Select a high-quality file format, set compression settings suitably, and consider making a reinforcement or saving with a particular title to protect the integrity of the final result.
Conclusion
To conclude, realism art is a remarkable aspect of image enhancement, representing the raw aspects of life with candid moments. This distinctive technique of literary times has revived mechanical digital designs and images and elevated their narrative aspect. The emotionally boosting nature of this art stirs the sentiments of the viewers that resonate with the visual content they encounter. By grasping the essential modifications required for realism art creation, you can also implant your photographs with a sense of authenticity and organic allure, producing pictures that loyally speak to the subjects and scenes you portray.
