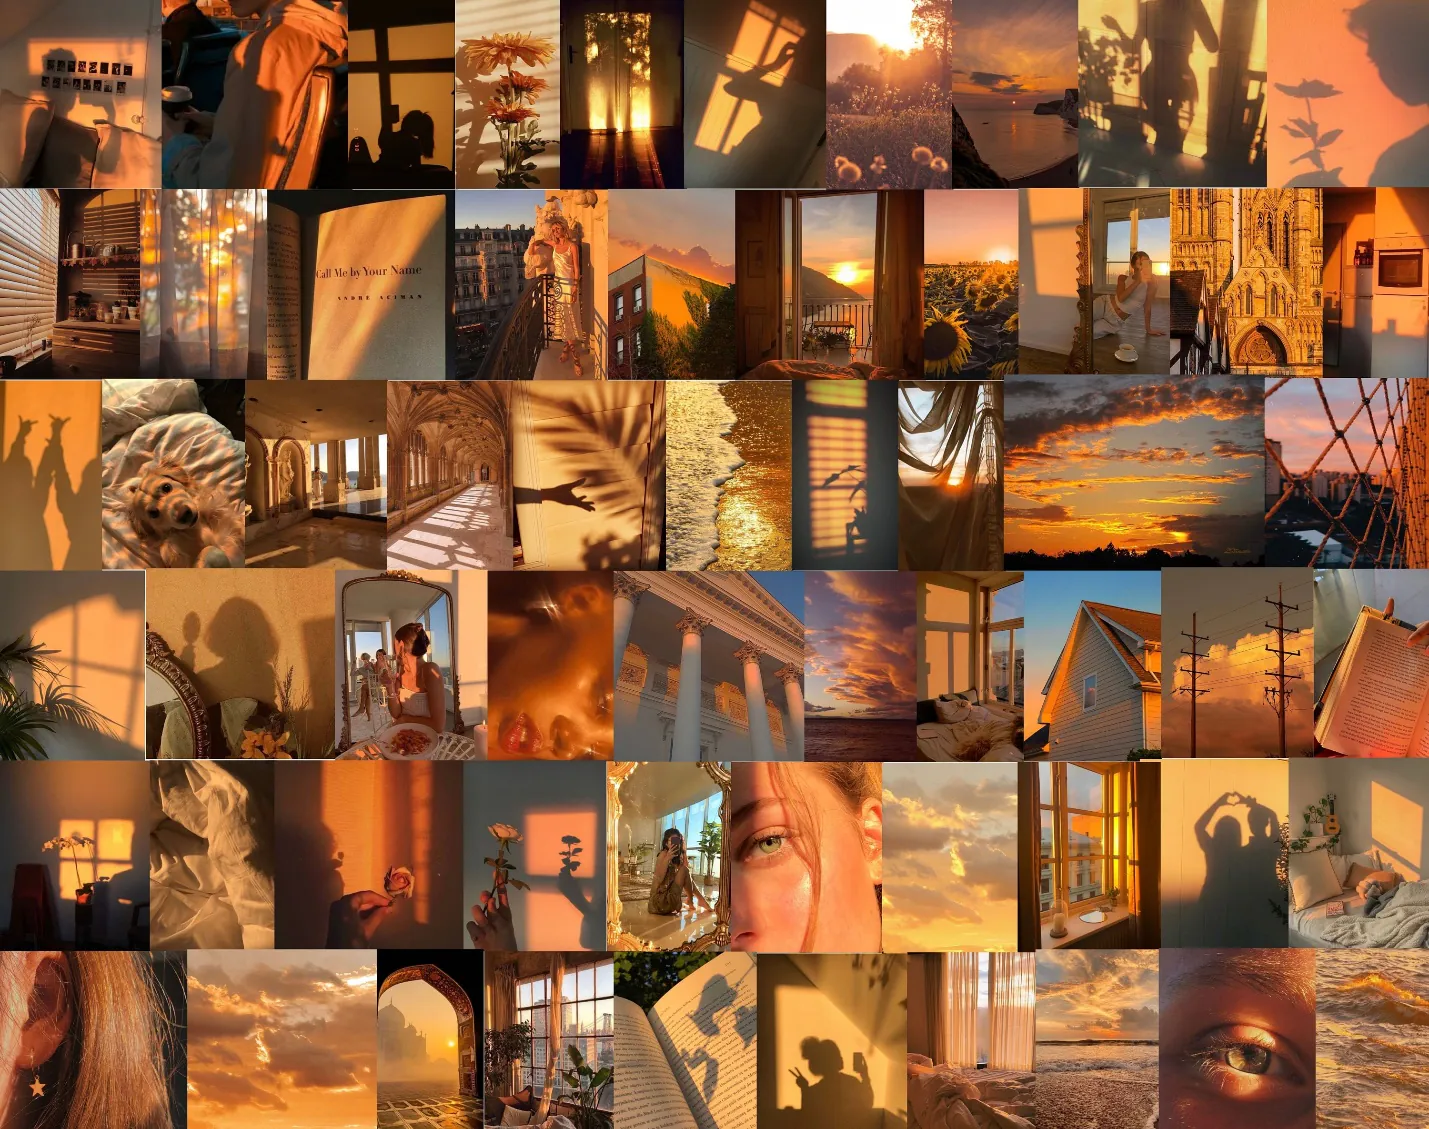
How To Create Golden Hour Photography Effect
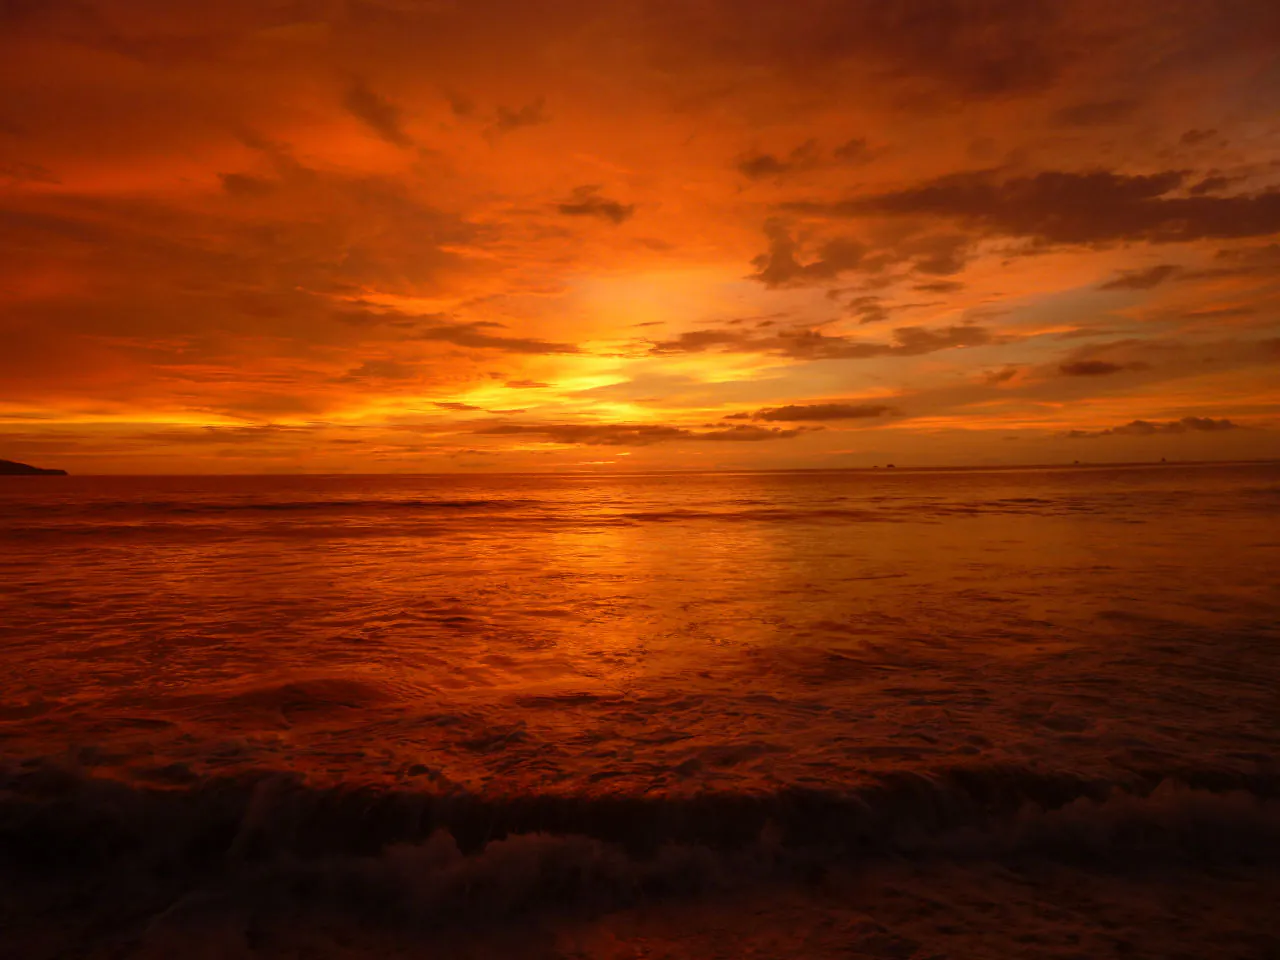
The softer and warmer sunlight specific to the time exclusively before sunset or just after sunrise is the primary aspect exhibited by golden hour photography. Aside from its light hues and varied tints, the light at that time is valued for shooting shots of eternal beauty and richness. The long and spreading shadows with honeyed glow intensify the beauty of photographs, like in landscape or portrait photography. These up-to-perfection lighting conditions are conditional on those unique moments of the sun rising and setting that enhance the momentousness of golden-hour photography. Along with all their golden beauty and pleasing allure, golden shots need much attention to various factors, from timing to photography equipment and skills. Moreover, you may want to see your photographs captured in standard daytime lighting converted into golden hour shots, which is where the role of post-processing techniques and tools comes in. Contemporary image editing software provides a lot of options and modifications that can regulate aspects like shadows, highlights, contrast, saturation, and other light-related parameters. You can transform your images with these digital approaches by implanting them with the magical honey light of the golden moment, just like revealed by the actual golden hour photographs. Following are the seven steps to add the golden hour photography effect to your images.
Step 1: Select a photograph with modifiable lighting
Select a photograph with a compelling subject that can gain from the warm, delicate lighting characteristic of the golden hour.
Evaluate the composition for components such as leading lines, distinctive textures, or captivating central focuses that the golden hour effect can improve.
Think about the existing lighting conditions within the image and imagine how the golden hour impact may boost the temperament and climate.
Take note of the existing colors within the photo and visualize how they could be enhanced and intensified by the warm tones of the golden hour.
Confirm that the picture complies with the specified aesthetic and narrating objectives, as the golden hour effect can bring out feelings and include richness to the story depicted within the photo.
Step 2: Set the tint and temperature
Increment the temperature slider to implant warmth into the image, mimicking the brilliant hour’s characteristic golden tones. Regularly alter the temperature between 5000-7000 Kelvin for a realistic effect.
Control the tint slider so that the general color balance remains satisfying to the eye. Inconspicuous alterations may be essential to attain the required warmth without veering into unnatural color casts.
Frequently audit the image while making adjustments so that the colors appear normal and harmonious. Pay attention to skin tones, landscapes, and other hearty components to preserve a realistic appearance.
Compare the balanced photo with reference pictures taken during the golden hour to measure the precision of the color interpretation and general air.
To guarantee that the picture captures the captivating climate of golden hour, make essential settings to counteract warmth and naturalness.
Step 3: Regulate contrast and saturation
Maximize the contrast marginally to include richness and definition in the composition without relinquishing instinctive nature. Try for a balance between shadow detail and highlights to protect image coherence.
Improve saturation reasonably to heighten colors and make them more dynamic. Practice limitation to dodge oversaturation, which can result in a fake appearance.
Attempt specifically applying contrast and saturation alterations to particular ranges of the image utilizing masks or adjustment brushes. That permits refining and targeted upgrades.
Routinely survey the image while making modifications so that contrast and saturation changes complement the general appearance and narrating goals.
Steadily refine contrast and saturation levels until accomplishing the required balance between energy and naturalness, raising the image’s visual effect while protecting its realness.
Step 4: Modify shadows and highlights
Reduce the levels of highlights to mellow harsh lighting and avoid overexposure in bright ranges. That helps keep up detail and texture while creating a more balanced exposure.
Step up shadow detail to uncover hidden textures and subtleties in darker regions, including vibrancy and dimensionality to the image. Be careful about protecting contrast and preventing a flat, washed-out appearance.
Continuously alter highlight and shadow levels, assessing the effect on image tonality and general visual unity at each phase. Aim for a natural move between light and dark ranges.
Screen the histogram to check that changes are connected equitably over the tonal range, avoiding clipping or absence of detail in highlights and shadows.
When tweaking highlights and shadows, take into consideration the image’s focal point and composition to be sure that the changes strengthen the subject’s noticeable quality and visual effect instead of reducing it.
Step 5: Apply a thorough color grading
Apply color grading tools to imbue warm tones into the highlights and midtones of the photo. Expand the prominence of orange, yellow, and red hues to imitate the golden hour’s characteristic radiance.
Put in color grading adjustments wisely, checking that the changes contribute to the required mood and climate without showing up unnatural or overstated.
See into utilizing selective veiling or adjustment layers to target particular regions of the image for color grading. That permits imposing control over the distribution and concentration of warm tones.
Frequently assess the image as you make color-grading adjustments to bring visual agreement and coherence. Consider how warm tones relate to other colors within the scene.
Play with distinctive color grading settings and cycles, refining the warmth and tonality of the photo until accomplishing the required golden hour effect.
Step 6: Apply vignetting techniques for subject emphasis
Present a mild vignetting to the composition to ease the light and draw attention towards the central subject or central point. Darkening the edges of the outline improves profundity and develops a sense of closeness.
Pledge that the vignette effect mixes easily with the rest of the photograph, avoiding sudden moves or raspy edges. Look for a slow darkening that delicately guides the viewer’s eyes towards the center.
Try vignetting controls or adjustment layers to tune the vignette’s intensity, size, and shape. Test with varying settings for the required balance between nuance and impact.
Focus on the composition and visual progression of the picture when applying vignetting. Improve the subject’s conspicuousness and keep a natural and balanced appearance.
Frequently examine the picture with and without the vignette effect to survey its effect on the overall mood and composition. Make changes as required to attain the specified aesthetics.
Step 7: Perfect the final composition
Revise the overall exposition of the image to ensure ideal brightness and tonal symmetry. Make gentle changes to highlight and shadow detail, striving for a natural and satisfying appearance.
Maximize clarity and sharpness to include definition and elegance in the image. Keep an equivalence between sharpness and delicateness to protect the overall temperament and air.
Apply noise reduction strategies to play down digital clamor and graininess, particularly in low-light regions. Use noise decrease settings wisely to preserve picture quality and clarity.
Hone the color balance, energy, and saturation to assist consistency and coherence in the picture. Make meek adjustments to individual color channels to touch up general color consonance.
Audit the composition in its aggregate, assuming points of interest, composition, and general visual effect. Make iterative alterations based on visual criticism until the specified aesthetic and enthusiastic resonance are accomplished.
Conclusion:
In summary, the mild and mellow lighting conditions of golden hour, in contrast to harsh light in midday, create a romantic echo that covers all photograph elements. The scene of dramatic shadows and the natural textures and colors displayed by objects intensify the scene’s abundance and add more richness in terms of depth and dimensions. A golden hour image, either captured at the actual moments around sunrise or sunset or implanted with modified lighting effects, stands alone from usual light effects images and bears an organic appeal. You ought to be conscious of the significant photographic and image manipulation practices, and you can even create radiant golden hour photos yourself.
