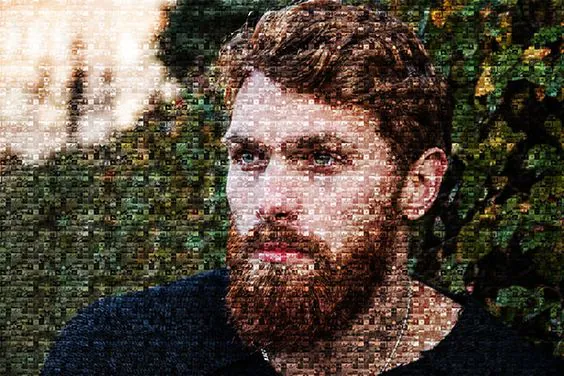
How To Use Photoshop To Create Mosaic Art Of Your Images
Traditional Mosaic art involves creating images or designs by arranging and assembling small, colored pieces of material, known as “tesserae,” into a larger composition. These tesserae can be made from various materials like glass, ceramic, stone, or paper. Mosaic art has been performed by cultures worldwide for thousands of years. Creating baroque and detailed patterns requires careful planning, precision, and an artistic eye. With the advancement of technology and the progression of the digital era, mosaic art has achieved acknowledgment across various digital platforms. Mosaic art image compositions are produced using digital techniques and tools provided by software like Adobe Photoshop. In this modern adaptation, the meticulous arrangement of digital elements replaces the traditional physical tesserae. These images are crafted by arranging and fitting the individual tesserae to form a cohesive and visually appealing artwork. Mosaic art images vary widely in subject matter, style, and complexity, like scenes from nature, religious or mythological themes, abstract designs, portraits, etc. Following the process of creating mosaic art explained in this blog, you can add a rare texture and profoundness to the images, creating a distinctive visual effect.
Step 1: Choose Images
Main Image: Pick a high-res main image for your mosaic’s base. Consider subject, composition, and impact.
Source Images: Gather diverse smaller images as mosaic tiles. Reflect desired colors, textures, and themes.
Theme: Decide on a mosaic theme to guide main and source image selection, ensuring cohesiveness.
Variety: Opt for an array of source images—different subjects, angles, and colors—for depth.
Color Palette: Keep the main and source image colors harmonious for an appealing mosaic.
Organization: Create a dedicated folder for easy access and management of images.
Experiment: Explore creative combinations of main and source images to unlock possibilities.
Quality: Ensure both main and source images are high-quality for a polished mosaic outcome.
Step 2: Open Photoshop
Launch Adobe Photoshop on your computer. If you don’t have it installed, download and install the software from the official Adobe website. Photoshop provides a robust platform for creating mosaic art, offering various tools and features to manipulate and arrange images. Once launched, familiarize yourself with the workspace, including the toolbar, layers panel, and menu options. Create a new project by selecting “File” > “New,” and set the canvas dimensions and resolution. Having Photoshop open and ready sets the stage for transforming your chosen images into a captivating mosaic masterpiece. Whether you’re a beginner or an experienced user, Photoshop’s interface and capabilities empower you to bring your creative vision to life.
Step 3: Create a Canvas
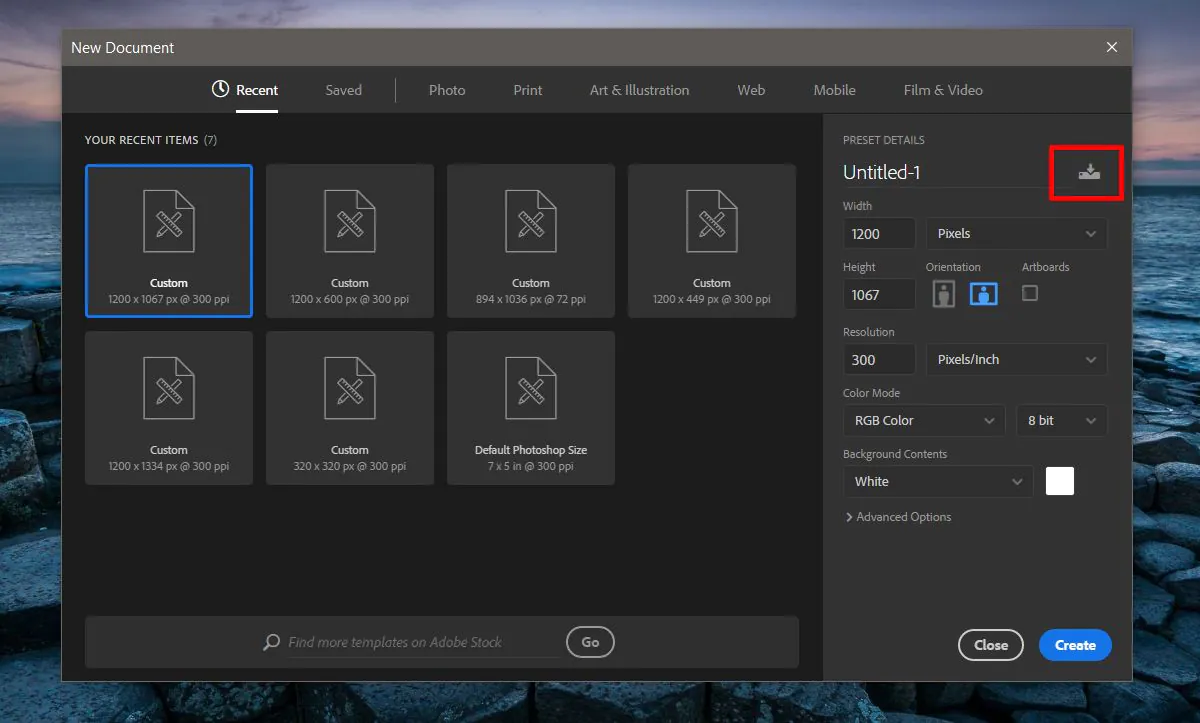
In Photoshop, establish the canvas for your mosaic project. Move to the “File” menu and select “New.” A dialog box will pop up to specify the dimensions and resolution of your canvas. Consider the size you want for your final mosaic and adjust accordingly. Opt for a larger canvas if you aim to incorporate intricate details.
Choose the color mode (RGB for digital display, CMYK for print) based on your intended output. You can also name your project and save it in a designated location. Once you’ve set these parameters, click “OK” to generate your canvas. This blank space serves as the backdrop for constructing your mosaic art. A properly sized canvas provides ample room to arrange and refine your mosaic tiles, ensuring a visually pleasing and well-composed result.
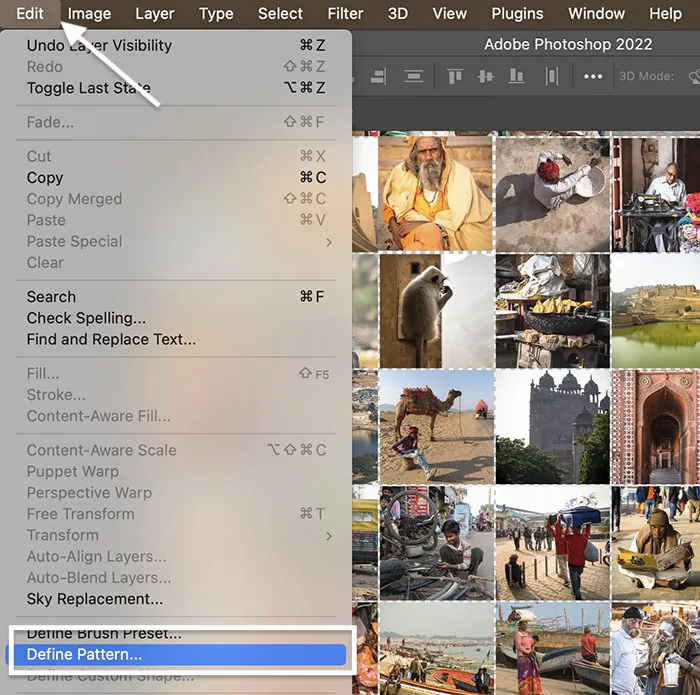
Step 4: Apply Mosaic Filter to Main Image
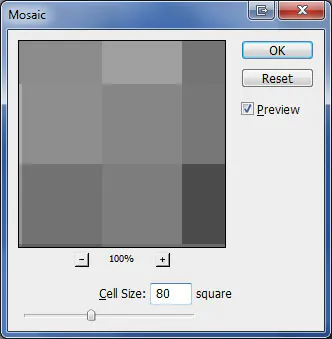
Import your selected main image onto the canvas in Photoshop. Ensure the image covers the entire canvas or resize it as needed. With the main image layer selected, navigate to the “Filter” menu, then choose “Pixelate” and finally “Mosaic.” A dialog box will appear to adjust the “Cell Size.” This setting determines the size of the mosaic tiles. Larger values create a more abstract look, while smaller values retain more detail. Experiment to find the right balance for your desired effect. Click “OK” to apply the filter, instantly transforming the main image into a mosaic-like pattern. This filtered image serves as the foundation for arranging the smaller source images. The mosaic filter simplifies the main image into distinct cells, guiding the placement of individual tiles. This step establishes the mosaic’s structure, preparing you for the creative process of assembling the intricate pieces that form your final artwork.
Step 5: Duplicate Mosaic Layer for Editing
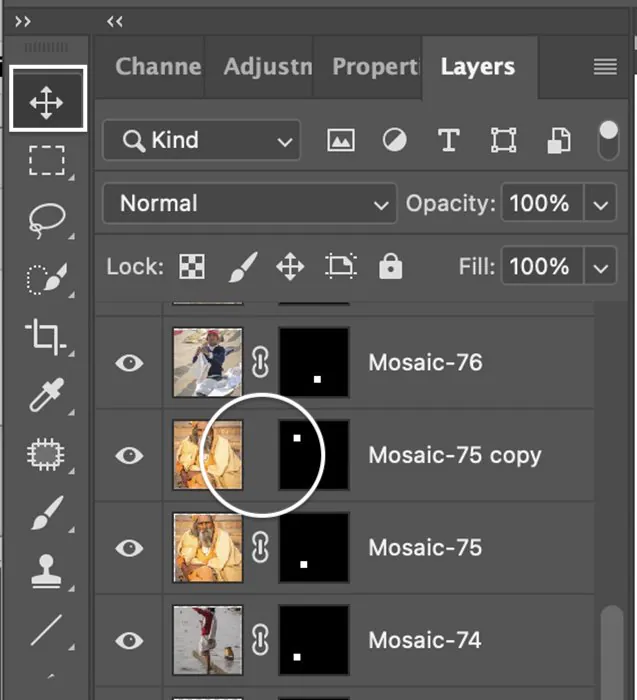
Duplicate the filtered mosaic layer to create a copy that you’ll work on. That ensures you preserve the original mosaic pattern while allowing room for adjustments and modifications. To duplicate the layer, right-click the mosaic layer in the Layers panel, then click “Duplicate Layer.” A new layer with the same mosaic pattern will appear above the original. Rename this new layer if desired to keep your project organized. By editing the duplicated layer, you can freely experiment with different effects, blending options, and adjustments without altering the underlying mosaic structure. This step gives you creative flexibility and a safety net, allowing you to refine your mosaic composition without fear of losing your initial mosaic pattern. It’s a crucial precaution before integrating the smaller source images into the mosaic design.
Step 6: Prepare Source Images
Open the collection of smaller source images you’ve gathered for your mosaic. Each source image will become an individual tile in the final artwork. Use the “Select” tool (e.g., Marquee or Lasso) to create selections around each source image. Copy and paste these selections into separate layers on your Photoshop canvas. This action ensures that each source image is contained within its layer, allowing for easy manipulation and adjustment. Arrange the source image layers to the side of your canvas for quick access. As you progress, you’ll use these layers to replace the mosaic tiles, creating a visually captivating composition. Proper preparation of source images in separate layers streamlines the process, making it more manageable and organized.
Step 7: Resize and Arrange Source Images
Take each source image layer and resize them to fit the individual mosaic cells on the duplicated layer. Use the “Transform” tool (Ctrl/Cmd + T) to adjust each source image’s size, rotation, and position. Align the source images with the mosaic cells, aiming for a seamless fit. You can use the mosaic pattern as a guide for placement.
Arrange the source images creatively, considering color variations, contrasts, and visual flow. Overlapping and positioning source images strategically can add depth and interest to your mosaic. Play with different arrangements until you achieve the desired effect.
As you resize and arrange the source images, the mosaic pattern will gradually transform into a mosaic artwork of smaller tiles. This step marks the transition from preparation to actual creation, letting you see your vision come to life as the mosaic takes shape on your canvas.
Step 8: Blend and Mask Source Images
Applying blending modes and layer masks integrate the source images perfectly into the mosaic. Adjust the layer blend modes (found in the Layers panel) to enhance the harmony between source images and the mosaic pattern. Experiment with modes like “Overlay,” “Multiply,” or “Screen” to achieve the desired visual effect.
Add layer masks to the source image layers and use brushes with varying opacities to blend the edges of each tile. That softens transitions and ensures a natural flow between tiles and the mosaic pattern. Pay attention to color matching and alignment to maintain the illusion of a cohesive artwork.
Blending and masking require precision and creativity. Take your time to finesse each tile, creating a seamless and visually appealing mosaic. This step transforms individual images into cohesive elements, infusing your artwork with depth and dimension.
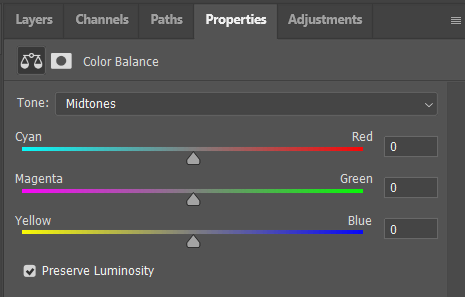
Step 9: Enhance Mosaic with Effects
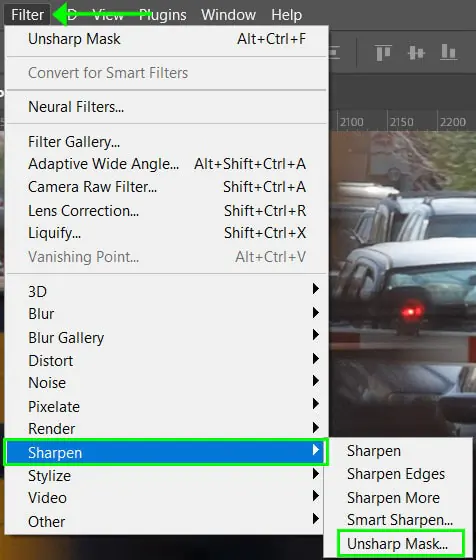
Elevate your mosaic art with various effects to add depth and visual interest. Experiment with filters, such as “Blur,” “Sharpen,” or “Texture,” to create a more textured and three-dimensional appearance. Adjustment layers, like “Curves” or “Color Balance,” can enhance the mosaic’s overall color harmony and mood.
Explore lighting effects, such as “Drop Shadow” or “Outer Glow,” to simulate lighting conditions and make tiles pop. These effects contribute to the illusion of depth and dimension, giving your mosaic a polished and professional look.
Carefully balance the application of effects, aiming for a cohesive and balanced result. Regularly zoom out to assess the mosaic’s overall impact and adjust as needed.
Step 10: Finalize and Export
Review your mosaic artwork meticulously. Zoom in to inspect details and ensure tiles blend seamlessly. Make any necessary adjustments to alignment, color balance, and overall composition. Consider feedback from others for a fresh perspective.
Once satisfied, save your project. Keep the layered PSD file for future edits. To share or showcase your creation, export the final mosaic. Choose an appropriate file format (JPEG, PNG, etc.) based on your intended use.
Name your file, set resolution, and select quality settings. Pay attention to file size, especially for online sharing. If printing, opt for high resolution.
Share your mosaic masterpiece with pride and inspire others with your creative journey.
Conclusion
By introducing an ingenious harmony, Photoshop, at the intersection of digital innovation and creative expression, pours new life into the centuries-old mosaic art technique. The construction of a mosaic masterpiece in Photoshop is a delicate ballet of pixels and purpose in which professional excellence and inventive flare are interwoven. As pictures converge and layers grow, an amazing tapestry emerges, each tile telling its tale. The wonder of mosaic art emerges within the digital domain of Photoshop, where pixels align, and colors interconnect. The progressive arrangement of source photos transforms a canvas into an intricate weaving look, much like a jigsaw brought to life.
