How to use Modo for 3D modeling?
Prototypes can now readily come to life on a computer screen, thanks to advancements in design and 3D software. A new class of richly functioning apps has emerged as a result of modern processes, redefining what can be built in a given amount of time. Many flaws in outdated techniques have been fixed by 3D modeling, which has also improved functionality for design teams.
One can find numerous software for 3D modeling, however, in this post, we will learn about one of the widely used software Modo and how we can use Modo for 3D modeling. It is developed by the company Foundry. With its integration features, Modo is a fantastic tool for 3D experts and skilled users. It is regarded as one of the most famous design tools for 3D printing and modeling.
What is 3D modeling?
The technique of creating 3D images of objects or spaces using computer software is known as 3D modeling. The object is made by 3D artists manipulating vertices, or points in a virtual environment, to build a mesh. Whether you are in the business of marketing concepts, ideas, goods, or properties, a 3D model can be whatever you can imagine.
Visions may be realized more quickly due to 3D modeling, which enables teams to produce any shape they can imagine while preserving production capabilities. Modern 3D modeling allows you significantly more control over details and offers a surprising amount of design depth that you could never achieve from 2D designs or rough sketches. Engineers can investigate the physical components of the design in this way without being constrained by design limits.
What is Modo?
With its robust and adaptable sculpting, texturing, lighting, and rendering toolsets, Modo is an excellent 3D modeling and animation tool. Artists from all around the world use Modo to produce objects and shots for a variety of sectors, including architecture, video games, VFX, and design.
Modo is a tool for both artists and designers that can be used on Windows, Mac, and Linux. You may work naturally and with more creative freedom and this credit goes to Modo’s carefully researched interface and toolkits, which were developed with artists’ workflows in mind.
Modo was developed with the idea that its users will come from a wide range of disciplines and sectors, demanding the need for versatility. As a result, Modo may be quickly integrated into current pipelines to provide specific capabilities, such as modeling or texture painting, or it can be used to create the entire pipeline, enabling you to plan, model, animate, and render all of your work in the same site.
Modo Pricing
Modo offers a variety of price plans that cater to various customer categories. A free educational license is available to students at “qualifying” educational institutions. Students at Foundry-affiliated colleges and universities can get a license through their institution. If your institution is not eligible, you can still get the program for $262 less.
Enthusiasts, independent designers, and those who work independently can purchase personal licenses. There are three possibilities for this:
Perpetual: This license costs $1,909 and is valid for a lifetime. It includes one year of maintenance, which gives you full access to Foundry’s support services, software updates and new releases, and other advantages.
Subscription: This option’s monthly or yearly payment amounts equal either $65 or $659. The maintenance is provided in this package.
Maintenance: This option offers an additional year of maintenance for users with perpetual licenses after the initial term has passed. The cost per year is $440.
Additionally, Modo Enterprise, which is intended for larger businesses, and Modo Businesses, which is designed for small businesses with fewer than 50 employees, are both available. You need to speak with Modo directly and request a quote for these licenses.
How to create the 3D model with Modo?
This article will teach you how to 3D-model a mug. We will go over the most significant and useful possibilities, but we also urge you to study all of Modo’s options as there are many tools available that make 3D modeling very simple.
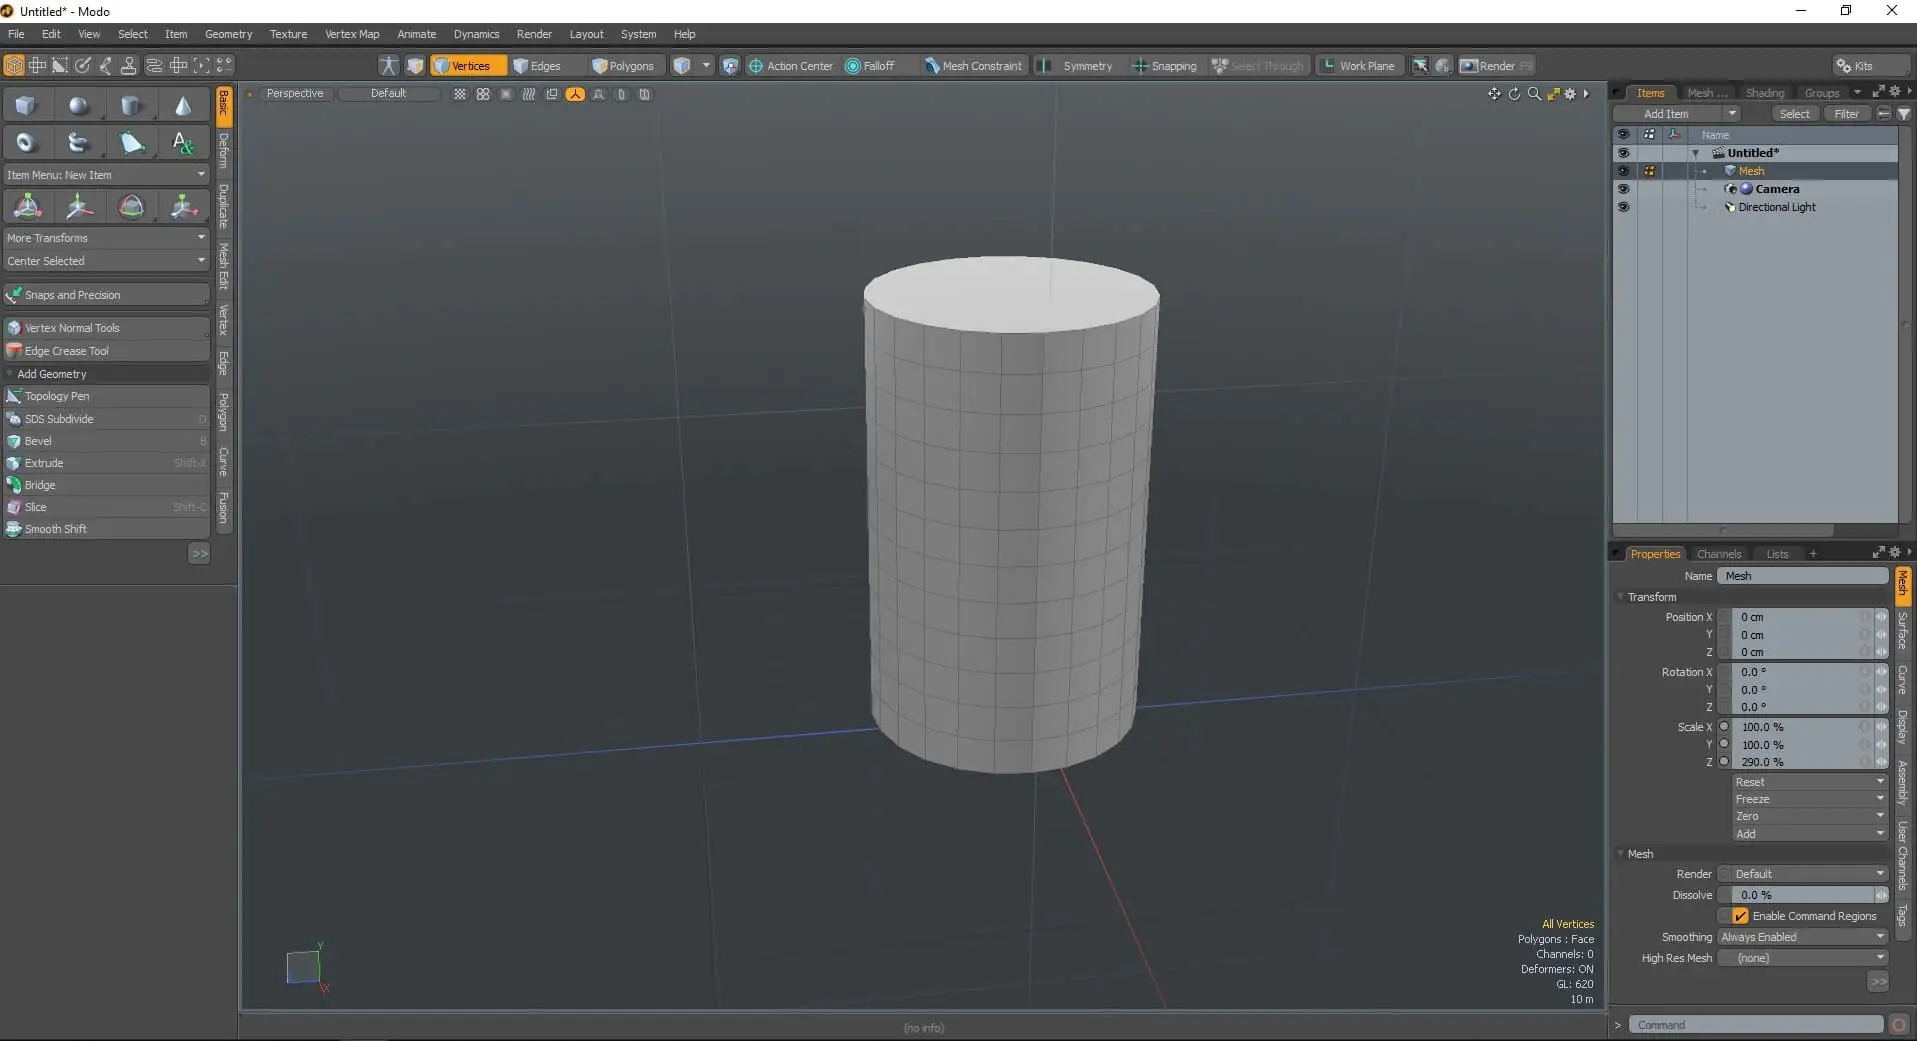
Step 1: Creating the basic shape
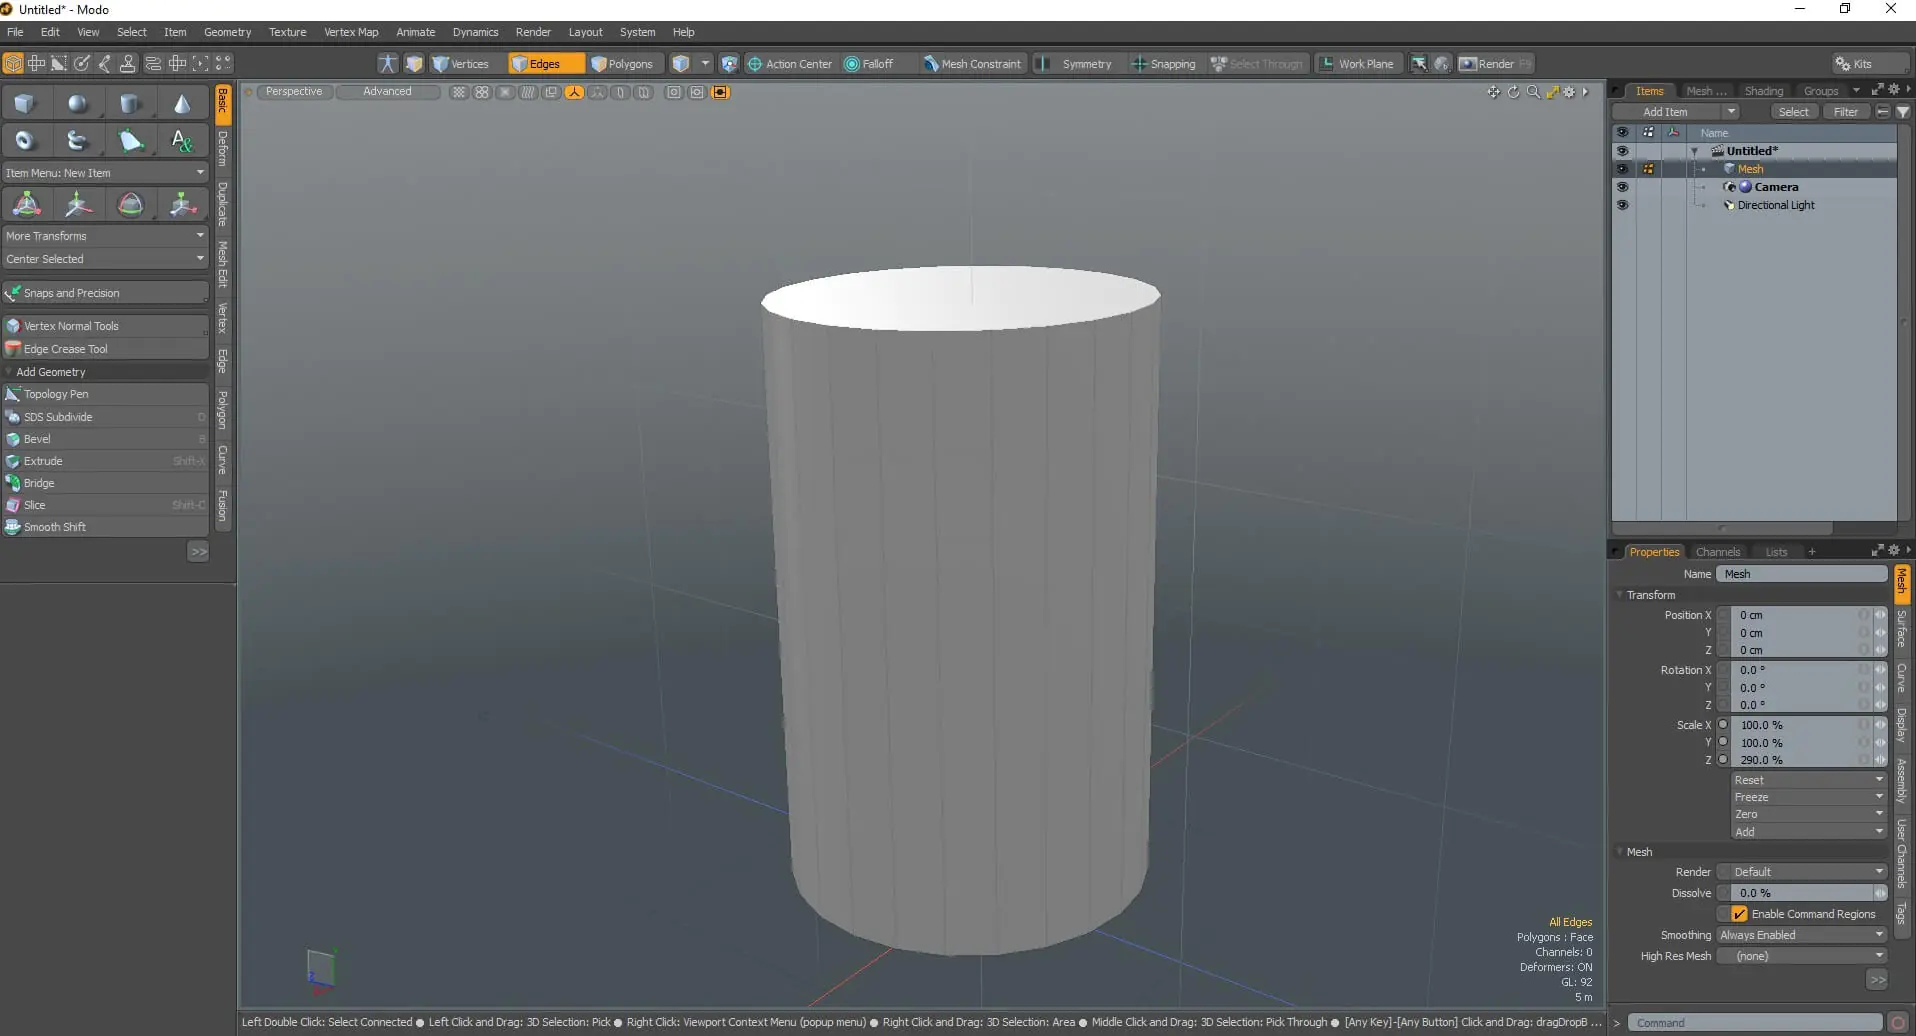
Start by considering a cylinder. The cylinder icon is located on the top bar under Geometry > Primitive tools > Cylinder. On the left toolbar, you can edit the parameters to get the ideal size.
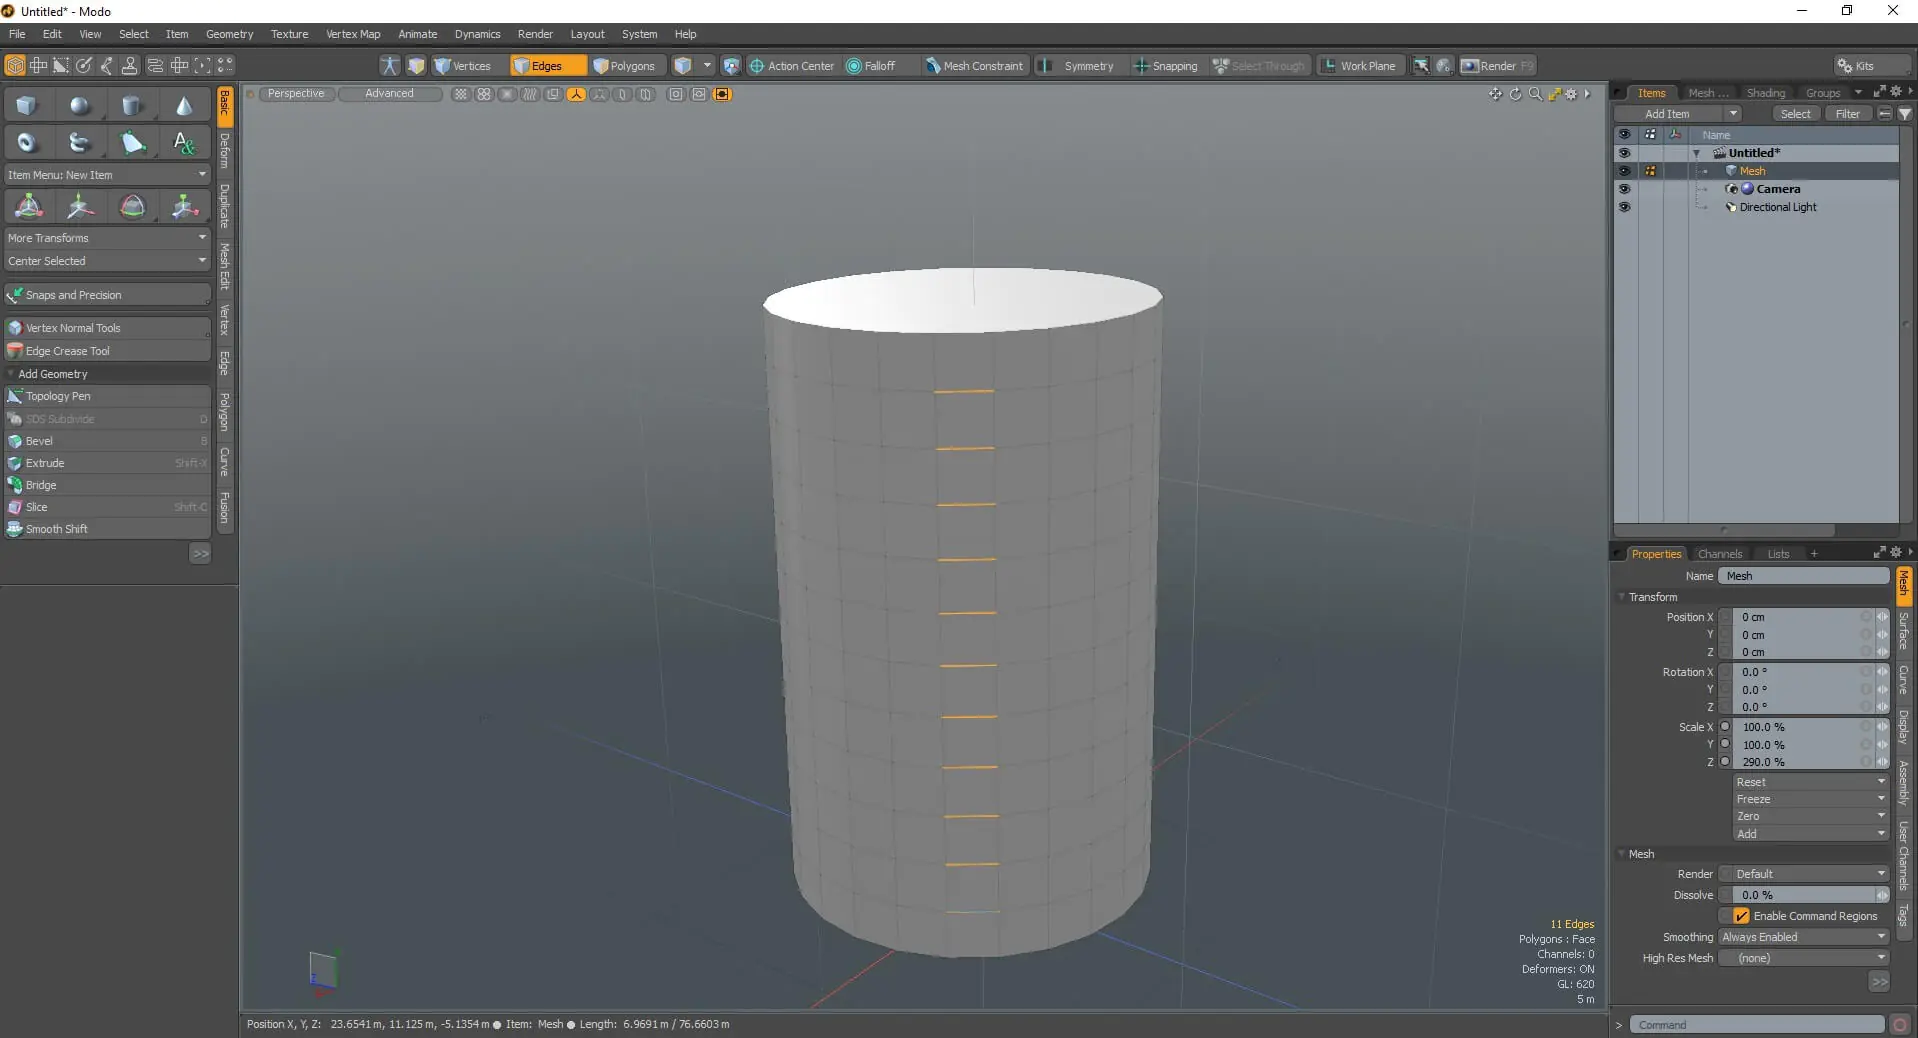
The cylinder’s horizontal lines should then be removed. Click on the Edges selection to do that (marked in orange on top of the image). Or select Edges from the top bar.

Add the remaining edges perpendicularly while holding down Shift.
At this point, we’ll go with a wise choice. Press L. Problem solved! All of the rings above your cylinder were chosen for you by Modo.
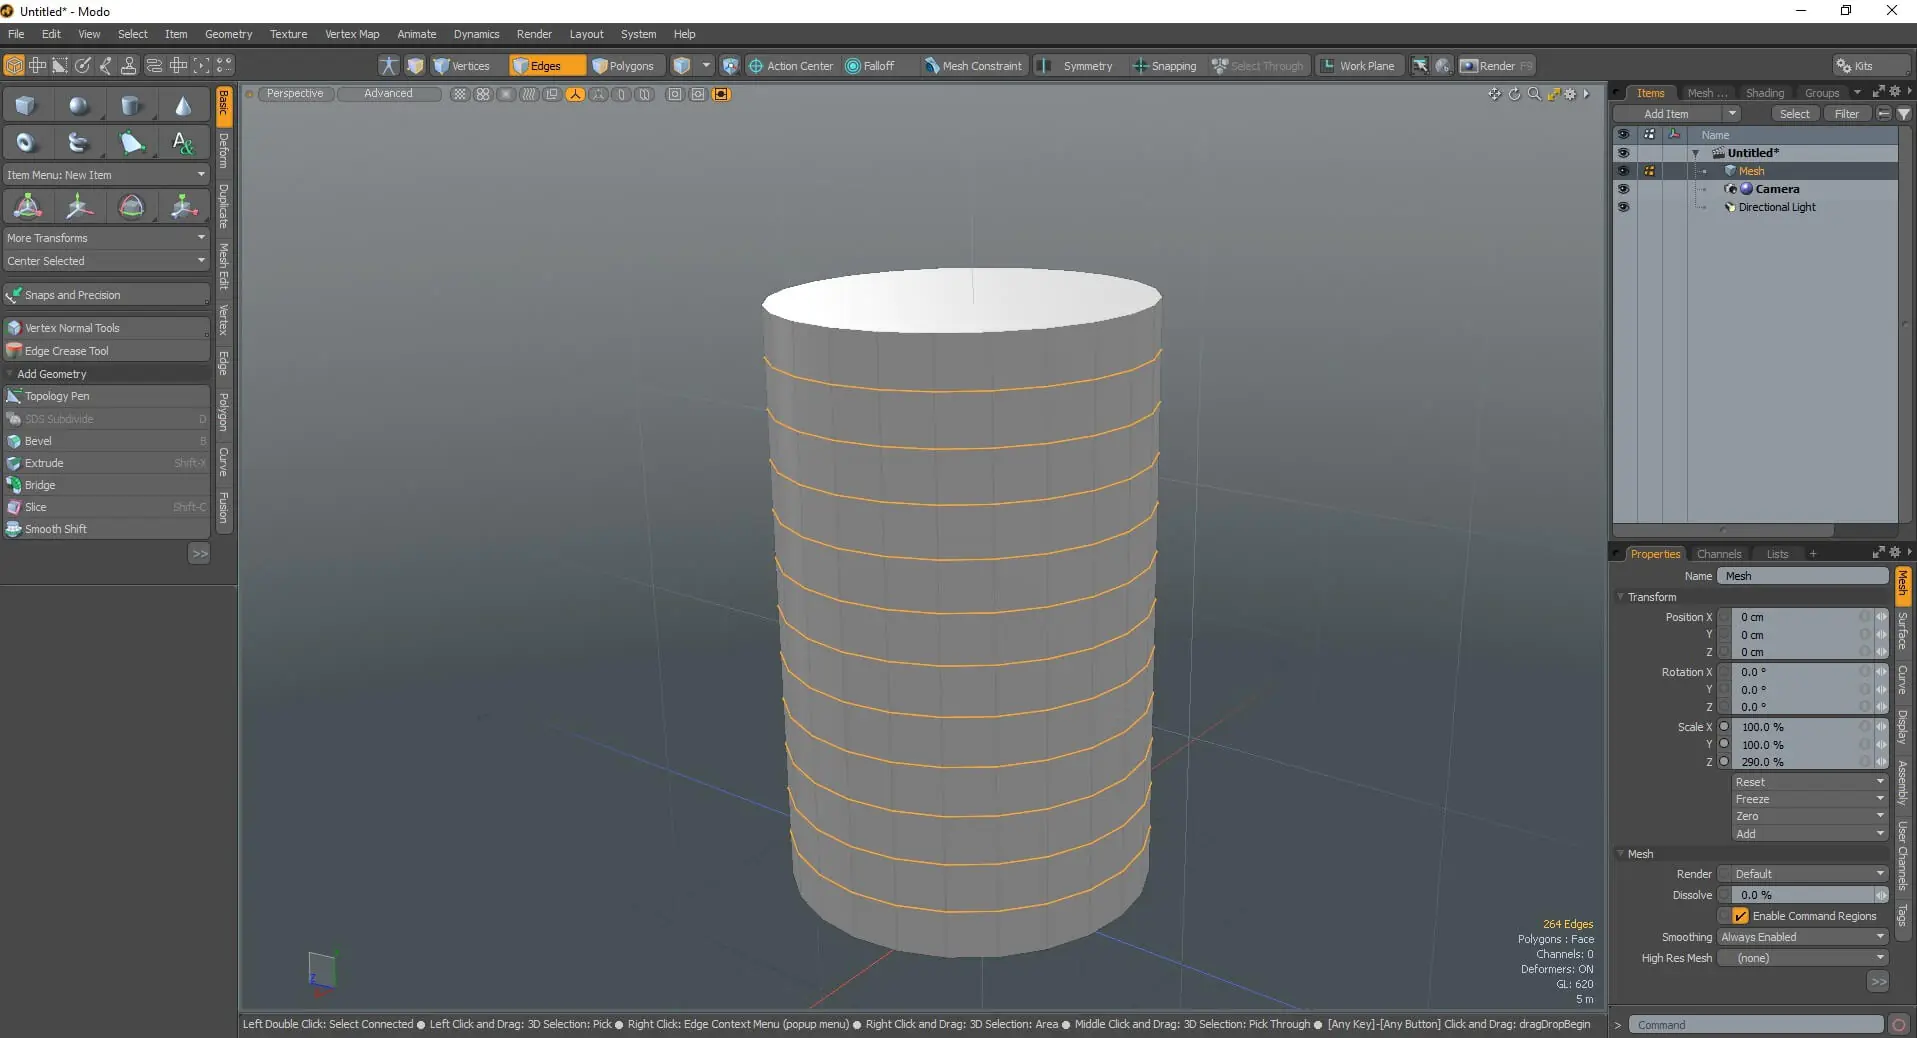
Press delete.
Now select the top of your cylinder using the Polygons Selection tool.
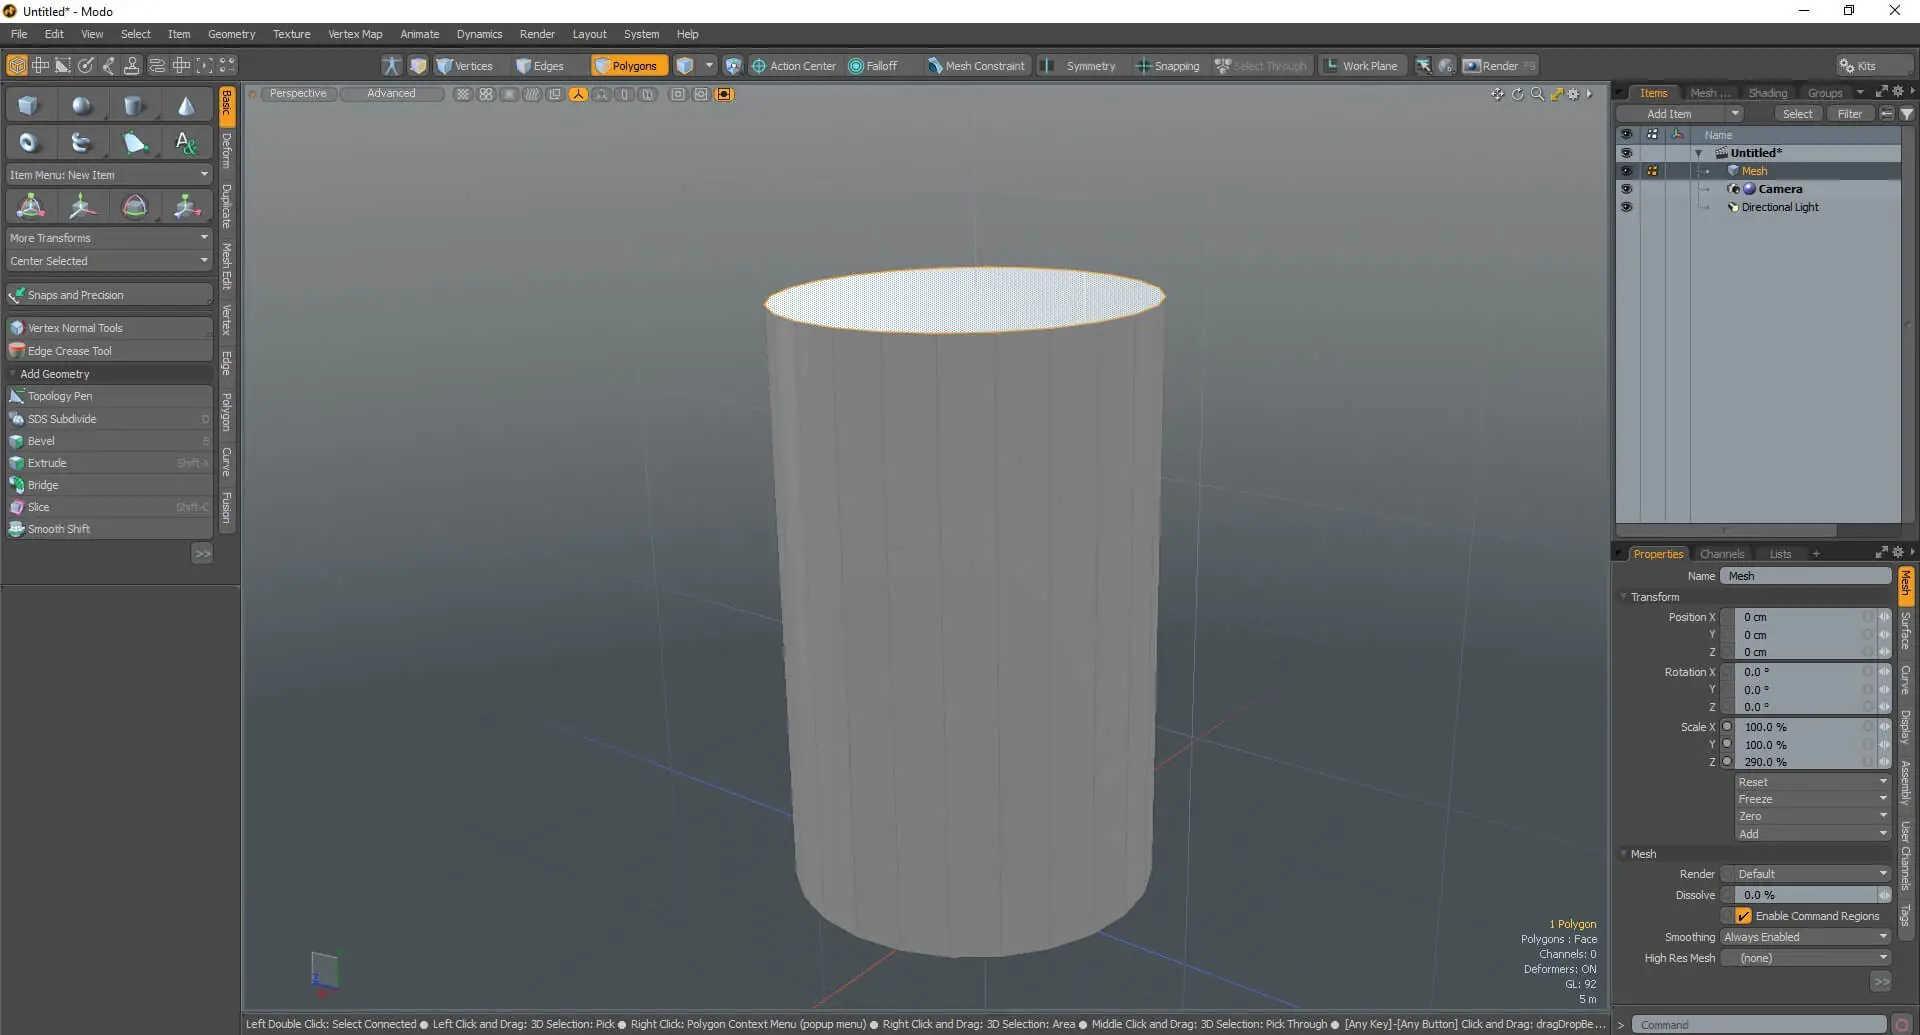
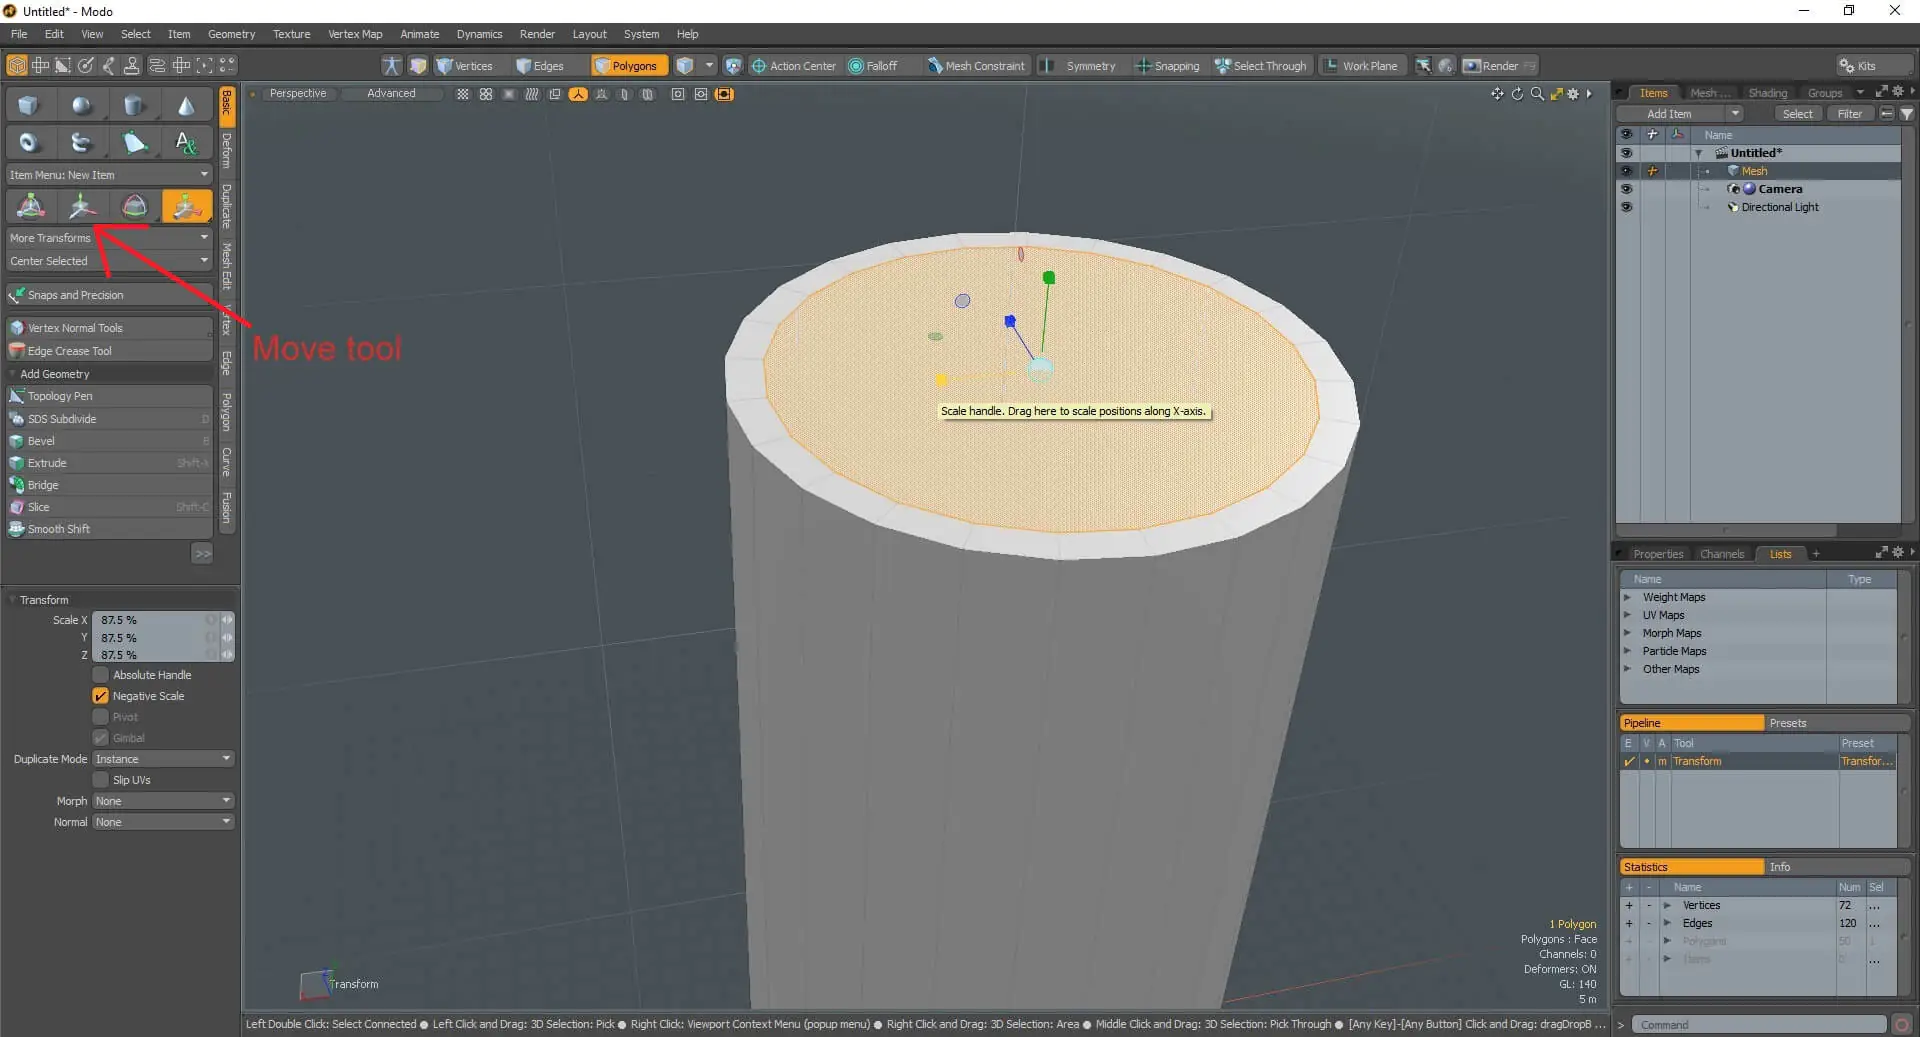
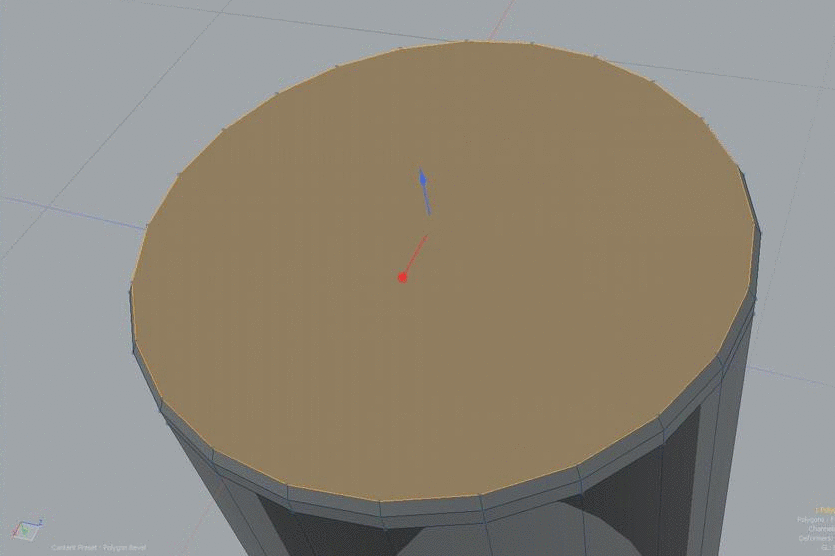
We need an additional surface that can be moved inward within the cylinder in order to make a mug. We made advantage of two options on the left sidebar to add it. To make the top of the cylinder flat, in Basic, click the Scale (depicted in orange in the image), symmetrically adjust it, and then pull it down with the move tool.
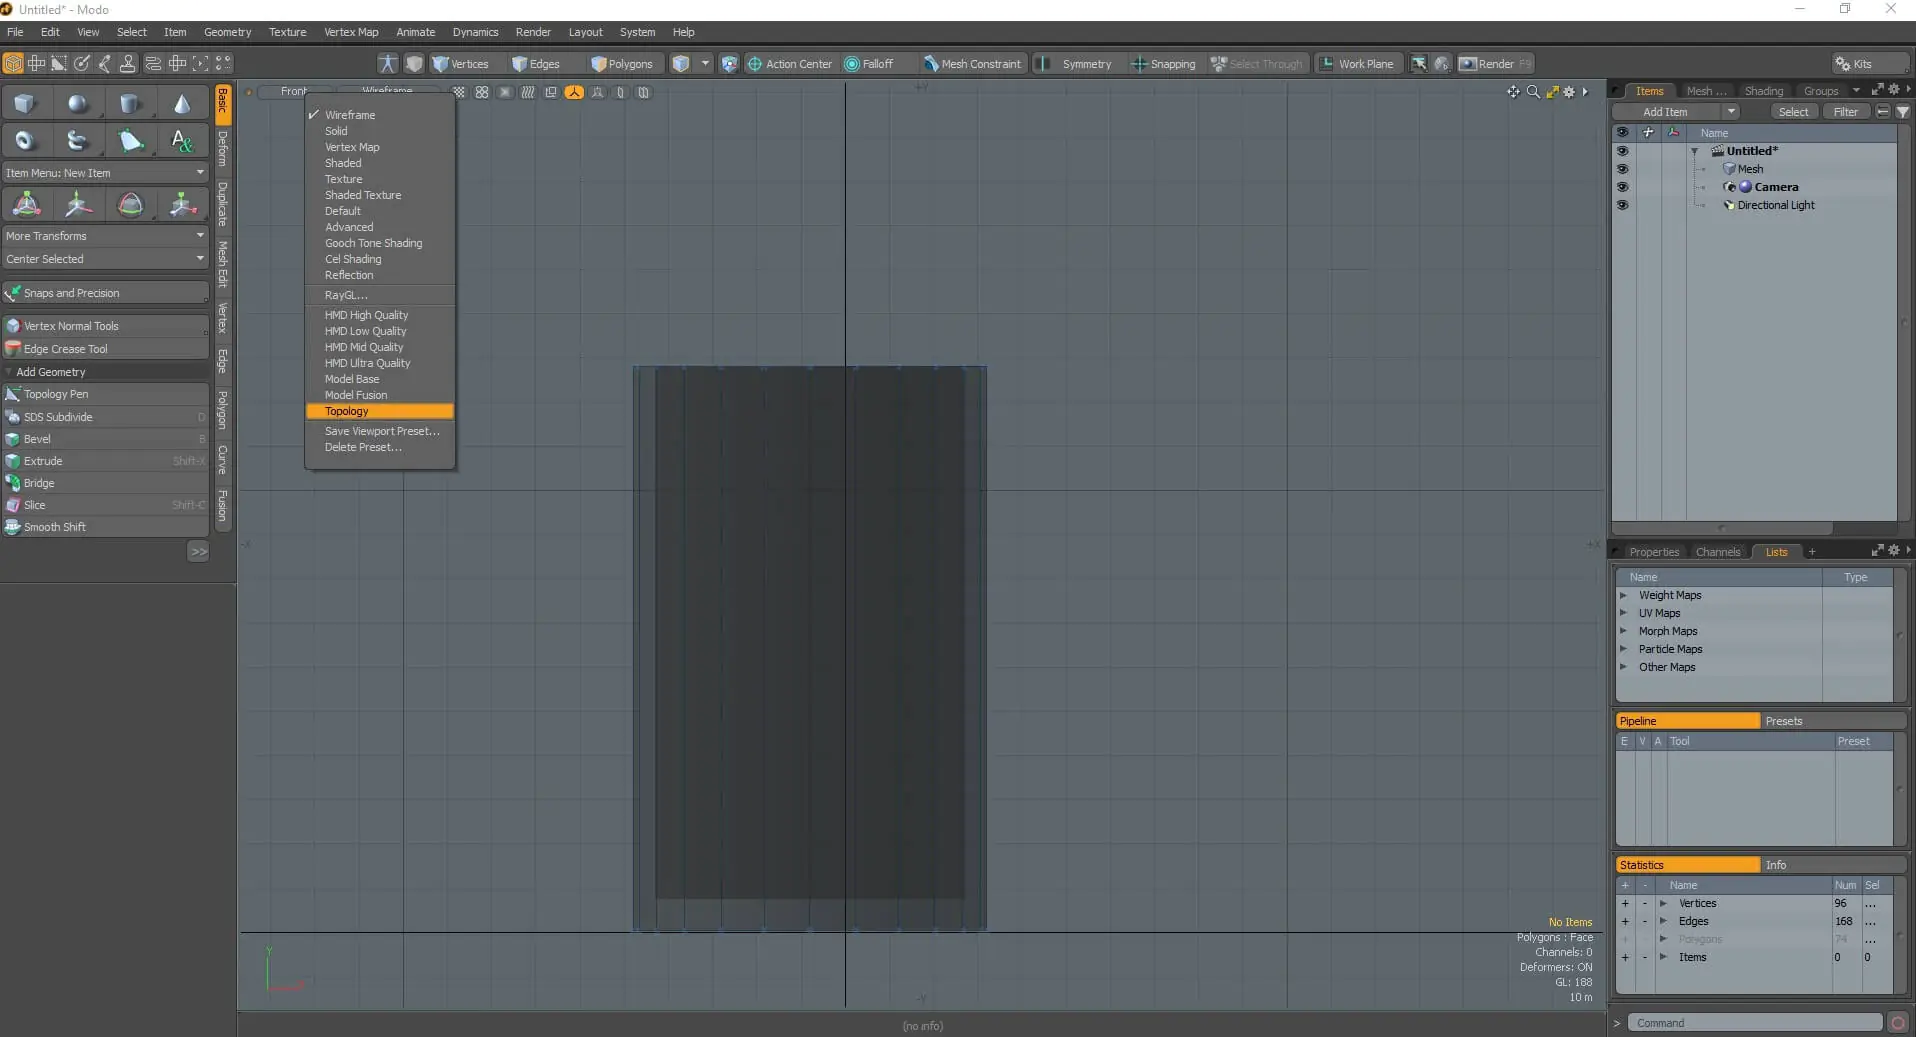
Suggestion: Switch to the Topology view if you want to look through the object, which is necessary for the following step.
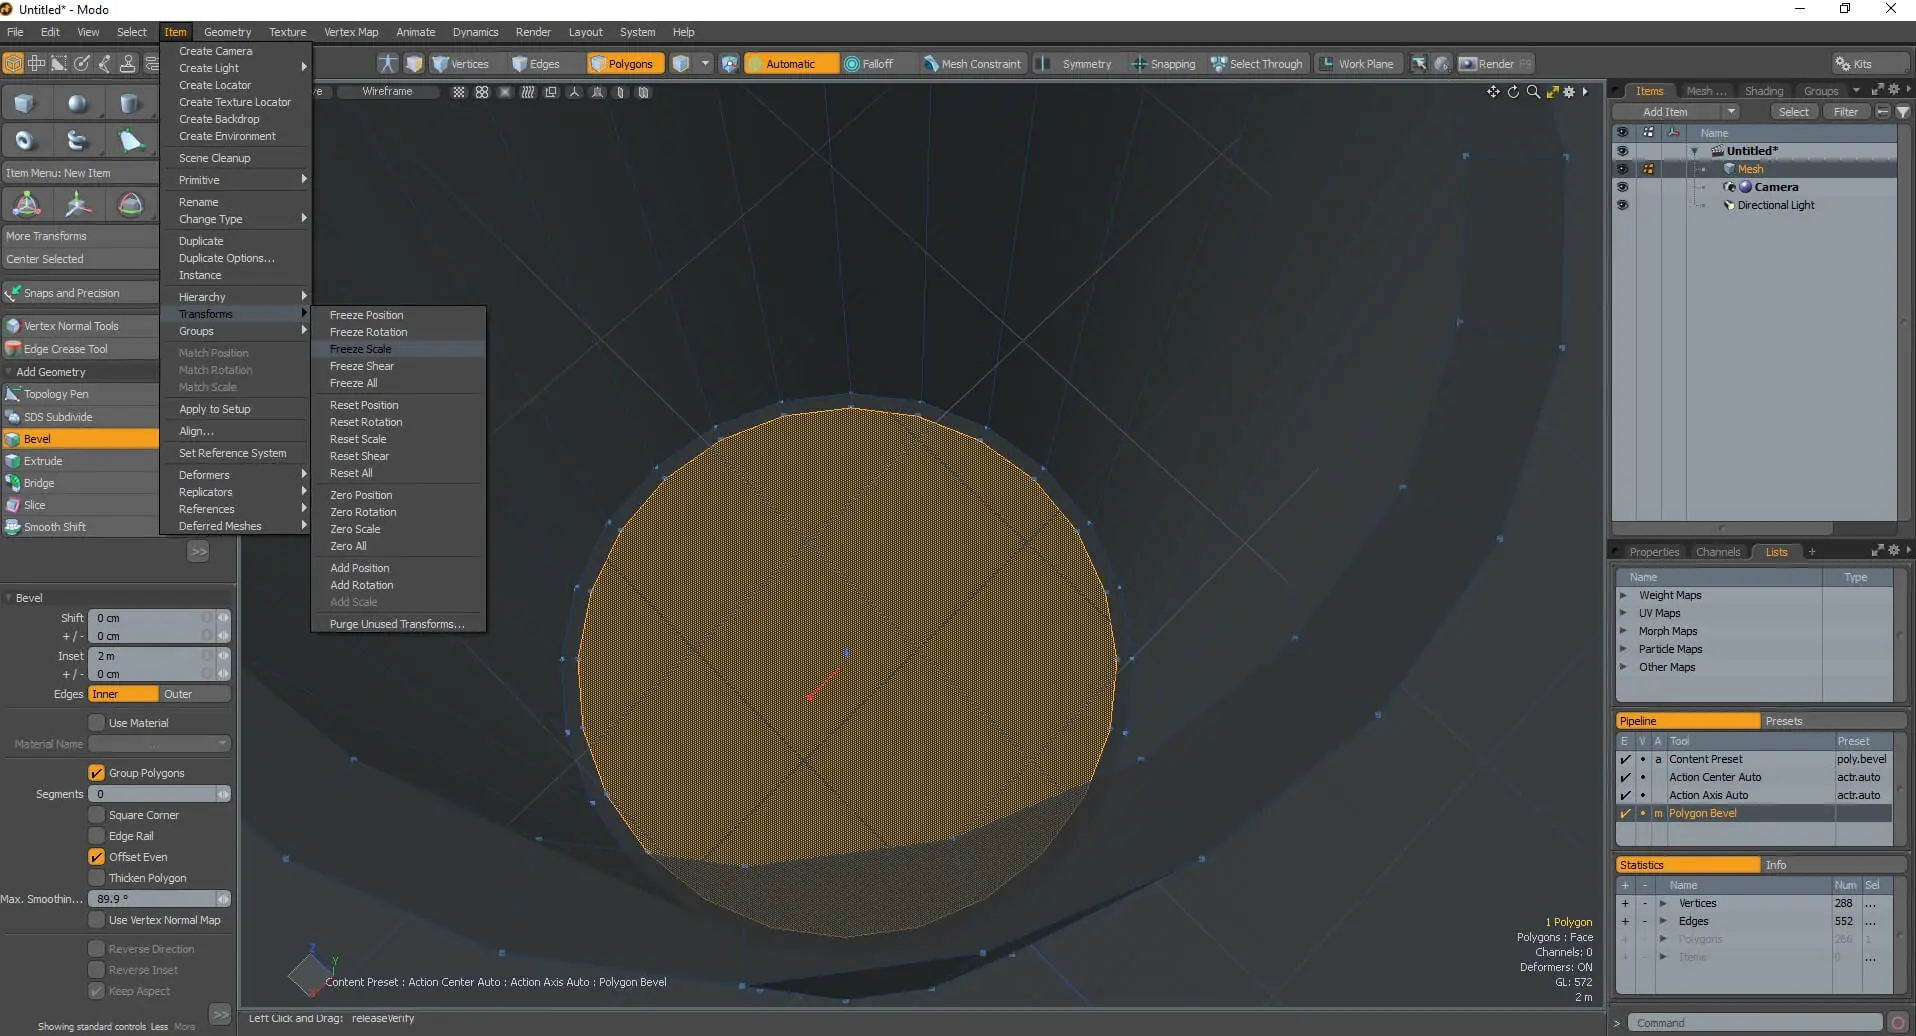
We used the Bevel tool to make the mug’s bottom. There are several places to find it, but we used the one in the Basic part. Utilizing the blue arrow, move the selection downward. Make sure there is space between the bottom of your mug’s outside and interior (shown in the picture above).
Step 2: Smooth out the shape
We shall now proceed to shape the mug’s inside bottom’s soft edges.
Bavel will also be used to do that. We’ll move the red cube instead of pulling on the blue arrow. Go to Item> Transform> Freeze Scale if it’s not symmetrical, which is what happened to us.
Click the middle button on your mouse to perform this action once more. To achieve a smoother angle, we add those extra edges.
Press the Tab to see how sharp the angles are. Your model will then be automatically smoothed in Modo.
The final edge you generate needs to be shrunk as much as possible.
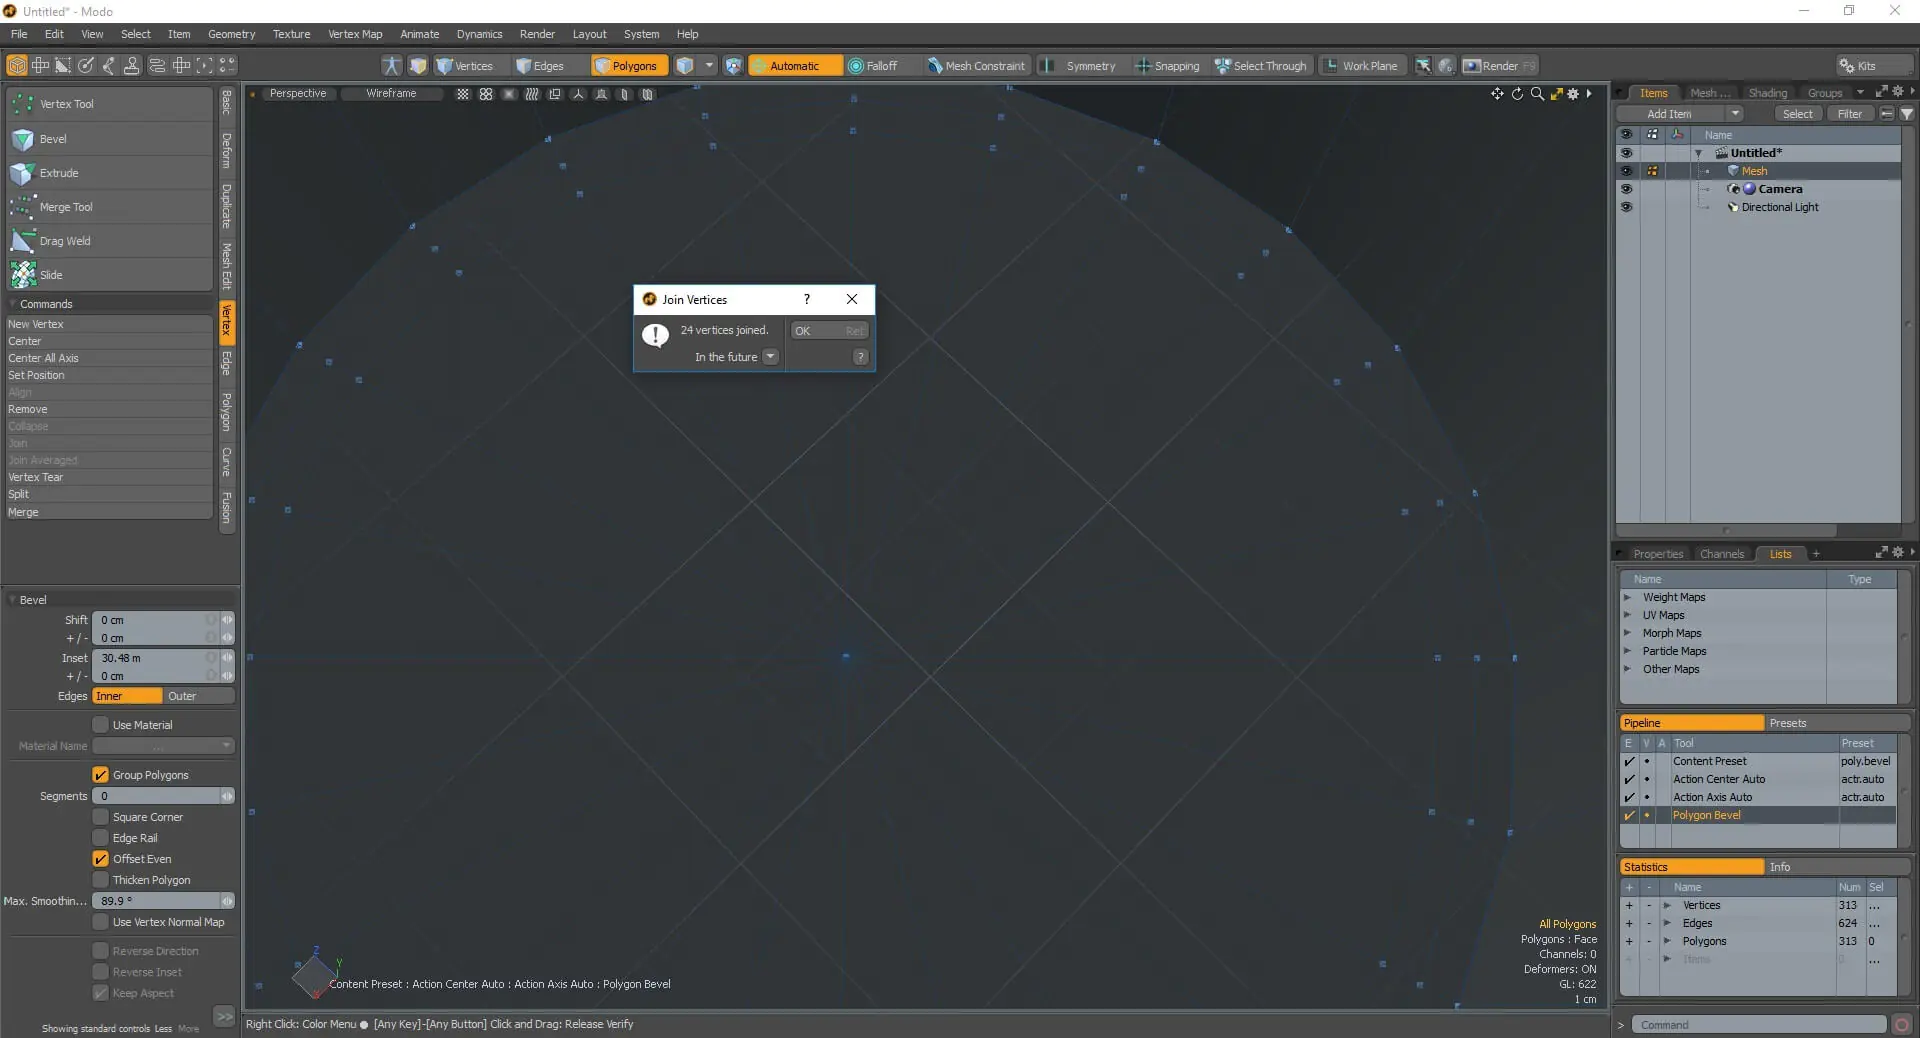
Select all of the last formed circle’s vertices now. Go to Vertex and select the Join option from the sidebar. A dialogue box will appear in Modo asking you to join X vertices. Hit “OK.” This is what we do to make sure our 3D model is smooth and printable.
We’ll apply the same approach when working on the bottom selection after that. Choose the 3D model’s bottom face. To design the shape of a mug’s bottom, move and resize some elements while using Bevel to create new edges.
As we did on the inner side of the mug, join the vertices of the last circle. Now that the mug’s top is complete, let’s move on. To accomplish this, select all of the edges while pressing L.
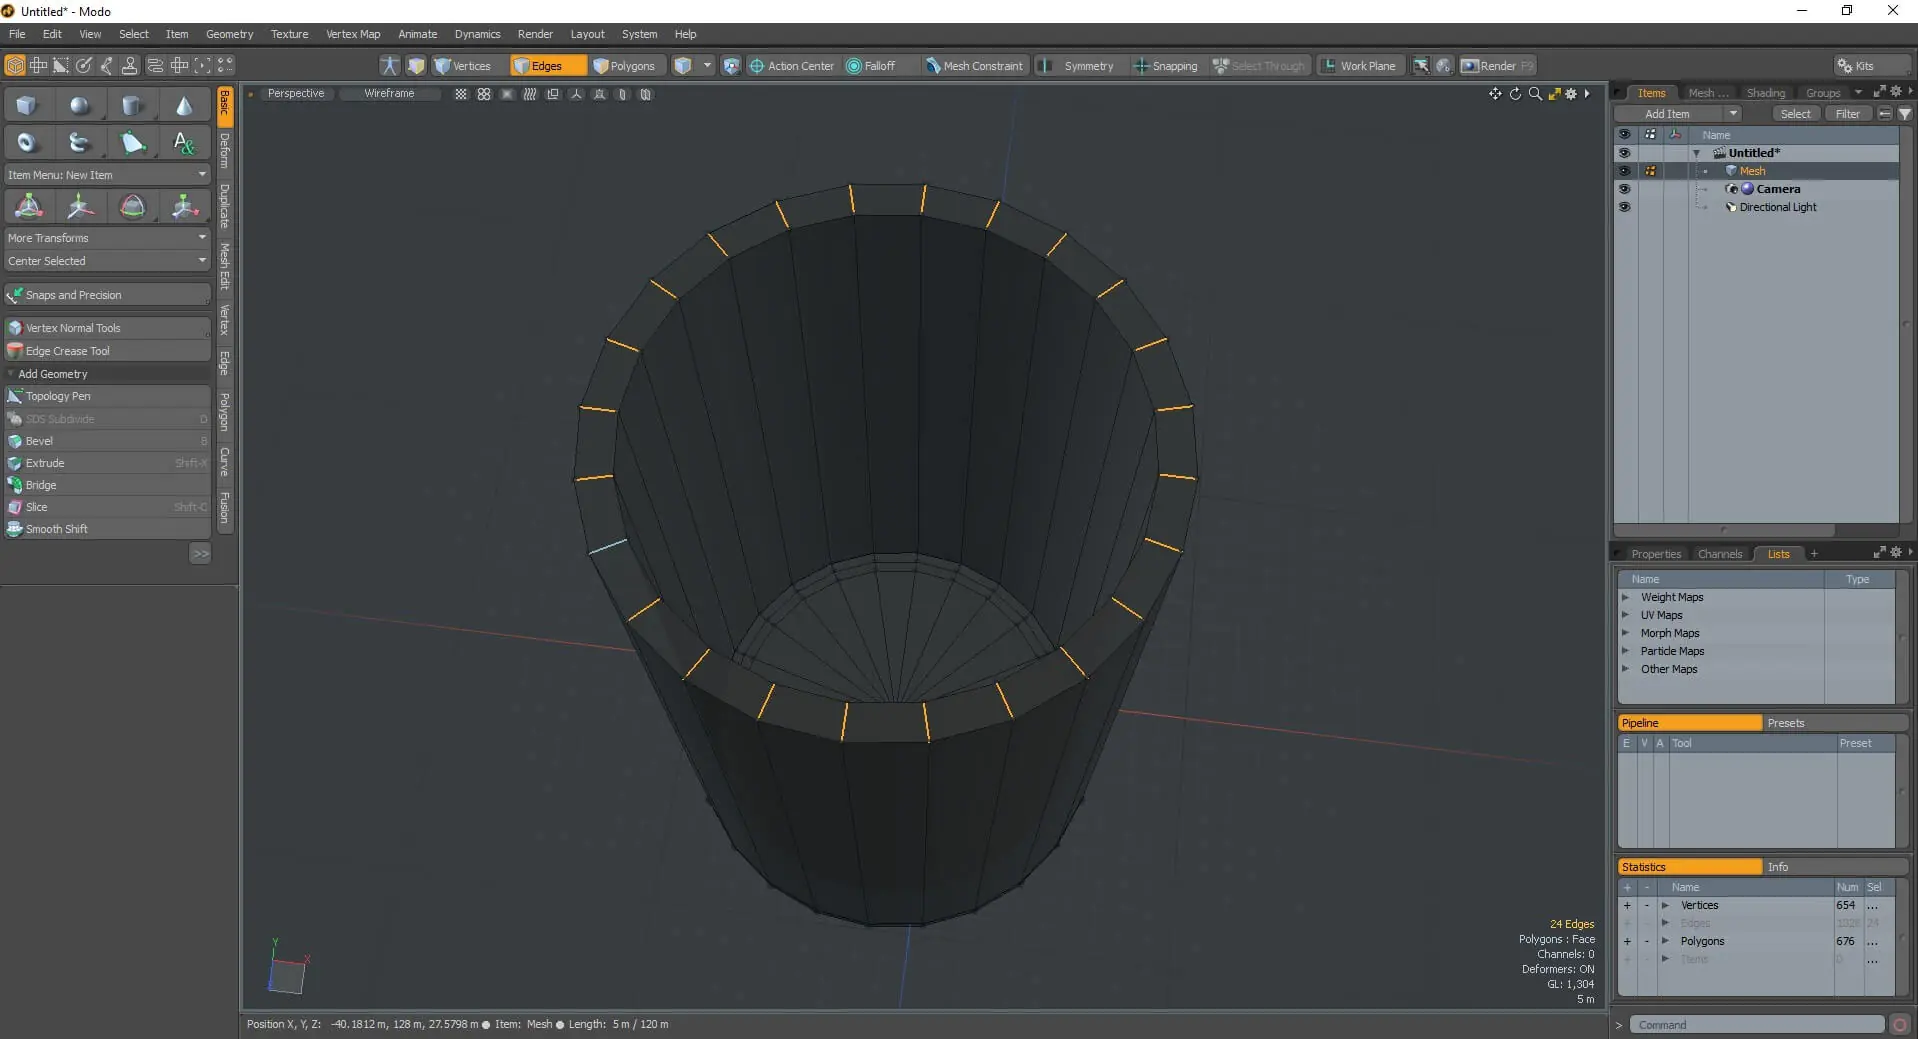
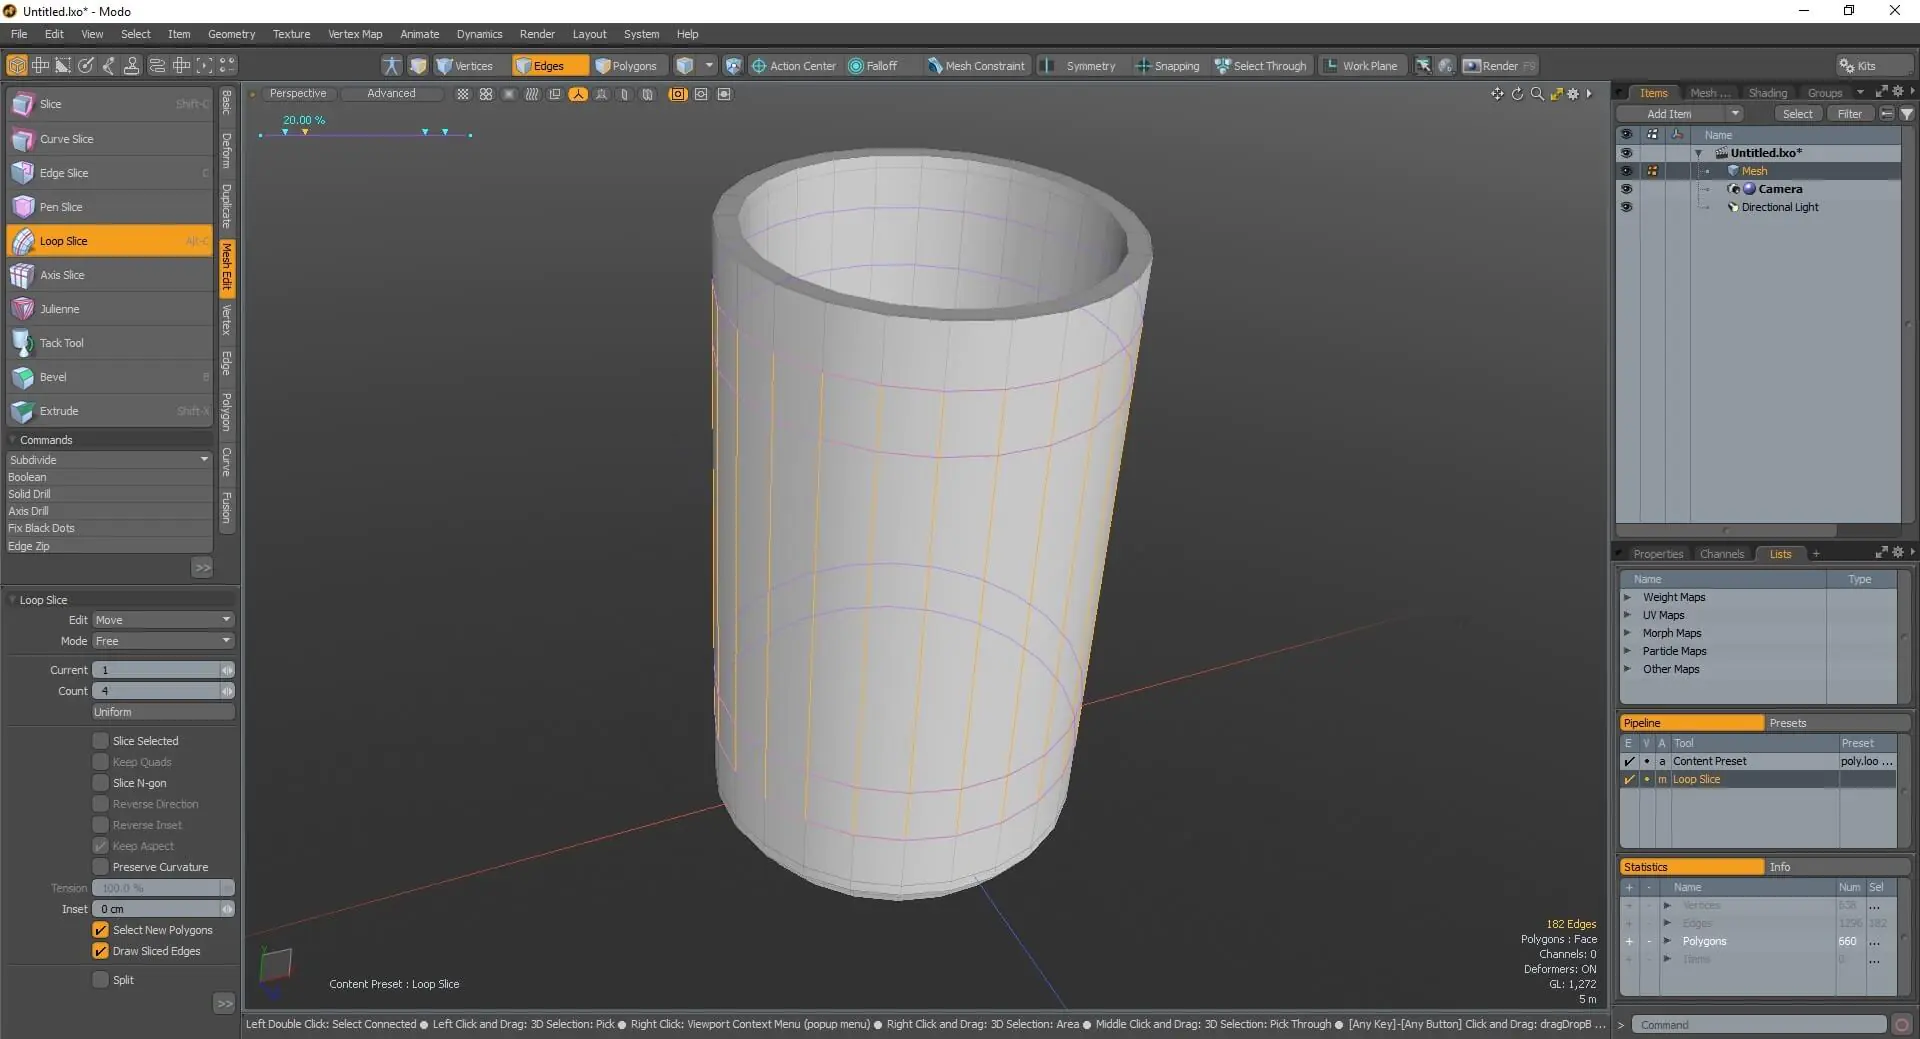
We’ll use the Loop Slice option in the Mesh Edit on the left bar to get a beautiful angle. Set the Count to 2 (left bar) and the percentages to 10% and 90% as required (top left violet line).
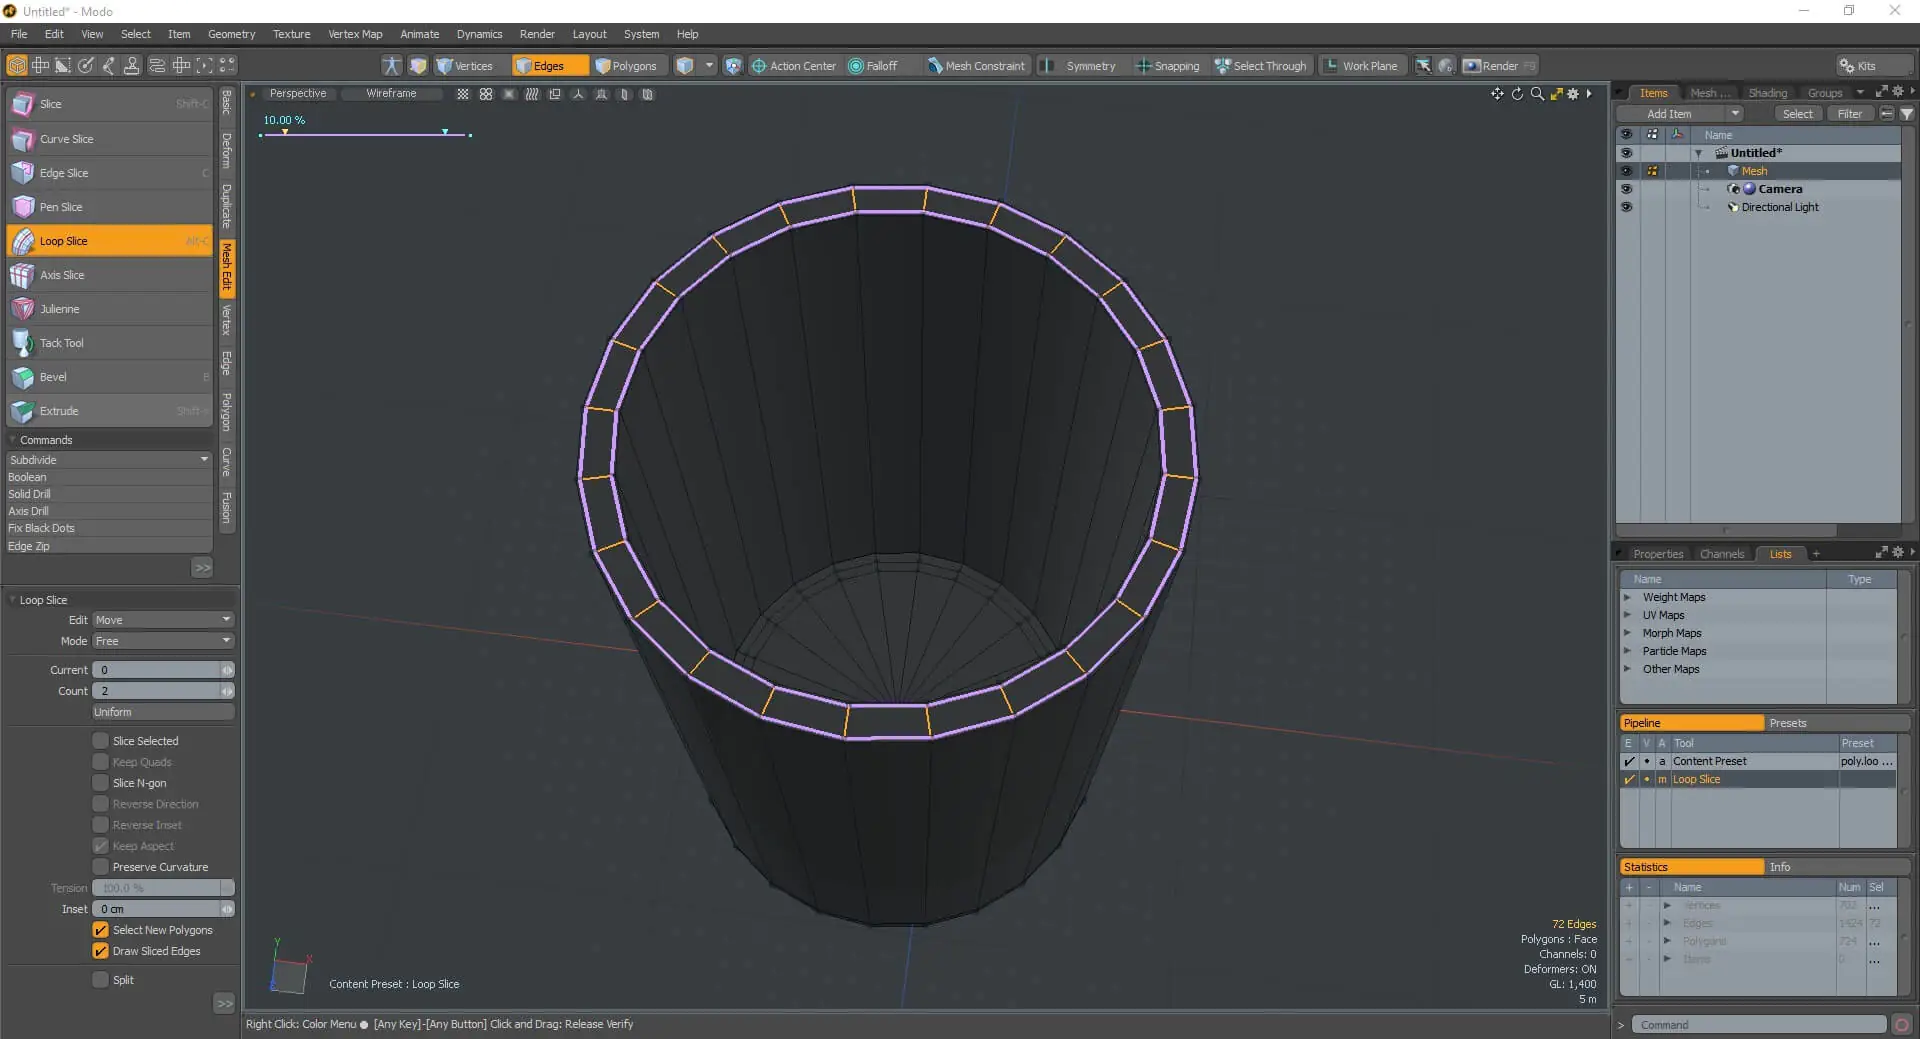
The mug’s handle will be made in the following stage. We’ll utilize the Loop slice once more to get the item ready for that. Choose all of the mug’s surrounding edges, select the Loop Slice, and modify the count to 4. You can choose the percentage; we had it at 10%, 20%, 80%, and 90%.
Step 3: Design the handle
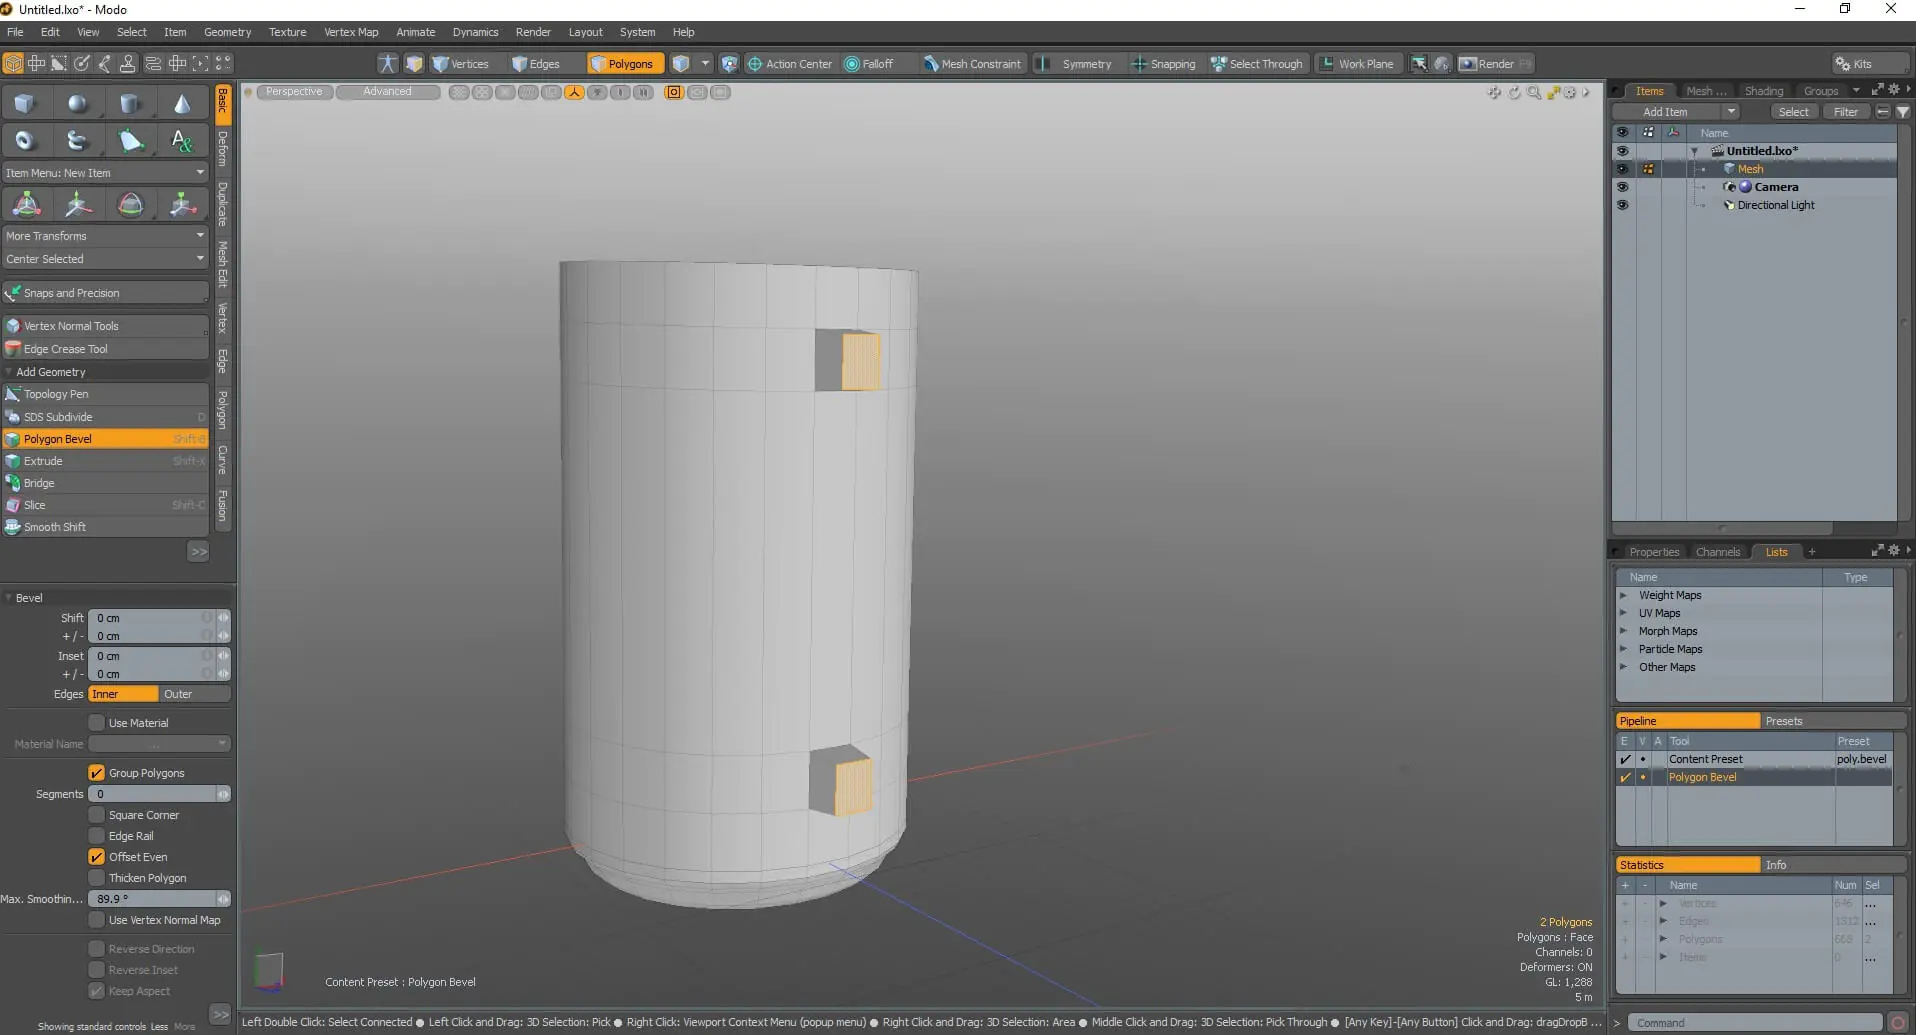
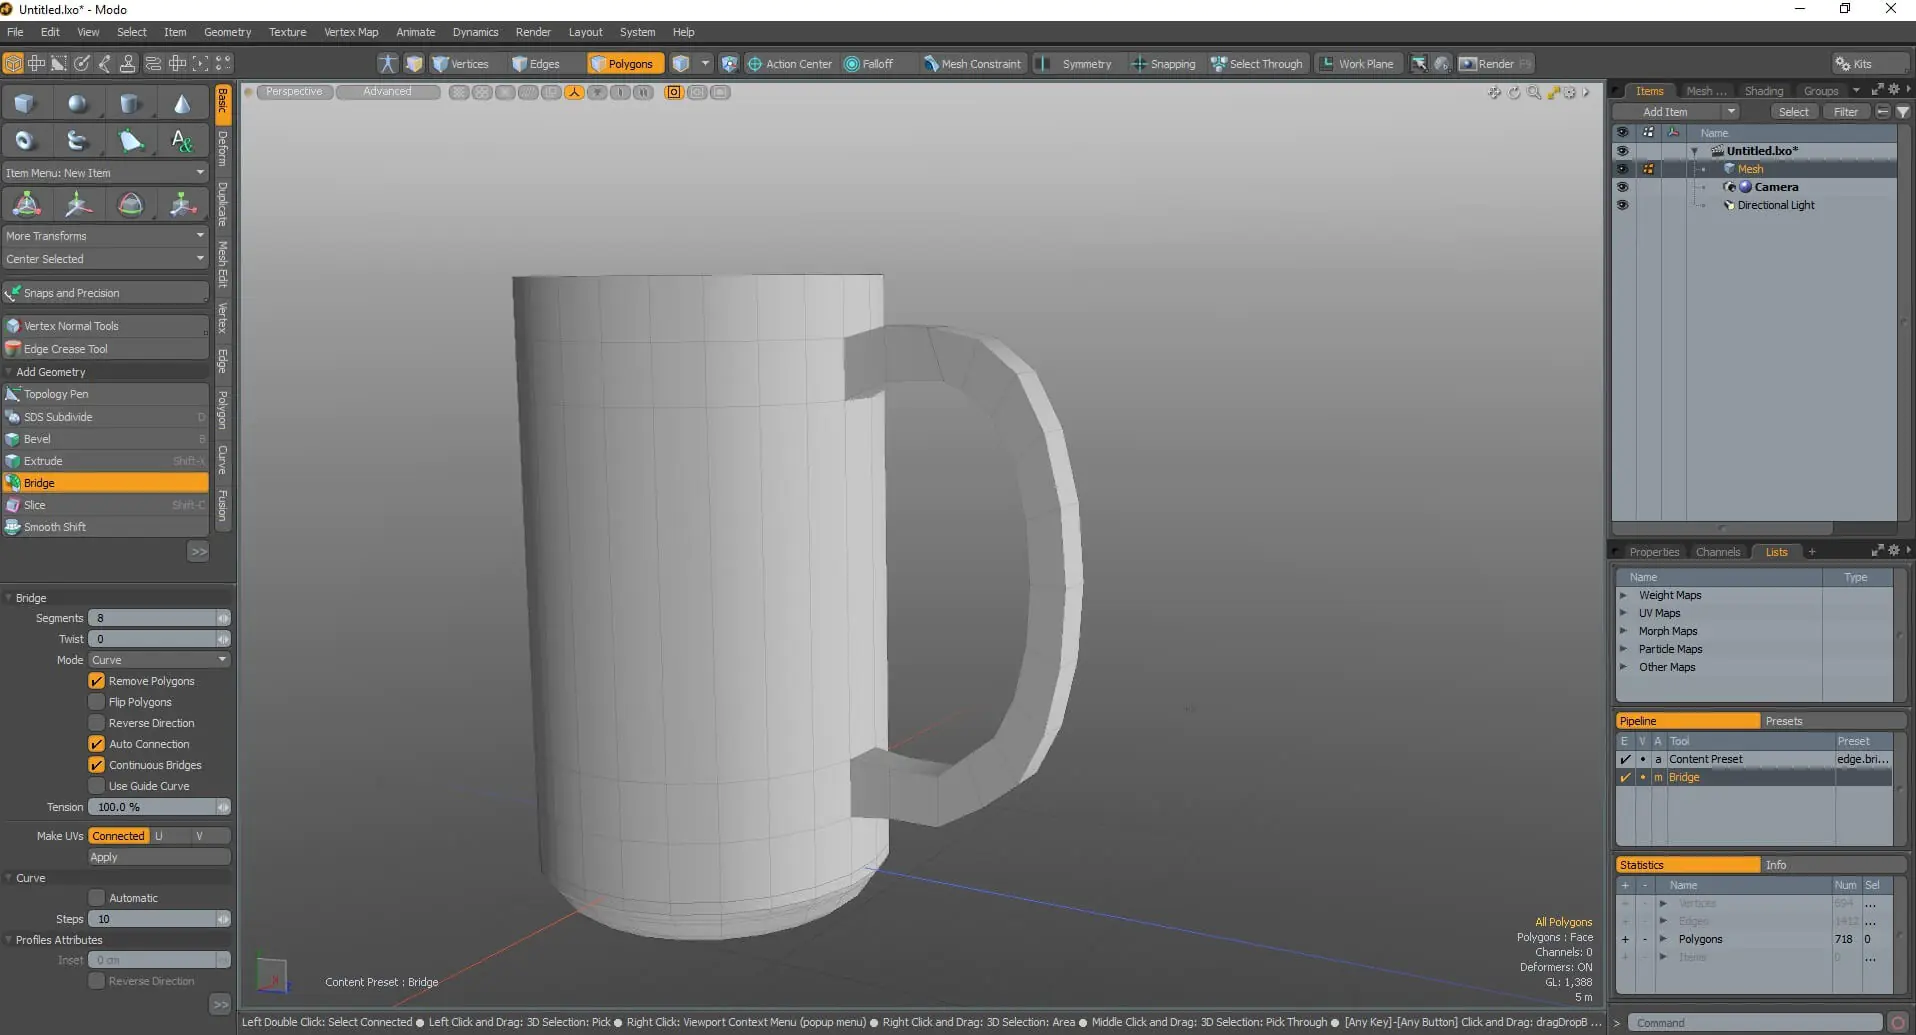
In this section, we’ll use the Bridge tool to make the mug project’s handle.
Choose two faces to focus on.

Once more, extrude the polygons using Bevel.
Repeat.
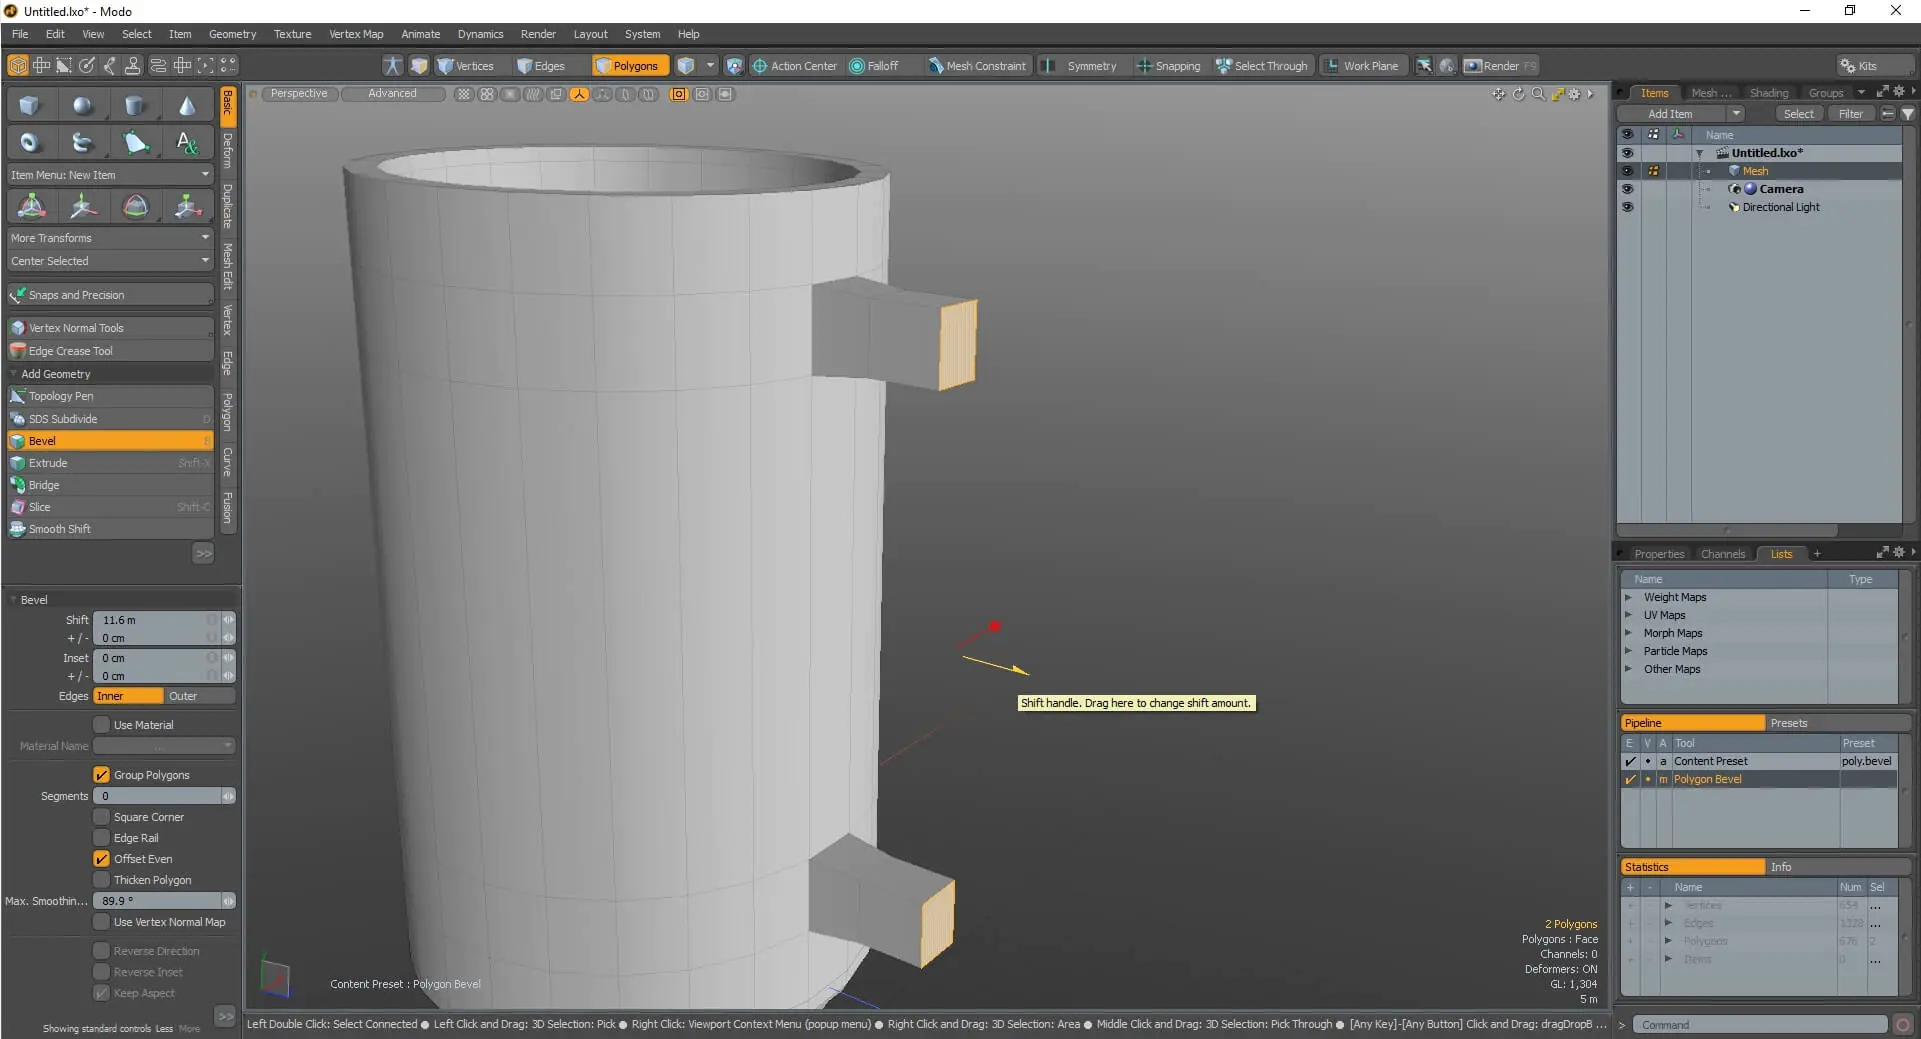
Utilizing the rotate tool, create third extensions and correct the angles as necessary.
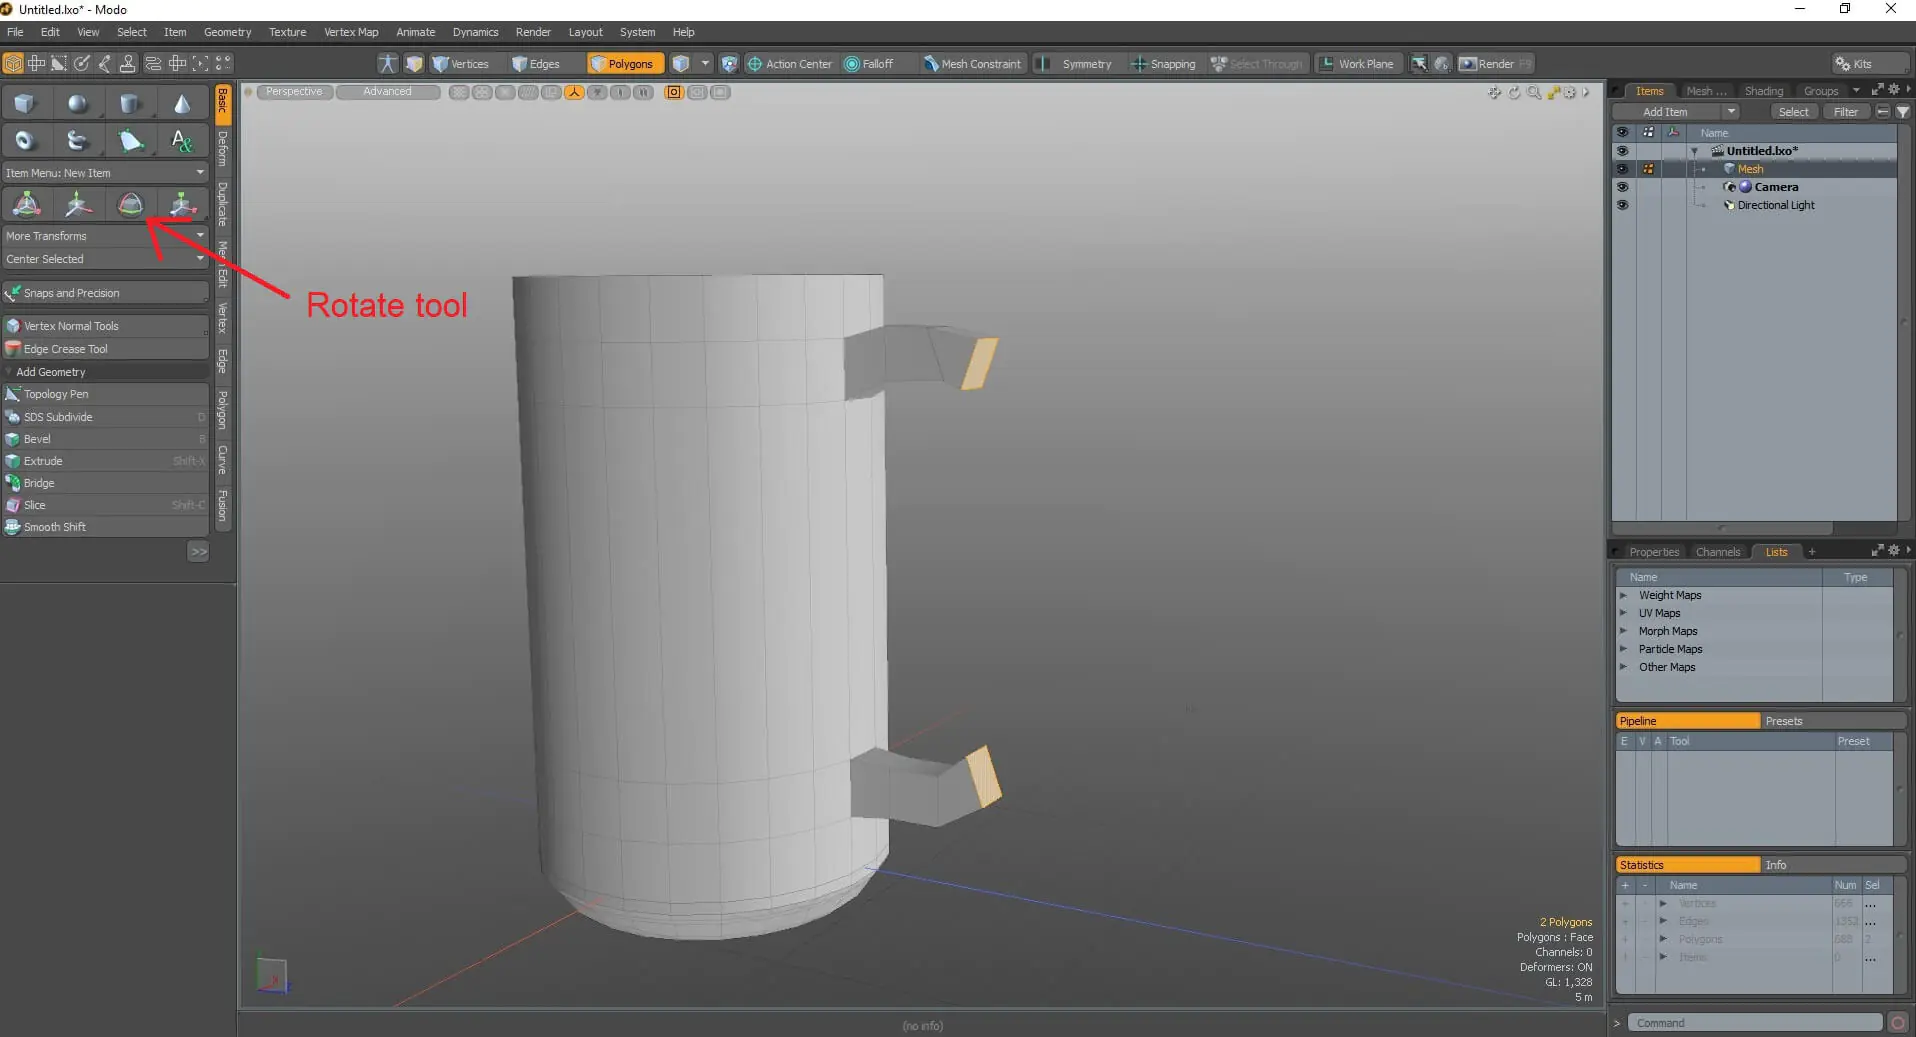
Go to Basic > Bridge on the left sidebar once we are satisfied with the shape. To get the proper angle, adjust the Segments number.
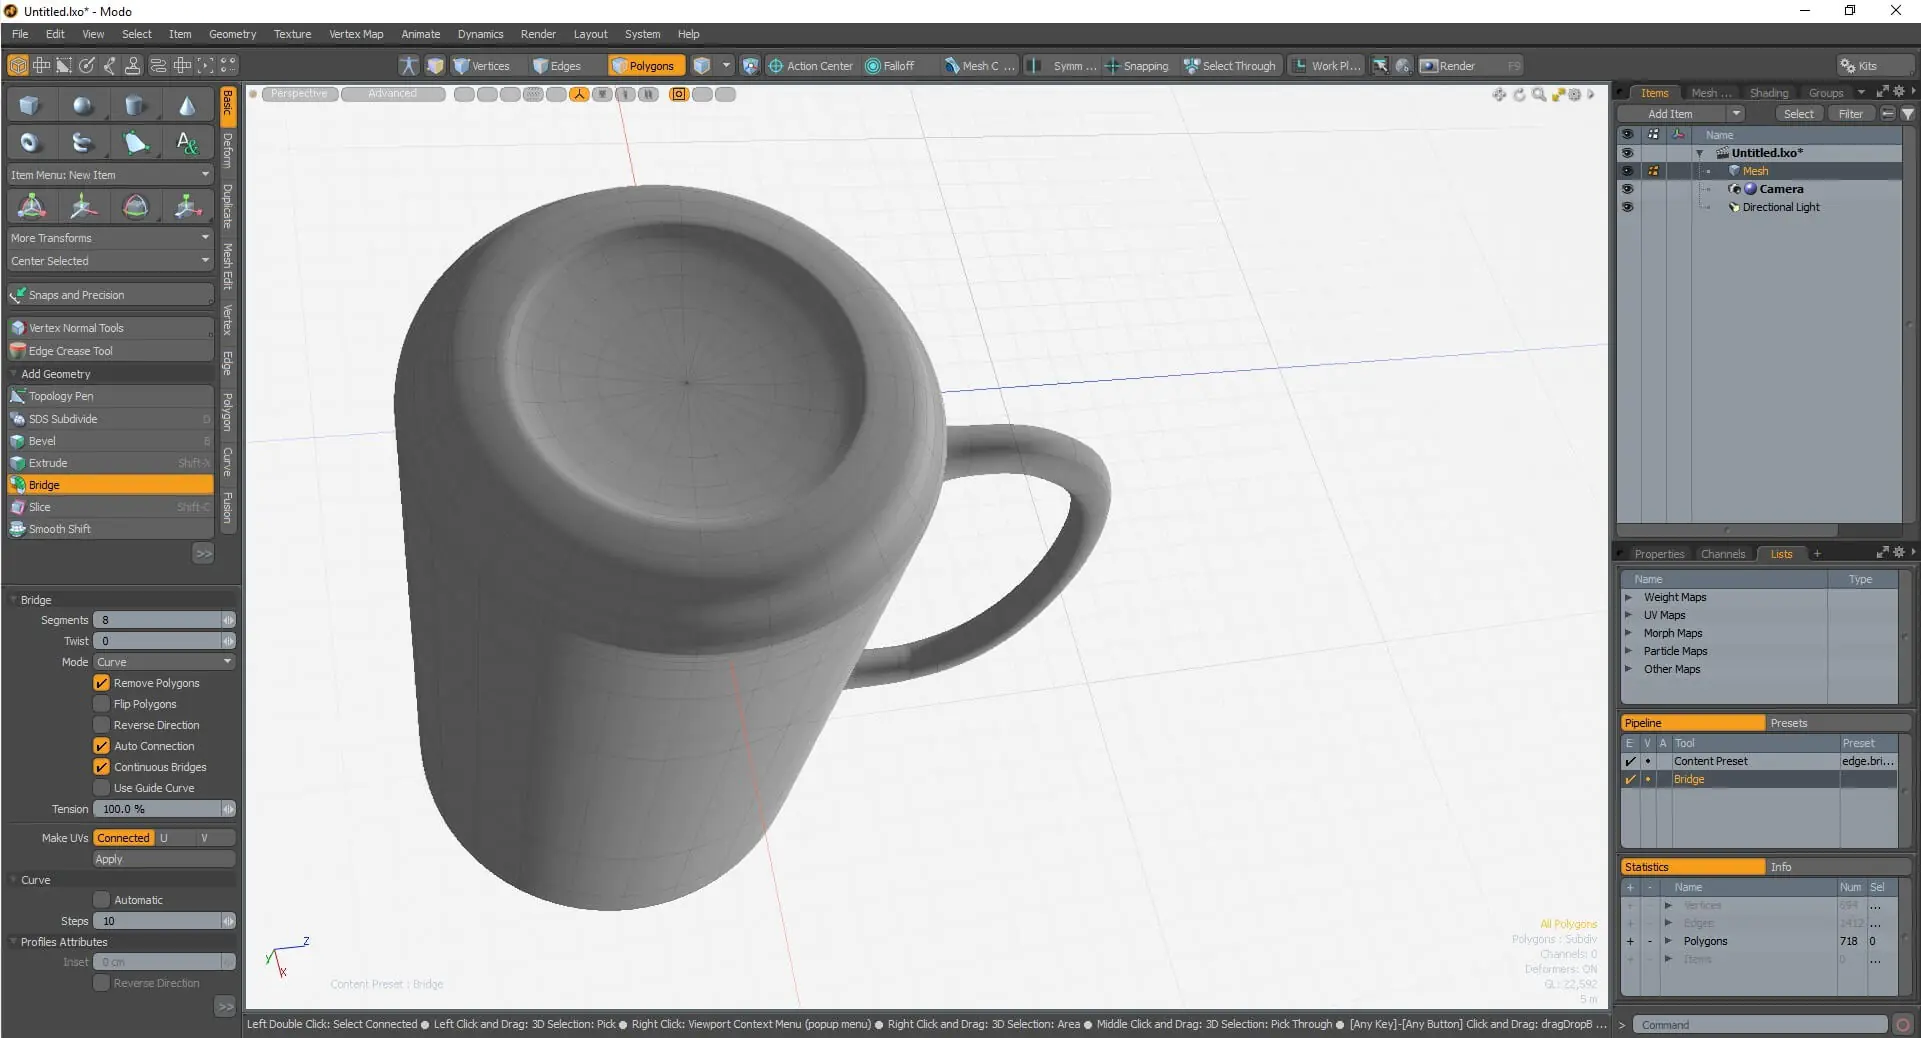
Step 4: Have your result.
Press the Tab to view the results of smoothing your model. Put additional space between the edges if you don’t like some of the sharp angles.


Conclusion
Indeed, the benefits of 3D modeling are numerous. However, reducing the number of intermediate prototypes and streamlining the process are the most common advantages one can have with 3D modeling for product design. Manufacturers must also find design defects as early as possible because doing so enables them to finish the product’s design before actual production begins.
Modo is a 3D modeling software that provides a complete modeling and animation workflow. To perfect your models, it has tools for procedural modeling, direct modeling, and brush-supported sculpting. Furthermore, the tool has an extensive animation and rigging feature. A strong rendering engine also enables you to test scenes prior to committing to any time-consuming renders. Linux, Apple, and Windows computers can all run Modo. There is no doubt that Modo is used by businesses of all sizes in a variety of sectors, including engineering, the creation of video games, animation, filmmaking, media production, art, furniture design, manufacturing, performing arts, and architecture.
