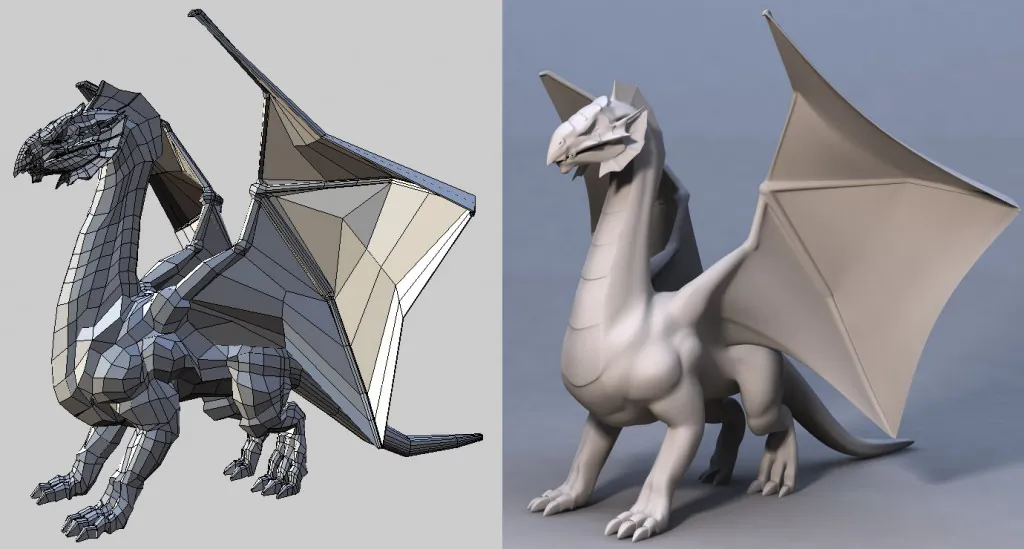
How to create the 3D model with Wings 3D?
Consumers have become increasingly tech-savvy over time. As a result, people have raised their standards and refined their product preferences. A potential consumer can be turned off by even the smallest error or misunderstanding, which will cause them to seek out your competition. Because of this, manufacturing firms are beginning to use 3D modeling to present their products. Project duration and cost are decreased with 3D modeling. As a result, designers now have more design flexibility. Businesses that don’t use 3D modeling technologies quickly lag behind their rivals. Additionally, you find a variety of softwares that are used for this purpose, however, in this post, we will discuss one of the most famous 3D tools; Wing 3D. So without ado, let’s discuss Wing 3D and how to use it for 3D modeling services.
What is 3D modeling?
The technique of creating a mathematical representation of a three-dimensional object or shape using software is known as three-dimensional modeling. A 3D model is a name given to the created item, and it is used in many different industries.
In order to visualize, simulate, and render graphic designs, 3D models are used across a variety of industries, including film, television, video games, architecture, construction, product development, science, and medicine.
What are the benefits of 3D modeling?
1 Realistic, quick, and simple
You can present your product in a more realistic manner using this type of modeling. For designers, this 3D modeling process is basic and easy. Before settling on all the key details, designers might assess the project from many perspectives. Additionally, before creating the prototype, changes can be made. While physical models are valuable, 3D models give you the opportunity to identify project faults more quickly.
2 Enhance the design
You may create any kind of feature with 3D modeling software. To put it another way, you can create any shape you desire. You can quickly create complicated patterns with only a click, not just shapes.
3 Simple fixes & remodeling
You won’t be able to witness the effects of any modifications, no matter how big or small, you make to your physical project. The designers can now more easily examine the whole design thanks to 3D designs. Additionally, 3D modeling software makes it simple and inexpensive to rebuild your project if you think it requires it.
4 Improves efficiency & quality
The utilization of 3D procedures in conjunction with 2D approaches is the most intriguing application. This combination enables designers to experiment with fresh creative methods. The designer becomes more effective and productive in this way.
What is Wing 3D?
Written on Erlang, an open-source, functional programming language offered by Ericsson, Wings 3D is a free 3D modeling tool. The Winged Edge Data Structure is where Wings 3D gets its name (WEDS). The adjacency relationships between faces, edges, and vertices in a Wings 3D model are stored using this data structure. Wide-ranging modeling tools, a user-customizable interface, support for lights and materials, and an integrated AutoUV mapping facility are all features of Wings 3D. However, Wings 3D does not support animation.
The use of Wings 3D in both private and public applications is totally free and open source. Linux, Mac, and Windows all support it. On their official website, you may get the newest edition of Wings 3D. The file formats that this 3D modeling program is compatible with are numerous. Furthermore, the user-friendly interface and simplicity of usage of the Wings 3D software are its main characteristics. These characteristics are well-represented in this Wings 3D tutorial.
How to create the model with Wings 3D?
Step 1: Start handling the software
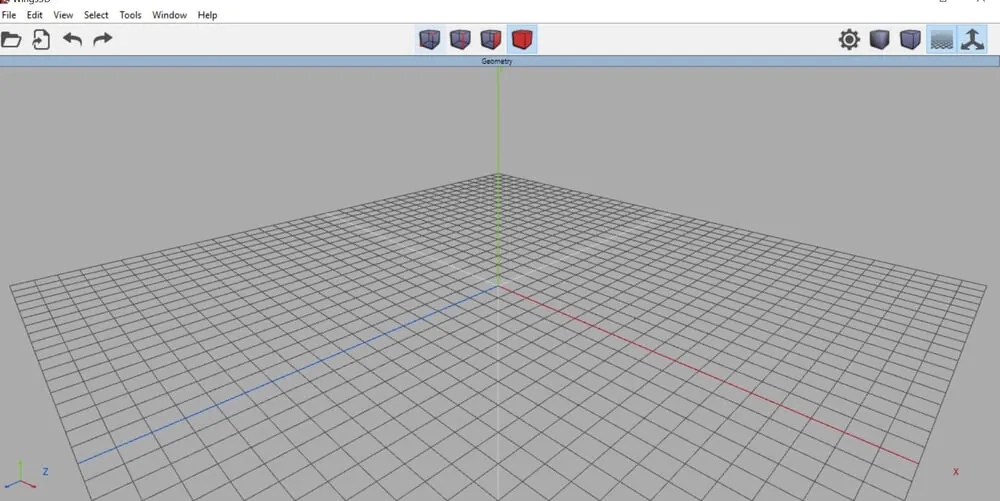
You see the Wings 3D workspace by starting the program. The axis X, Y, and Z are aligned similarly to how they are in typical 3D design tools. There is one unit inside each square. There is no need to scale the model when designing, therefore these units can be either meters, centimeters, or millimeters. Only when you export your 3D model to another 3D design program using a different scale system, scaling becomes important.
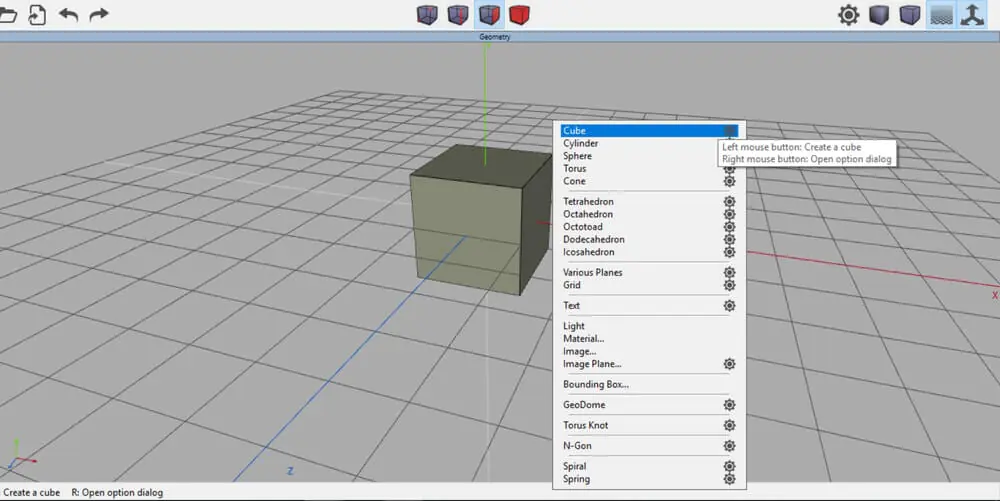
You can enter some fundamental shapes to get started and play with the various design tools. Right-clicking your mouse on a blank scene will bring up the entire context menu with all of the available choices. You can use the numerous basic models, referred to as primitives, as a starting point for more advanced 3D models. You can add a single form or as many as you need to work with.
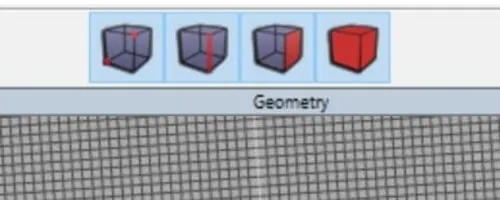
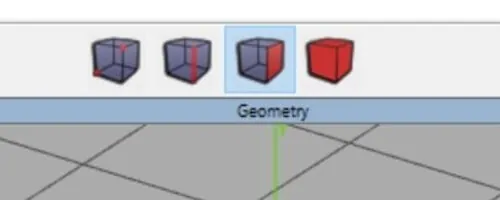
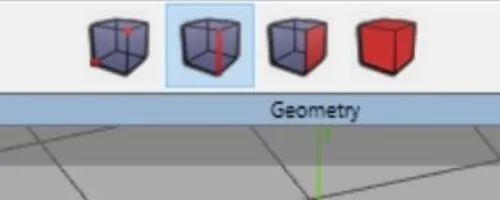
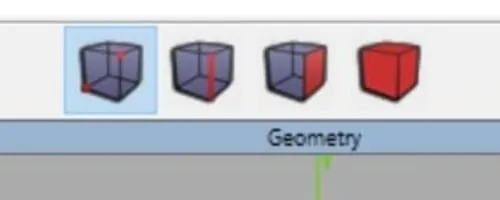
You can switch between the vertex, edge, face, and object selection modes by clicking on the corresponding icons at the top of the screen. Instead, you can utilize the hotkeys (V for vertex, E for edge, F for face, or B for the body).
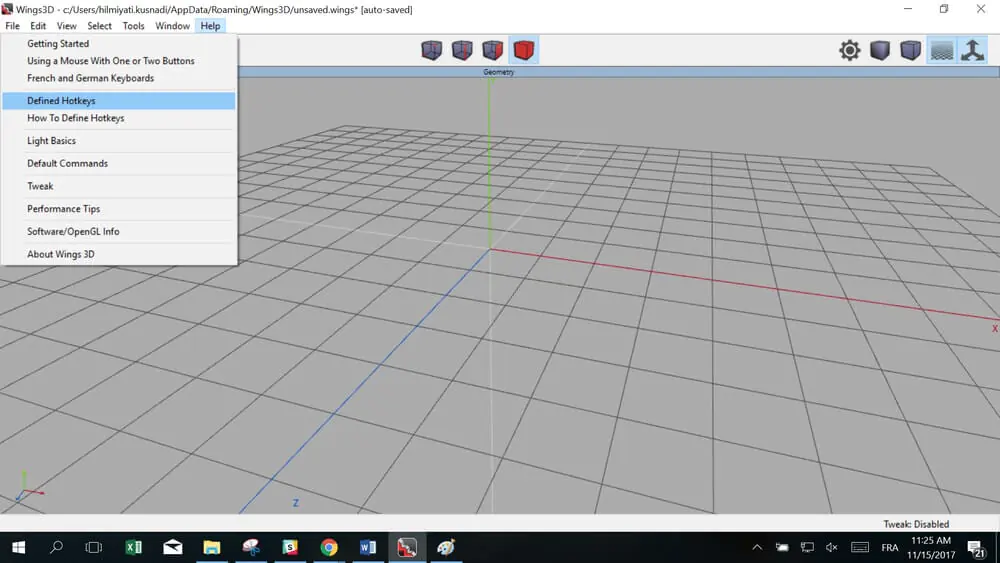
The “Help Tab” contains more details on how to define hotkeys.
The ability to shift between Vertex mode, Edge mode and Surface mode is one of the best features of the Wing 3D program. For instance, you may begin in edge mode, switch to vertex mode, and then return to edge mode once more. You must select one of these modes each time you want to modify, extrude, or hollow your 3D shape. Therefore, in order to construct a complicated design, you must be aware of the options offered by each mode as well as when to employ each one.
Let’s study each of these basic modes of Wings 3D.
Step 2: Understanding selection mode ‘vertex’
To select the vertex mode, left-click the vertex icon.
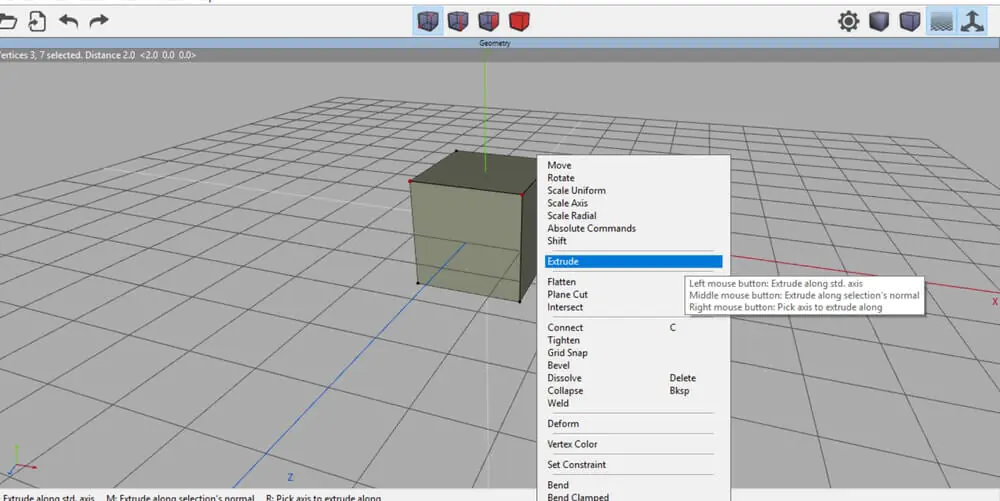
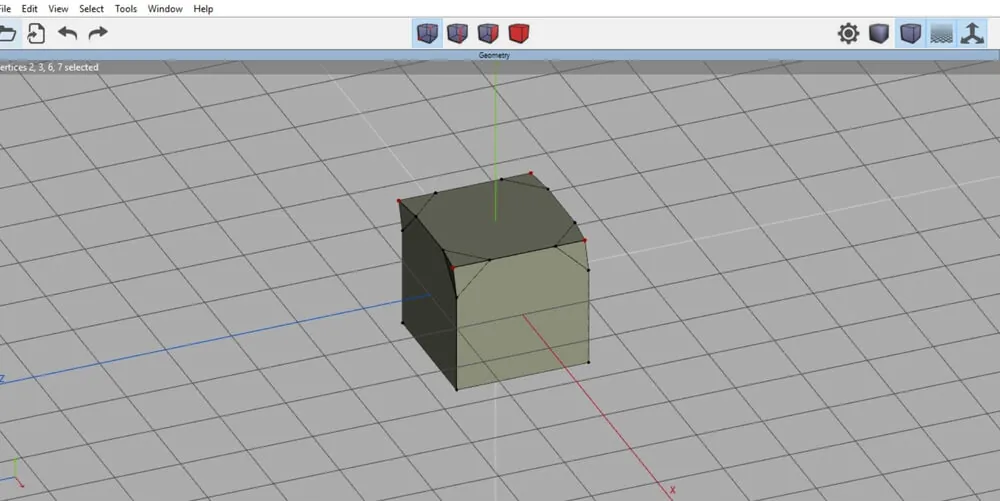
When you right-click the mouse while selecting the cube’s top vertexes, a menu of choices for changing your selections will appear.
To achieve this outcome, select the extrusion mode around the axis Z:
Press the spacebar to deselect the currently selected vertices.
Step 3: Understanding selection mode ‘edge’
Let’s now explore the edge mode. Select it with a right-click.
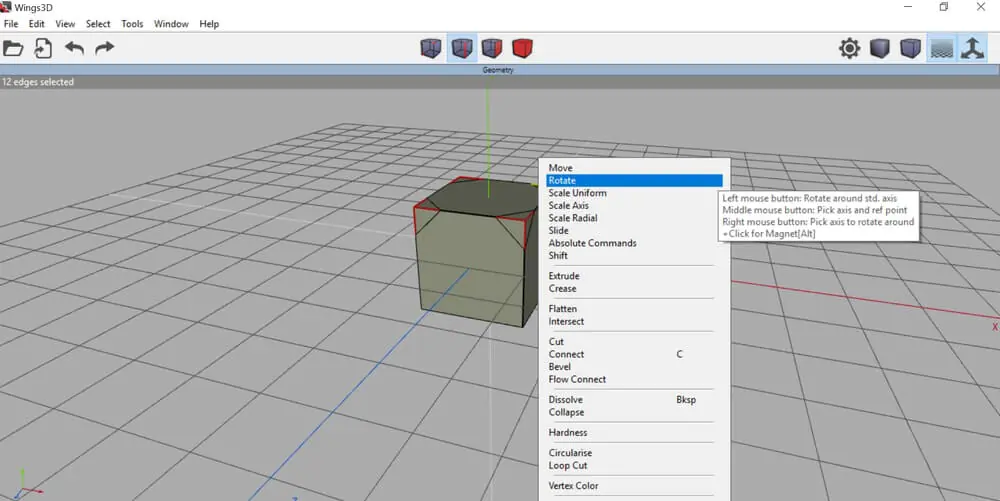
The edges of the previously constructed extruded vertices were our choice. To change the selected edges, right-click and choose the rotation mode around the axis.
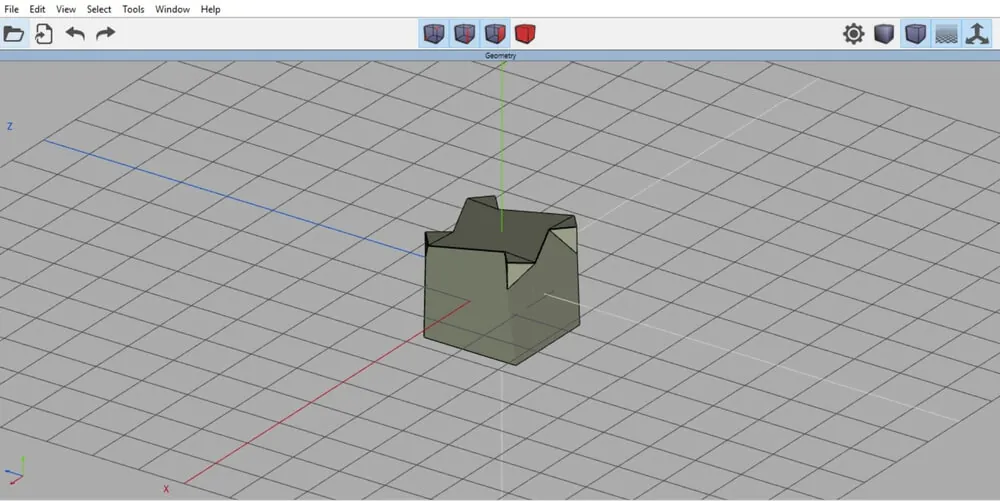
The outcome of our 3D model is shown here:
Press the spacebar to deselect the currently selected edges.
Step 4: Understanding selection mode ‘face’
Let’s try out a different option now—the face mode. Select it with a right-click.
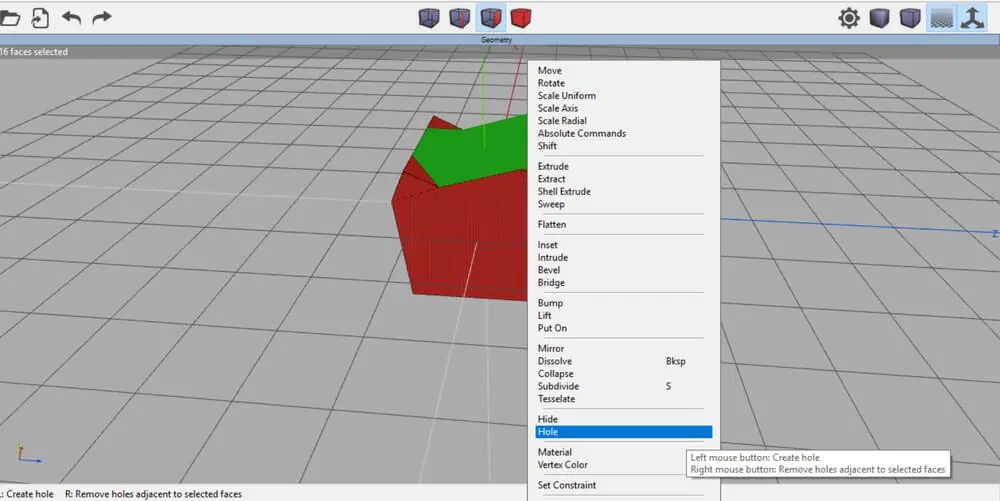
Using the face mode, you can make a “hole” as one of your options. By doing a right click on the chosen face, you may see all the options the face selection provides.
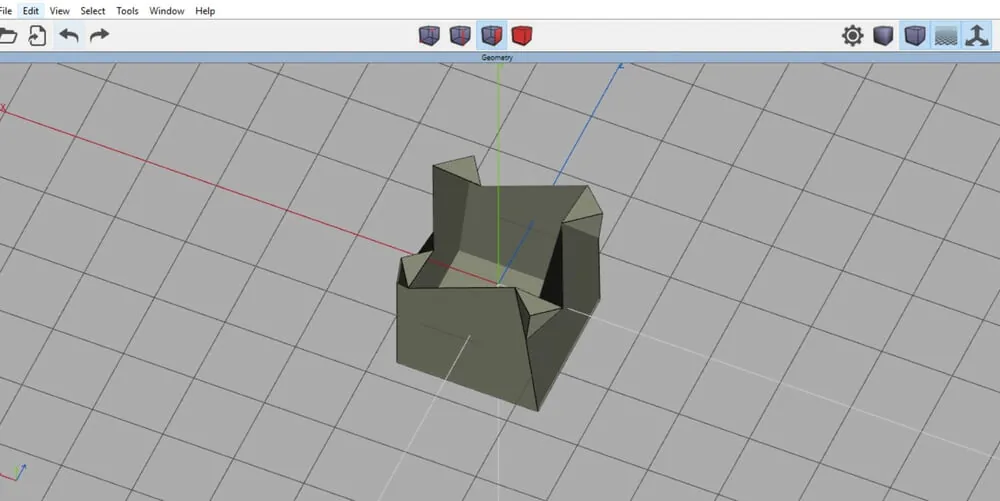
When the “hole” button is selected, the 3D model will look like this:
How to import and export default 3D files with 3D Wing?
Importing 3D files
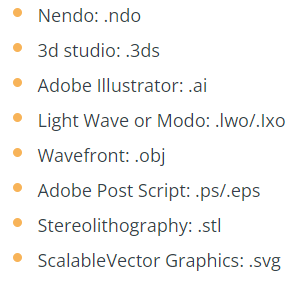
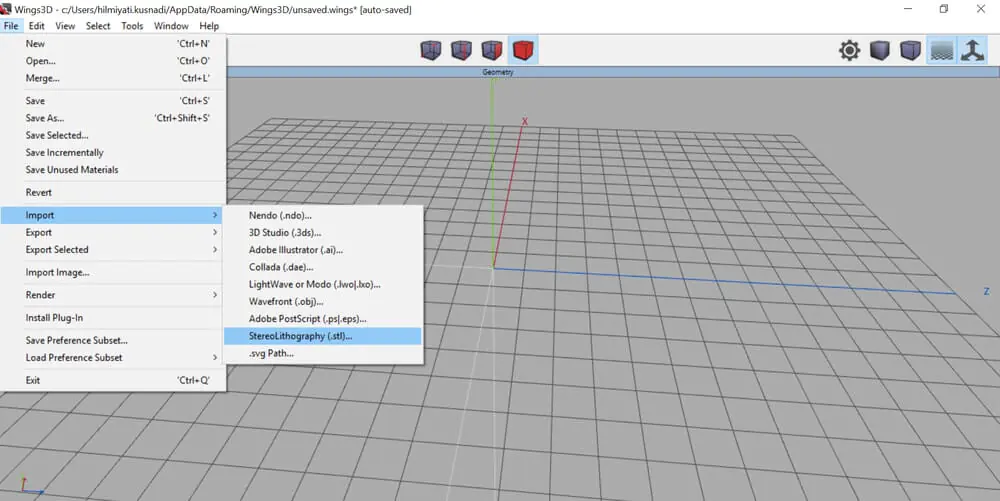
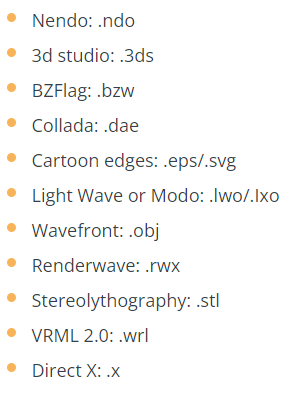
Wings3D software allows you to import pre-existing 3D files if you don’t want to develop something from scratch. The following file types are supported for import by Wings 3D:
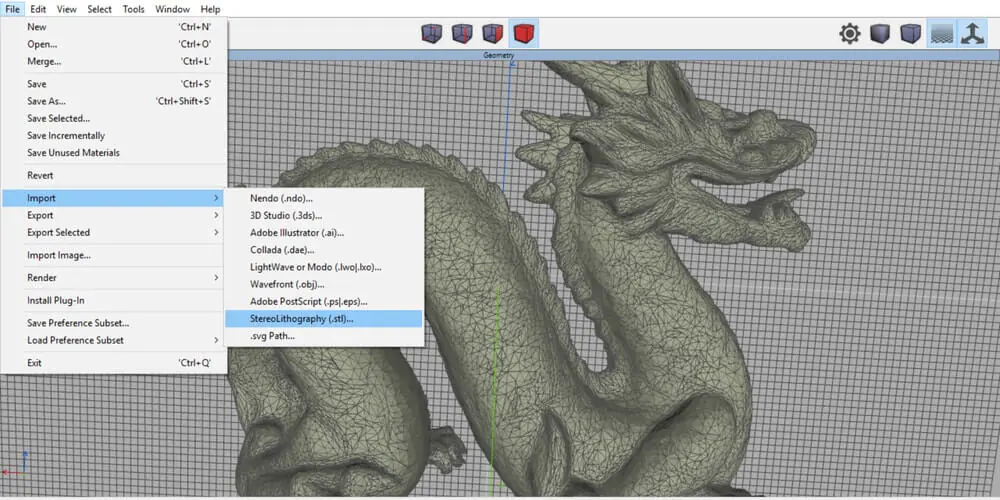
We imported our.STL file as an example. We then right-click it to reveal the options that are available to change it.
As previously noted, Wings 3D is a software that employs units for scaling, hence it does not import 3D models by measuring them. As a result, the 3D model you import will be scaled randomly. As a result, you can change its size by simply scrolling your mouse’s roller. By flipping, turning, or freely moving your 3D item, you may also position it as you wish.
Exporting 3D files
The Wings 3D software enables file exportation in a variety of formats. When you export the 3D file, you can also transform it into a mesh file using, for example, the STL format. The most popular file type for 3D printing is this one. Wings 3D is especially effective and beneficial for 3D printing since it can create mesh files for export even though it does not directly manage the mesh modeling stage. Your 3D model can be exported from Wings 3D in the following file types:
Conclusion
The viewer may simply interact with the surroundings and see how the product will appear in real life thanks to 3D technology. It is employed in many different sectors nowadays. This technology is being used by engineers, designers, building owners, constructors, and many others to promote their products. Many 3D modeling software are used these days, however, many designers prefer Wing 3D over other tools for a variety of reasons.
Since it is free for users, which is great, Wings 3D is a good software for 3D modeling. You are not required to spend anything to try out the program. Nearly all of the features and tools needed for low-poly modeling are present. Additionally, sculpting allows you to add fine details, which is great for modelers. The best feature is that it offers a collection of 3D models that we may use to make things. It offers practically all features, including lighting, UV unwrapping, materials, shades, and texture mapping. Modeling is really simple; you can do practically anything to make your model appear fantastic, just like every other piece of software. Almost all file types can be exported and imported with Wings 3D.


