How To Use LAB Color Adjustments For Images
LAB color adjustments define colors in three axes: L is the brightness value from black to white, A is from green to red, and B axis is from blue to yellow. Using LAB color mode, you can control color adjustment individually and create accurate outcomes related to color modifications and image brightness. In contrast to other color modes, it manipulates color until it gets closer to human eye perception. Instead of specifying how colors should be displayed on a screen or in print, LAB is developed to match the human vision. Moreover, The LAB Color is independent of the device; it’s more accessible to successfully attain the exact color across various mediums. Whether you use this approach as a color enhancer or corrector, the resultant images will always raise color accuracy and consistency, thus making your visuals highly appreciated by everyone. To manipulate the colors of your photographs using LAB color mode, you have to be considerate of the sequential approach of this process. This blog contains eight practical steps to use LAB color adjustments for images, which are as follows:
Step 1: Convert your image color mode to LAB
In this initial step of LAB color modifications, begin by carefully selecting the image, which is exceptionally important because it sets the foundation for the intricate alterations that will occur afterward.
Select an image that sets with your altering targets, considering components like composition, lighting, and color harmony. The selection of the source image is equal to assembling a palette; the chosen picture serves as the raw material upon which you’ll apply your color expertise.
Load your selected image inside your preferred editing software, such as Adobe Photoshop. As your photo spreads on the digital canvas, the consequent essential activity includes transitioning its color mode to LAB.
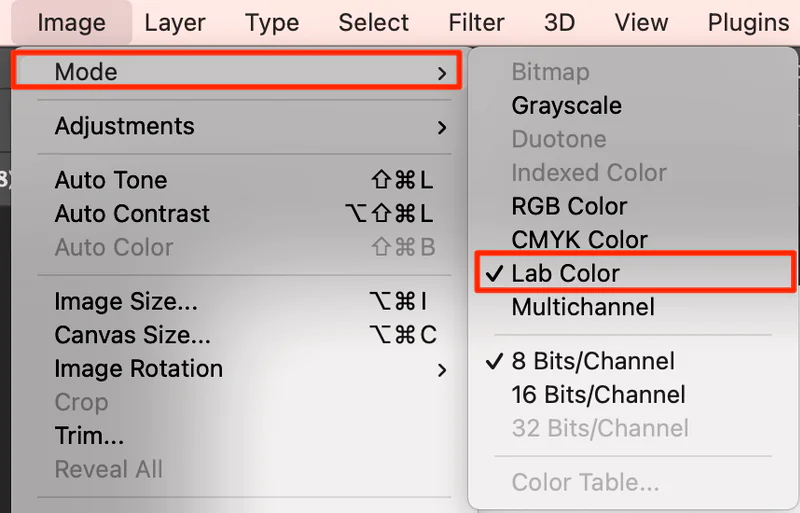
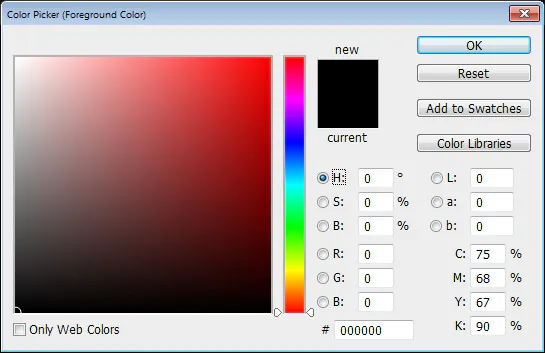
To convert color mode to the LAB, move to the menu bar below the image, where you will spot the mode option; click on it, then select the ‘LAB Color’ option.
LAB mode permits error-free alterations in brightness and color components, permitting the exploration of color subtleties. At the conclusion of this step, don’t forget to save your image or make a copy of it for integrity.
Step 2: Modify the lighting effects with the L channel
After your image is set to LAB mode, the next step is to tweak the luminance component (L) to get an ideal lighting effect.
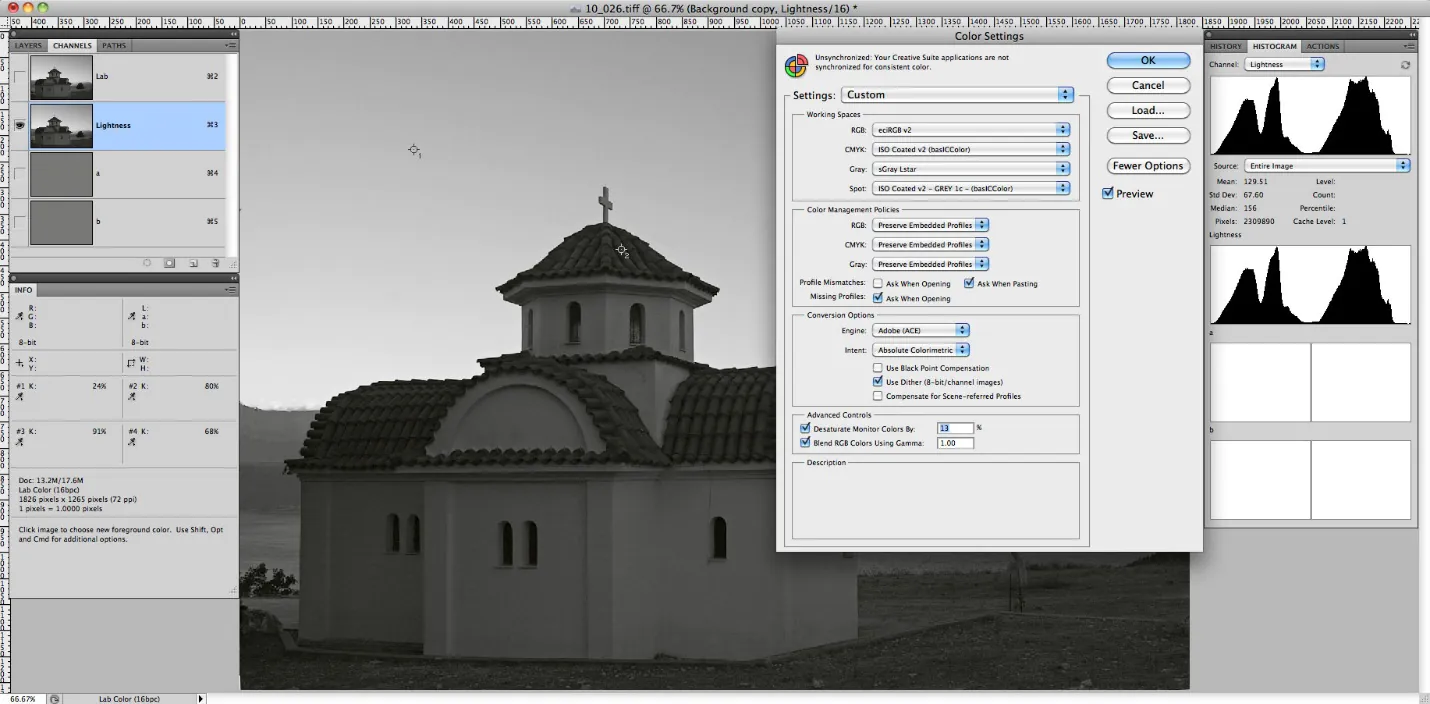
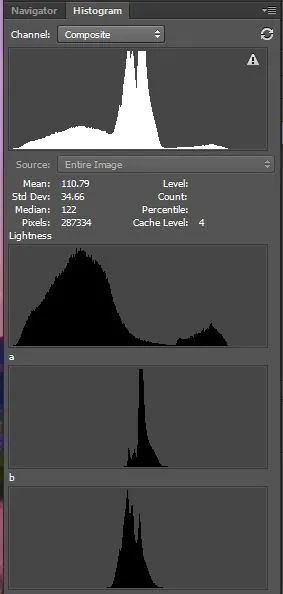
Go to your image editing software’s “Channel” menu and focus specifically on the L channel.
Start by observing the histogram and deciding the allotment of pixel values.
Acclimate L channel levels or curves to better contrast and brightness, pointing up vital details of highlights and shadows. Use a cautious approach by considering the particulars of your image.
This step conscientiously guarantees that your image attains the perfect balance of light and shadow.
You set the platform for visually alluring images with enriched clarity and depth by fine-tuning the brightness component.
Test with different settings, constantly observing each modification’s impact on your composition’s overall brightness.
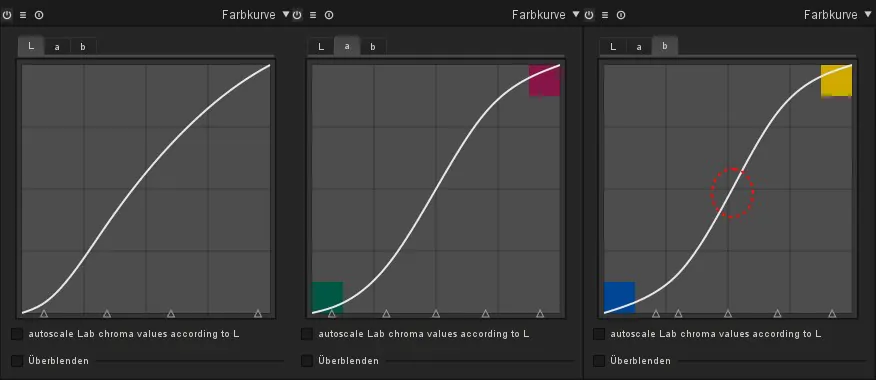
Step 3: Make color adjustments using A and B channels
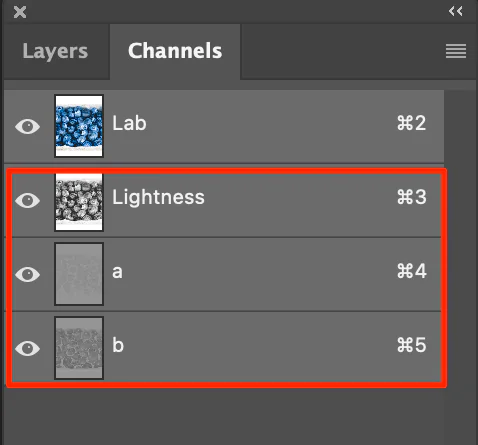
In this step, you ought to attend to color balance alteration inside the LAB color space. Look individually at the A and B channels to administer the green-to-red and blue-to-yellow axes.
Navigate to your software’s “Channels” palette and begin deftly tweaking the A channel, playing with different options to upgrade or reduce your picture’s green and reddish tones.
At the same time, experiment with alterations within the B channel to present variations along the blue-to-yellow range. These refinements give you exact control over your composition’s color elements.
Consider the effect you want to attain; for example, you may need to heighten warm tones, imbue a relaxed vibe, or strike a concordant adjustment between differentiating colors.
The magnificence of this step lies in its alterations that instantly change the visual aura of your photograph.
Step 4: Improve your image’s selective regions
In this step, you will specifically upgrade particular tones inside the LAB color space. Go to the “Channels” palette, where you’ll discover person channels for L (lightness), A (green to ruddy), and B (blue to yellow). You can identify and refine specific color ranges, including profundity and dynamic quality, in your picture.
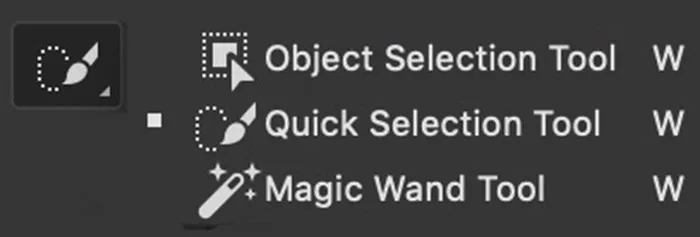
Begin by recognizing the color tones you would like to improve or adjust. Utilize selection tools to separate particular ranges, whether it be dynamic reds in dusk or rich greens in foliage. After you have chosen, fine-tune the comparing channels, adjusting the A and B values to heighten or mollify the picked tones.
This selective approach aids in bringing up the critical components of your composition. Whether it is about demonstrating the warmth of skin tones in a portrait or improving the colors of a particular object, the objective is accuracy. Each addition adds to the nuanced framework of your image.
Step 5: Enhance the contrast with collective alterations
Steer the contrast settings of your composition by moving back to the “Channels” palette, where you’ll be able to manipulate the L (lightness), A (green to ruddy), and B (blue to yellow) channels jointly to upgrade the overall contrast of your picture.
Concentrate on the L channel, altering the contrast to call attention to subtle elements in both shadows and highlights. Access the curve tool and generate the S curve for contrast. Also, use the histogram for equal tonal distribution. Consider the effect on the overall radiance and ensure a balance that keeps up the image’s energetic extent. At the same time, tune the A and B channels further with histogram assistance, and it will complement color contrast and add up lavishness.
Contrast enhancements also result in creating the three-dimensional quality of your image. Each alteration within the L, A, and B channels participates in the visual effect, forming the contours of your subjects and components. Whether improving the freshness of a scene or the nuances in a portrait, contrast control raises your picture from level to energetic.
Step 6: Make color corrections for overall toning
To achieve a proficient level of color adjustment, renavigate to the “Channels” palette and work on perfecting the L (softness), A (green to ruddy), and B (blue to yellow) channels all together to get a concordant color harmony.
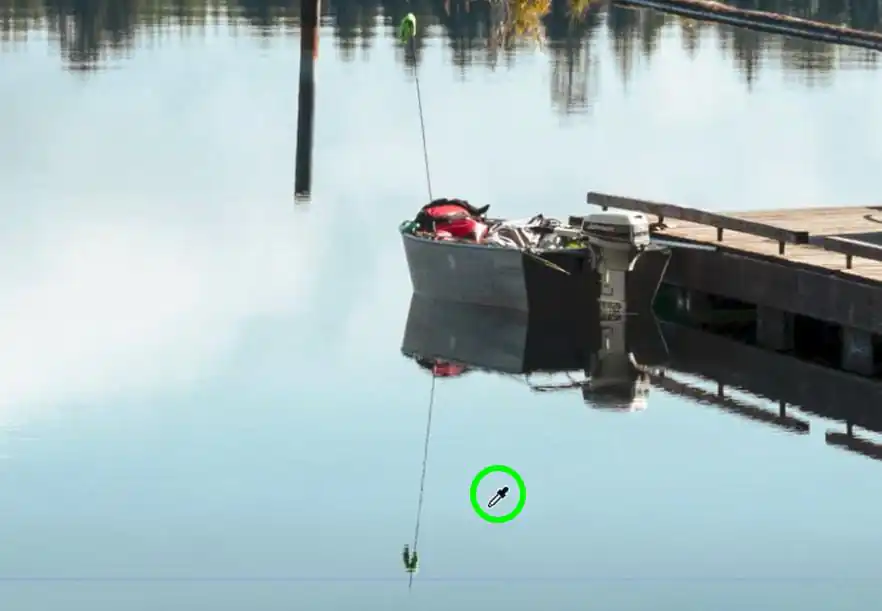
Evaluate the general color tone of your image and alter the L channel to improve the brightness, ensuring that it harmonizes with the chosen color palette. Head towards the A and B channels, making unpretentious changes to extract any remaining color casts or disparities.
This step involves scrupulous refinement so that your picture depicts genuine and precise colors. To preserve a reliable and reasonable color representation, refer to anchor objects in your image, such as neutral greys or balanced whites.
Step 7: Experiment with artistic color grading
To include aesthetic color grading, navigate to the “Channels” palette, but this time, move your center to make an extraordinary color story.
Play with the A and B channels, presenting light shifts to form unique color tones, or you can also consider manipulating A and B curve settings. Regard this step as including the wrapping up touches to your art marvel, infusing it with personalized and aesthetic energy. Grasp the flexibility to play with color combinations that inspire particular dispositions or upgrade the narrating perspective of your picture.
Decide on the enthusiastic tone you need to deliver. It may be possible that you are aiming for a warm, retro impression or a cooler, more advanced taste. Edit the A channel for varieties in green-to-red tones and the B channel for conversions along the blue-to-yellow range.
This inventive pursuit is where the efficiency of LAB color space really sparkles, permitting you to shape an outwardly captivating and candidly resounding composition.
Step 8: Perform wrap-up tweaks and evaluations
Return to the “Channels” palette, keeping a focused glance on each subtlety as you amend the final details.
Refine the L, A, and B channels jointly so that your image accomplishes the required visual effect. Inspect the overall display, cater to remote flaws, and fix the appearance.
Consider the interaction of light and color, making mild alterations to maximize the clarity of complicated points of interest. Inspect the general adjustment, guaranteeing that each component in your picture contributes rhythmically to the ultimate result.
As you optimize your image for LAB accuracy, you’re not just adjusting colors; you’re polishing the soul of your composition. This step typifies the pith of your altering travel, changing your pictures into visual stories that resound with profundity and clarity.
At long last, you’ll be able to notice your images gleam with a brilliance that surpasses standard correction with exceptional aesthetics.
Conclusion
In brief, you can see a big difference in the colors and luminance of your image by using the LAB color technique. Expanding the color palette enhances the saturation intensity and dives the visuals towards naturalism and individuality. LAB color helps you transform the colors of the image without disturbing the brightness or contrast. It provides separating channels for the lightness and the color corrections, organizing both values on their representative channel. Furthermore, you can modify the A and B channels to eliminate color casts. The selective coloring option can control the specific color adjustments to selected regions of your images, thus contributing to overall elegance and charm.
