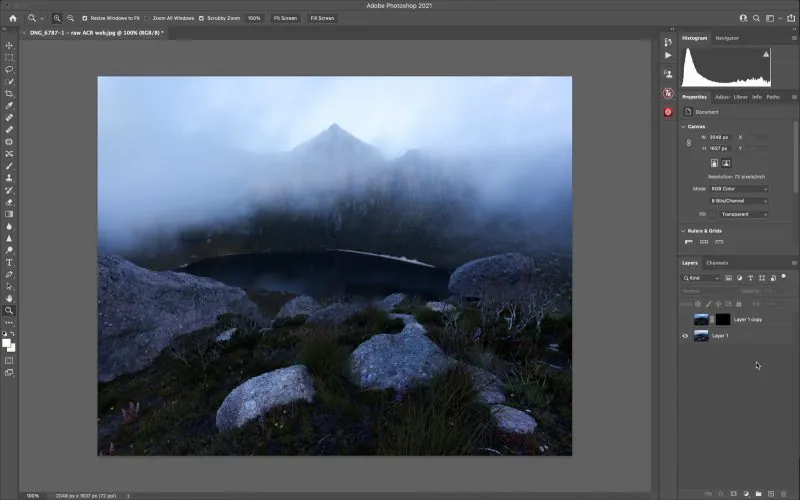
How To Use Dynamic Range Compression In Your Photos
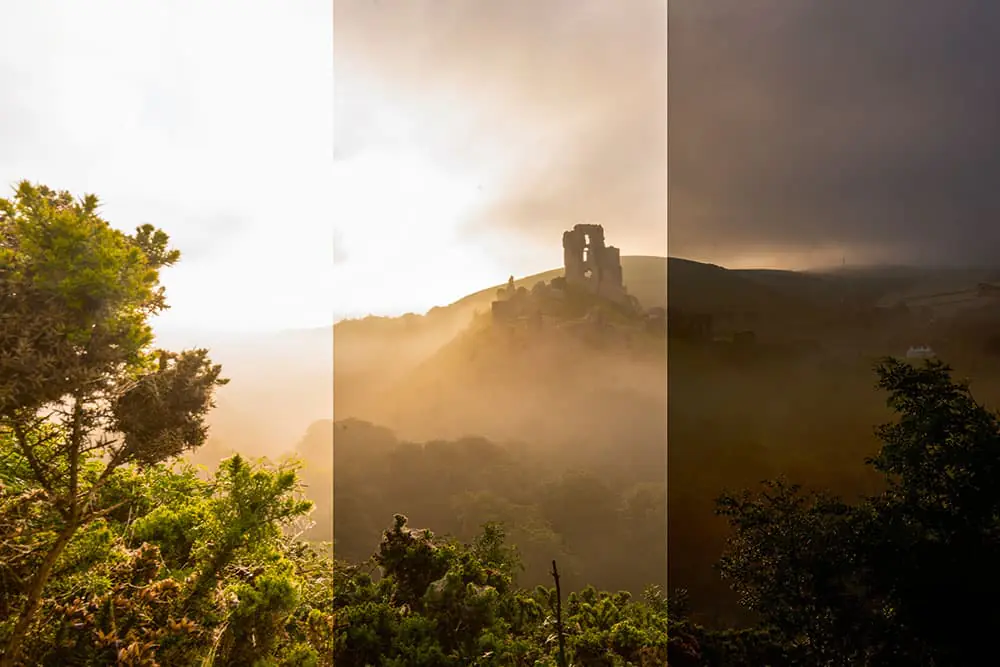
Dynamic range compression modifies the tonal values within a photograph by narrowing the ranges of the darkest and brightest areas where details seem to be lost. This technique can draw out components in those zones rather than diminishing the overall contrast. For photographs shot in tricky lighting settings, including intense sunlight and dense shadows, dynamic range compression can demonstrate details in the shadowed areas without overexposing the bright spots. Images can be rendered more vivid and realistic by applying this technique. Tools like tone mapping or high dynamic range (HDR) techniques are deployed to deal with brightness and darkness extremes. To use dynamic range compression, you need to consider the detailed elements you want to draw attention to, whether in the shadows or highlights, and adapt the image as needed. This blog article will help you preserve a natural and plausible impression while using the dynamic range compression technique and boosting the overall presentation of the image.
Step 1: Examine the existing exposure level of your chosen photograph
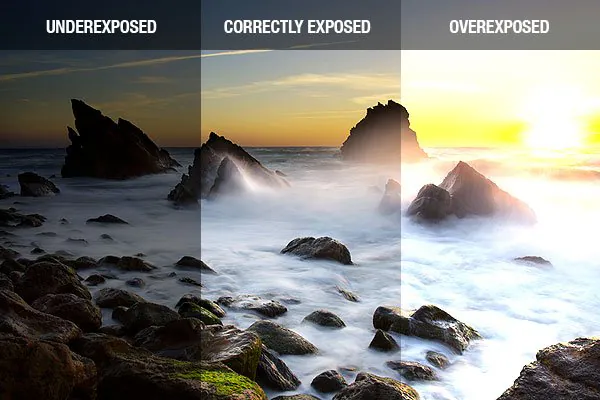
To begin with, the step of editing your photographs through dynamic range compression starts by fundamentally assessing the exposure levels inside your photo. Take a minute to recognize zones that are either too bright or dull, as this beginning evaluation is pivotal for deciding the degree of dynamic range adjustment required.
To kick off the assessment, center on crucial components inside your photo, such as highlights and shadows. Search for areas where details may be lost due to overexposure or underexposure. This hands-on examination lets you pinpoint particular ranges requiring dynamic range compression for ideal visual harmony.
Consider utilizing tools like histogram displays in your editing software to visualize the dispersion of tonal values. This viable approach gives a clear representation of the image’s dynamic range, helping in the identification of potential compression necessities.
As you scrutinize the exposure, be sure of the overall style and temperament you point to convey in your photo. By establishing your assessment within the commonsense aspects of visual perception, you appoint a targeted and successful dynamic range compression strategy custom-fitted to the engaging characteristics of your shot.
Step 2: Select your compression software and experiment with the features available
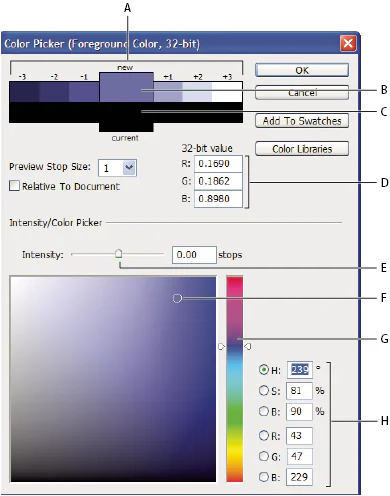
Select the compression highlight inside your chosen image editing software. Opt for a tool that consistently blends into your workflow, giving a smooth and adequate dynamic range compression process.
Assess the user interface and arrangement of the chosen compression highlight. A viable approach includes selecting a tool with instinctive controls and precise settings, minimizing the learning curve, and permitting you to center on the essential viewpoints of dynamic range adjustment.
Look for features that give real-time sneak peeks or instant input on the applied compression. This practical feature empowers you to make informed choices while effectively observing the changes to your image, cultivating a more efficient and hands-on compression encounter.
Compatibility with your existing editing environment is another significant consideration. The compression should consistently integrate with your software, ensuring a cohesive and streamlined workflow as you advance through the dynamic range enhancement.
By choosing a compression feature with consideration, you lead towards a more apparent and more successful application of dynamic range adjustments, eventually contributing to the overall quality of your photographs.
Step 3: Work on highlights and shadows settings
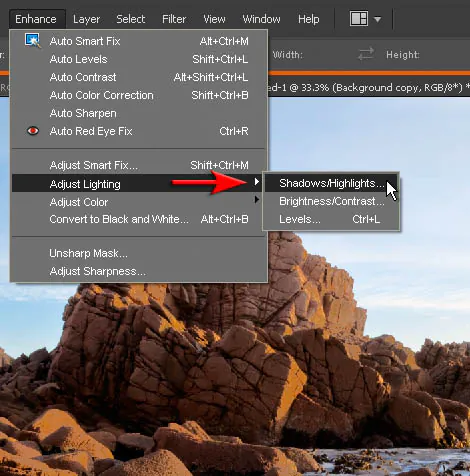
For the third step, concentrate on manipulating the highlights and shadows of your picture utilizing the compression feature of your chosen editing tool. Start with the task of recognizing overexposed and underexposed ranges that require consideration.
If your chosen altering program offers particular apparatuses for highlights and shadow adjustment in addition to the compression feature, consider utilizing them for a more nuanced control. First, Direct your center to the brighter zones of your photo. Using the compression controls or related alteration tools, aim to adjust and direct these highlights, avoiding losing critical subtle elements. Incrementally alter the settings while closely observing the changes to guarantee natural and outwardly engaging results.
Move your consideration to the darker zones, tending to shadows that need definition. Utilize the compression or related shadow alteration tools to delicately lift these shadowed portions, improving permeability without compromising the general tonal balance. This hands-on alteration and associated tools convey the dynamic range evenly for a more polished and professional-looking photo.
All through this step, keep the objective of accomplishing a balanced presentation at the cutting edge of your efforts.
Step 4: Finalize your image’s compression thresholds
![]()
For the fourth step, set accurate compression thresholds to avert the loss of significant details while fine-tuning your image. Start by defining these limits based on the dynamic range of your photo.
Utilize the compression tool’s settings to set up an adjustment so that the alterations amplify the image without compromising fundamental components. Keep gradually testing and refining the compression thresholds, centering on protecting the clarity of intricate elements within highlights and shadows.
Whereas altering the thresholds, consider employing features like zoom functionality to examine specific ranges closely. This hands-on examination permits you to create informed choices, guaranteeing that the compression settings contribute to an ideal visual result while keeping up the keenness of your photo.
By setting compression thresholds, you retain an adjustment between the improvement and preservation of subtle elements, coming about in a refined picture that benefits from dynamic range compression without compromising essential visual components.
Step 5: Regulate the compression ratios to avoid distortions

Within the fifth step, fine-tune the compression ratios to attain a natural see without distortion in your photo. Start by altering the compression settings, considering the tone and climate you want to communicate.
Consider incremental changes to the compression ratios, checking the effect on the image in real time. Keep stability between compression intensity and the maintenance of natural details. Fine-tune the proportions based on your visual evaluation, pointing for a result that improves the dynamic range while protecting the genuineness of the scene.
Utilize preview highlights inside the compression tool to watch the impacts on diverse parts of your picture. That lets you iteratively refine the compression ratios, consistently integrating improved dynamic range without presenting undesirable distortions.
By fine-tuning compression proportions, you bring out the best in your picture, accomplishing an agreeable blend of dynamic range improvement and visual genuineness.
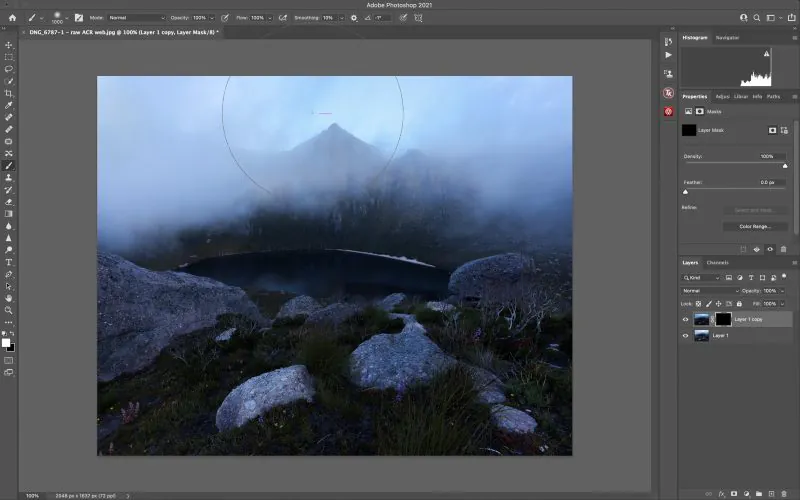
Step 6: Make selective adjustments to particular zones
Take a targeted approach to accelerate particular zones of your image utilizing advanced compression methods. Start by recognizing key areas that additional dynamic range alterations could enhance.
Apply the compression tool to these focused zones, concentrating on refining details without influencing the overall equilibrium. A hands-on methodology includes utilizing localized alterations to tailor the compression to the exceptional characteristics of each area, ensuring a nuanced and customized improvement.
Find out different options within the compression tool that offer selective alterations, such as brushes or masks. This approach enables you to emphasize complicated components inside the image, applying compression where it improves without compromising other ranges.
Continuously evaluate the effect of these targeted upgrades on the general composition. Utilize before-and-after comparisons to guarantee that the alterations contribute absolutely to the visual story of your photo.
Step 7: Recheck your composition and refine it as required
The seventh step is all about scanning and refining the dynamic range adjustments made in your picture so that your enhancements are cohesive and work for the overall visual charm.
Start by efficiently looking into each range where dynamic range compression was integrated. Utilize the compression tool’s preview features to evaluate how the alterations have affected diverse tonal ranges and subtle elements. Also, compare these changes against your beginning objectives for the composition.
Refine any regions that will require extra consideration or fine-tuning. It includes iteratively altering compression settings based on your visual appraisal. Take advantage of your editing software’s viable tools to create exact refinements for a polished and proficient result.
Consider the image as a whole, assessing the collective effect of dynamic range compression on the ultimate composition. This comprehensive survey and refinement process lets you make informed choices, ensuring that each alteration is concordant with the overall visual account of your photo.
Efficiently scrutinize the complete photo, assuming how dynamic range compression has affected diverse components. Utilize the compression tool’s preview features to compare before-and-after states, permitting a thorough evaluation of the improvements made.
Fine-tune any remaining ranges that require consideration, centering on cohesion and characteristic stream. Make mild alterations to compression settings, ensuring that the improvements consistently incorporate into the overall composition.
Conclusion
In conclusion, dynamic range compression methodically handles highlights and shadows, utilizing compression and related alteration tools to create incredible results in which each detail is keenly upgraded. The technique lets you convey the most pleasing in specific regions, strengthening the complete photograph through strategic light-shadow manipulation. This strategy is valuable in tweaking various categories of images, especially architectural photos where the structures’ labyrinthiness can be obscured in shadows. The ultimate composition looks aesthetically satisfying and reliably speaks to the slight details and variations displayed within the individual setting.
