How To Turn Your Photographs Into Long-Exposure Images
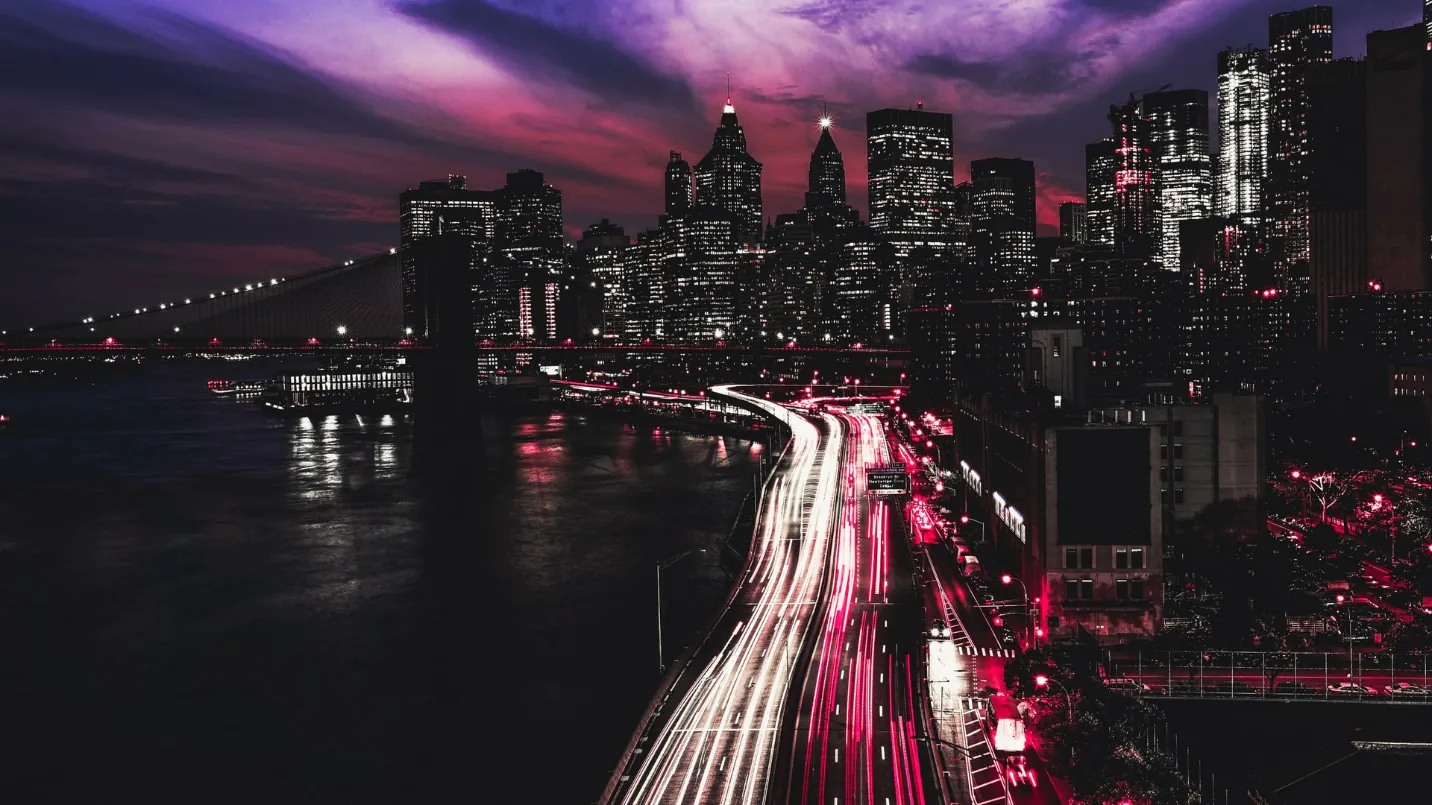
Long exposure is a widely used photography technique that manipulates light intensity entering the camera through its shutter movements. The intentionally extended camera shutter closing time induces the illusion of movement in the resultant photo, which is ideal for dull and still scenes. It brings elements of natural appeal and excitement to the photograph. Long-exposure photography is also used for capturing water movement scenes like natural streams, rivers, and waterfalls and some urban life scenes like road traffic and busy, crowded streets. Long-exposure images are typically created with an efficient camera setup and some specific exposure control techniques. However, with the evolution of image editing techniques and tools, it is now applicable to casual, everyday images. You can transform your ordinary photographs into remarkable long-exposure images with the help of advanced software like Photoshop, Lightroom, Luminar, GIMP, and many others. This blog post will discuss the techniques and the fundamental step-by-step process of creating long-exposure images using these powerful digital tools.
Step 1: Choose an appropriate image
To create long-exposure images, you should first focus on browsing through your photo collection to pick a suitable image to enhance the long-exposure manipulations.
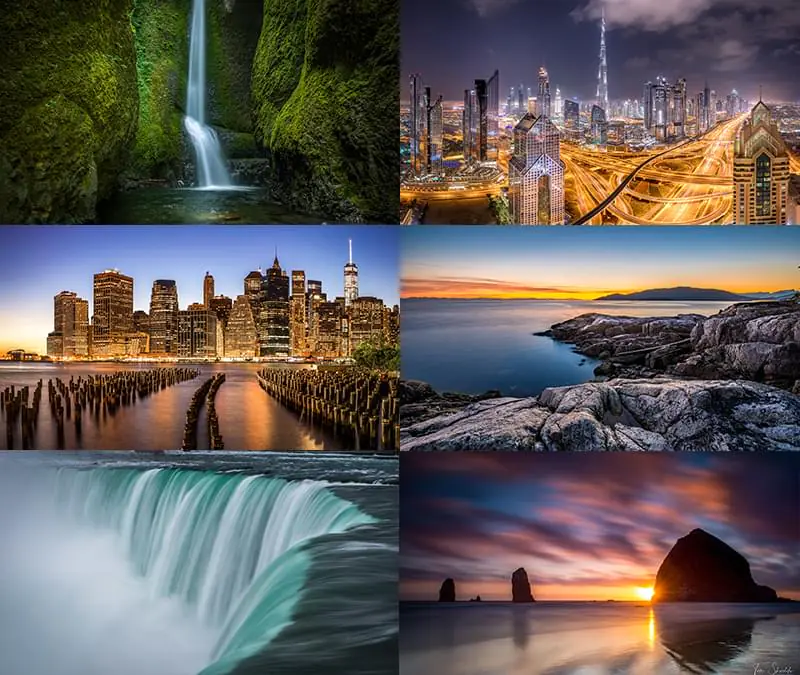
Consider the images with subjects that appear in a state of continual motion or activity. Places like shopping malls, picnic spots, urban streets, construction areas, or natural places like rainy areas, waterfalls, flowing water springs, and streams are all ideal for this purpose.
Select images with high contrast and compositions with clear focal points. As for lighting effects, they should be as low as possible, though you can also try images with a well-lit setting.
The image should be of high quality and resolution with a less noisy appearance if you want a fine foundation for a long exposure effect.
Experiment with multiple images until you secure the best base for the coming editing phases.
Step 2: Create a duplicate of your photograph
Initiate your editing program like Photoshop, GIMP, or any other tool you find suitable for your editing.
Next, you must import and open your image into the main canvas. Locate the option “File”, then click “Open”, and your image will instantly open in the software.
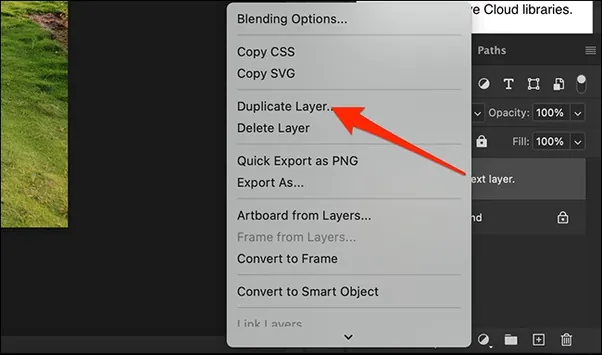
Find the layer panel and click “Duplicate Layer.” Consequentially, a duplicate of your image will appear in the panel as a new layer.
Label your layer with a recognizable title to make it easy to find for later modifications.
Play with different blending modes, like Screen or light, to assess their effects on your image.
Tune the opacity of the newly created layer to enhance the initial long-exposure impacts.
After applying all initiative settings, select all layers and merge them into one to organize your process.
Step 3: Apply brightness and contrast levels
Select your duplicate image layer as the base layer for further enhancements, and look for your editing app’s image or adjustment panel.
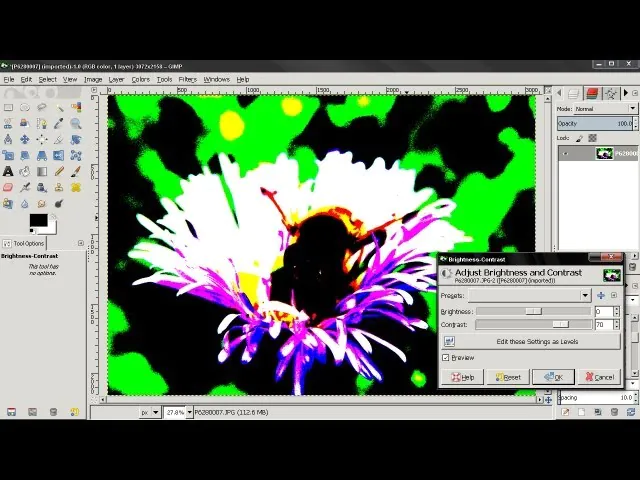
You will see various image modification options, including contrast and brightness levels.
These settings can be displayed and altered in the form of numerical values or slider bars, depending on the software you are using.
Start setting the brightness and make your image well-exposed with a moderate brightness level.
After brightness, start modifying the contrast level. Usually, a higher contrast value is more suitable for long-exposure images to make image features more distinct.
Consider your overall composition and the effects of all recent alterations. Save your progress and move on to the next step.
Step 4: Make a duplicate layer of your image under process
Select the base image layer you manipulated in step 3 to make a second duplicate layer of it. In this layer, you will apply the actual long-exposure effect.
Organize the layers of your project and label them with distinct names to smooth your editing, and choose any of the layers easily when needed. You can mark your second layer as “Top Layer” to align your flow.
Set the base layer just below the “Top Layer” in the panel. That can make it easier to merge both layers later on.
Select your “Top Layer” and use different adjustment and blending options on it. You can simulate motion effects by blending the base layer and “Top Layer” using the “merge layer” function.
Try blending modes like Screen or Light for a flawless integration of both layers. Also, use layer masks to reveal or cover certain image regions.
Step 5: Use blending modes on the “Top Layer”
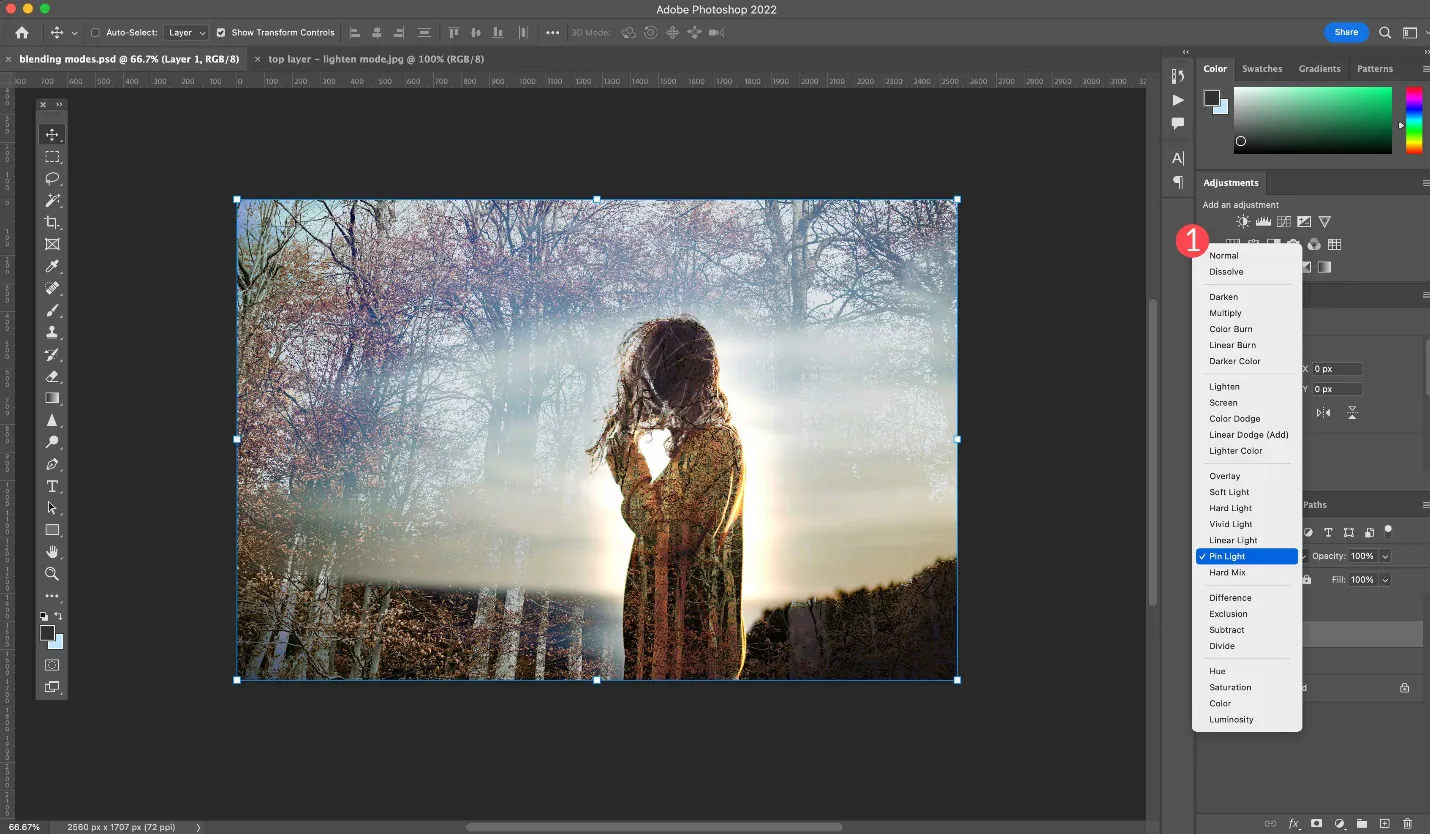
Select the “Top Layer” and start trying blending modes. You can find blending mode adjustments in the layer panel of your software.
The ideal blending modes for long exposure include Overlay, Lighten and Screen. Each blending mode gives particular effects to your image.
Screen mode can create natural light simulations; Overlay is suitable for creating high contrast and saturation; and Lighten mode can mimic the effect of flowing waters. Keep playing with each mode to observe the impact on your image.
After deciding and applying the suitable blending mode, you need to adjust the transparency accordingly. Regulate the “Top Layer” opacity, like high opacity for intensive long exposure appearance and low opacity for mild efficacy.
Make subtle modifications to your image and be consistent until you get the ideal results.
After adjusting the final blending and opacity values, you can save your final progress and move on to the next step.
Step 6: Modulate the overall transparency of the composition
Click on the “Top Layer” for opacity tweaks. You can access the opacity slider in the layer menu of your software.
Try applying different opacity values to your image and take time to observe the effect of different opacities.
Observe the image while moving the opacity slider, and carefully note the value where you found the long exposure effect looking most eye-pleasing and appealing.
Apply the noted value of opacity to your image and check the overall coherence and harmony of your image.
Audit the overall evenness and symmetry of the image and new elements, and save the opacity changes once you are content.
Step 7: Do the closing touches and save your image
Select the option “Merge Visible” or “Flatten Image” in the layer panel. Click it to create a single comprehensive image of both the “Top “ and “Base” layers. After that, you review your final image.
Look at the image’s color balance, contrast, and exposure level thoroughly. Check the midtone, whites, and blacks for further alteration.
Examine your image’s sharpness, and if you find any need to manipulate it, feel free to experiment with different saturation values.
Use the noise reduction tool to upgrade image clarity and eliminate any noise produced during the editing phase.
Re-observe your image and remove any extra or intrusive components. Use the crop and resize tools to place more emphasis on the main subject.
You can also add creative effects like vignetting, selective coloring, or any other artistic effect to boost your composition.
Finally, take a zoomed-in and out glance at your image to confirm the symphony between all the aspects. After you are utterly satisfied, save your final long exposure composition.
Conclusion
Long-exposure images have always been a spring of excitement and charm for photography lovers. Numerous techniques and advanced photographic apparatus are used for these images. Yet, with the advent of digital tools, the efforts of photographers and the expense of photography instruments are significantly reduced. Digital tools have made expensive and time-consuming photographic effects accessible to everyone with the least expense and minimal effort. Moreover, you can transform the aura of your ordinary settings photographs using long exposure effects. Use the techniques highlighted in this blog to edit your images like a pro.
