
How to Turn Your Images into Burst Photos
Burst photos are a cue for images captured in rapid sessions, mostly of fast-moving subjects. The random and haphazard nature of these shots seems distorting, yet they reveal a creative and thrilling side of art hidden in spontaneity. These images depict the swift happenings of the modern world, where tranquil or static settings are increasingly scarce. Viewers welcome this innovative feature in photography and image editing as a departure from the multitude of other image effects and filters. You can even turn your still photographs into burst scenes using editing tools and techniques and create exquisite animations, stunning collages, and any other special effects. Rather than following the usual burst photography technique, which involves taking numerous photos in rapid order, you apply your creative and editing talents to make a single image appear to be exploding or transitioning into multiple frames. This tutorial blog contains a comprehensive step-by-step approach to turning your plane images into delightful burst photos.
Step 1: Designate the photograph and import it into the software
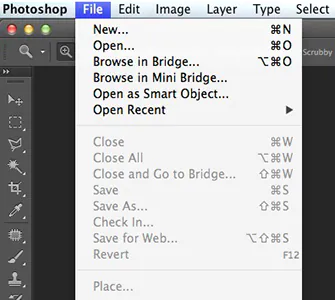
Select your editing software. If you have no preference, go for the expertly recommended options like Adobe Photoshop, GIMP, or online programs like Canva.
Now open the software and move to the folder with your choice of photographs on your computer. Import that image into the editing software.
While choosing the image for creating burst photos, some objectives should be considered, including:
The subject matter should be in motion in that image.
The image’s original sharpness and resolution are the best criteria for the best outcomes.
A neat and organized background makes the burst effect phenomenal.
After executing the selection process, click the “Open” or “Import” option to bring your photograph into the editing area.
Step 2: Generate the image replica
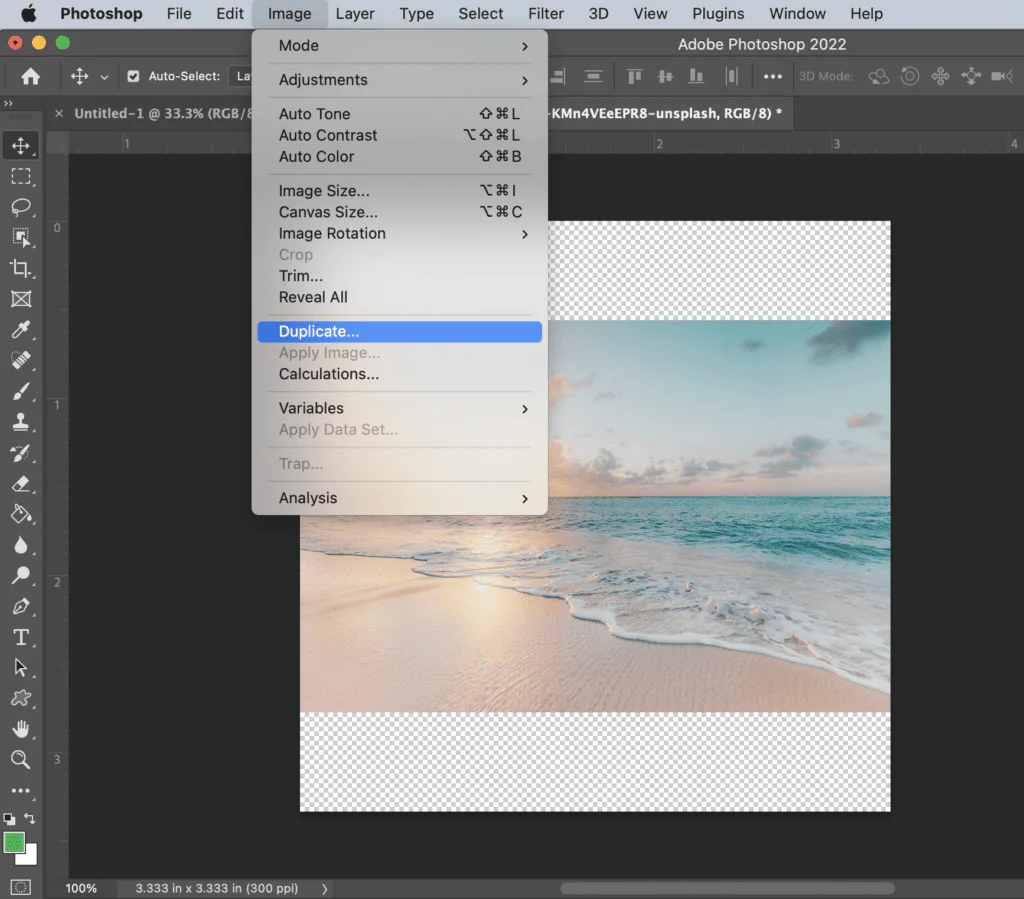
Look for the option to duplicate or copy the current image layer in the menu. Move to “Duplicate,” “Copy,” and “Clone Layer.”
To create a replica of your original image, select the duplicate option. This step will add a new layer to your editing workspace with the same image.
You can duplicate the image numerous times to achieve the appropriate intensity of the burst effect. The burst effect grows more lively as you make more clones.
Consider renaming your layers to help you keep track of them. Name them progressively, such as “Layer 1,” “Layer 2,” and so on, or you can use evocative names, such as “Burst Layer 1,” “Burst Layer 2,” and so on.
Now arrange the copied layers according to the one you want to burst effect pattern. Stack them diagonally, radially, or in any other way that you like.
Step 3: Assemble layer patterns
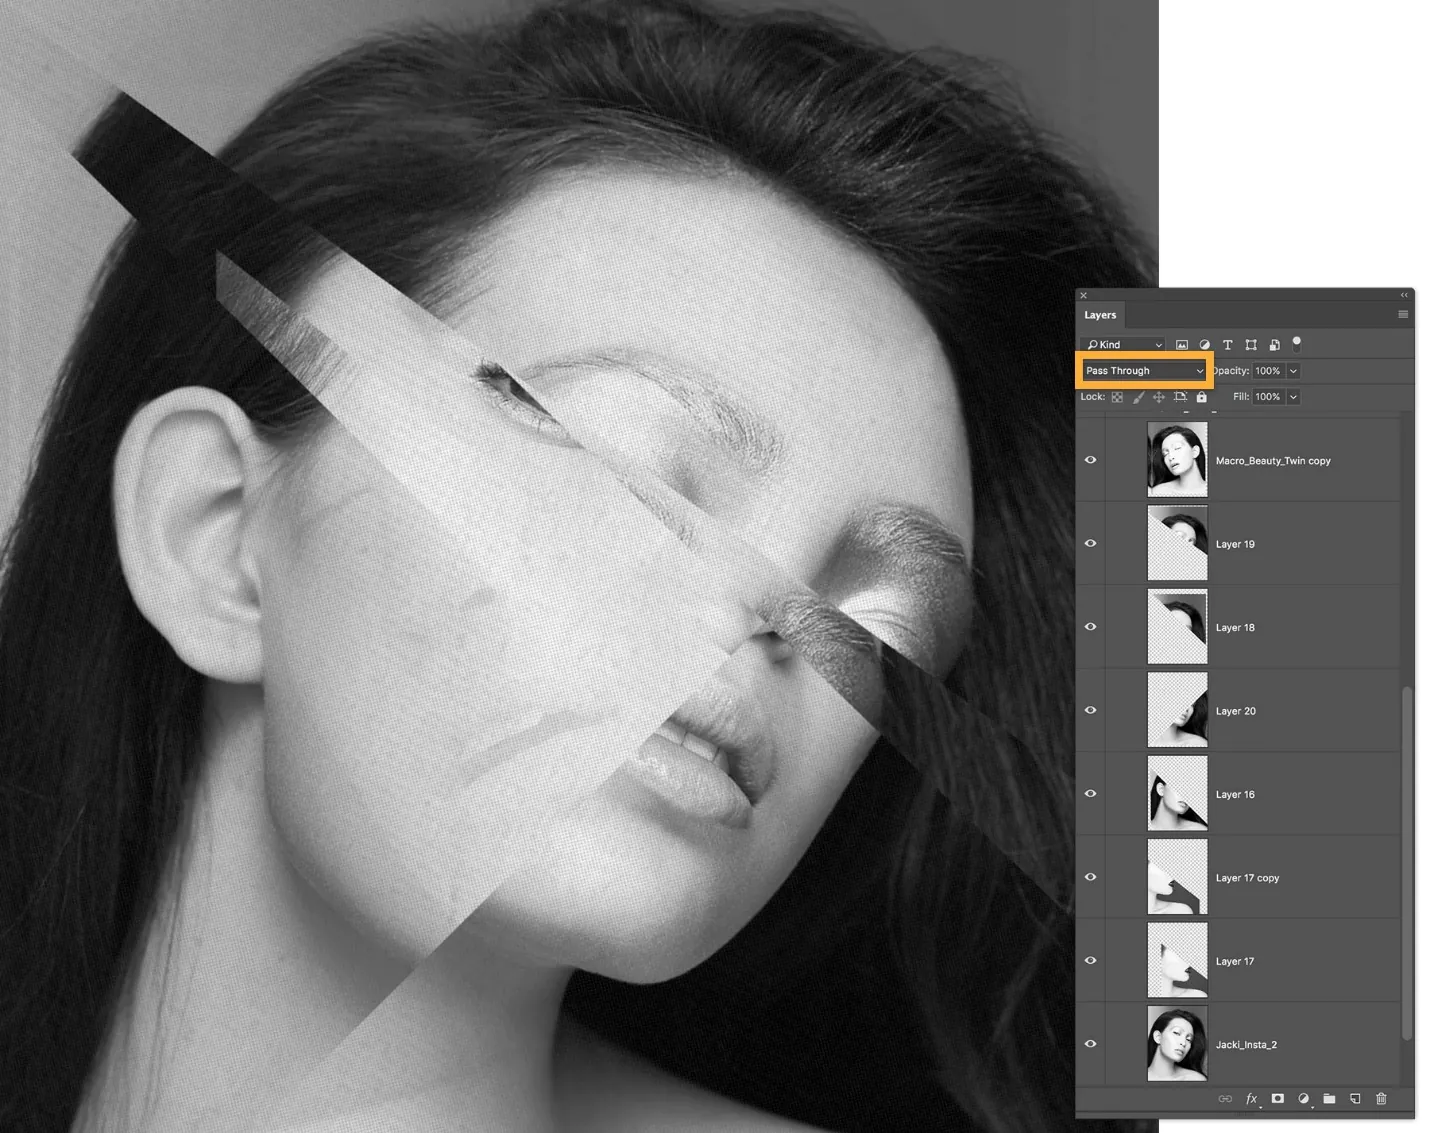
Pick a standard design option, including diagonal lines, concentric circles, or a starburst pattern.
Set each duplicate layer individually, and use the transformation tools in your editing software. Rotation, scaling, and placement are standard features of these tools.
Place each duplicate layer according to the layout. For instance, to make a diagonal burst, rotate and put each layer together to form a diagonal line.
Consider slightly overlapping the copied layers to produce a smoother transition between levels and to improve the burst effect. This overlap combines the layers and gives the burst a more fluid appearance.
Inspect your image on an ongoing basis to observe if the arrangement is progressing. Modify the position and rotation of each layer to obtain the desired burst effect.
Take into consideration the layer spacing and alignment. Make any required tweaks to ensure the burst effect is up to par.
Step 4: Edit the Opacity and Blending Modes
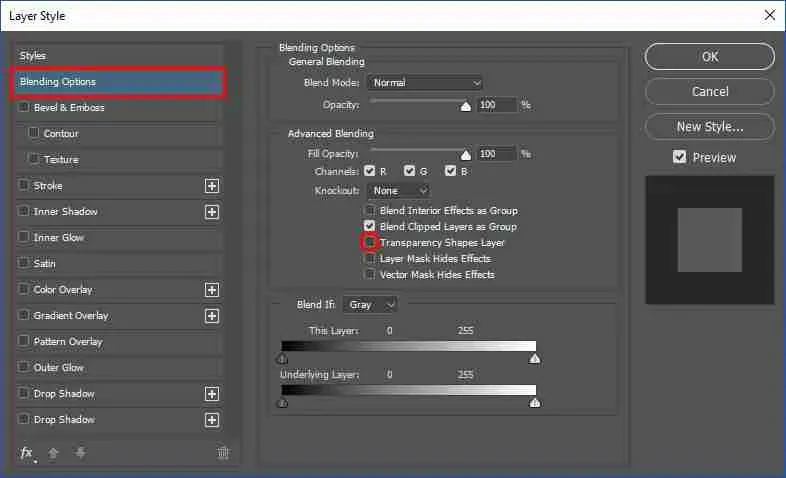
Select one of the copied layers in your editing program to initiate opacity and blending modifications.
Find the opacity control settings for the chosen layer. It lets you toggle the layer’s transparency. Lower the opacity so that the layer becomes partially transparent.
Discover the blending modes provided by your software. The commonly used include “Overlay,” “Soft Light,” “Screen,” and “Multiply.” Practise with various blending options to discover their implications for the interplay between layers.
Repeat for each copied layer, shaping the opacity and blending mode separately. This step will fine-tune the burst effect to obtain the necessary degree of smoothness and impactfulness.
While making tweaks, watch how the layers interact with one another and the burst effect’s development. Make additional modifications to individual layers as needed.
Strive for uniformity in opacity and blending adjustments across all duplicated layers.
Step 5: Include peppy animations
Adding animations is an optional step that gives your burst photo a more vibrant appearance.
Go to your software’s timeline panel. You can use this panel to work with several frames to build the animation.
Duplicate your burst layers in the animation panel to make an array of frames. The more frames you add, the more natural the animation will look.
Change each layer’s location, scale, or rotation in each frame to urge the illusion of movement.
Set the duration or timing for each frame. That controls the speed at which the animation plays. You may add interest by varying the speed.
Review your animation regularly to see how it looks. Adjust the frame timing and location as needed to obtain the desired animation effect.
At last, save it in an animation-compatible file, such as GIF, MP4, or APNG, based on your software’s potential.
Step 6: Compile and save
Monitor your burst photo carefully to confirm that the burst effect and additional animations are exactly what you want.
Apply any final adjustments to your burst photo if you detect any flaws or locations that need to be adjusted. It includes tuning the blending, colours, or highlighting any particular aspects.
It’s a good idea to save your project file in the native format of your image editing software before saving your burst photo. That helps you to keep all of the layers and settings in case you wish to make adjustments in the future.
Choose an optimal file format for saving your final photo. Standard formats are JPEG and PNG. Export your animated burst photo in the proper animation format, like gif or mp4.
Customize the quality settings to optimize for web sharing or high-quality printing by changing the compression level and image size.
Give your burst photo a relevant filename. Select a location on your PC or device to save the final image, then click the “Save” or “Export” option.
Your burst shot is now ready to be shared on social media, used in presentations, or for any other purpose you desire.
Conclusion
In conclusion, burst photos are well-received newcomers that highlight our world’s dynamic aspects in the domain of digital images and animations. Your ordinary photos get the status of appealing graphics adorned with stunning animation. The spontaneous show of emotions in these photos adds authenticity and realism, as the life around us is not so static or still as it is presented in most visuals aimed at aesthetic effects. The images bringing happenings frozen in time back to life become more special and astounding to the viewers.
