
How To Create Mandala Effects In Illustrator
Mandala effects are produced by manipulating the symmetry of geometrical designs rooted in numerous ancient art traditions. Unbridled sunny shades and eye-opening radiance are other specifications of mandalas that inculcate them with enchanting charm to stun viewers. This relic art is broadly used in the design and printing industries, where it transforms ordinary objects into imaginative expressions of symmetry and beauty. Mandalas inspire designers to implement this approach in their baroque motifs to create distinctive and impressively remarkable appearances. Furthermore, in modern times, mandala art has distinguished itself as a legendary web and graphic design trend, embellishing graphics with its prime features. This blog post will address the steps and digital drawing techniques for creating your mandala art using Illustrator. It will also enlighten you about selecting or creating mandala-specific shades and filling your mandala patterns in.
Step 1: Preparing Your Canvas
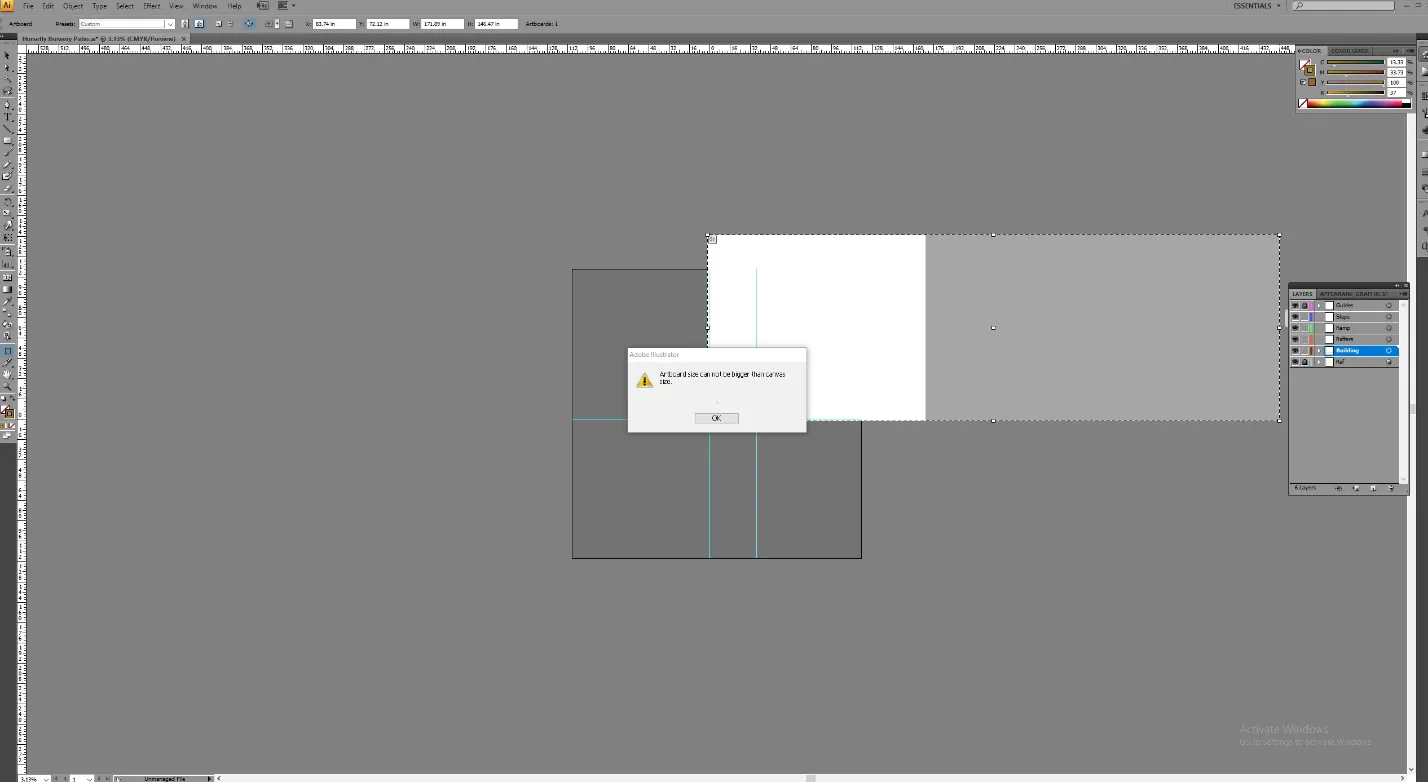
Run Adobe Illustrator on your PC. If you don’t already have it, download and install it before progressing.
Proceed to the “File” menu and pick “New.” That will create a new document to initiate your art. Specify your mandala project’s canvas size, orientation, and other parameters. For mandalas, usually, a square canvas works excellently.
Select the colour mode (RGB or CMYK) and resolution, like 300 DPI for high-quality print, in the “New Document” dialogue box. These options are for accurate colour reproduction and print quality.
Choose between portrait or landscape orientation. Consider using multiple artboards for the same document to create multiple versions with organization.
Decide on a colour to create a base for your art. A solid colour is best for mandala backgrounds, or keep it transparent.
Select “File” > “Save As” and save your file on your PC, preventing any work loss.
Step 2: Creating the Mandala Effect Central Spot

Drag the Ellipse tool from the toolbar on the left side of the Illustrator screen to construct the centre point. You can also activate it by pressing the “L” key.
Click and drag to make a small circle or ellipse in the centre of your canvas. That will be the focal focus of your mandala design.
For accurate alignment, navigate to the “Align” panel and click “Align to Artboard” from the dropdown menu. Use the alignment options to centre the central form on the artboard both vertically and horizontally.
Create criteria to achieve symmetry. To see rulers along the top and left sides of your canvas, head to “View” > “Rulers” > “Show Rulers.”
Create horizontal and vertical guides from the rulers that meet at the centre point (the little circle or ellipse you made). These directions are reference lines for your symmetrical design.
To modify the guide positions, double-click on them and input particular coordinates in the resulting dialogue box.
Save your document so that modifications for the central point and guidelines are retained.
Step 3: Creating the Initial Elements
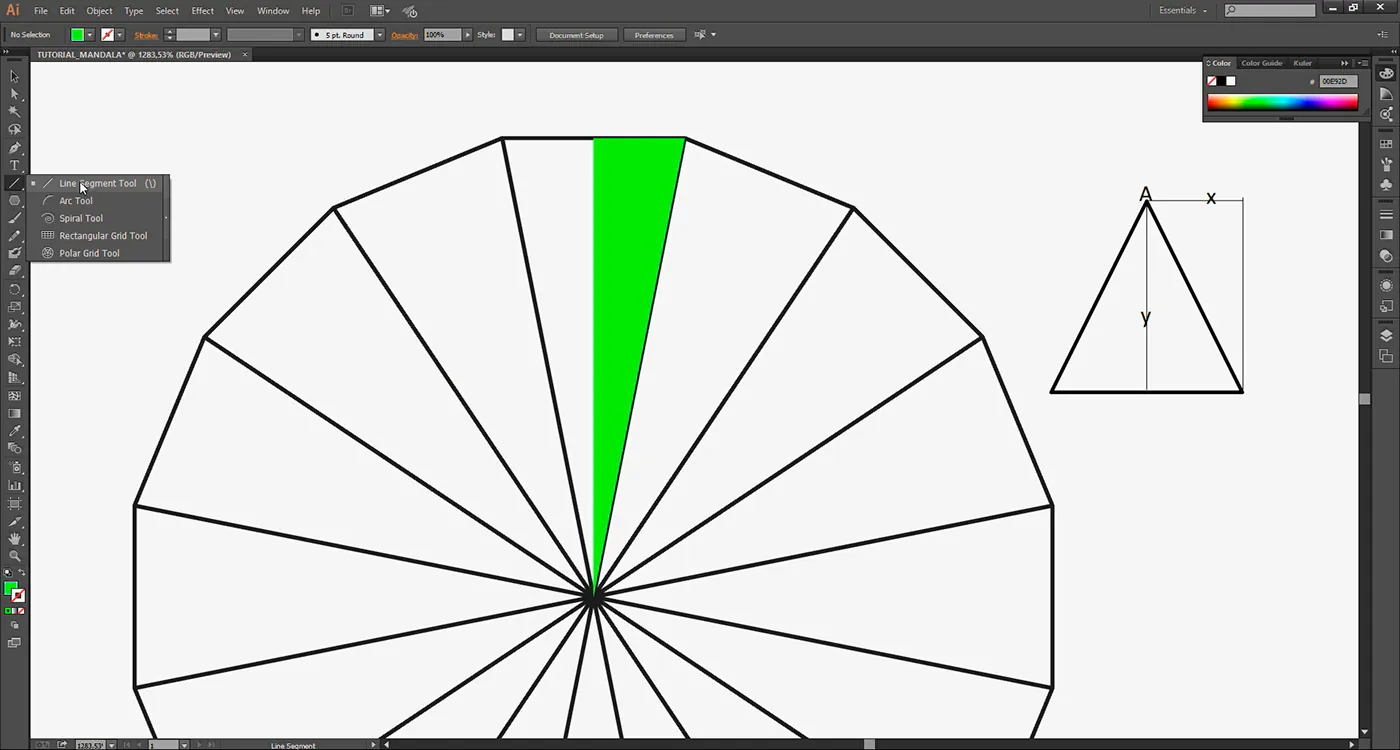
Select an appropriate drawing tool from the Illustrator toolbar for your design ideas. The Pen tool (P) is for freeform shapes, the Line Segment tool (/) for straight lines, and shape tools, such as the Ellipse tool (L), for geometric components.
Click to set anchor points on the canvas and build a custom form with the Pen tool. If you have chosen a shape tool, draw the shape by clicking and dragging.
Check that the first piece aligns with the central point and follows the guidelines you created in the former phase. It produces the symmetry in the structure of the mandala.
You can change your element’s stroke (outline) and fill (colour) properties according to your design. Use the “Properties” section on the right side of the screen. Play with stroke thickness, colour, and fill settings to create your choice of effect.
Group the initial design having various shapes or routes to facilitate manipulation. Right-click on the components, then click “Group.” Or utilize the “Pathfinder” panel to unite forms into a single entity.
Keep saving every new adjustment you make to your design that preserves your efforts.
For symmetrical aspects, use the “Rotate” tool (R) or navigate to “Object” > “Transform” > “Rotate.” Check the progression OF duplicated items with your requirements.
Duplication and rotation of design components are repeated until the whole circumference is filled.
Step 4: Advancing Intricate Details
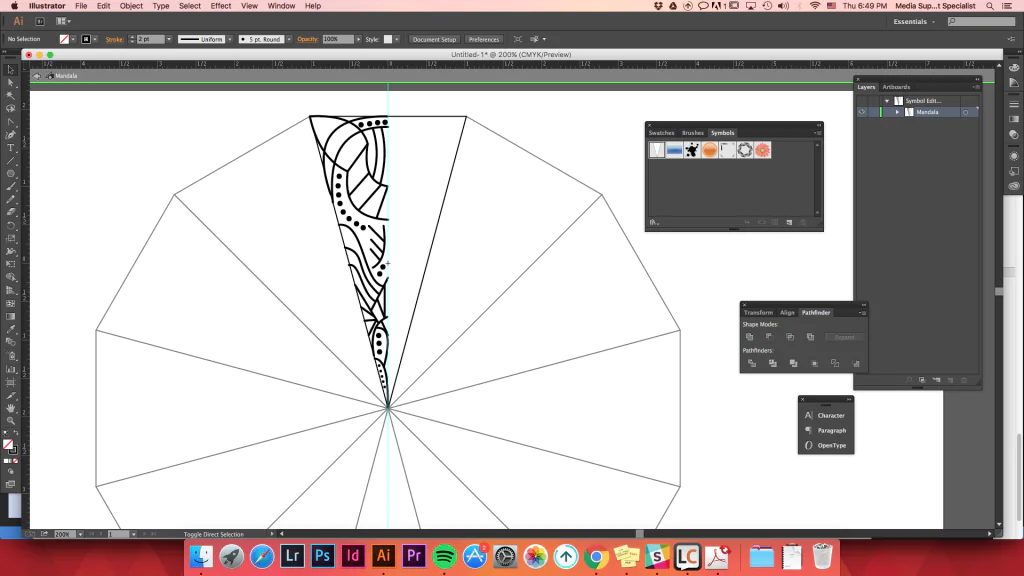
Choose the Pen tool (P) for informal shapes, the Line Segment tool (/) for straight lines, or the Rectangle or Star tool for geometry.
Fill in the details on your mandala. Curves, lines, dots, and other decorative components are typical of such details. Fix them carefully around your first element, as they should reconcile with the focal point and symmetry rules.
Try different shapes and patterns to obtain the required level of complexity. Illustrator allows you to create everything from elaborate floral designs to geometric compositions.
Illustrator’s Appearance panel assists you in setting up several strokes and filling an object to create intricate patterns and designs. Access the Appearance panel (Window > Appearance), play with the stroke, and fill in the parameters to add more dimensions.
Adapt your strokes’ properties, colour, thickness, and style to provide a sense of contrast and interest to your mandala.
Order your layers using the “Layers” window (Window > Layers) when structuring your components.
To keep your project well-structured, use the “Group” command (right-click > Group) or systematize your layers.
Step 5: Dyeing Your Mandala Effect
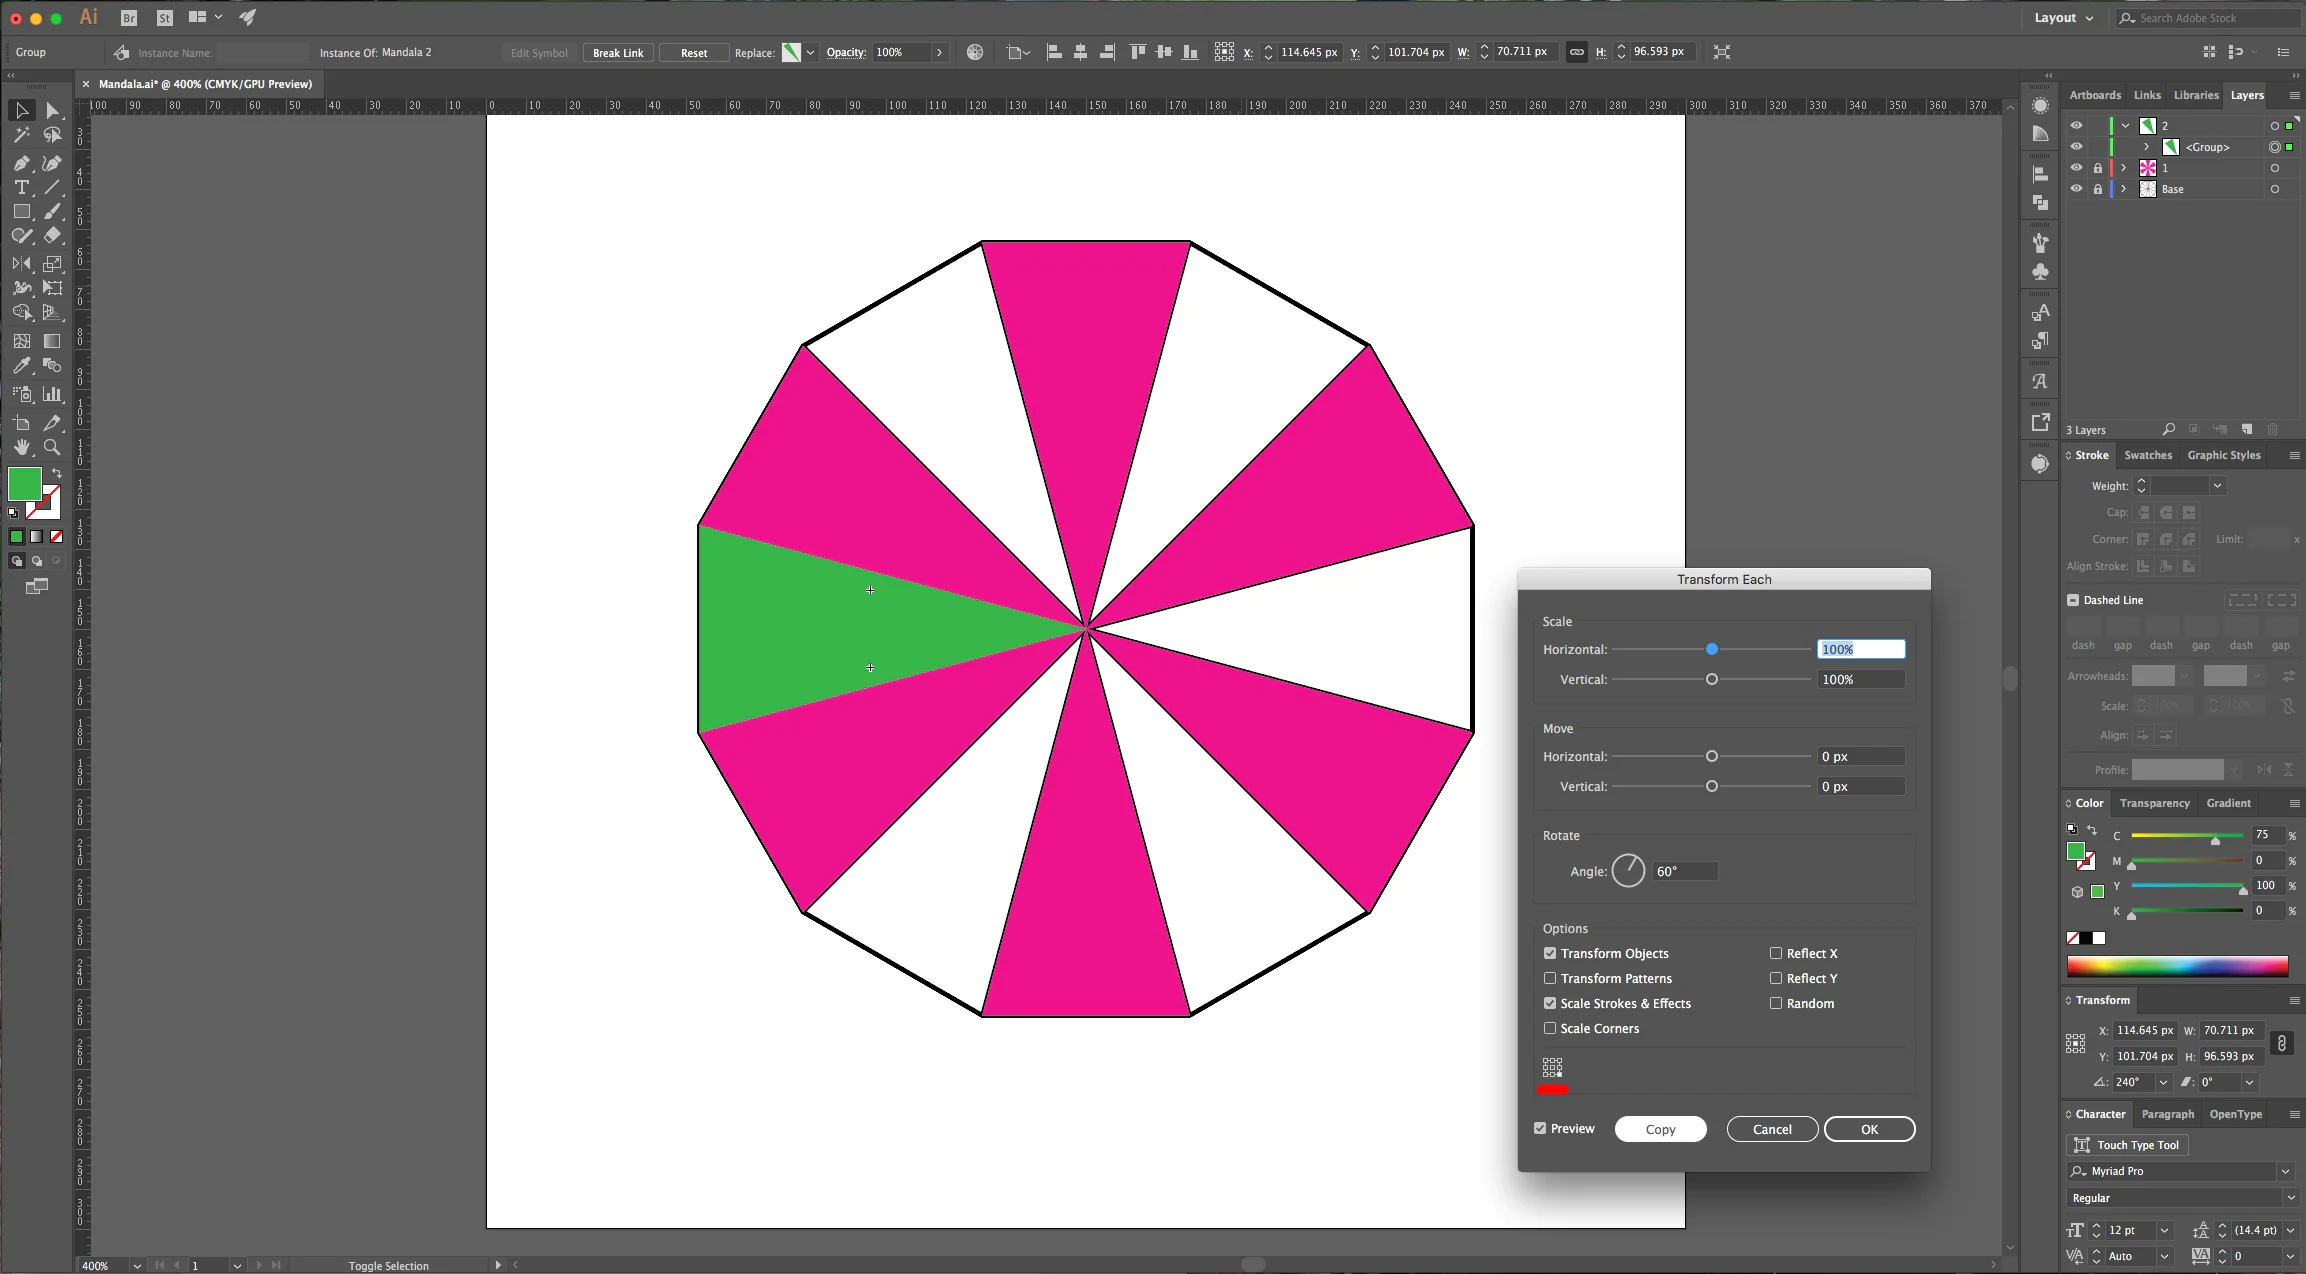
Colour the form or section of your mandala that you wish. You can choose the Selection tool (V) for the object or region.
You can choose from the range of set colours in the “Swatches” panel (Window > Swatches), or you can create desired colours by double-clicking on a swatch.
After selecting the region and complementary colour, click the “Fill” option in the “Tools” panel on the left. Your chosen area will be filled with your choice of colour.
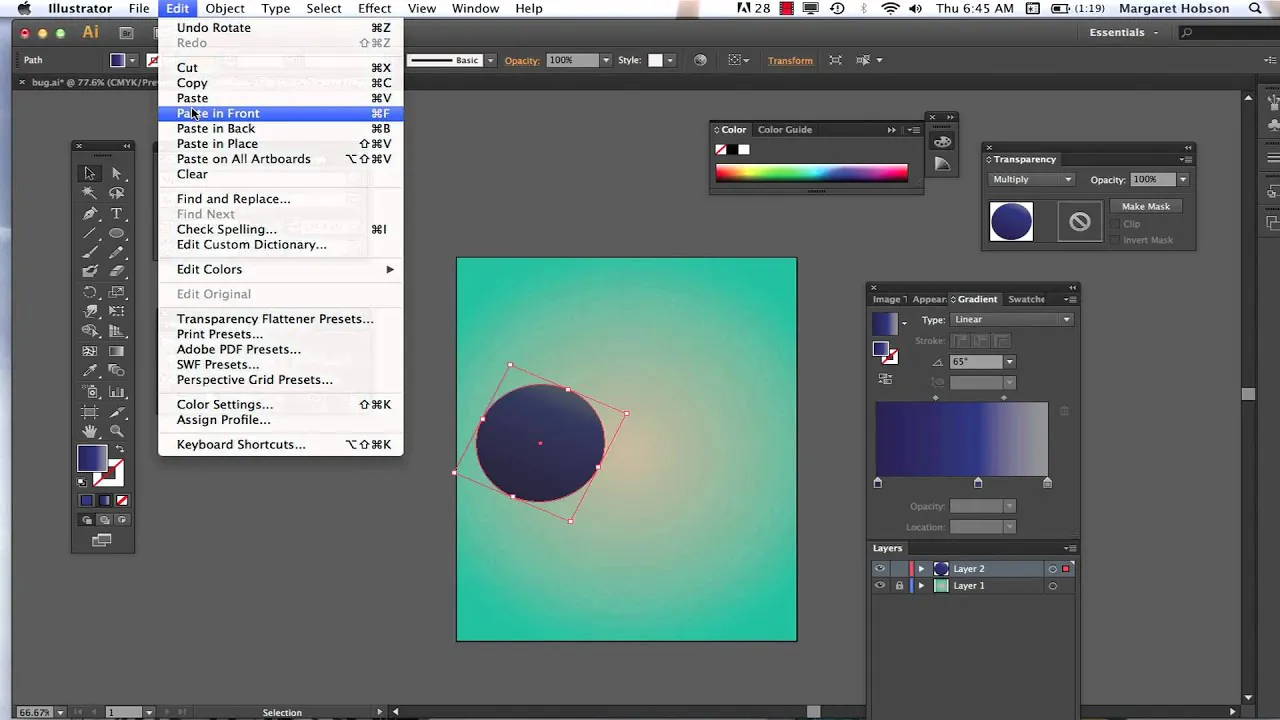
You can also use Illustrator to make gradients for your mandala. Select the shape, then navigate to the “Gradient” panel (Window > Gradient) and play around with the gradient parameters like linear, radial, or freeform gradients; also, adjust the colours and opacity stops.
Use the Eyedropper tool (I) for colour harmony. Choose an existing coloured section in your mandala that you want to recreate, and then sample the colour with the Eyedropper tool.
You can also introduce colour variations for novelty, but remember to maintain equilibrium.
Keep assessing your mandala continuously to confirm that the colours complement one another.
Step 6: Shadow and Highlight Settings
Decide the regions of your mandala to add shading. Use the Selection tool (V) to select an object or area.
Pick a colour from the “Swatches” tab or use the Colour Picker to create a custom shade.
Pick the “Gradient” tool (G) from the “Tools” panel on the left. Then, within the selected region, click and drag to create a linear gradient. Use gradient slider handles to adjust shade and highlights.
For the intensity of the shade, adjust the opacity of the gradient. Navigate to the “Gradient” panel or by selecting the “Opacity” option in the “Appearance” panel. Reduced opacity is preferred.
Use Illustrator blending options to boost the shading effect. Blend the shading layer and the underlying items in the “Transparency” panel using modes such as Multiply or Overlay.
Choose a lighter colour and apply a linear gradient to the region where you want highlights. For genuine highlight appearance, adjust the opacity of the gradient.
Continue this technique for any additional regions of your mandala that require shading and highlights.
Set up the Gradient tool (G) to smoothly transition between dark and highlighted areas.
Keep saving each and every adjustment you make.
Step 7: Calibrating Your Artwork
Scrutinize your entire mandala design, emphasizing symmetry, balance, and aesthetic harmony. Make a list of areas needing adjustments.
Reconsider your colour combinations; the colours complement one another and earn the intended mood or feeling.
Verify your layers to ensure organization. Name your layers in descriptive titles for easy future editing.
Take a close-up to concentrate on specific elements. Refine curves, lines, forms, or patterns to obtain absolute precision.
Regulate stroke widths, colour applications, and element spacing for a pristine, professional appearance.
In this phase, you can include text in your mandala using the Text tool (T) to maximize the narrative.
Remove any extra space so the finished composition fits the canvas’s limitations.
Set your document’s resolution properly, especially for printing your mandala. A higher resolution, like 300 DPI, is preferable for print applications.
You can now export your mandala as a digital image (e.g., JPEG, PNG) or prepare it for printing.
Consider backing up your Illustrator project files, including the final version, to avoid data loss and to make subsequent reproductions easier.
Conclusion
Mandala effects are a creativity-intriguing design approach where you must rely solely on your vision to make common geometrical forms look like antique art pieces. After creating your mandala using digital tools like Illustrator, you can materialize your design in interior frames or prints on vases and decorative wallpapers. Ancient mandala art undergoes a remarkable transformation, characterized by precise shapes, vibrant colours, and intricate shades when these historical traditions are digitized. Without caring about the availability of physical resources like paper canvases, paints, brushes, etc., you can create your layout with minimal cost and less time. Nevertheless, it would be best if you first attained proficiency in handling digital art tools and techniques, and nothing can stop your compositions from getting the spotlight.
