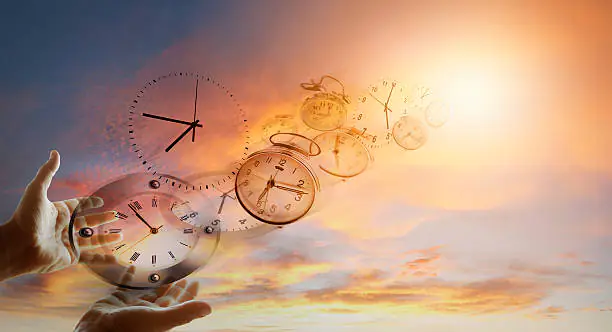
How To Transform Ordinary Images Into Time-Travel Photos
At their core, the time travel photos thematically revolve around the pivot of proximity and a symphonic blend of elements from alternate realities. They shatter the worldly boundaries between times or eras by submerging the past, present, or even future into each other. Do you want to ship the spectator to Victorian opulence, the dazzling futurity of a sci-fi world, or perhaps an ancient civilization cloaked in mystery? Time travel photos are the right approach to supplement your imagination, making your creative abilities feel the possibility of impossible happenings. The composite blending techniques have the leading role in composing such visuals, which involve meticulous layer masking, opacity adjustments, and regulated erasing to ensure that past and present, or reality and fiction, merge immaculately within the frame.
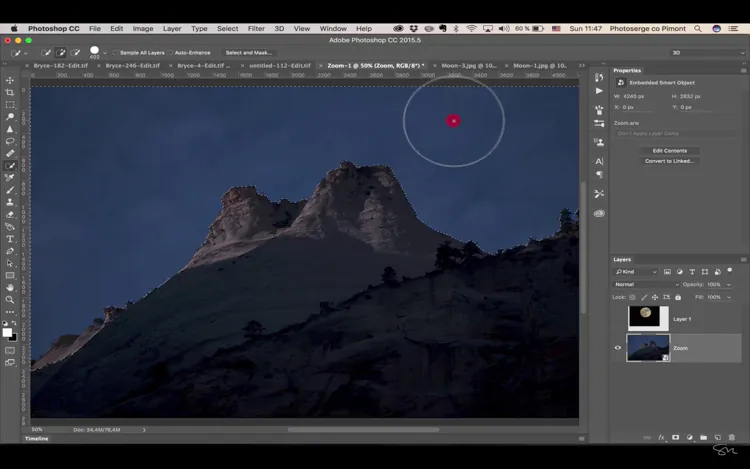
Step 1: Choosing a Suitable Base Image
When choosing the base image, a few considerations must be brought forth.
Your base image should be relevant to your chosen time-travel theme. Whether you want to portray a historical context, a futuristic environment, or an unbelievable reality, the base image should have elements accurately blended with your intended tale.
Go for an image with a well-composed scenario and a distinct subject or focal point. That preserves visual coherence by adding new components to the picture.
Use high-resolution pictures for a crisp final composition and prevent distracting from the overall impact of your time-travel shot.
Analyze the lighting. Preferably, it should match the lighting effects, you want for your added elements. Take note of the color palette of the base image. It should complement the colors you want to use or change in your time-travel composition.
In the base image, make sure the main subject or focus point is identifiable and not unduly crowded. Simultaneously, examine if the existing backdrop of the primary image is relatively clear or simple to remove if you intend to alter or edit it.
Step 2: Defining the Theme
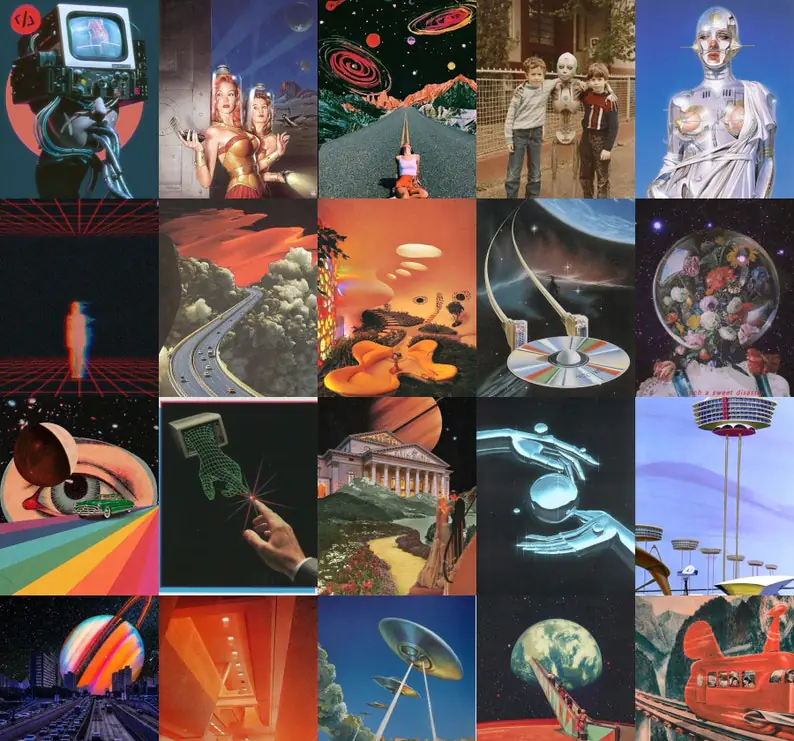
Begin this step by opting the specific period to visualize. That could be the past, present, future, or even an entirely mythic time. Be sure you understand the cultural and technical aspects of that age.
Create a story notion centered on your selected time-travel subject. Consider the tale you want to tell with your composition. Is it time travel to see historical events, a futuristic adventure, or a fantasy tale?
Conduct extensive research to bring authenticity, mainly if your theme includes a specific historical period, like details about clothing, architecture, and cultural factors.
Consider the atmosphere you desire to induce in your time-travel photo. Different eras are related to different feelings. For example, a Renaissance-era scene can build a sense of nostalgia, while a high-tech setting can ignite rarity and wonder.
In brief, a compelling time-travel tale features considering the era, characterization, visual elements, setting and location, emotional connection, symbolism and metaphor, and consistency. Develop a well-defined theme with motivations and backgrounds, and remember to review if all elements synchronize well with the chosen time-travel theme.
Step 3: Element Incorporation
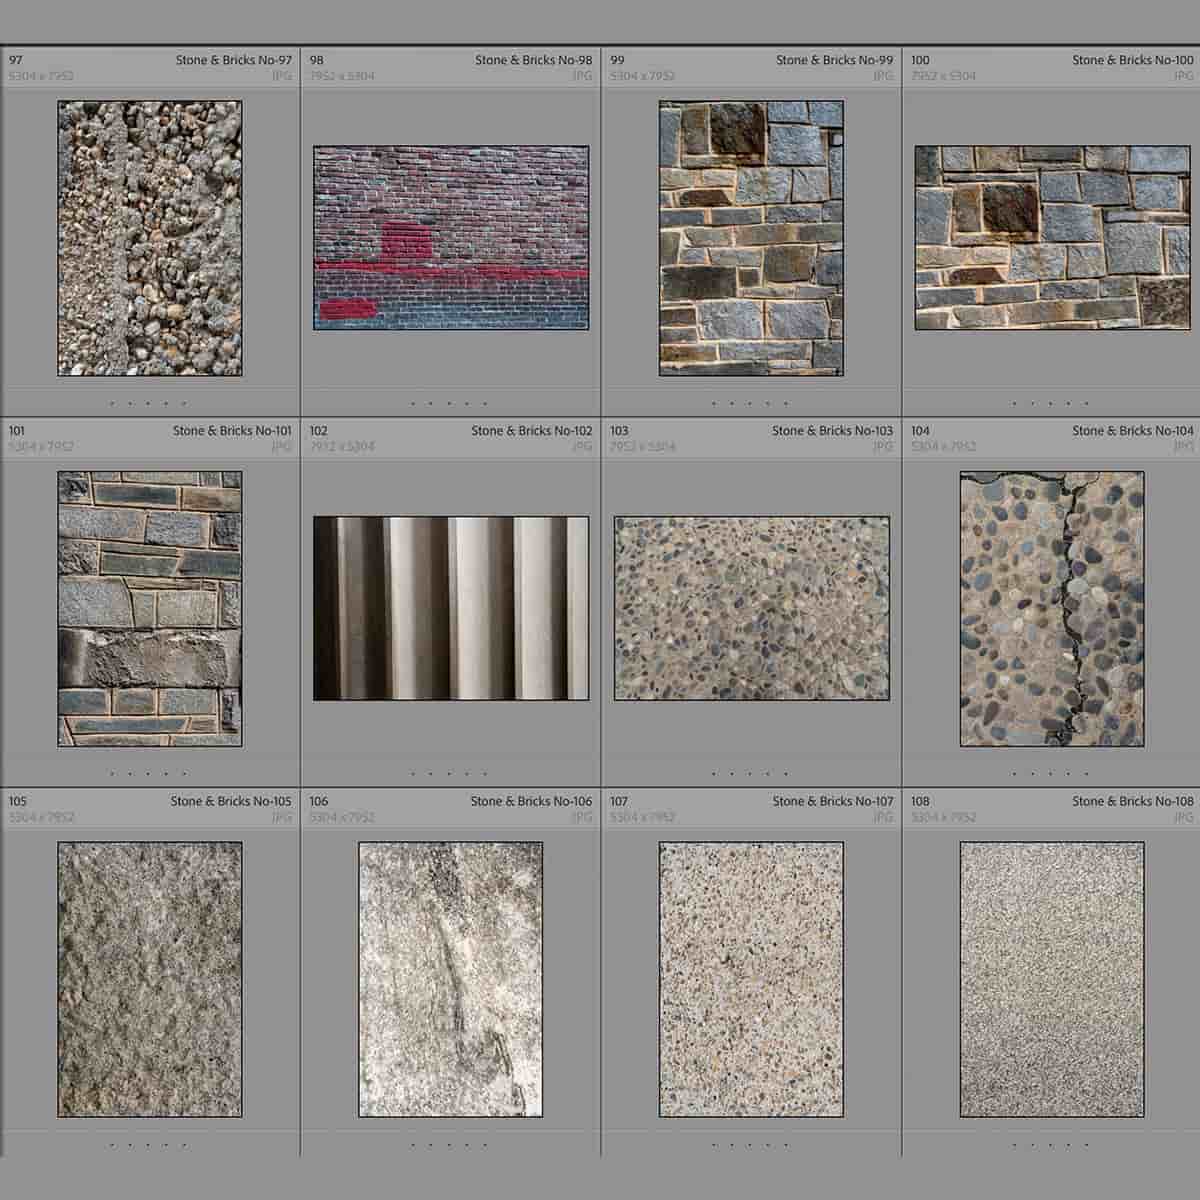
Utilize stock images in libraries, textures, and digital props in your software. Contemporary software offer various elements that you can easily incorporate into your composition.
Use layers precisely, which will help you keep your layers organized. Each new element should have its layer to facilitate the repositioning and editing items as needed.
Before moving further, learn about layer styles and blending modes in your chosen software. To effortlessly integrate components into your base image, increasing realism.
Consider smart objects for props or characters if you’re using Photoshop. Smart Objects let you keep the original quality of imported objects while making non-destructive modifications.
Use the eraser or masking technique to precisely remove unwanted parts of an element or blend it with the background. These tools are essential for seamless integration.
Play with various brushes and filters that can add textures, lighting effects, and other intricate details to your composition, maximizing realism.
Hold your software’s cloning and healing tools when duplicating or replicating items. These tools come in handy for copying objects or extending the background.
Take advantage of online resources specific to your chosen software to get instructions on using advanced features and techniques for item selection and integration.
Step 4: Lightning and Color Consonance
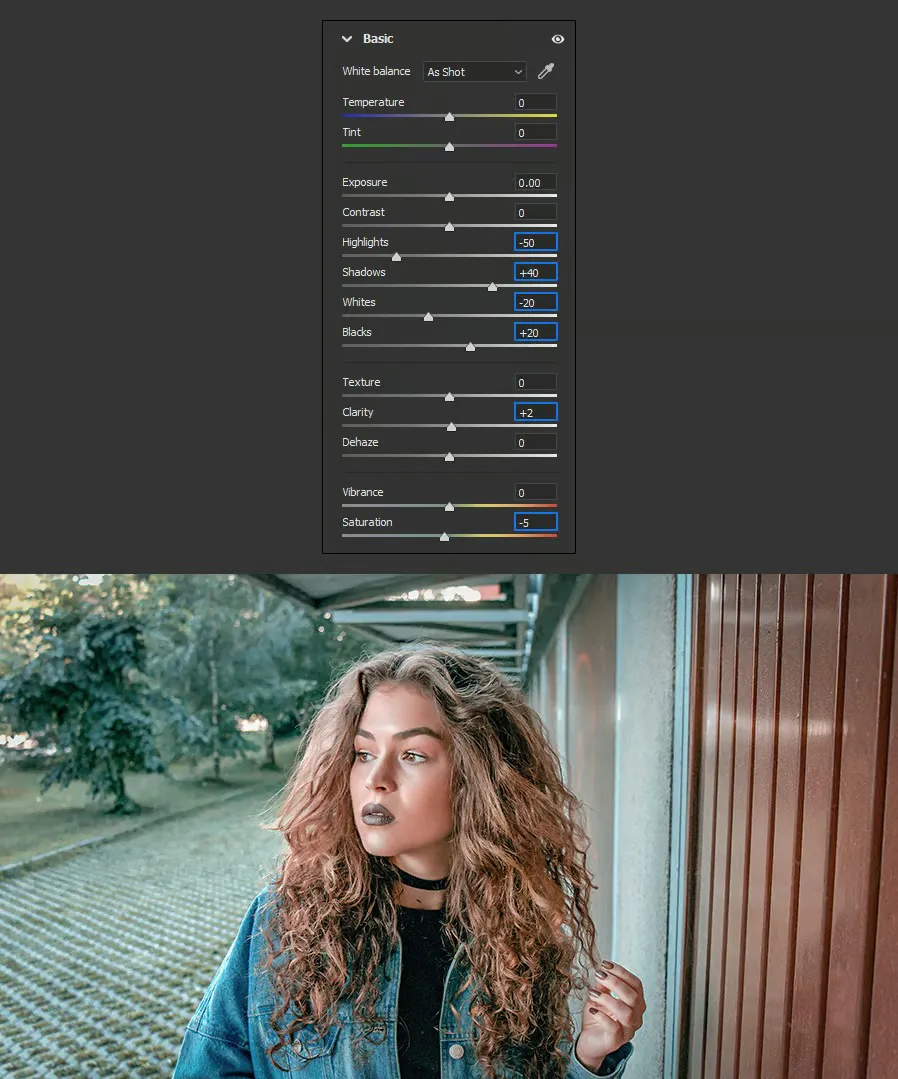
Assess the direction of lighting and shadows in your base image to conceptualize adding new elements that look naturally illuminated.
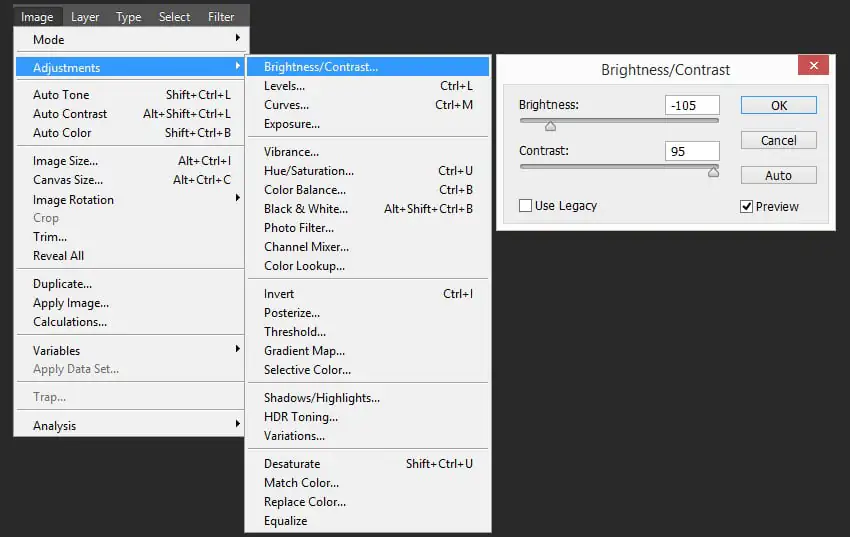
For each additional element, adjust the direction and intensity of light before the direction and intensity of the base image by adjusting brightness, contrast, and shadows. Concentrate on the angle and softness of the shadows to maintain realism.
Examine your composition’s color temperature and general color scheme. Check that the new parts’ color matches the primary picture’s color. If required, use the color correction tools.
Adjust the colors and temperatures of the components if your time travel theme incorporates a different time of day or season.
To accelerate realism, you should add reflections to your components. Emulate the interaction of light with various surfaces and materials. This phase chips into the generic authenticity of your design.
Use general adjustment layers or filters to make lighting and color alterations to the composition. That guarantees a consistent appearance across all components and backgrounds
.
Try layer-blending modes, such as “Overlay” and “Soft Light,” to include more components in the scene. That lets items interact with the underlying image more organically.
Step 5: Applying Blending Techniques
Use layer masks to show or hide parts of added elements selectively. Soft brushes and incremental modifications are vital for a natural look.
Next, acclimatize the layer opacity to control the transparency of the added elements. Gradual changes in opacity are preferred for realistic transitions between components and the underlying image.
Use erasing tools like soft eraser brushes to remove unwanted portions. Focus on fine details, edges, and transitions.
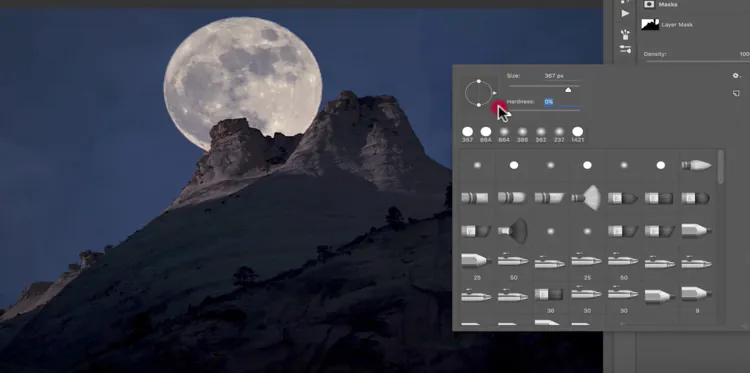
Refine the edges of the added elements to merge them with the background. Feathering edges or slight blurring can minimize harsh lines and boost integration.
Adjust the lighting on added elements relative to your base image to match the scene’s illumination. This results in elements appearing naturally lit and casting shadows in the right direction.
Make color adjustments as necessary to achieve a cohesive color palette.
Consider the depth and perspective of your composition, and add “Multiply” or “Screen” blending modes to enhance amalgam and interactions with the background.
Lastly, add subtle textures or grains into both elements and the background. That can unify the composition and create a cohesive visual style.
Step 6: The Final Texturing and Detailing
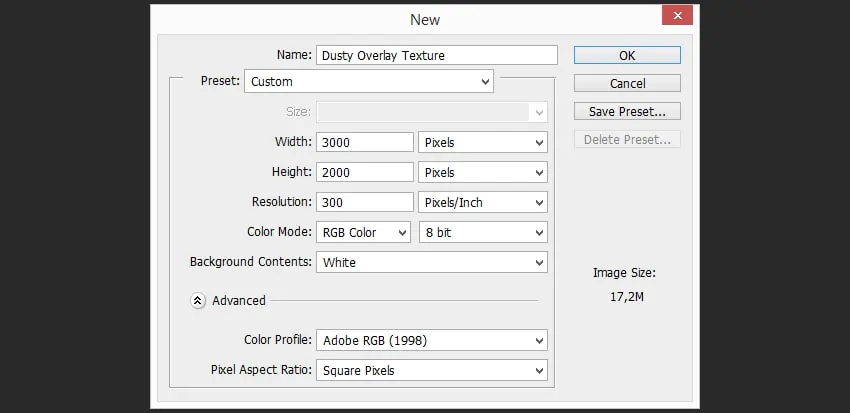
Overlay textures on elements and the overall image to simulate the features of various surfaces, such as paper, canvas, or worn materials.
Weathering and aging components can display the effects of time, like adding cracks, rust, or deterioration to items or backdrops to match the era. Also, use minor details such as scratches, flaws, and little decorations on items.
Use patterns and textile textures on garments and materials to suffice the selected age or theme. Consider the color variations and designs of the cloth to improve realism further.
Use shading and highlighting techniques to make novel elements look three-dimensional and interwoven into the landscape. Apply minute highlights and reflections to improve objects’ interaction with the lighting in the base image.
Consider using environmental effects like dust, smoke, or fog to conjure a certain period and location. Adding more intricacy and textures can further highlight specific regions of your image. For instance, if your time-travel theme is historic, bring period-specific features such as medals, emblems, or decorations.
At last, revise your work on an ongoing basis to attain the ideal level of realism and storytelling effect.
Step 7: Ratifying and Exporting
In this last step of creating time travel photos, give your composition a complete analysis with fresh eyes. Look for areas that can be improved with a few minute tweaks, and focus on overall balance and cohesion.
Next, use one final bout of color grading to coordinate your composition color palette and tone. Edit the contrast, saturation, colorsours.
For ambiance precision, introduce lens flare effects, glows, or vignettes. These elements can intensify the viewer’s engagement.
Add a touch of noise or grain to your composition; as an evocative of vintage photography, it adds nostalgia and authenticity.
Optimize the lighting for a smooth bond of elements with the illumination of the base image. For a wrapped-up appearance, fix shadows, highlights, and reflections.
Zoom in at 100% or more excellent to evaluate your composition for unnoticed flaws or aberrations.
Be sure that each aspect and detail contributes significantly to the narrative you’ve painstakingly developed.
Spend particular focus on the overall compositional balance, changing element placement to achieve an optimal visual flow.
When you’re finished, export your composition in the format and quality you want, storing numerous copies for different situations.
Finally, post your time-travel gem for comments, appreciating constructive criticism to help you improve your abilities and future projects.
Conclusion
Last but not least, transforming your everyday visuals into time-travel photos is an innovative yet conscientious process. You need to be considerate of a multitude of technical regards, like the usage of digital tools and software. At the same time, you must pay attention to the creative specifics of this approach, remembering that technology cannot surpass the novelty and artistry of the human mind. Each click contributes to the fabrication of an alluring tale that spans time. Like the fabled time-travel machine, your time-travel composition will eventually transport spectators to places they’ve never imagined, where past, present, and future collide into eternal artfulness.
