How To Simulate A Night Vision In Photographs
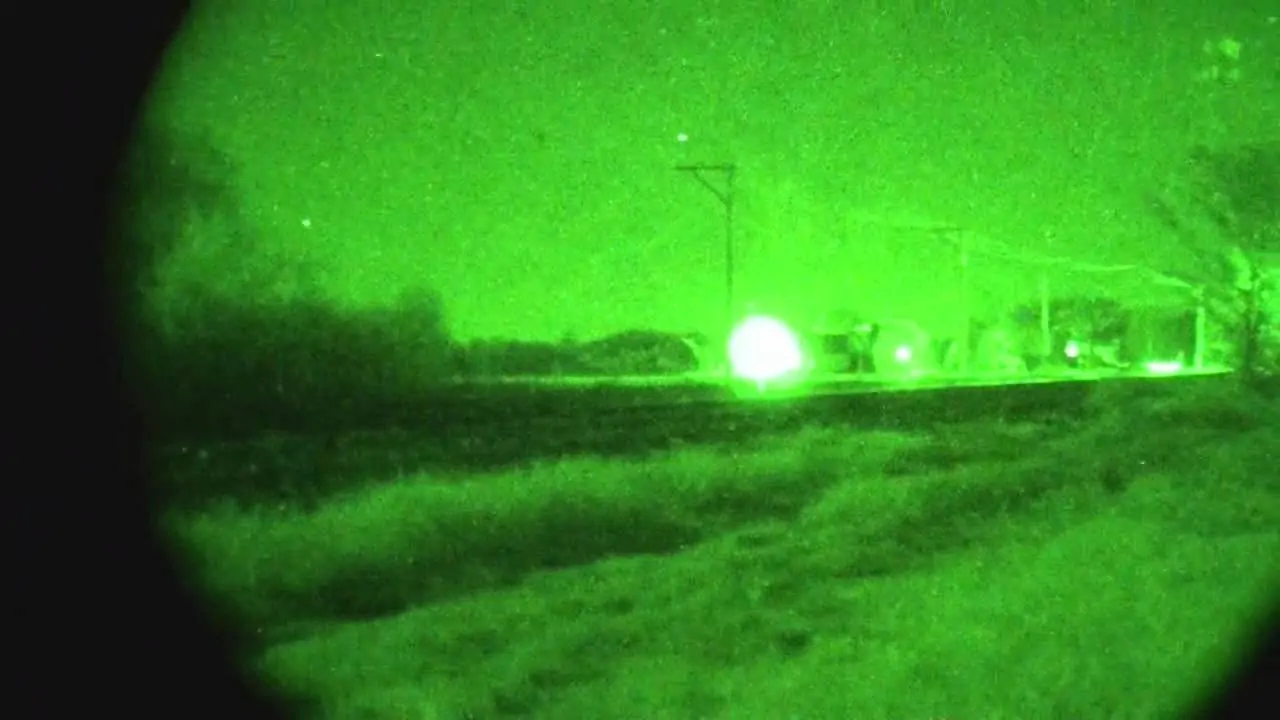
The term night vision depicts the ability of organisms to see their surroundings in low light or darkness. While talking about human vision, though it has some biological adaptations to see objects in the dark, for specific situations, especially military operations, a little more night vision accuracy becomes necessary. The necessity to increase visibility in low light levels is what motivated man to develop night vision technology at the turn of the 20th century. Modern night vision gadgets can illuminate the dark and expose environments previously invisible to the human eye. As a result, they create a unique atmosphere that reveals secrets hidden in the dark. The aesthetically strange yet distinctive imagery attained through night vision devices has now also been appreciated by digital artists. They are using night vision filters and effects in their images and graphics. Various painting and image manipulation tools, including Photoshop and GIMP on the top, are facilitating artists to execute their creative ideas in their compositions. This blog is also going to discuss the idea of incorporating a night vision atmosphere into images using some functional steps and techniques.
Step 1: Image Desaturation
Initiate your editing programs, such as Adobe Photoshop or GIMP, which are the leading choices to induce night vision imagery, and import the photograph you need to transform.
Within the Layers zone, right-click on the initial layer and choose the Duplicate Layer option. That will preserve the initial photo and permit you to undo changes if required.
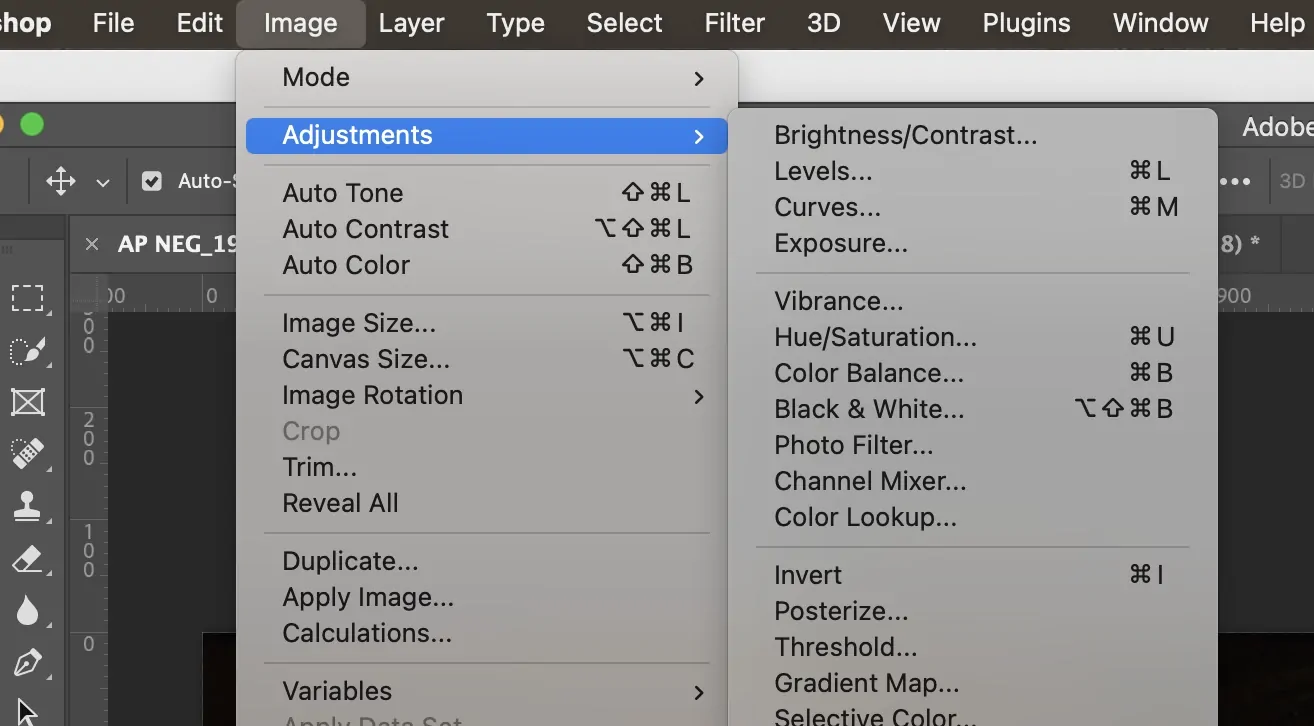
In case of using Photoshop, proceed to to Image > Adjustments > Desaturate.
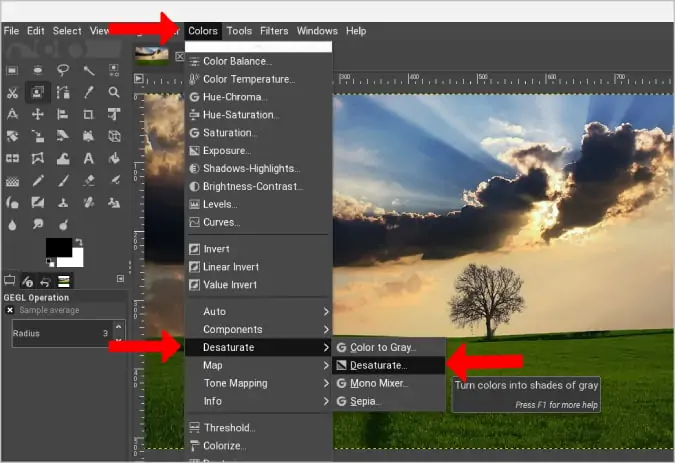
In GIMP, you can navigate to Colors and then approach Desaturate option.
Press on the desaturation option to expel all colors from the photo. It will convert the picture to grayscale, emphasizing light and dark ranges.
In case the image shows up too flat, move to Image → Adjustments → Brightness/Contrast and raise contrast to enrich the tonal range.
Be sure that the grayscale image has particular shadows and highlights, as it will affect the night vision effect afterward.
Step 2: Green Overlay Addition
Within the Layers panel, tap on the New Layer symbol to include a blank layer over the desaturated picture. It will hold the green overlay without influencing the initial layer.
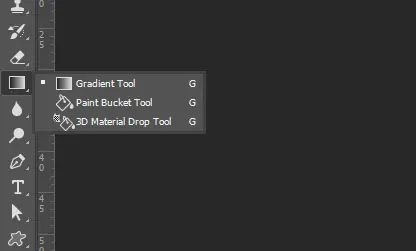
Activate the Paint Bucket tool from the toolbar. That tool fills the whole layer with a definite color.
Tap the color swatch within the toolbar and input a green value. For a usual night vision impression, utilize a color code such as #00FF00 for bright green or #1A3D1D for darker green.
Click on any spot on the new layer with the Paint Bucket tool to fill it fully with the chosen green hue. The picture will be entirely covered by green with this action.
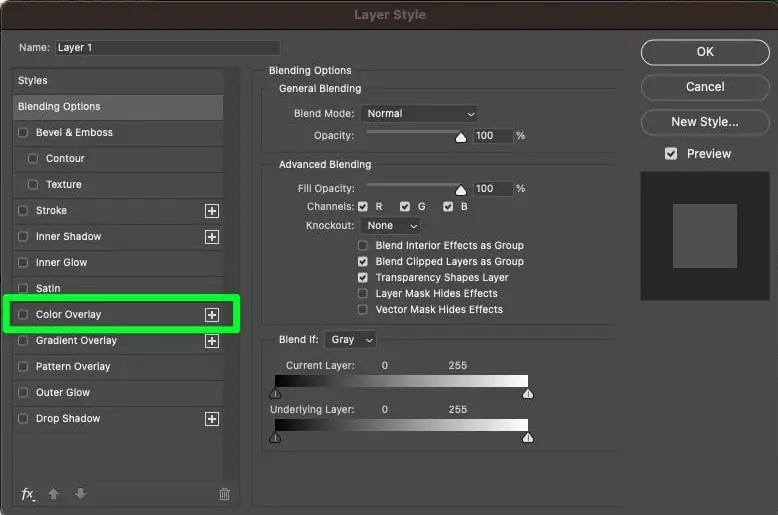
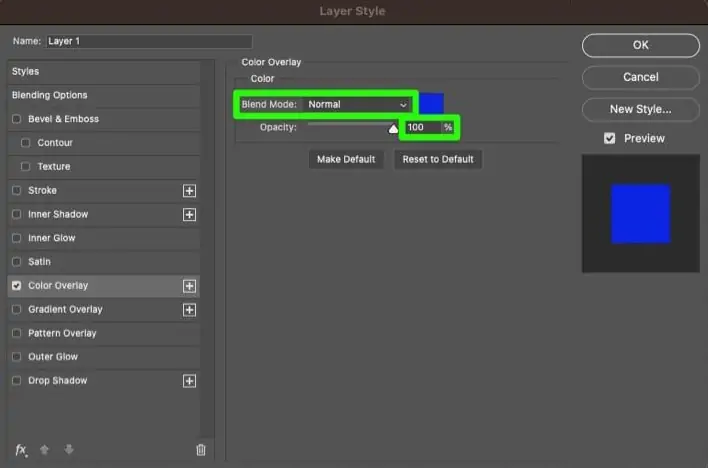
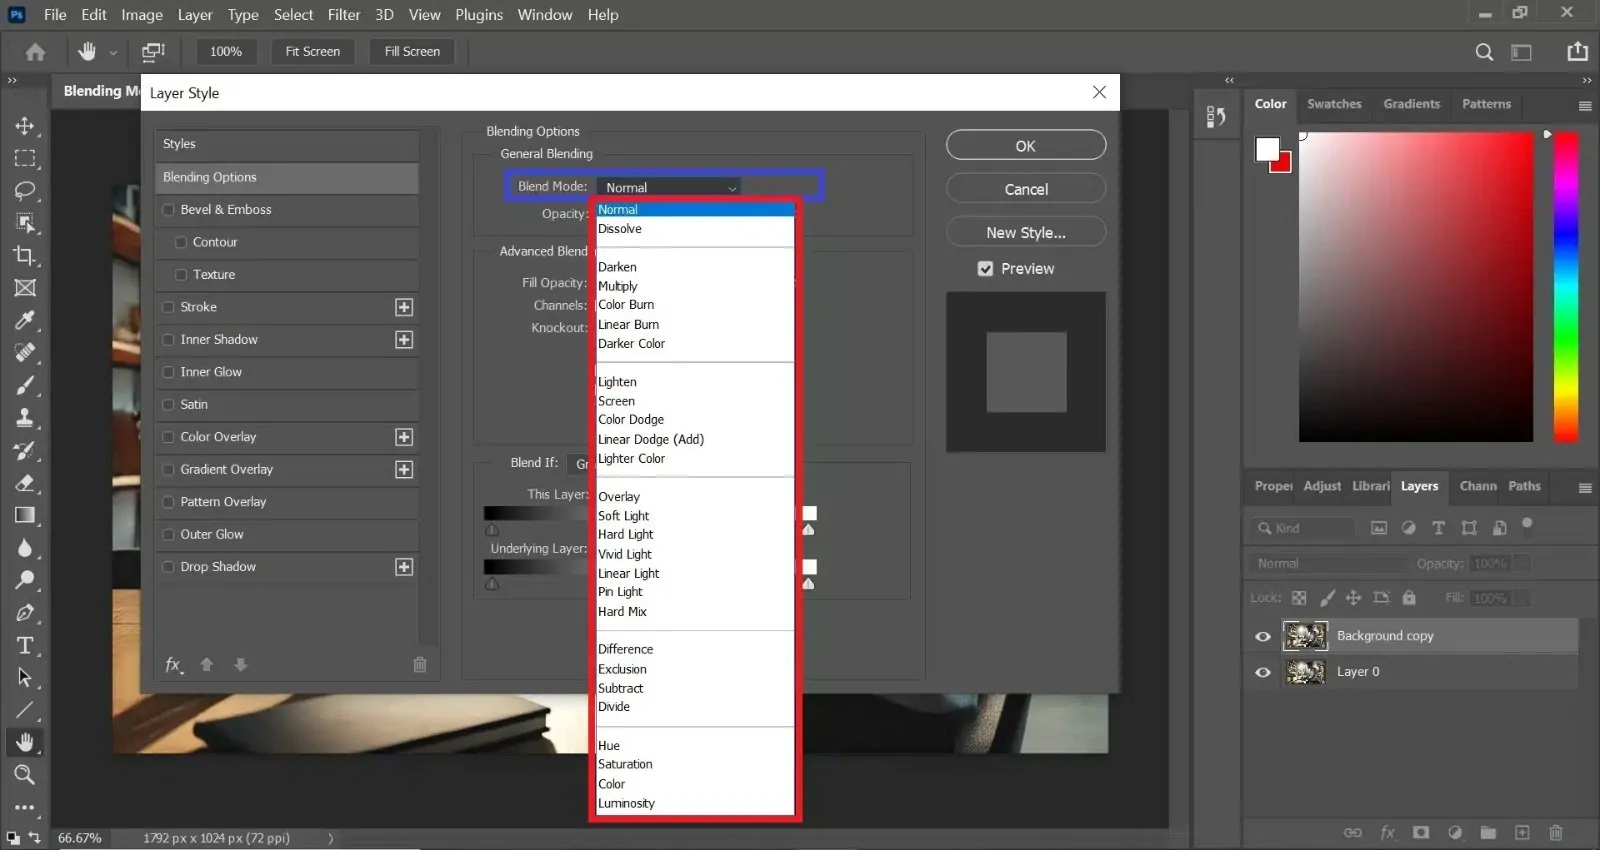
Before moving to the next step, you should first access the blending mode settings within the Layers panel. Find the blend mode dropdown, which is set to Normal by default.
In case the green effect is too harsh, you can also consider decreasing the layer opacity within the Layers panel to handle the transparency and accomplish a more natural formation.
Step 3: Blending Mode Settings
Within the Layers panel, press on the green overlay layer that you just created in the previous step. It ensures that you are modifying the right layer, adding the blending effect.
At the top of the Layers board, locate the dropdown menu tagged as Normal.
Press on the dropdown menu and decide between Overlay or Soft Light mode.
Overlay mode integrates the green with the image, amplifying the contrast and permitting light ranges to remain light while dark zones stay dark.
Soft Light could be a gentler blend that nevertheless gives the image a night vision impression but with a softer shift between the green overlay and the primary image.
If the effect is too sharp or not sufficient, play with other blending modes as well, like Hard Light or Multiply, for shifting effects. Overlay generally works satisfactorily for the night vision appearance.
After specifying the blending mode, alter the opacity of the green overlay layer to manage the soundness of the effect. Decrease the opacity on the off chance that the green color is too overwhelming.
Step 4: Contrast Enhancement
Within the Layers panel, tap on the original picture layer, which should be below the green overlay layer, to activate it. It guarantees that you are altering the contrast of the actual photograph, not the overlay.
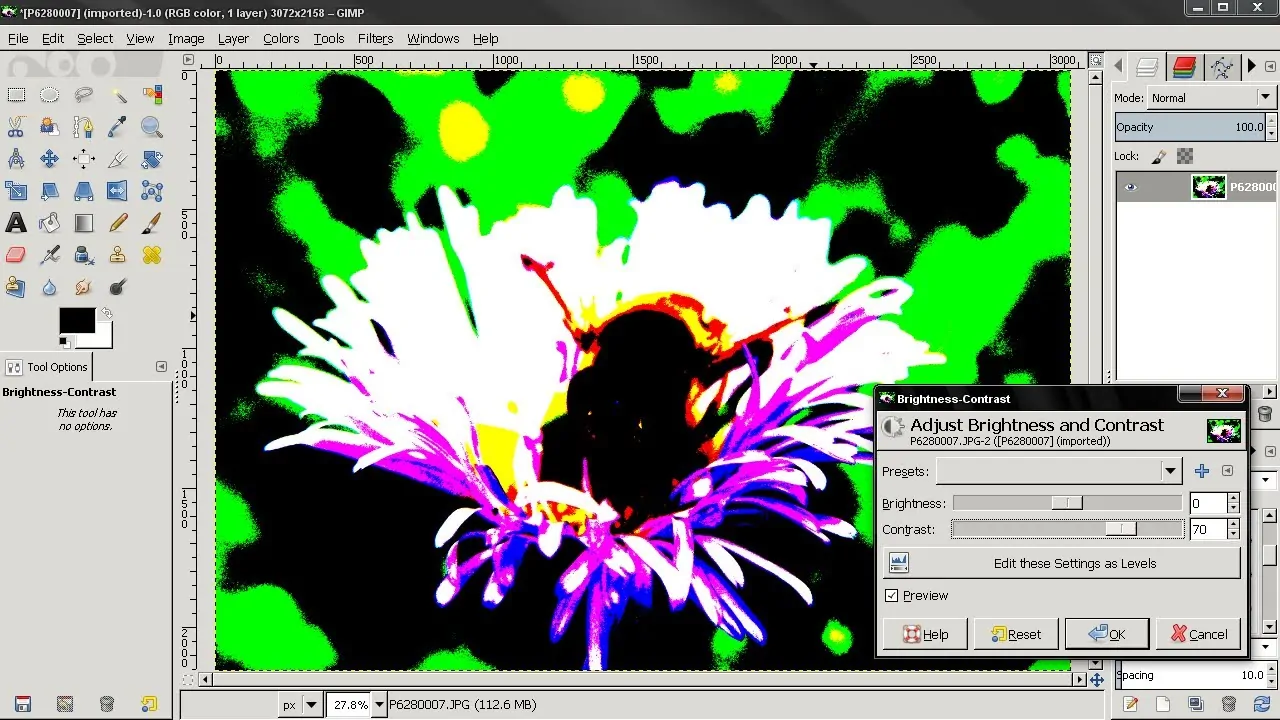
If using Photoshop, move to Image → Adjustments → Brightness/Contrast, and in the case of GIMP, proceed to Colors → Brightness-Contrast.
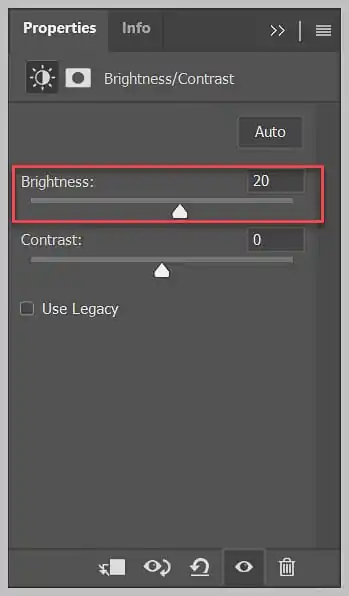
Utilize the contrast slider to expand the contrast within the photograph. Dragging the slider to the right augments the difference between light and dark zones, making the shadows more profound and highlights more drastic. It recreates the increased contrast seen in night vision gadgets.
You’ll also change the brightness if the picture gets too dark or too light after expanding the contrast. In Photoshop, alter the Brightness slider to regulate the exposure. In GIMP, alter the Brightness slider within the same menu.
See the image to inspect if the contrast adjustment seems natural and realistic. Tune the sliders till you accomplish the required grade of contrast. The objective is to form dark ranges richer and bring more focus to lighter components, imitating the impression of night vision.
After done with the adjusting, confirm that the image holds detail in both the shadows and highlights. The general impact ought to show up as if seen through a night vision scope.
Step 5: Noise Or Grain Addition
Within the Layers panel, confirm that the initial image layer underneath the green overlay is chosen. This can be where you will add the noise.
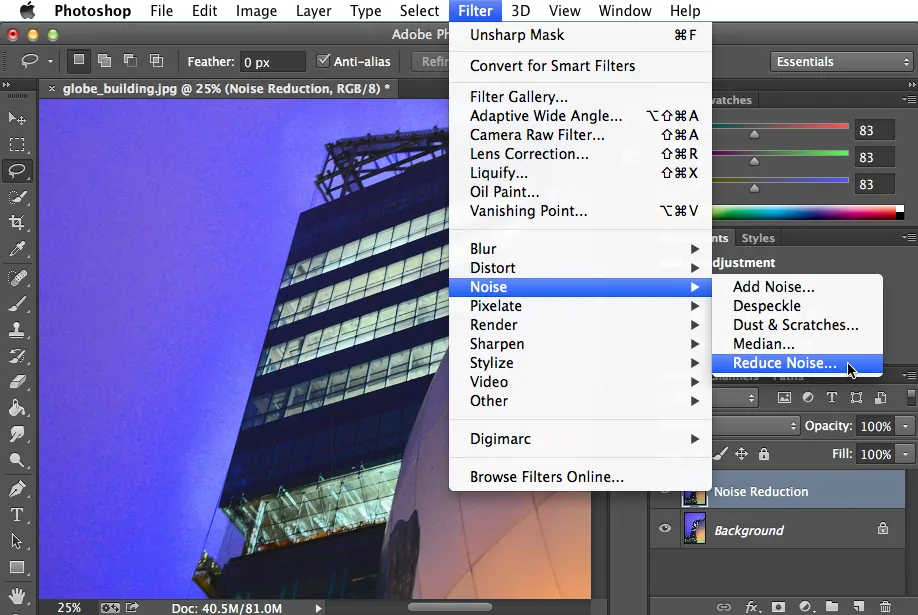
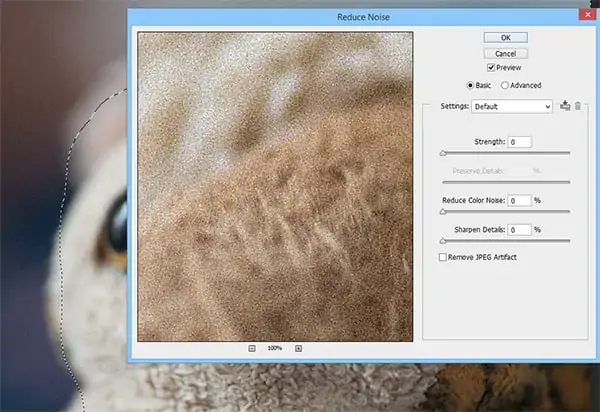
Head to Filter, click Noise, and choose Add Noise or RGB Noise.
With clicking on the Add Noise or RGB Noise, a dialog box will appear, adjusting the amount of noise to add to the picture. For a night vision effect, put the noise value to a moderate level. A too-small value may not exhibit up, while a greater value seems to make the picture too grainy. Reach a value of around 10-20 percent for a realistic impact.
Photoshop allows you to decide between Uniform or Gaussian noise, and you can choose Gaussian for a more natural, less intense grain.
While GIMP has the default RGB noise setting which works well, you can try diverse options to discover the most appropriate grain surface.
Once done with the noise application, preview the composition to see if it includes the required grainy texture. The intent is to reproduce the nuanced visual distortion noticed through night vision gadgets, which frequently show grain or pixelation in low-light circumstances.
In case the noise impact is too extreme or quiet, alter the amount utilizing the sliders within the noise dialog box. You can also decrease the opacity of the noise layer on the off chance that it seems too intense.
Step 6: Light Sources Enhancement
Be sure that the original image layer, which is underneath the green overlay, is in action. This step focuses on specific light regions for enhancement.
See for zones within the image that are naturally brighter, like light sources, reflections, or regions that could reflect infrared light in night vision imagery. These will be your major points.
Include a new layer over the picture layer. Put the blending mode of this layer to Soft Light or Overlay to upgrade brightness while blending with the photograph underneath.
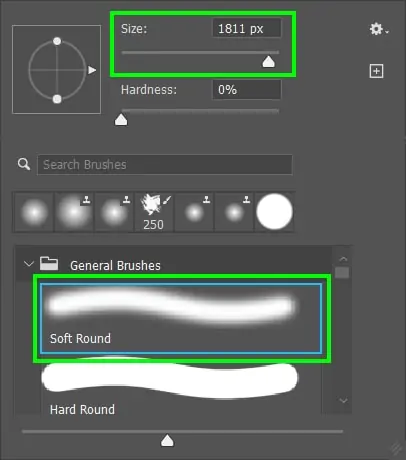
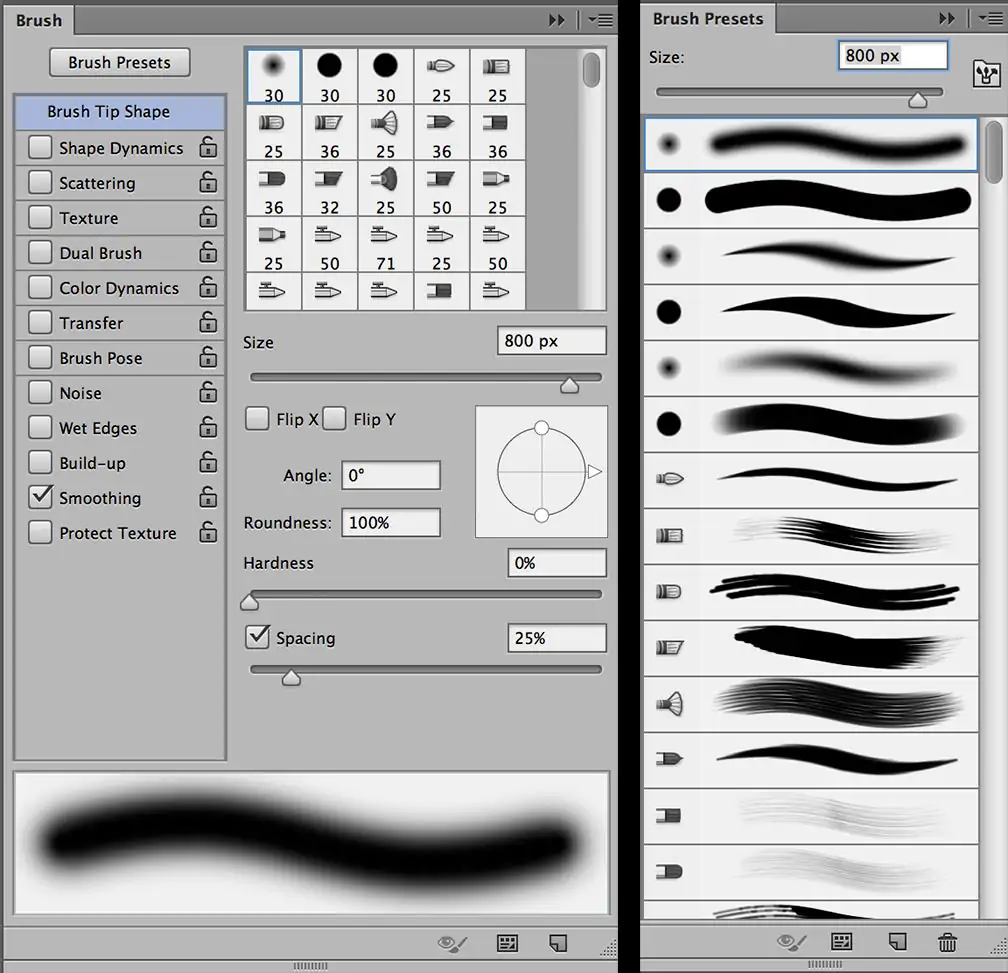
Choose the Brush Tool and put the brush to a soft round form. Choose a bright color, such as white or pale yellow, and paint over the spots you need to improve, including light sources or reflections. That will mimic the impact of enhanced light in night vision.
Decrease the opacity and flow of the brush tool for nuanced light enhancement. You can rise these values in case you need more vigor within the light regions.
On the off chance that the enhancement is too strong or applied within the off-base regions, utilize the Eraser Tool with a soft brush to tenderly remove portions of the painted light zones.
Step 7: The Final Tweaks
Take a little break and survey the final work with fresh eyes as a whole. Be sure that the night vision effect appears realistic, holding appropriate contrast, grain, and light enhancements.
In Photoshop, move to Image → Adjustments → Brightness/Contrast. On the other hand, you can use Colors → Brightness-Contrast in the case of GIMP software.
Alter the brightness or contrast slightly to guarantee that the light and dark regions look as distinctive as they would in a night vision shot. You may ought to boost contrast or darken the photo a little more for the effect to seem more passionate.
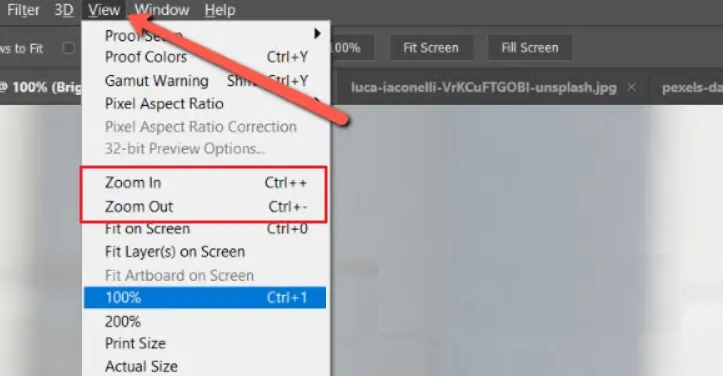
Use Zoom in and out options on the image to confirm that the night vision effect is uniform across the entire composition. The grain, green tint, contrast, and light upgrades should all collaborate together to form a convincing night vision formation.
After you are satisfied with the adjustments, preserve the final picture in your preferred format, consider options like JPEG, PNG, etc. and create a backup of your project file in PSD or XCF for prospective alters.
Conclusion
In summary, although in terms of conventional art aesthetics, a night vision addition is a bit fuzzy, still incorporating it into photographs can significantly transform their style. You can either create a sci-fi atmosphere emphasizing the role of technology in our lives, or you can even stimulate a surreal environment that exhibits the magical tales of enigmatic ghostly lands. Such compositions are often soothing to see while presenting dream-like settings, in which, although the surroundings and objects are visible even in the dark, they all omit a paranormal aura, giving rise to innovative narratives.


